How To Adjust System Status Limits
Last Update: February 1, 2026
On the Avada System Status page (Avada > Maintenance > Status), you’ll find some WordPress and Server Environment limits to check, to ensure your site runs smoothly. Any values in red may need to be increased. Continue reading below to learn more about what these values are, why they need to be adjusted, and how you can go about adjusting them.

WordPress Memory Limit
The WordPress memory limit is the maximum amount of server memory that WordPress is allowed to use while running your website. It controls how much memory WordPress and themes like Avada can access when loading pages, processing requests, running plugins, or importing content. If the memory limit is too low, you may see errors, slow performance, or failed actions such as demo imports or page saves.
Increasing the memory limit gives your site more room to operate smoothly, especially on feature-rich websites. A properly configured memory limit helps ensure better stability, fewer errors, and a smoother overall building experience.
Why Do I Need To Increase The WP Memory Limit?
There are a number of factors that may affect how much memory your website will need such as content, themes, plugins, etc. The default memory limit for WordPress is 32MB. If you’re only running a small site with basic functions, this default value is more than enough. However, once you start encountering “Fatal Error: Memory Size Exhausted” errors, it may be time to adjust your memory limit.
How Do You Increase The WordPress Memory Limit?
To increase your memory limit, you’ll need to access and modify certain files, such as php.ini, wp-config.php, and .htaccess. If you have a shared hosting plan, most hosts won’t grant you full access to modify the php.ini file because it affects the entire server and all the websites hosted on it. Please contact your host first to find out if they can adjust it for you.
For advanced users with custom server setups and full access to the php.ini file, please try Method 1 first, then proceed to the other methods. For standard users, we encourage you to try Method 2 and Method 3 instead.
Method 1: Change The Servers PHP Memory Limit (php.ini)
Change xxM to your desired limit. For example, 256M.
Change the value to the recommended value. For example, 256M.

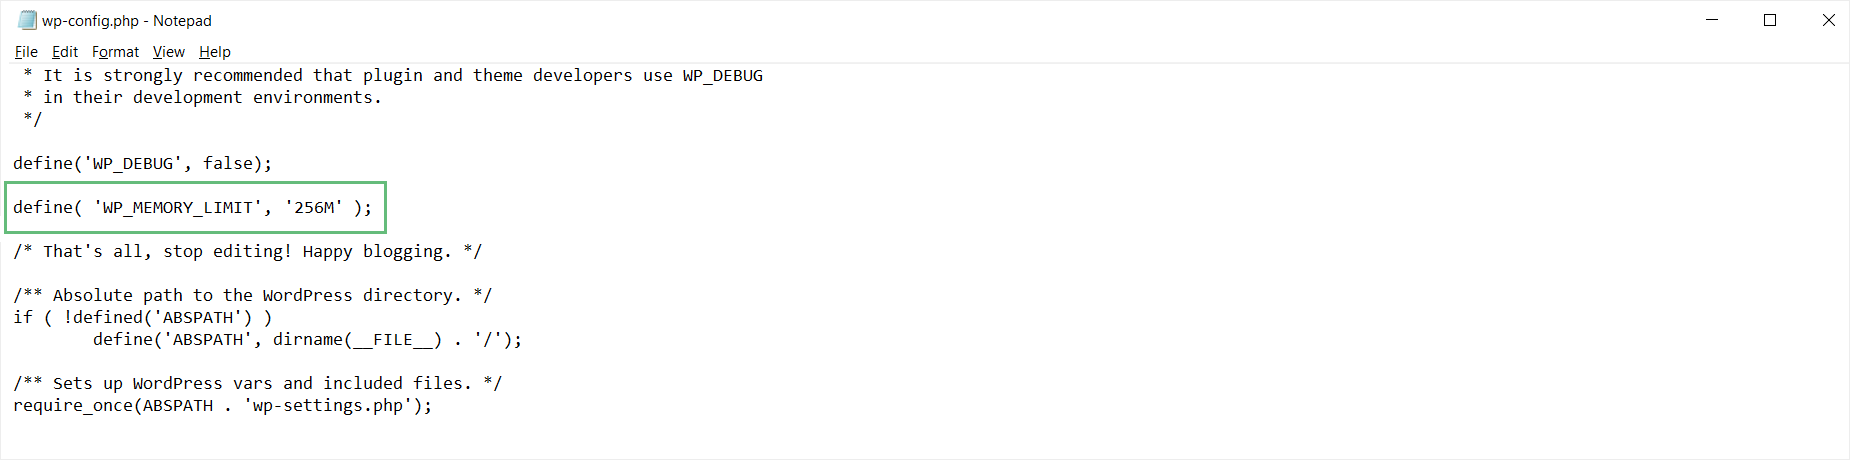
Method 2: Change The WordPress Memory Limit (wp-config.php)
Change the value to the recommended value. For example, 256M.
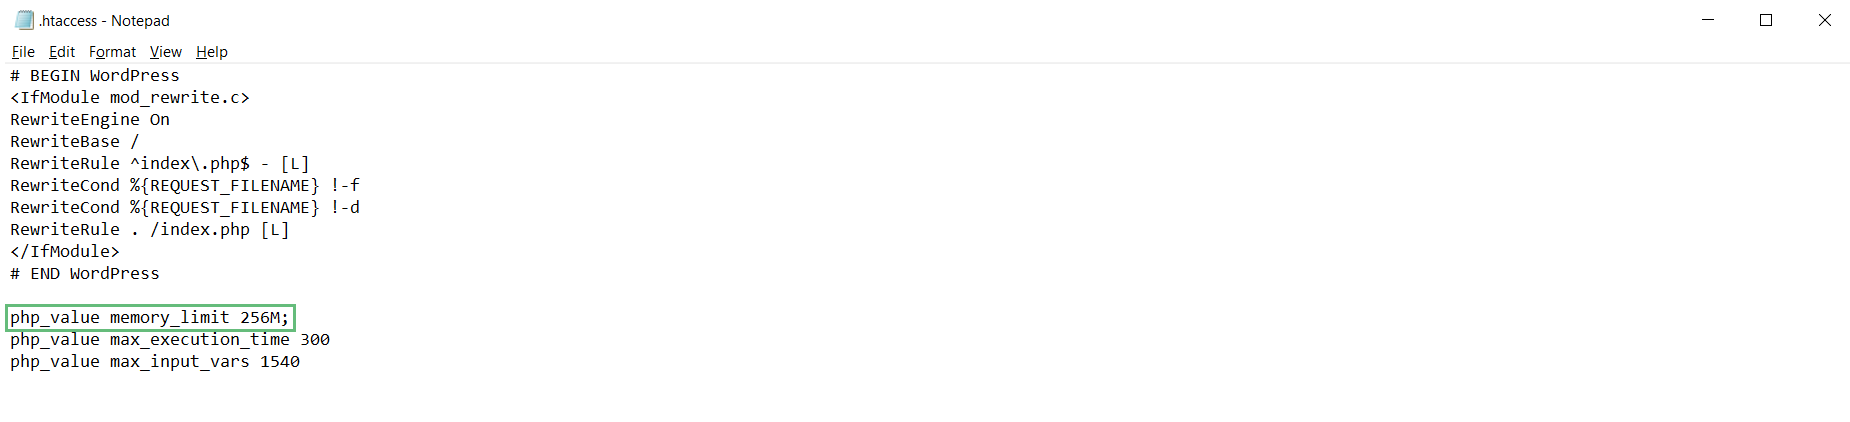
Method 3: Change The PHP Memory Limit (.htaccess)
Change the value to the recommended value. For example, 256M.
PHP Time Limit
The PHP time limit defines the maximum amount of time a PHP script is allowed to run on your server before it is stopped. This setting exists to prevent long-running processes from consuming too many server resources, but if it’s set too low, it can interrupt legitimate tasks such as importing demo content, saving large pages, or processing complex operations.
A higher PHP time limit helps ensure that resource-intensive actions have enough time to complete without timing out. Increasing this limit can reduce errors during imports, updates, or page building and contribute to a more stable, frustration-free experience when working on larger or more complex websites. When an operation reaches the time limit set, it will return a fatal error that looks like this:
Why Do I Need To Increase The PHP Time Limit?
Because the default value is only 30 seconds, you will most likely receive a fatal error when running longer operations. We recommend increasing your PHP Time Limit to at least 180 seconds, or 300 seconds if your host allows it.
How Do You Increase The PHP Time Limit?
To increase your PHP time limit, you’ll need to access and modify certain files, such as the php.ini, wp-config.php, and .htaccess files. If you are on a shared host plan, most hosts won’t grant you full access to modify the php.ini file because it affects the whole server and all the websites hosted on it. Please contact your host first to find out if they can adjust it for you.
For advanced users with their own server setups and full access to the php.ini file, please try Method 1 first, then proceed to the other methods. For standard users, we encourage you to try Method 2 or Method 3 instead.
Method 1: Change The PHP Time Limit (php.ini)
Change xx to your desired limit. For example, 300.
Change the value to the recommended value. For example, 300.

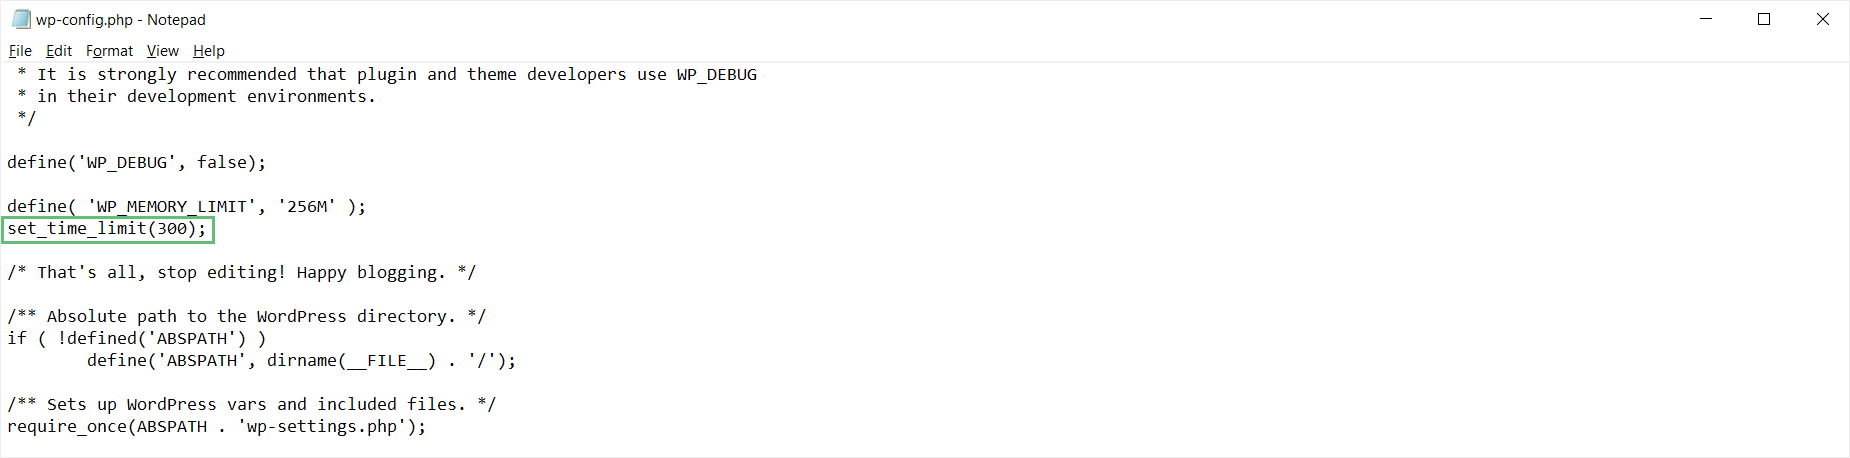
Method 2: Change The PHP Time Limit (wp-config.php)
Change the value to the recommended value. For example, 300.
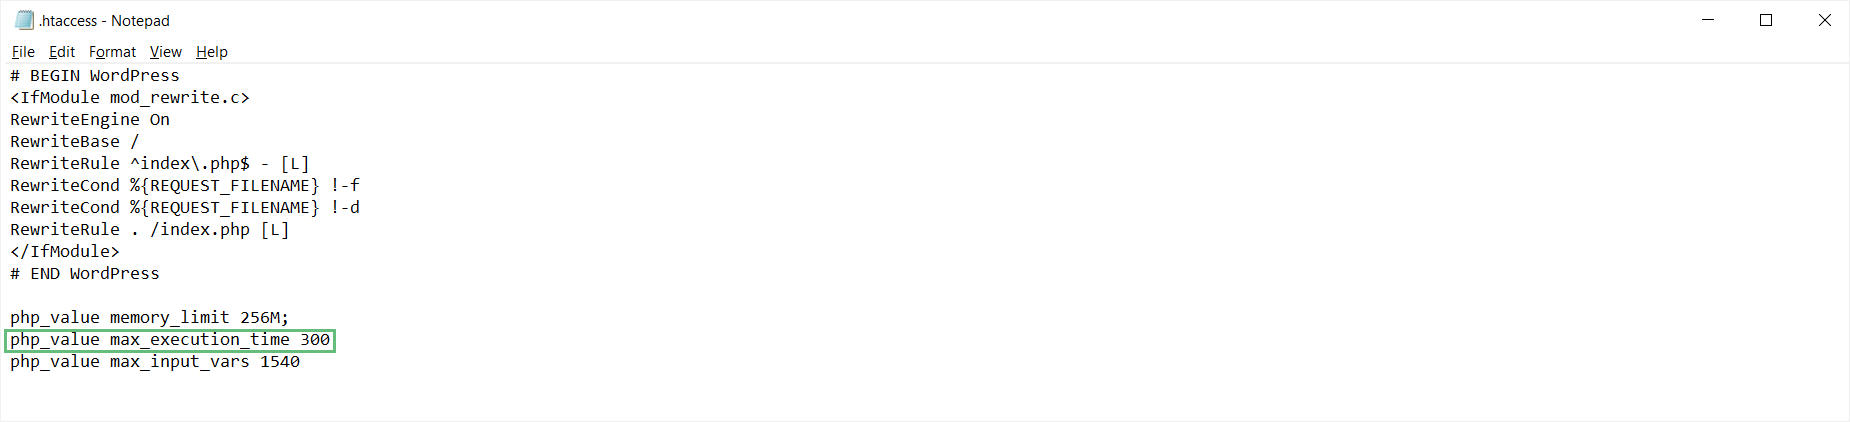
Method 3: Change The PHP Time Limit (.htaccess)
Change the value to the recommended value. For example, 300.
PHP Max Input Vars
PHP max input vars is a server setting that controls the maximum number of input variables a PHP script can accept in a single request. In WordPress, this directly affects how much data can be submitted at once, such as when saving a page, updating theme options, or working with complex layouts.
If this value is set too low, some settings or content may not save correctly, which can lead to missing options or unexpected behavior in the builder. Increasing the PHP max input vars limit allows WordPress to process larger forms and more detailed layouts reliably, helping ensure all your design and configuration changes are saved properly.
Why Do I Need To Increase The PHP Max Input Vars?
You may need to increase your PHP max_input_vars if you’re running into issues with your menu. If your menu items aren’t saving properly, or the last few are being left off, it is most likely because your max_input_vars value is too low. It is recommended that you set your PHP Max Input Vars to at least 1540 to load all menu items.
How Do You Increase The PHP Max Input Vars?
Like the other values above, you’ll need to access and modify either the php.ini or the .htaccess files. Most hosts won’t grant you full access to modify the php.ini file because it affects the whole server and all the websites hosted on it. Please contact your host first to find out if they can adjust it for you.
For advanced users with custom server setups and full access to the php.ini file, please try Method 1 first before the other method. For standard users, we encourage you to try Method 2 instead.
Method 1: Change The Max Input Vars (php.ini)
Set it to your desired limit. For example, 1540.
Change the value to the recommended value. For example, 1540.

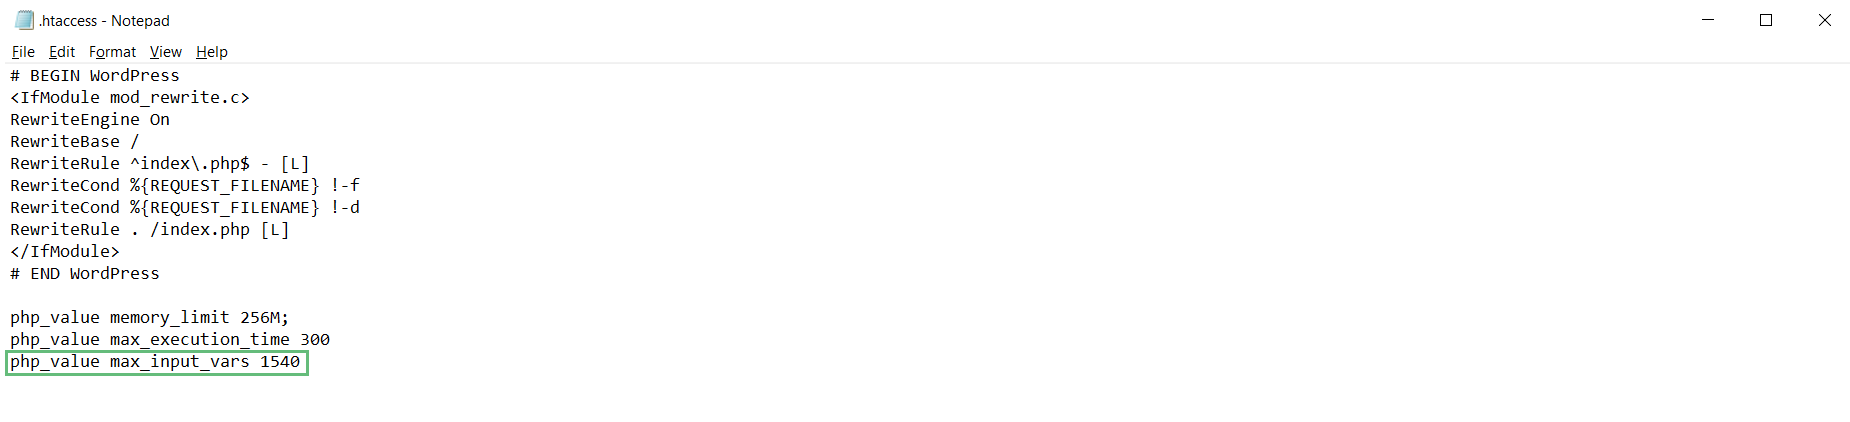
Method 2: Change The Max Input Vars (.htaccess)
Change the value to the recommended value. For example, 1540.