Translating Avada Layout Sections
Last Update: November 30, 2025
In this document, you will find instructions on how the individual Layout Sections of a single Layout in Avada can be translated for different languages using WPML. Avada gives you an option to set individual layouts for each language as well as to translate the layout sections of the layout into different languages.
How Avada Layouts Work with WPML
There are two ways you can deal with Layouts when it comes to WPML. You can choose to create a different Layout for each language (and that also means different layout sections for each language as well), or you can translate the layout sections of a single layout into different languages.
In this document, we will be looking at the later option. Now, depending on whether you are working with Layout Sections added to the Global Layout, or to a Conditional Layout, the process will be slightly different. Let’s start with a Conditional Layout.
Conditional layout
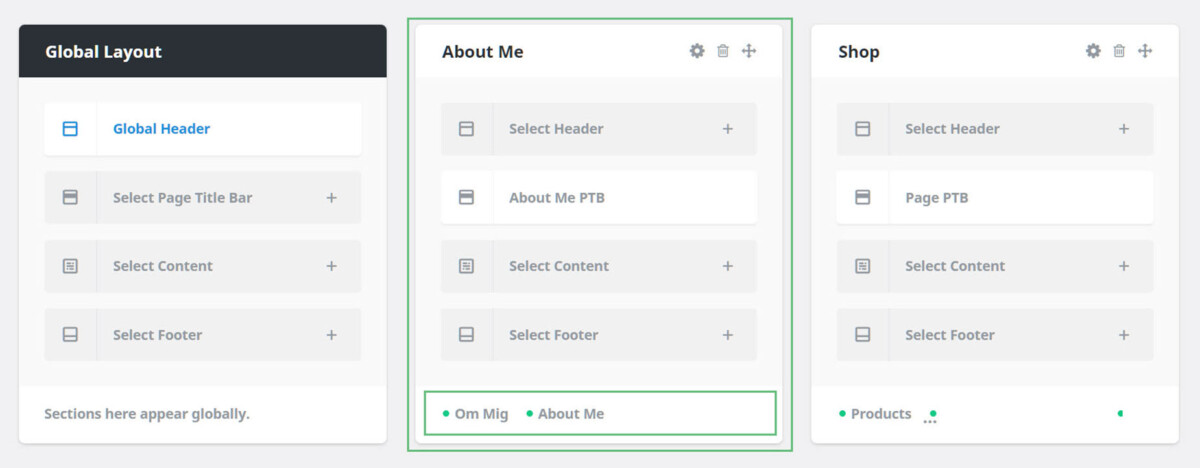
Step 2 – Once you’ve selected All Languages, create a new Layout and then edit the Layout Conditions and assign all relevant pages to the layout, including all language versions (so if you were just assigning one page, it would be the English one, as well any other language version of the page as well). As we are using the same Layout here, we will be translating the Layout Section used for each language individually.
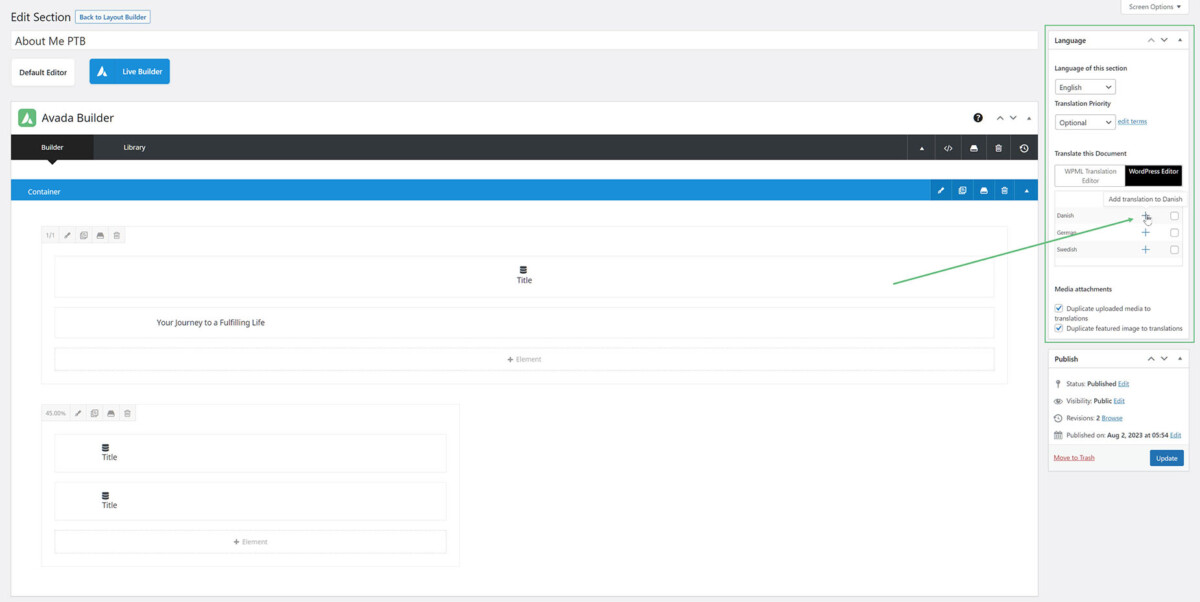
In the example below, we are going to translate the About Me Page Title Bar, on the About Me page, and its Danish equivilant, Om Mig.
Global layout
For a Global Layout, the above steps are not relevant. The Layout is already created, and the conditions are global. So here, we just need to make the initial Layout Section, and then translate it.
Translating layout Sections
Once you have an initial Layout Section in the primary language, edit the layout section in the back-end builder, and follow the instructions below.