Portfolio Post Options
Last Update: April 26, 2026
The Portfolio Tab of the Avada Global Options allows you to override the global Portfolio Single Post Options on your individual post, and there are extra fields to add further information to your Portfolio items, such as the Video Embed field, and the Project and Copyright URL and Text fields.
Portfolio Post Options
* Not available when using an Avada Layout for Portfolio Posts.
Selecting The Column Width Layout
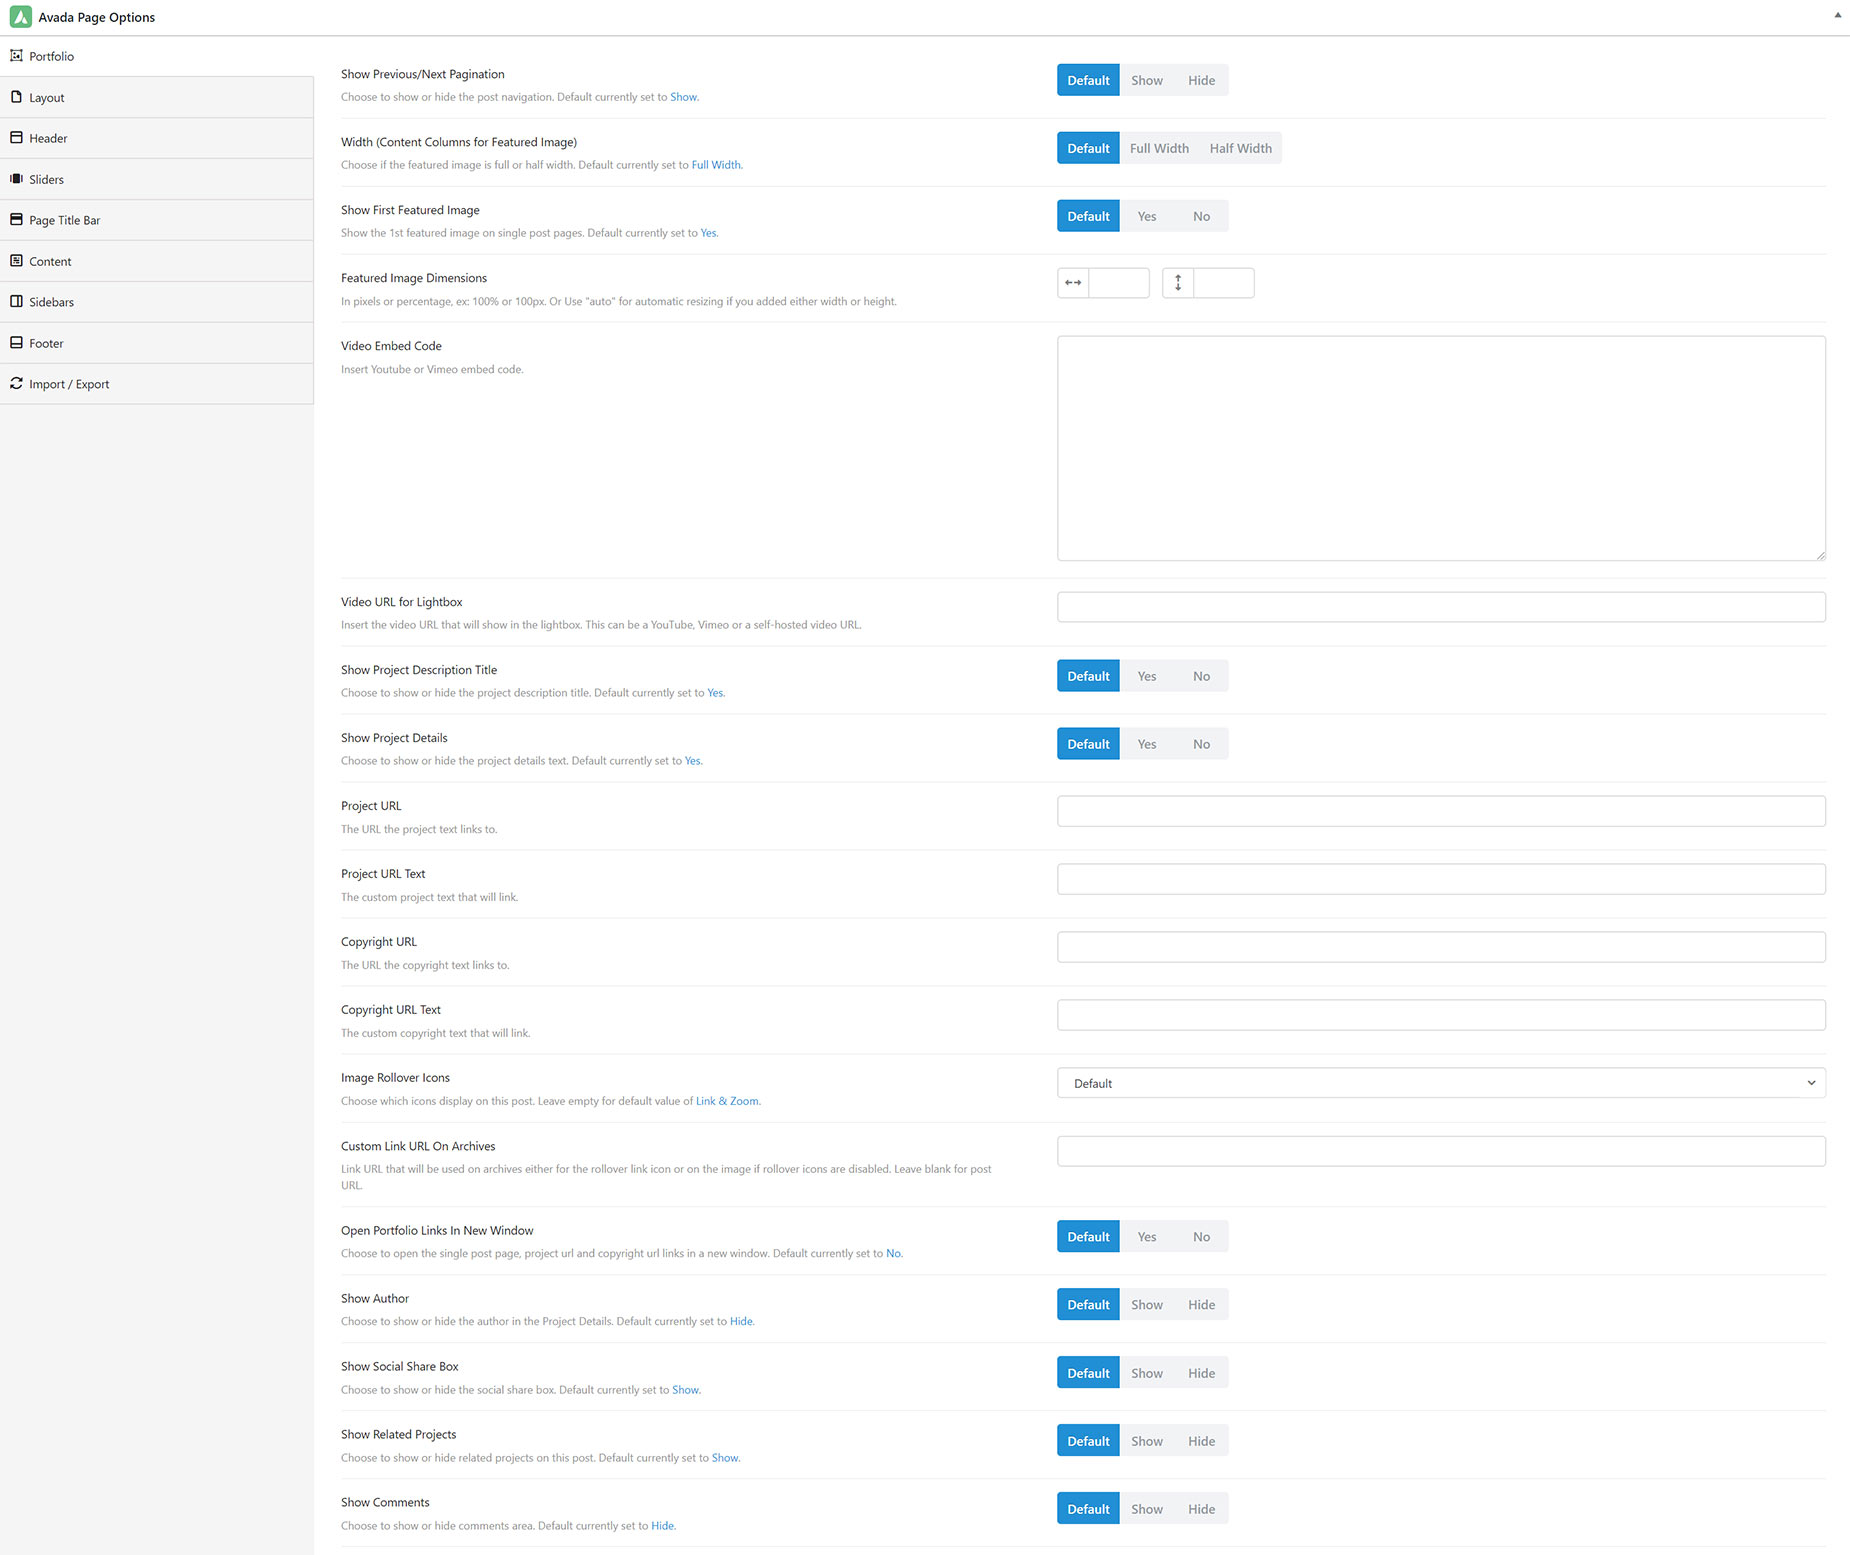
Each Portfolio post you create allows you to set the width of the Featured Image’s column. This option is called the ‘Width (Content Columns for Featured Image)’ option and you can set it to be Full Width or Half Width. You can also set the entire Portfolio post to display 100% of the browser width.

Featured Image Dimensions
The Featured Image you upload to each post will show the full image ratio on the single post page by default. The width of the featured image will be set to the site width or the column width if you’re using a Half Width layout and the height is set to auto so it displays the original height. In addition to this, you can set a custom featured image width and height to control the size of the image. This is useful in specific situations when you need a custom featured image size.
The ‘Featured Image Dimensions’ option (Image width and height) is located in the Avada Page Options > Portfolio section of the posts page. Values are set in pixels or percentage, ex: 100% or 100px. Or Use “auto” for automatic resizing if you added either width or height.

Featured Videos
You can also upload a Youtube or a Vimeo video to be displayed in the Featured Image section of the portfolio post. You can even have a combination of videos and images, displayed as a slideshow on the portfolio single post page. Read below to learn how to upload a Youtube or a Vimeo video.
How To Upload A Youtube/Vimeo Video

Project Description Title and Project Description
The Project Description section is any content you insert in the WordPress Content Editor. This is usually the text description of the project, but it can also contain any of our elements. This is where you can put any descriptive content detailing your project. The Project Title Description option on the Portfolio tab allows you to add the Project Title automatically at the top of the content added in the Editor.

Project Details
The Show Project Details option shows the meta information relating to the project. For Full-Width layouts, the Project Details are placed in a sidebar next to the Project Description. For Half-Width layouts, they’re displayed below the Project Description.
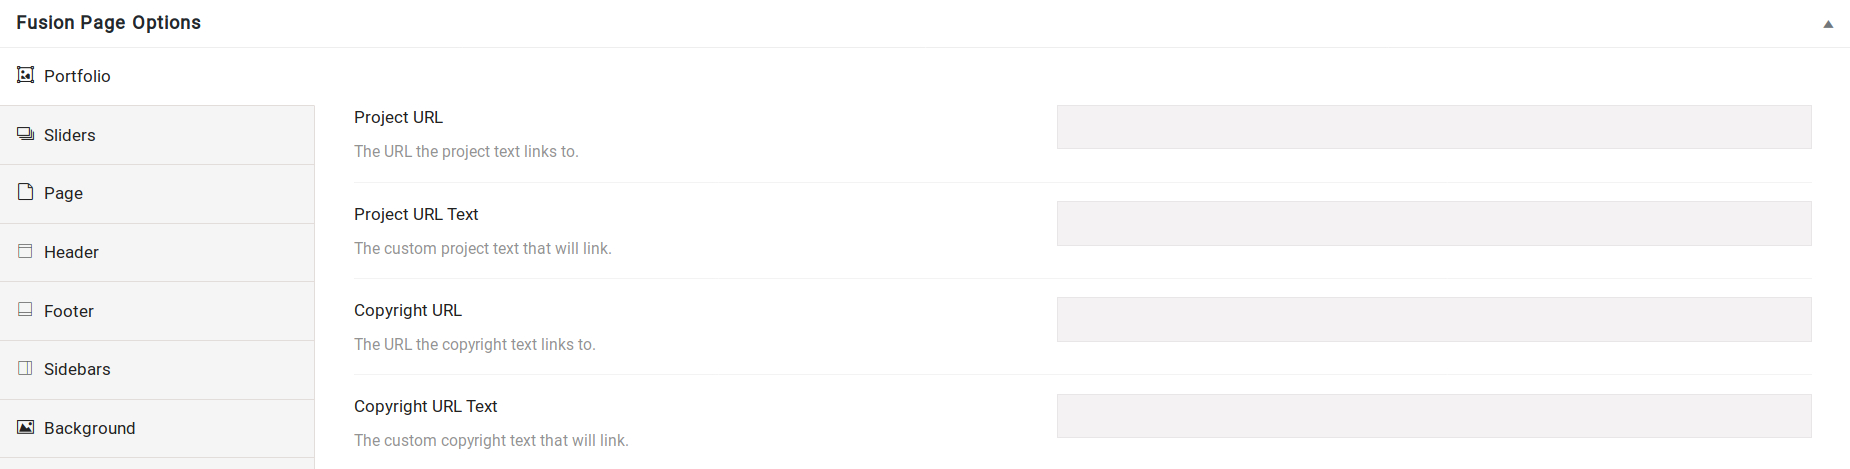
The information shown in the Project Details consists of the Project categories, Skills and Tags added to each Portfolio Post, as well as the Project URL & URL Text, and the Copyright URL & URL Text.
The key to understanding the Portfolio Single Post page is to understand how the various areas of the page contribute to the end result, and how you can use the Portfolio tab of the Avada Page Options to override the Single Post Global Options set in the Avada Global Options.
Once you have your Portfolio items created, you can think about how to display the Portfolio as a whole, which is done with the Portfolio Element. But before we do that, let’s have a deeper look at how the Global and Local Options affect the various parts of the Portfolio system.


