Marketing Tools in Avada Pro
Last Update: October 20, 2026
Avada Pro’s Marketing tools are organized around five complementary areas: testing what works, managing links, creating emails, organizing contacts and sending campaigns. Together, they support the full marketing cycle—from attracting visitors and measuring their behaviour to building an audience and communicating with it.
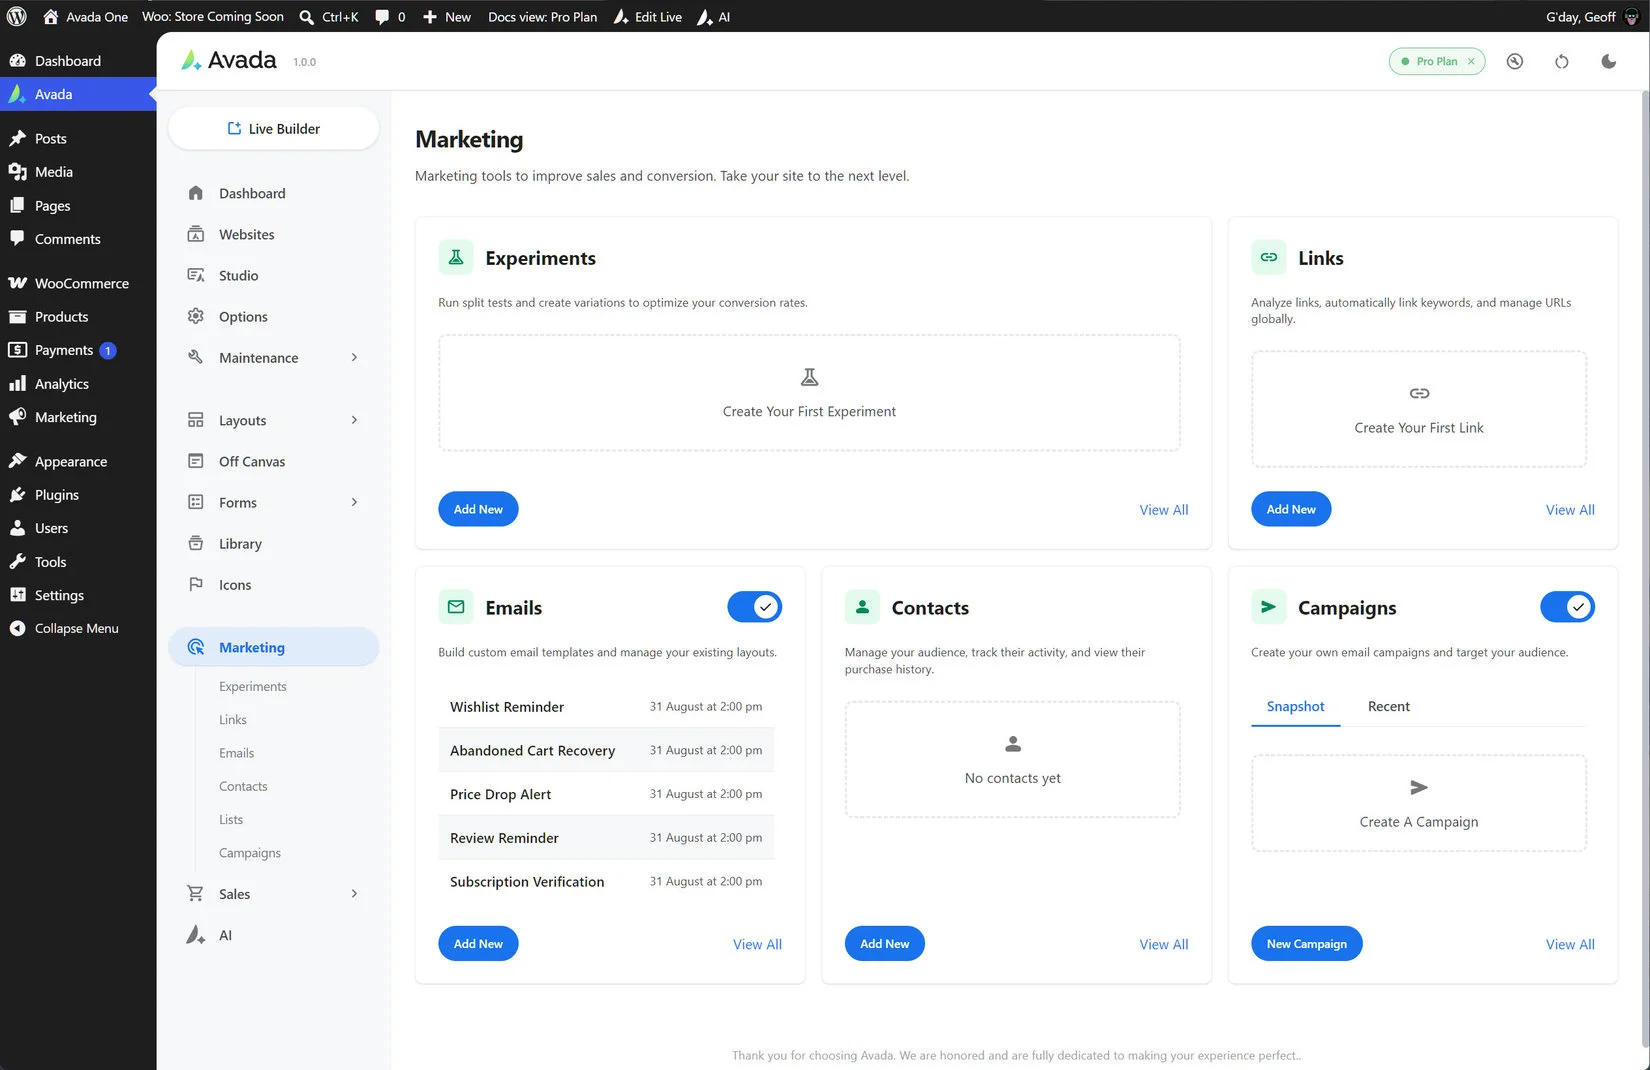
The tools are available from the Marketing area of the Avada Dashboard and are designed to work together. Use the sections below as a practical overview of what each tool does and how it fits into a broader marketing workflow.
Experiments
Experiments helps you test page content and understand how visitors move through your site. Split tests compare two or more versions of a page, section or element by assigning visitors to different variations. Analytics experiments track behaviour without changing what visitors see, making them useful for monitoring a funnel or conversion journey.
You can define the conditions under which an experiment runs, assign traffic weights to variations and measure events such as page views, button clicks, element views, form submissions, add-to-cart actions, checkouts and purchases. Reports can cover variation performance, funnels, audience breakdowns and revenue, including revenue per visitor and lift against the first variation.
Links
The Links tool creates trackable destinations for use throughout your website and marketing activity. A link can point to an external URL, a page or post on your site, or a branded short URL on your own domain when cloaking is enabled.
Avada records impressions, views, clicks and click-through rate. Deeper analysis can include session interactions, time to click, scroll depth and trusted versus automated clicks. Links can also be configured to open in a new tab, use nofollow, identify an external destination or indicate sponsored content. Keyword auto-linking can turn selected phrases into links inside Text Block elements.
Emails
The Emails tool lets you create and manage the email designs used by campaigns and automated messages. Emails are built with the WordPress block editor, using familiar content blocks such as headings, paragraphs, images and buttons, with a live preview to help check the final presentation.
Each email can have its own subject line and preview text, while personalization tags can insert contact information and other dynamic details at send time. Avada also uses a shared email template with a header, body area and footer, making it easier to keep automated emails and campaigns visually consistent. Delivery can be configured through Postmark or Amazon SES, with tracking available through the connected provider.
Contacts
Contacts are the people your site can communicate with through Avada’s marketing features. They may be created automatically when someone completes checkout, creates an account or submits a form configured with a Contact action. Contacts can also be added manually under Marketing → Contacts.
The email address acts as the primary identifier, helping Avada update an existing record instead of creating a duplicate. A contact record can contain identity details, source information, list membership and feature-specific subscription choices. Statuses include Pending, Active, Unsubscribed, Bounced and Complaint; only Active contacts can receive campaigns.
Lists organize contacts into campaign audiences, while subscriptions separately control individual types of communication such as wishlist alerts, abandoned-cart messages and price-drop notifications. Forms can map consent fields to lists or subscriptions and can require double opt-in before a contact becomes Active.
Campaigns
Campaigns send one-time marketing emails to selected audiences. Typical uses include newsletters, product announcements, event invitations, seasonal promotions and limited-time offers. A campaign brings together campaign details, an email design and an audience selected from your Lists.
You can select an existing email design or create one for the campaign. Campaign-specific subject lines and preview text can override the original email design, while personalization tags can insert a recipient’s name, email address, unsubscribe link, subscription-management link, site details and relevant commerce links.
Avada automatically prevents contacts who are not Active from receiving a campaign. This helps protect unsubscribed, bounced and complaint-status contacts from further marketing messages.
A connected marketing workflow
Use Links to measure traffic, Experiments to improve content, Contacts and Lists to organize the audience, Emails to create consistent communications, and Campaigns to send those communications to the right people. Together, these tools give Avada Pro a connected workflow for attracting visitors, learning from their behaviour, building permission-based audiences and improving marketing results over time.