How To Set Up Google reCAPTCHA
Last Update: January 20, 2026
Google reCAPTCHA is a system that allows web hosts to distinguish between human and automated access on areas of your website where you allow user input, such as forms. We have integrated Google reCAPTCHA into Avada, so you can minimize the amount of spam you have to deal with. You can integrate it with Avada Forms, and you can also integrate Google reCAPTCHA into the User Login, User Lost Password, and User Register Elements.
The first step is to set up Google reCAPTCHA in the Global Options. The second is to add the reCAPTCHA Element to your Avada Form. The User Login, User Lost Password, and User Register Elements are automatically integrated, so to use them, you need to turn the Global Option on. See the video below for a rundown of both setting the global options and adding the reCAPTCHA Field Element.
Step 1 – set Up reCAPTCHA Global Options
To configure Google reCAPTCHA, head to Avada > Options > Google reCAPTCHA. Google has migrated ReCAPTCHA to its Google Cloud platform, but the process remains largely the same. See this document for a guide on migrating any existing keys from ReCAPTCHA Classic. And see this document for the latest step-by-step guide to create new keys.
Step 2 – add reCAPTCHA To Your Avada Form
Once you have configured Google reCAPTCHA for the domain your form will be on, you simply need to add the reCAPTCHA Field Element to your form.
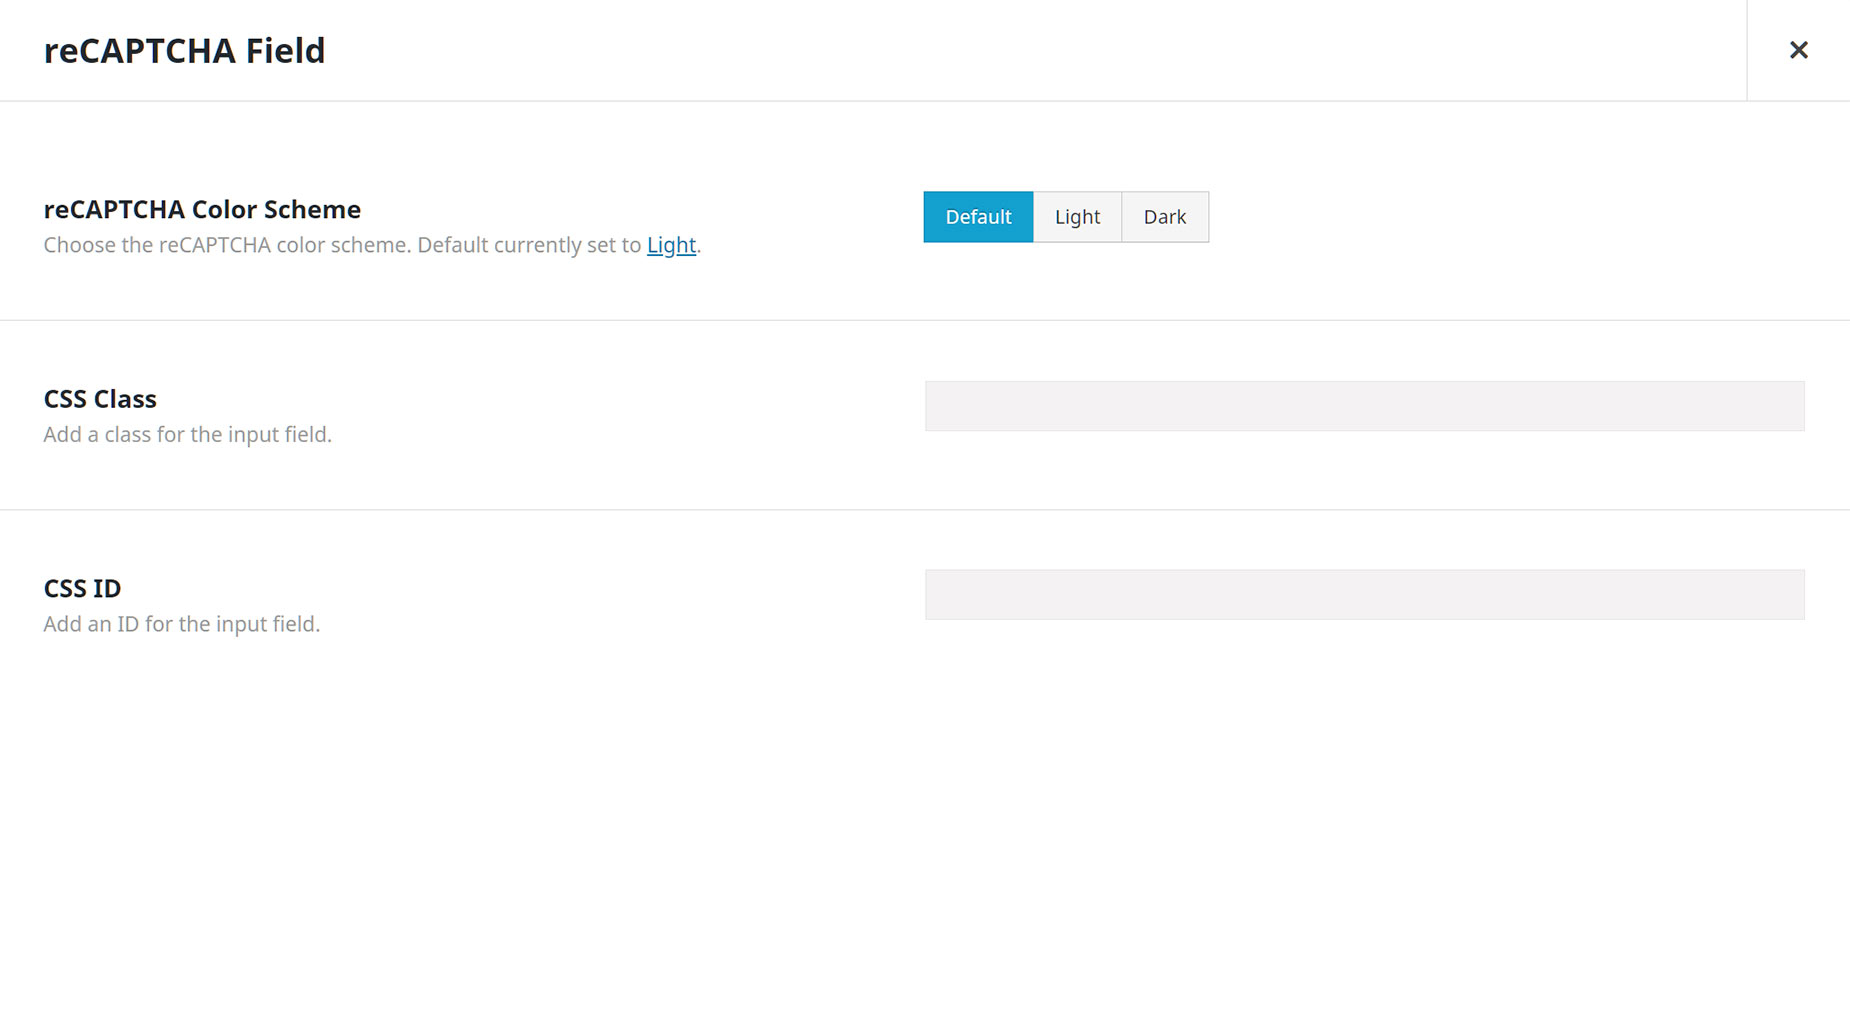
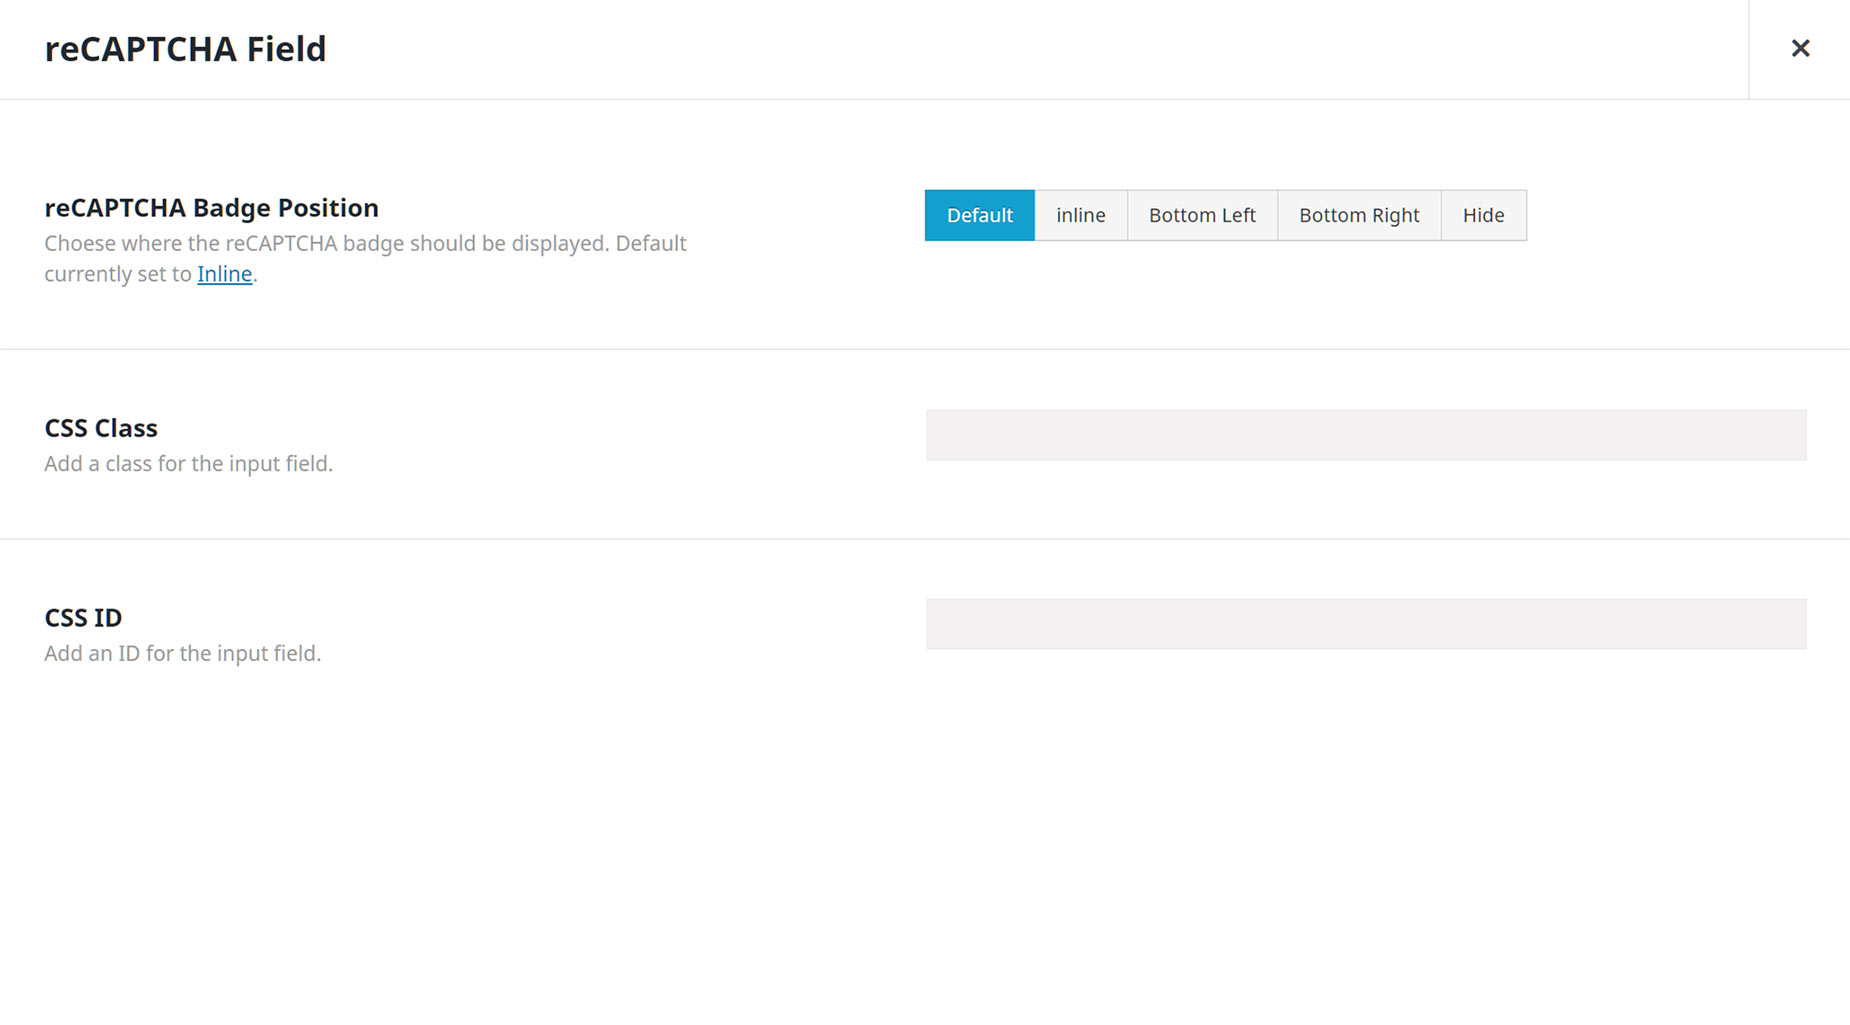
Depending on whether you have chosen V2 or V3, the Element options will differ slightly, as shown below. With V2, you can choose the Color Scheme, and with V3, you can choose the badge position.
For V2, the position you place the Element in the form is where it will display. This is typically directly above or below the Submit Button. For V3, where you place it in the form will be reflected if you choose the Inline position. With the other position options, the Badge is moved out of the form layout completely. Configure your options, and save the form.
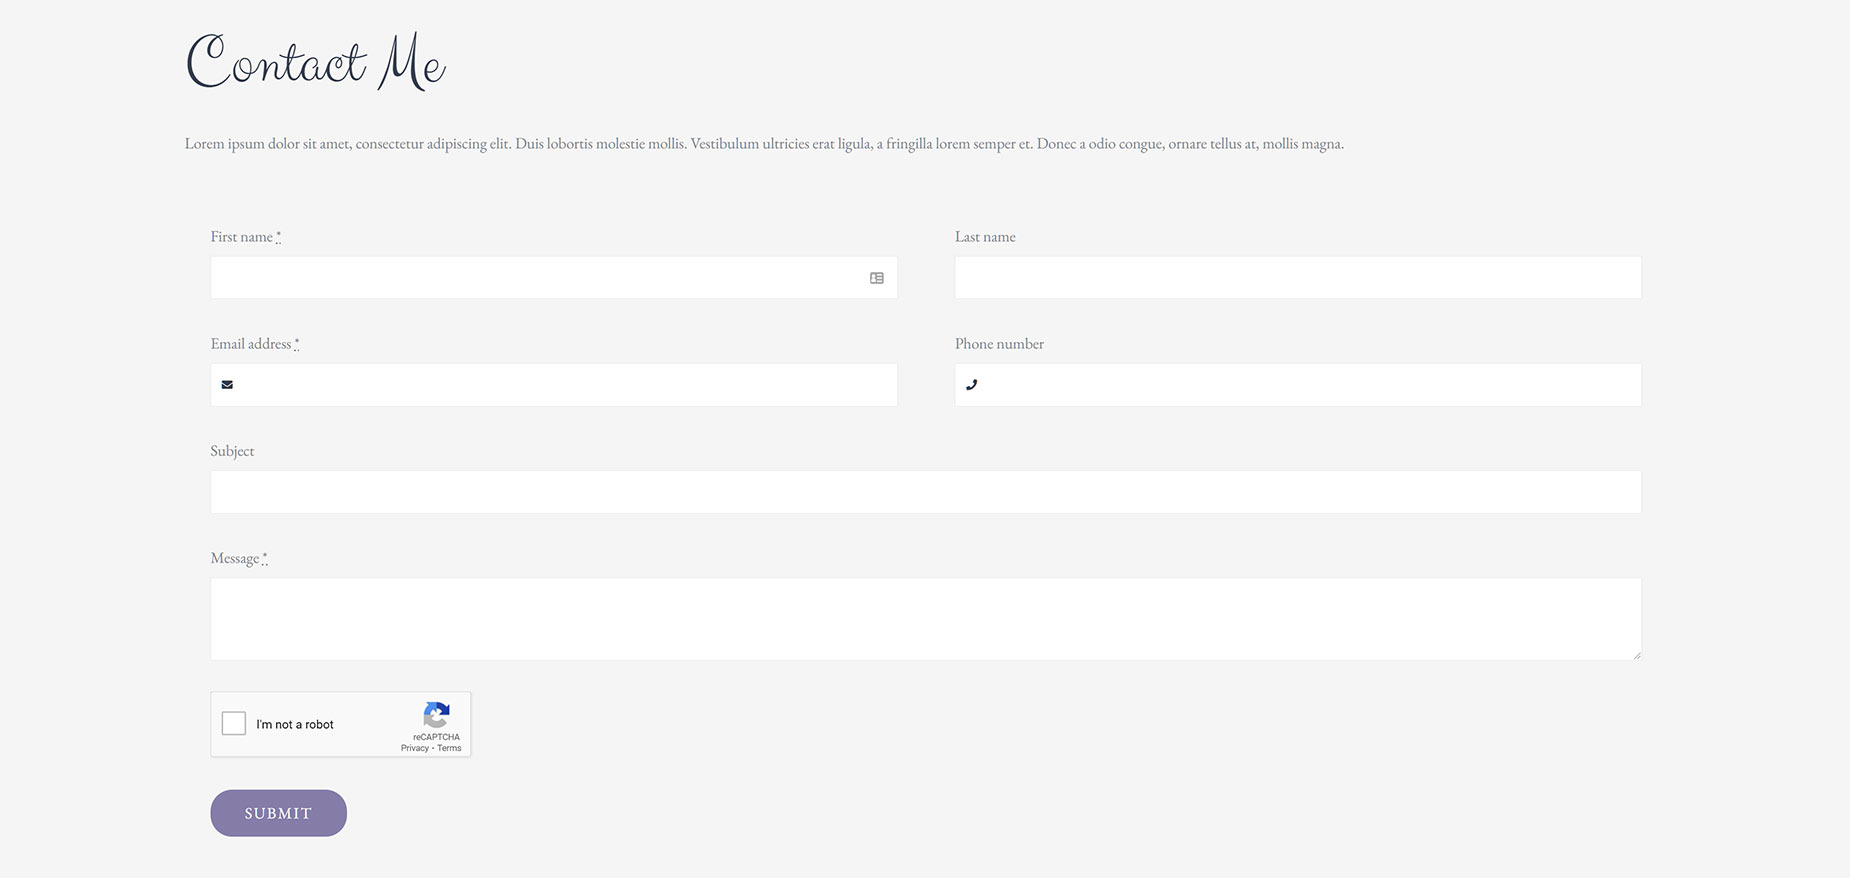
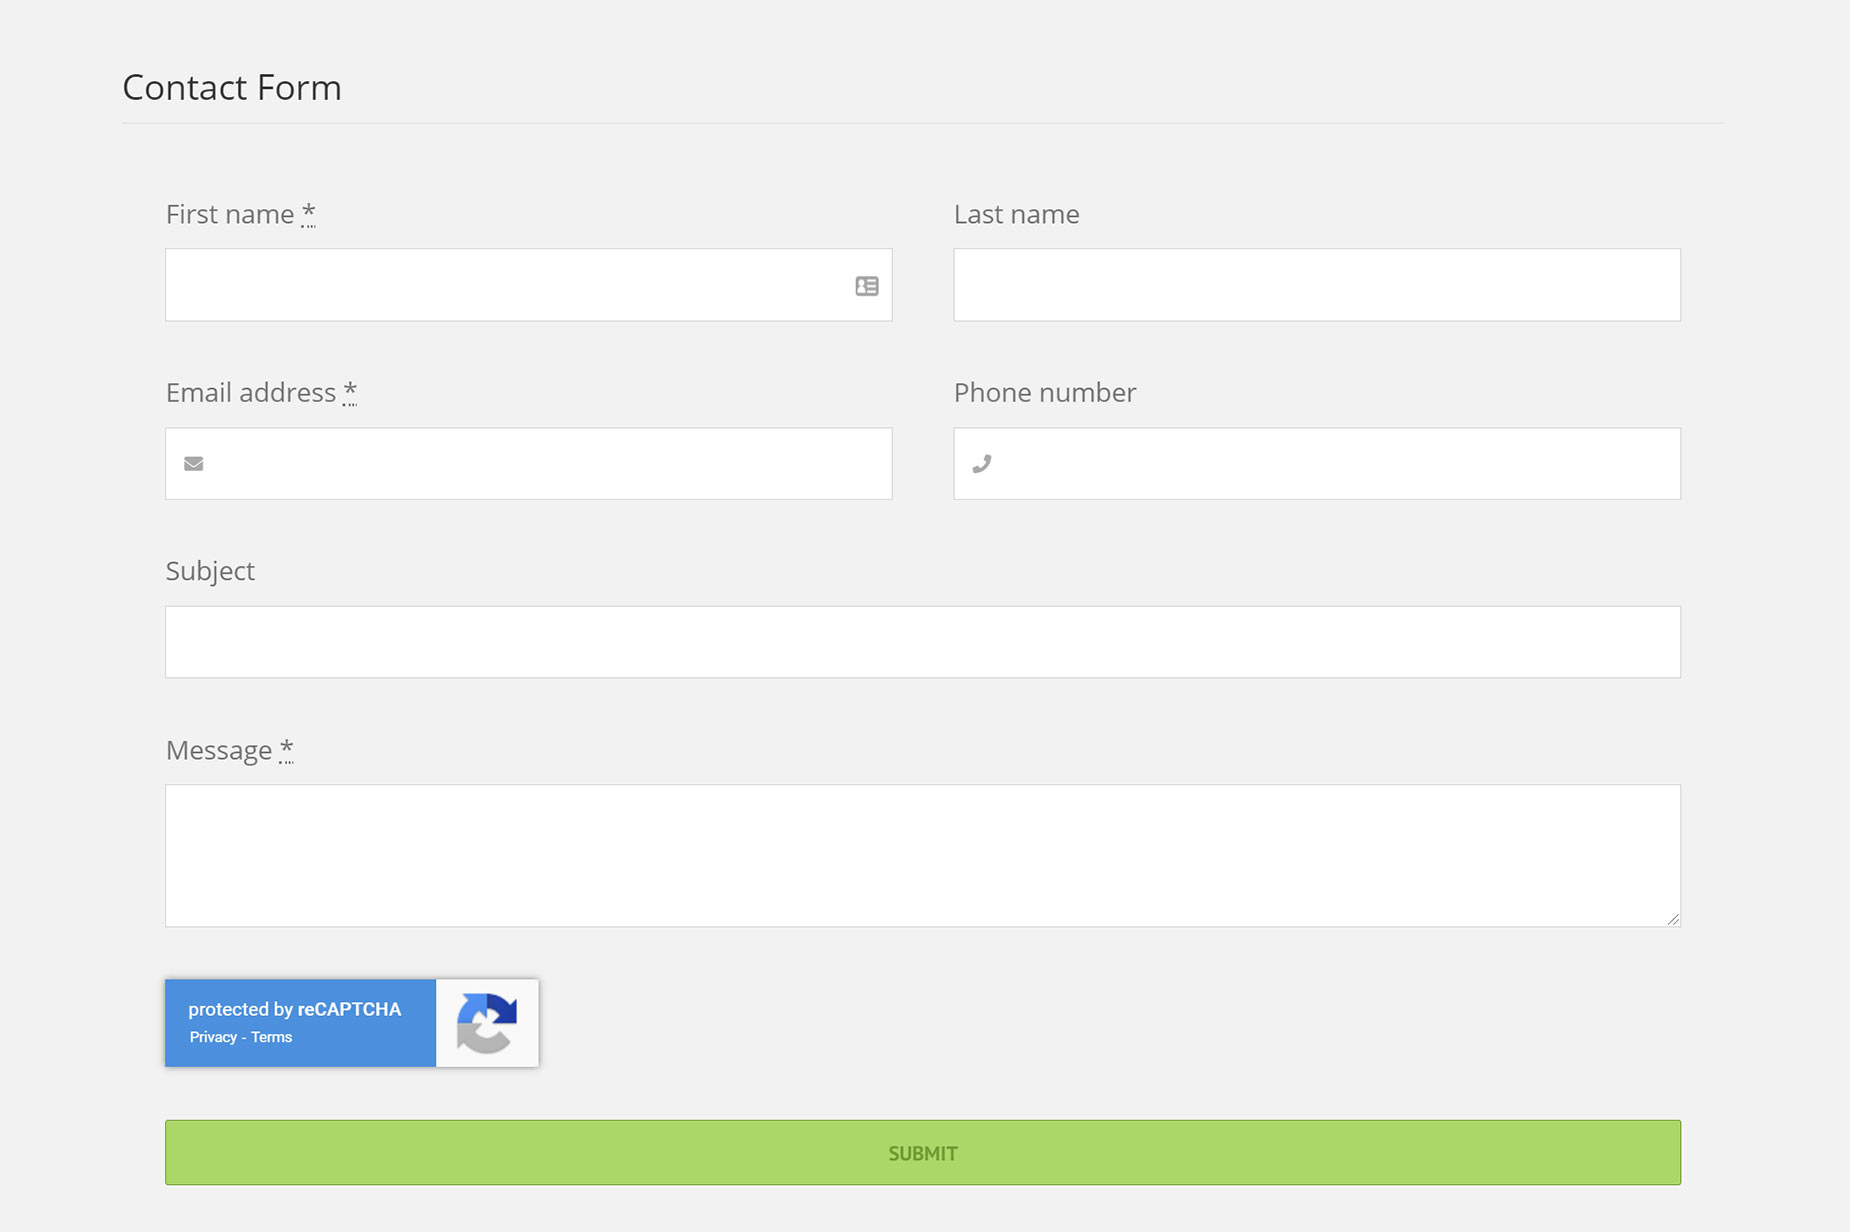
On the front end of the form, the reCAPTCHA will appear based on the version and the options set. Below is a screenshot of a form using V2 with the Light options, and below that, a form using V3 with the Inline position set.