How To Set The Page Title Bar
Last Update: October 28, 2025
The Page Title Bar is the horizontal bar/section that sits directly below the menu/header. It can be added via a Layout Section using Avada Layouts or Global Options.
If added via Avada Layouts, there are basically no limitations as to the Page Title Bar content, as the full range of Avada Builder Elements are available to you when building your custom Page Title Bar Layout. For more information on how to create a custom Page Title Bar, please see the How To Build A Custom Page Title Bar Layout doc.
If added via the Global Options, the Page Title Bar can contain the page title text, as well as the option of breadcrumbs, or a search bar. It is this method that this document covers.
There are numerous options to customize the Page Title Bar, including background images and custom subheadings. The Page Title Bar has global options found in the Avada > Options > Page Title Bar panel, and individual options in the Avada Page Options, found in all pages and posts, that will override global settings. The page title bar can be completely displayed or hidden on every page or post globally, and you can display or hide it individually per page or post.
See examples of the Page Title Bar created via Avada Layouts on the Restaurant Website, the blog posts on the Winery Prebuilt Site, and across the Avada Nutritionist site, just to name a few. You can still see the global options method on various pages on the Science University Spa and Hotel Prebuilt Websites. Read on to find out more about the global options method of adding Page Title Bars.
How To Setup The Page Title Bar Via Global Options
Watch the video below for a visual overview of the Global Options method, or follow the step by step process below.
Step 1 – Navigate to the Avada > Options > Page Title Bar panel to access the page title bar options.
Step 2 – Locate the ‘Page Title Bar’ dropdown and select either the Show Bar and Content or Show Content Only option to enable the Page Title Bar.
Step 3 – In the Page Title Bar panel, you can also customize other options such as page title bar styling, background image, and the like.
Step 4 – The right side of the page title bar can display breadcrumbs or a search bar. To choose which one, navigate to the Avada > Options > Page Title Bar > Breadcrumbs / Search Bar sub-panel and locate the ‘Breadcrumbs / Search Bar Content Display’ option.
Step 5 – These settings will take effect for all page title bars on your site. To set different settings per page or post, please see the following section.
How To Set The Page Title Bar Per Page/Post
Step 1 – Edit the page or post you want to control the Page Title Bar on.
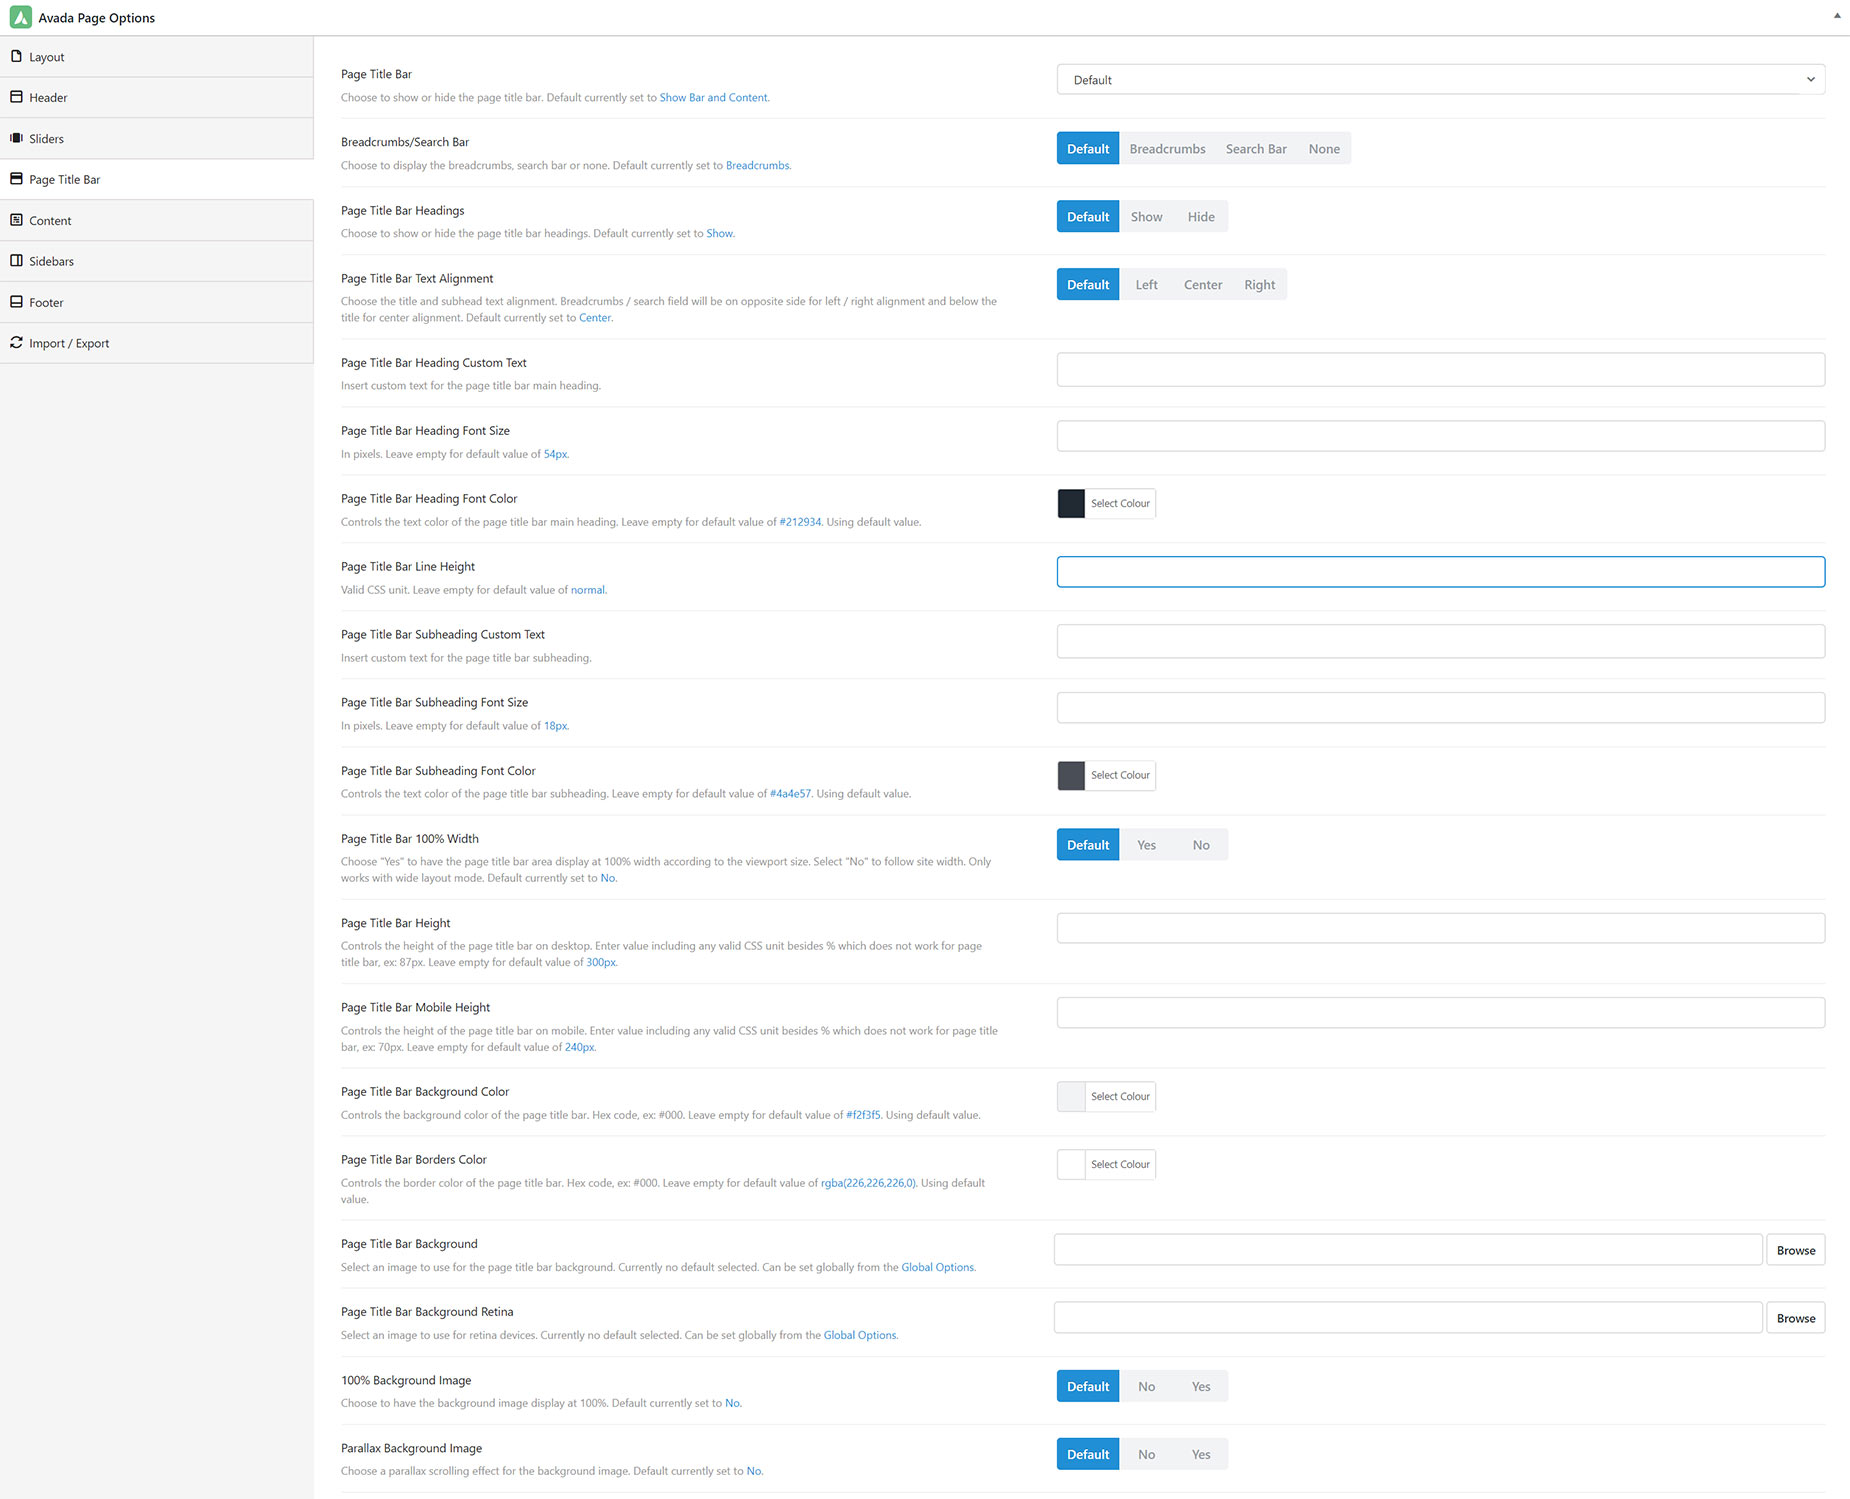
Step 2 – Head to the Avada Page Options and the Page Title Bar tab.
Step 3 – In this tab, there are numerous options that you can set to customize the page title bar per page or post. You can show or hide the page title bar per page/post, enter custom Heading text or Subheading text, set page title, and page title subheading font color, choose custom background image or color, set parallax effect, change the overall height of the bar, and other styling options. All of those options will take effect for the individual page or post you set them on.
Step 4 – When finished, make sure to save the changes.


