How To Replace Font Awesome Icons With A Custom Icon Set
Last Update: November 19, 2025
Having a custom Icon Set with just the icons you need for your site will always be better for page load speed than having to load the various Font Awesome Icon subsets. In the Performance Wizard, we have included a helpful way you can scan your site for the icons it uses, so you can then create a custom Icon Set, you can upload. This would then allow you to turn off the Font Awesome icon subsets, slightly improving your page load speed. Let’s see how to do this.
Run The Performance Wizard
See the How To Use The Performance Wizard doc for full details of that process, but for our purposes, we just want to look at Step 3 of the Wizard. Here you can use the Find Recommendations button, at the top of the page, to scan your site for all the icons it uses. As you can see in the screenshot below, you will then see a list of all icons used and where they are used.
Create The Custom Icon Set
From Avada > Icons, you can then create a new Custom Icon Set to replace the icons you are using. To start, give the Custom Icon Set a name and click on Create A New Icon Set (or just hit Enter). This takes you to the Edit Icon Set page. Now we have created a Custom Icon Set, we have to populate it. To do this, click on the Icomoon link to open Icomoon in a new tab, where you can generate and download a custom icon set in the form of a zip file.
Build The Custom Icon Set
There are several methods to create a Custom Icon Set In Icomoon. You can load the Font Awesome Icon set and select your icons from there, either manually, or by searching.
But in our circumstances, we are replacing a specific set of used icons with a custom set of the same icons. Please see the How To Upload And Use Custom Icons In Avada doc for more general information on creating Icon sets in Icomoon, but for this task, perhaps the easiest way to recreate the specific icon set is to download them directly from the Performance Wizard and upload them to Icomoon.
To do this, the first step is to download the icons from the Performance Wizard. On the Icons page of the Performance Wizard, you will see the Full List of icons. As you can see from the screenshot below, you can click on this icons to download the svg file.
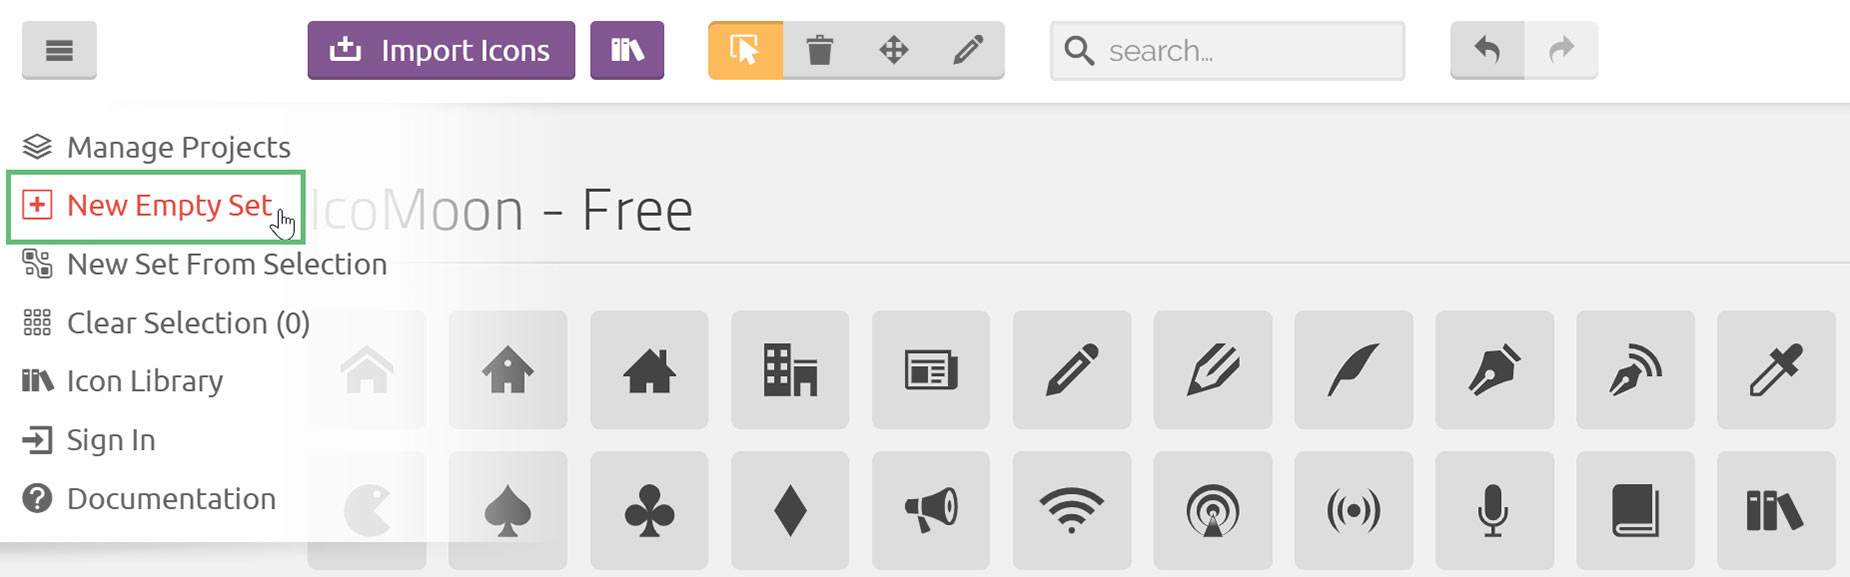
Once you have downloaded all the icons you need to create your set, you can create a new Empty Set in Icomoon for your custom icons to be uploaded into. This is found from the top menu, as seen below.
Then it is simply a matter of dragging and dropping the downloaded icons into your empty set in Icomoon.
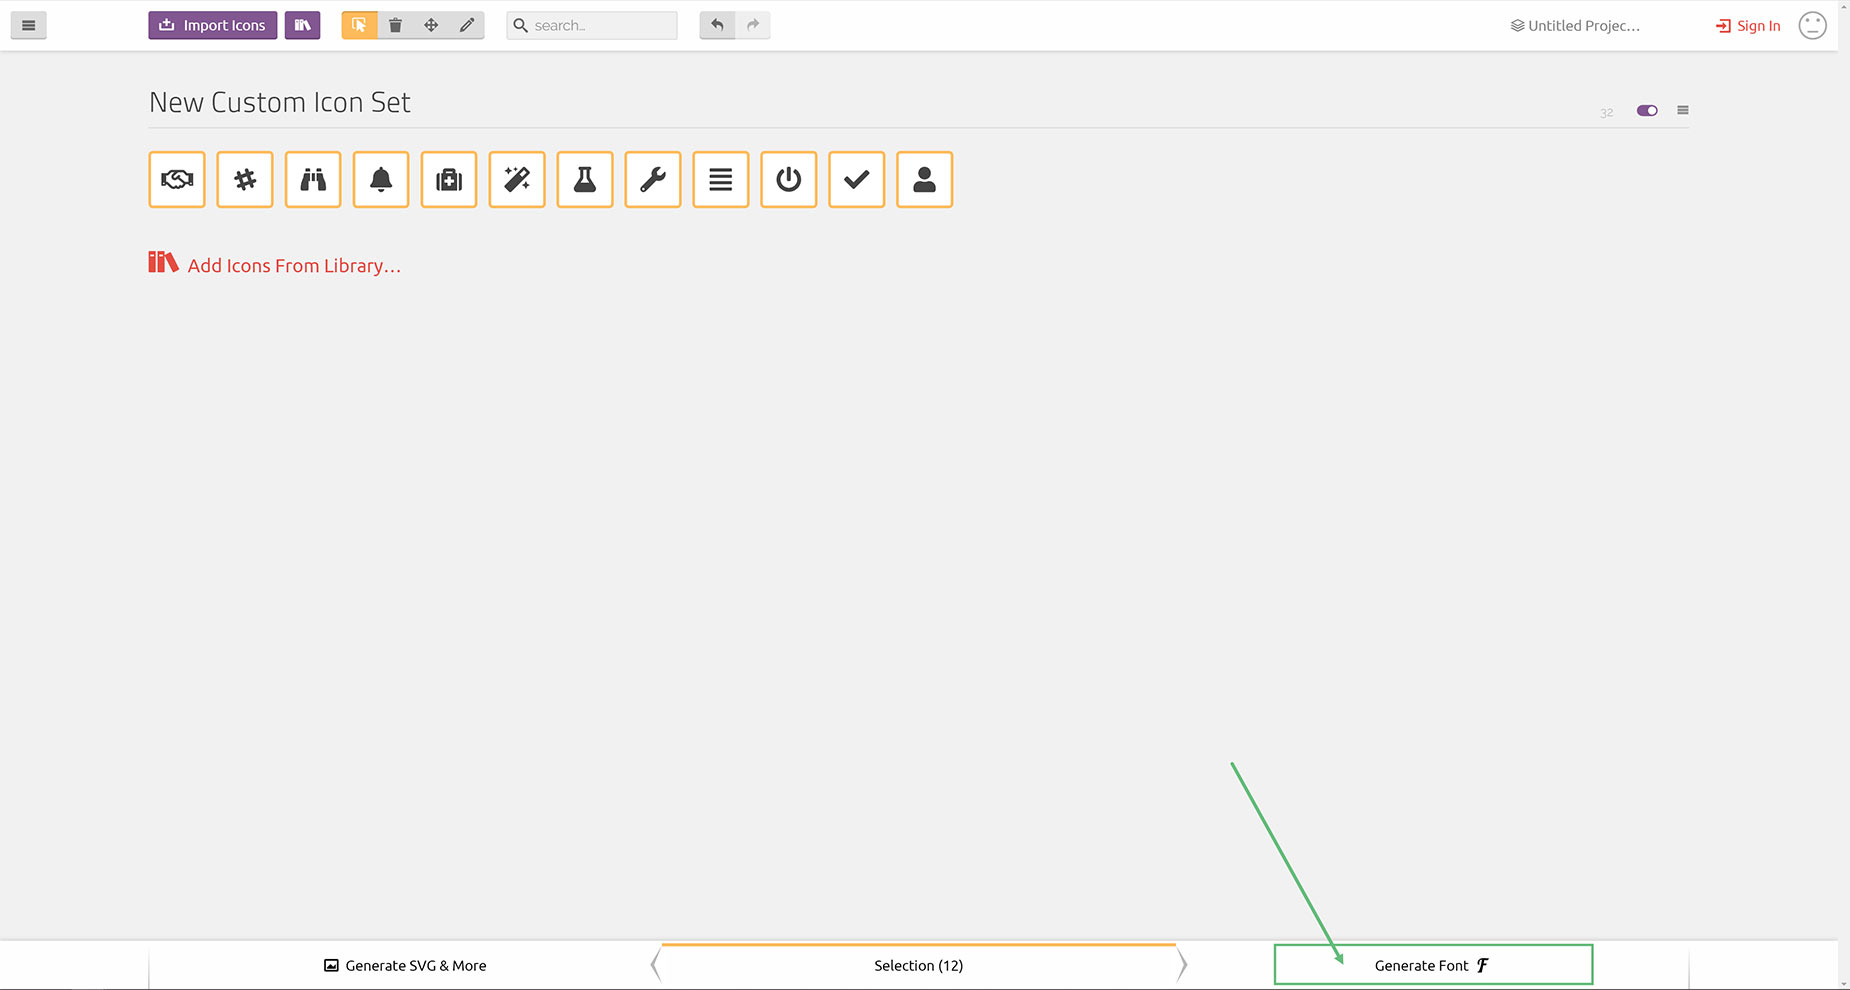
Once you have selected all the icons for your custom set, click the Generate Font button at the bottom of the screen, as seen in the screenshot below.
Before continuing on to click Download, one important thing to note is that every icon pack you upload must have a unique Font Name and CSS Class Prefix before importing into Avada. You can change the Icomoon defaults in the Preferences (via the link next to the Download button, or from the top toolbar) before downloading your custom icon set, as seen below. Once you have done this, click Download.
Alternative Method
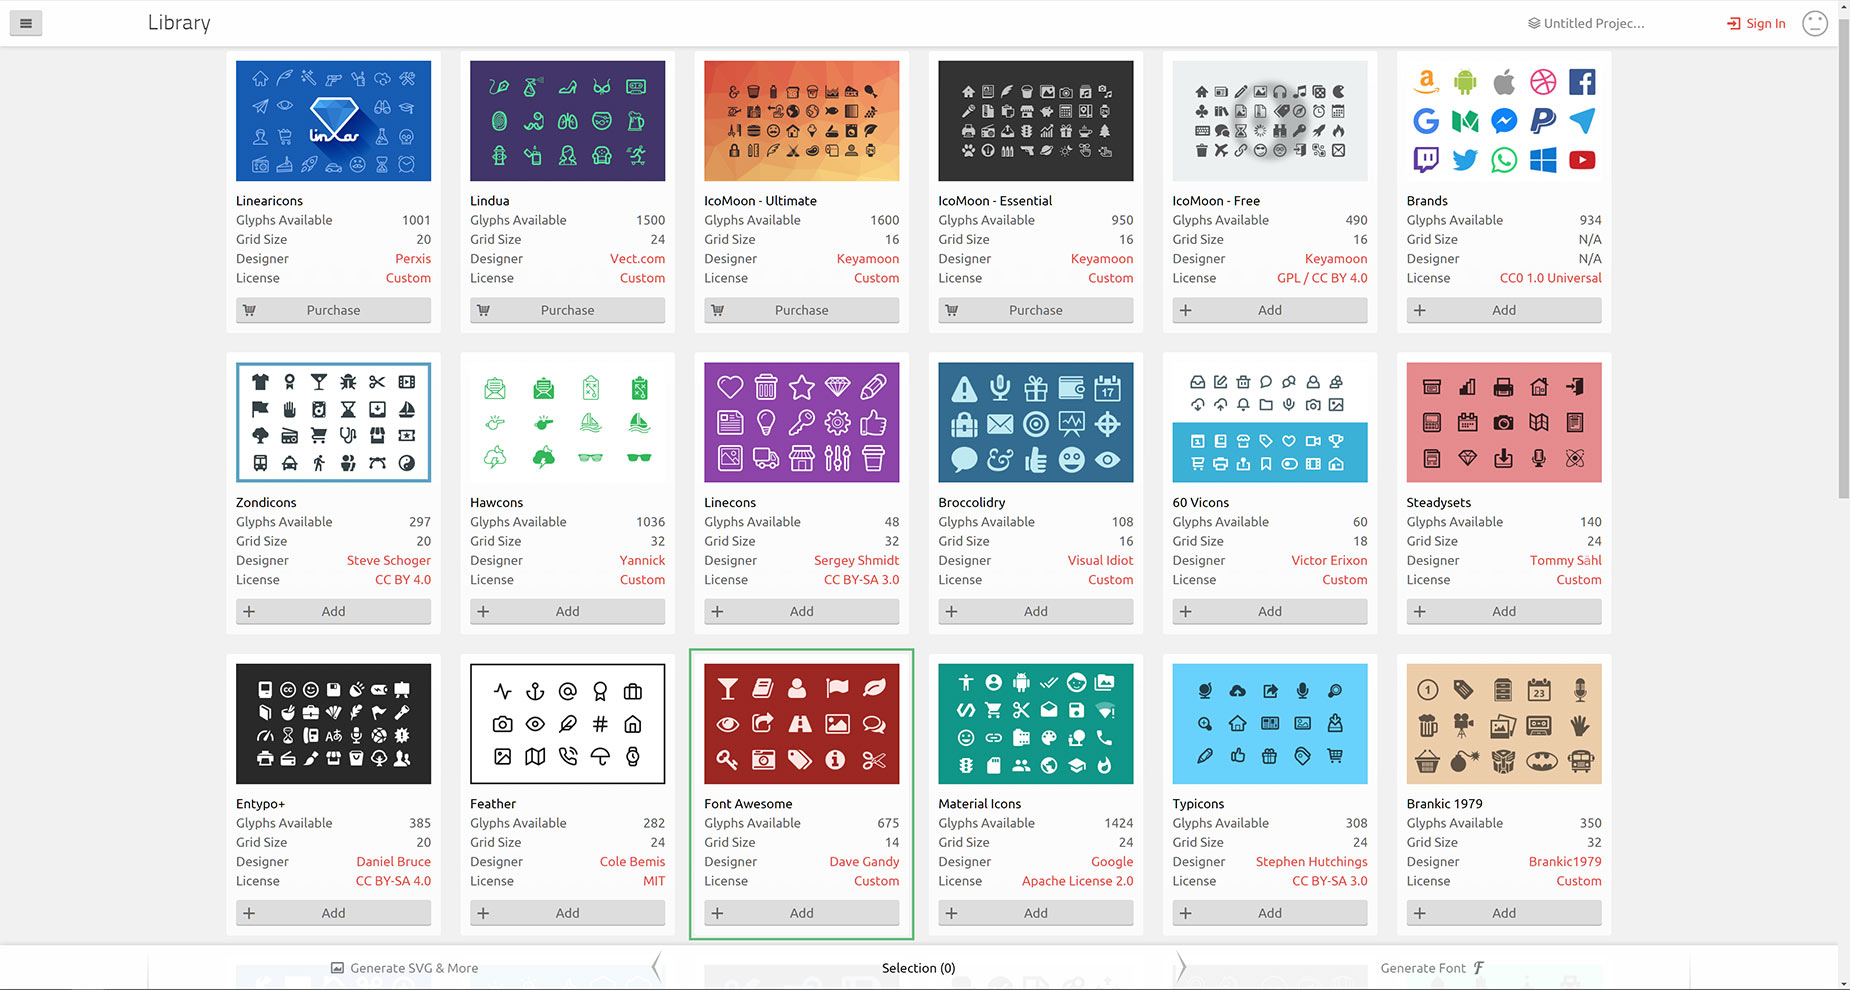
If you don’t want to use the above method, the alternative is to add the FontAwesome Icon Set into Icomoom from the Icomoon Library, as seen below, and then either manually select, or search for the icons you need for your custom icon set.
Searching in Icomoon however, can give many choices, so you need to know which specific icon you used in your website to know which icon to select. This is why downloading the icons from the Performance Wizard is an easier method.
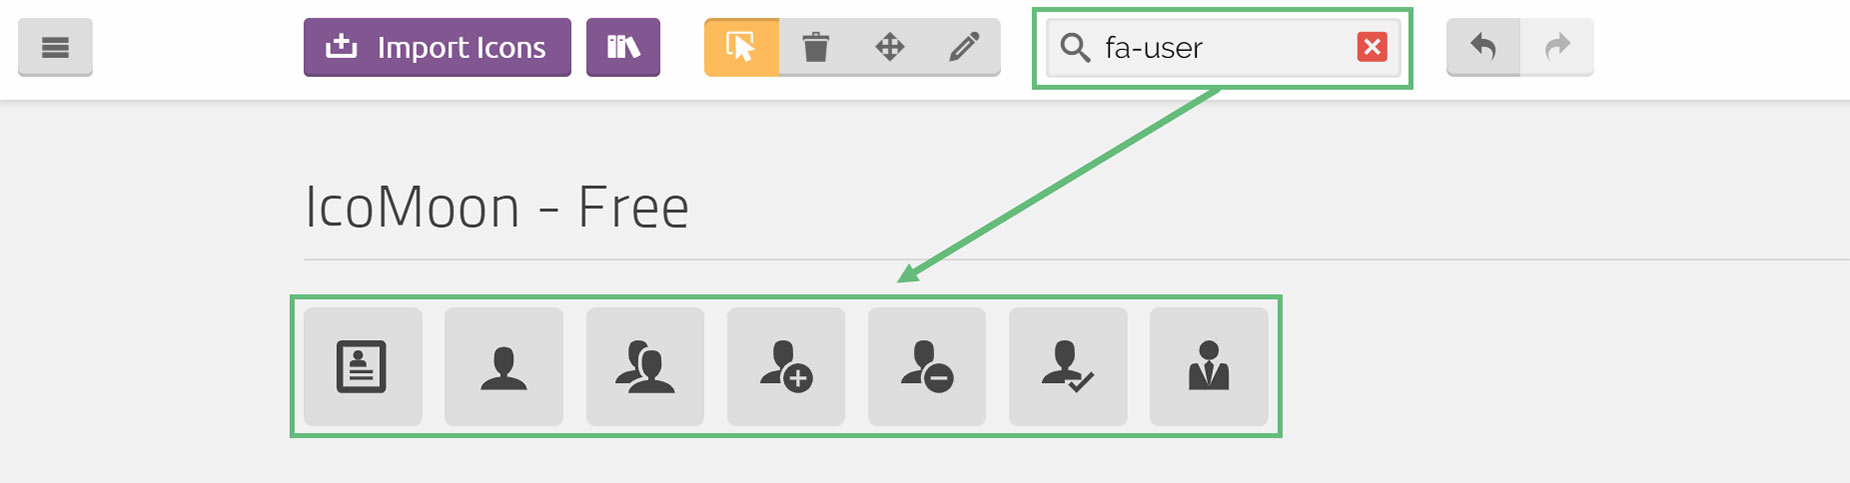
Whether you need to search, or can just recognize the icons you have used visually, you just need to go through and select the icons you need for your custom set. Once you have selected all the icons you need, you can go to the Generate Font button, as previously.
Upload Your Custom Icon Set
Once you have generated and downloaded your custom font set, you now need to upload it to your website.
Back on the Edit Icon Set page, you will find a simple upload interface to upload your custom icon set. (There is also a shortcut to this page in any element that has the Icon Picker. Here you will find a Plus button in the top right corner of the Icon Picker, which takes you straight to the Custom Icon page.)
To upload a Custom Icon Set, simply give the Set a name, and then click on the Select File button. Navigate to your icon set (as a zip file) and select it.
Then just click Publish in the right hand side. This will load the Custom Icon set. If you need to update the set later on, there is an Update Custom Icon Set button you can use to reupload the set, as seen below. The icons will now be available through the Icon Picker, in their own tab.
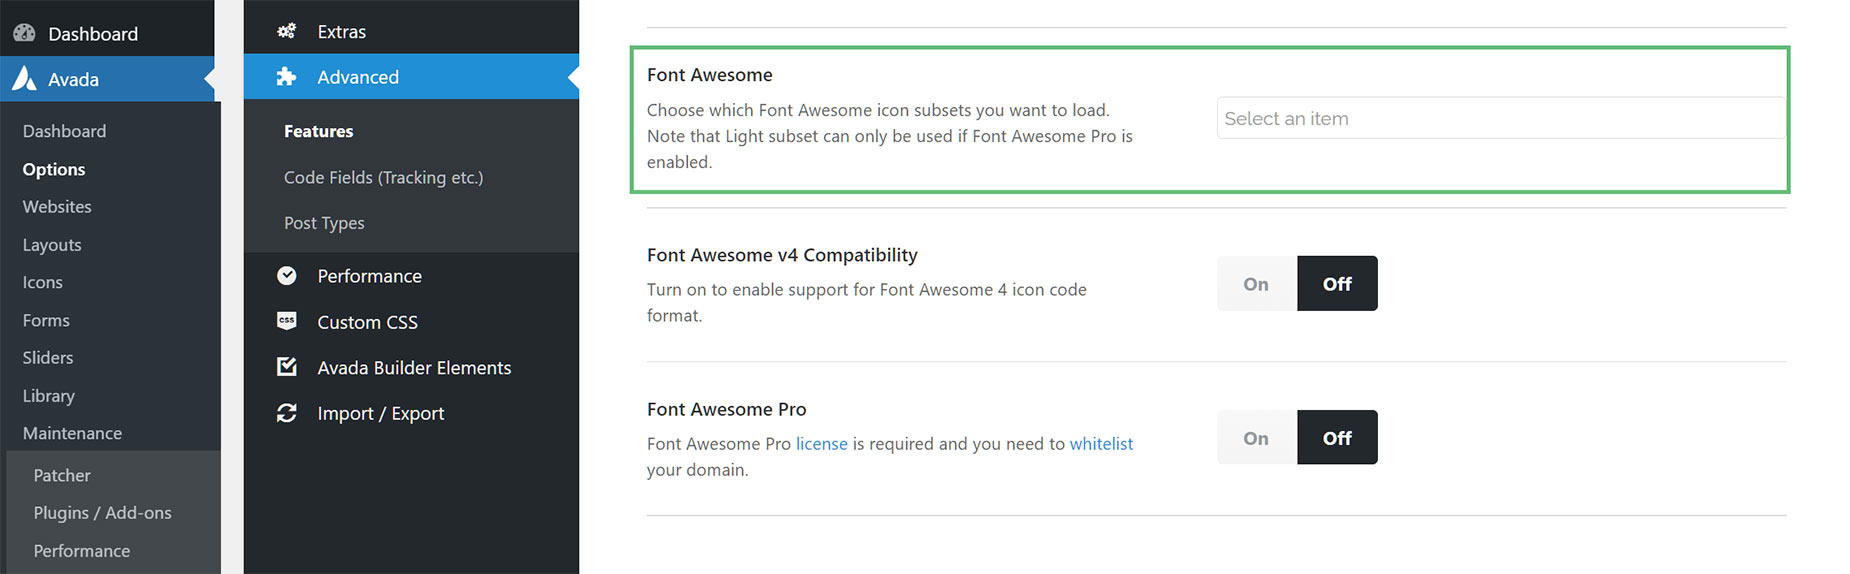
OK, that’s it. You can now return to the Global Options (Advanced > Features) and disable the Font Awesome Icon subsets. As you have a Custom Icon Set, these are now not needed.
To use your new Custom icon Set, head to any element that uses an icon, including the Icon Element. There, you will see any custom icon sets at the top of the icon picker, and you can now just choose the set and select icons from that.


