Custom Fonts
Last Update: May 20, 2026
Typography options abound when using Avada. You can use standard and system font families, select from hundreds of Google Fonts, or use Adobe Fonts (TypeKit). If that’s not enough, you can even upload custom fonts to use anywhere on your site. Read below to find out more about uploading custom fonts.
How To Upload A Custom Font
You can assign custom fonts to any area of the site that has a font-family option. To learn how to upload and use custom fonts, please continue reading below.

How To Apply Custom Fonts
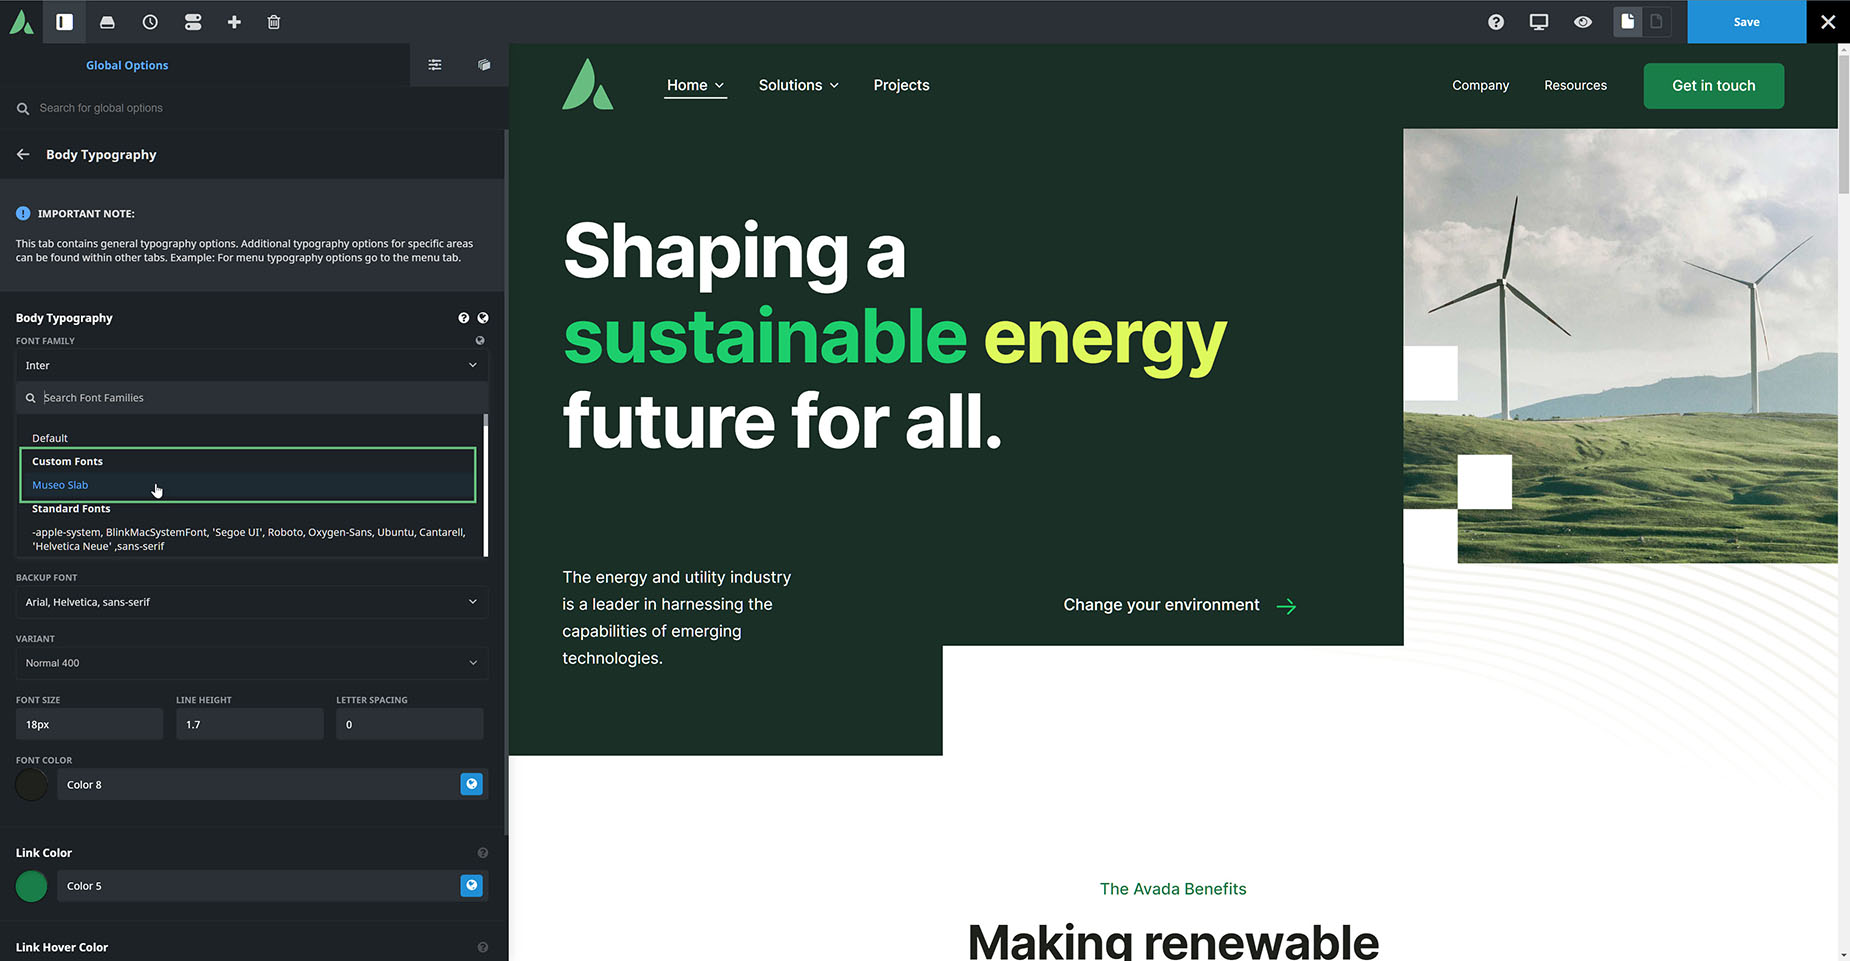
Anywhere you can apply fonts, you will now see an option to select custom fonts. In the example below, we are in the global body typography options. Still, you might be adding it to the global Headings Typography, a global Typography set, or used individually in the Avada Title Element, the Avada Text Path Element, or the Avada Text Block Element. Once you have uploaded your custom font sets, they are available across the board.
How To Add Adobe (TypeKit) Fonts
You can now also integrate Adobe Fonts (TypeKit) into your Avada website. Please see the TypeKit Integration With Avada help file, linked below, for full details on how to do this.


