Adding Your Own Avada Form Actions: How to Create a Login Form
Last Update: October 29, 2025
Logging in to a website has become a ubiqutous action on the Internet, and there are many different types of logins and places to log in from. Of course, there is the WordPress login page, which you can cusomize using the Avada Custom Branding plugin. You can also use the Avada User Login Element on a page or in an Off Canvas for users to login, as perhaps customers in an ecommerce situation, or as a member etc.
But in this document, we will look at how to create your own login form in Avada Forms. The advantages of using a form to log in are a greater level of control and increased flexibility, in that you can style the form as you wish and add any other content to it. The example here is a log in form, but using the same approach, you could easily add other actions to your form.
Step 1: Create and Populate the Form

Step 2: Add the Custom Action
The next step is to add some code to enable a custom form action. The code for this needs to be added to your Avada Child Theme. If you haven’t installed a Child Theme, see the How To Set Up A Child Theme With Avada doc for full instructions on that.
The easiest way to do this is to add the code below to your functions.php file. You can access the functions.php file from Appearance > Theme File Editor. It is also possible to create a plugin to cover this.
The above code adds a new action to the Form Page Options called Log In, with a callback of my_login_action. In this way, many other actions could be added to a form.
Next, lets add the callback code:
The code above is an example of a custom form action callback handler, in this case for handling a log in request. Pay close attention to the naming. Notice that $data[‘data’][‘user_login’] references our form field with the field name user_login.
The code ensures that the form data has been passed on, and if it has, it passes the details to the native WordPress wp_signon function (see https://developer.wordpress.org/reference/functions/wp_signon/). If that results in an error, it returns the error message and the status of error. If it passes, it returns a success.
Step 3: Select The Action on the Form


Step 4: Test the Form
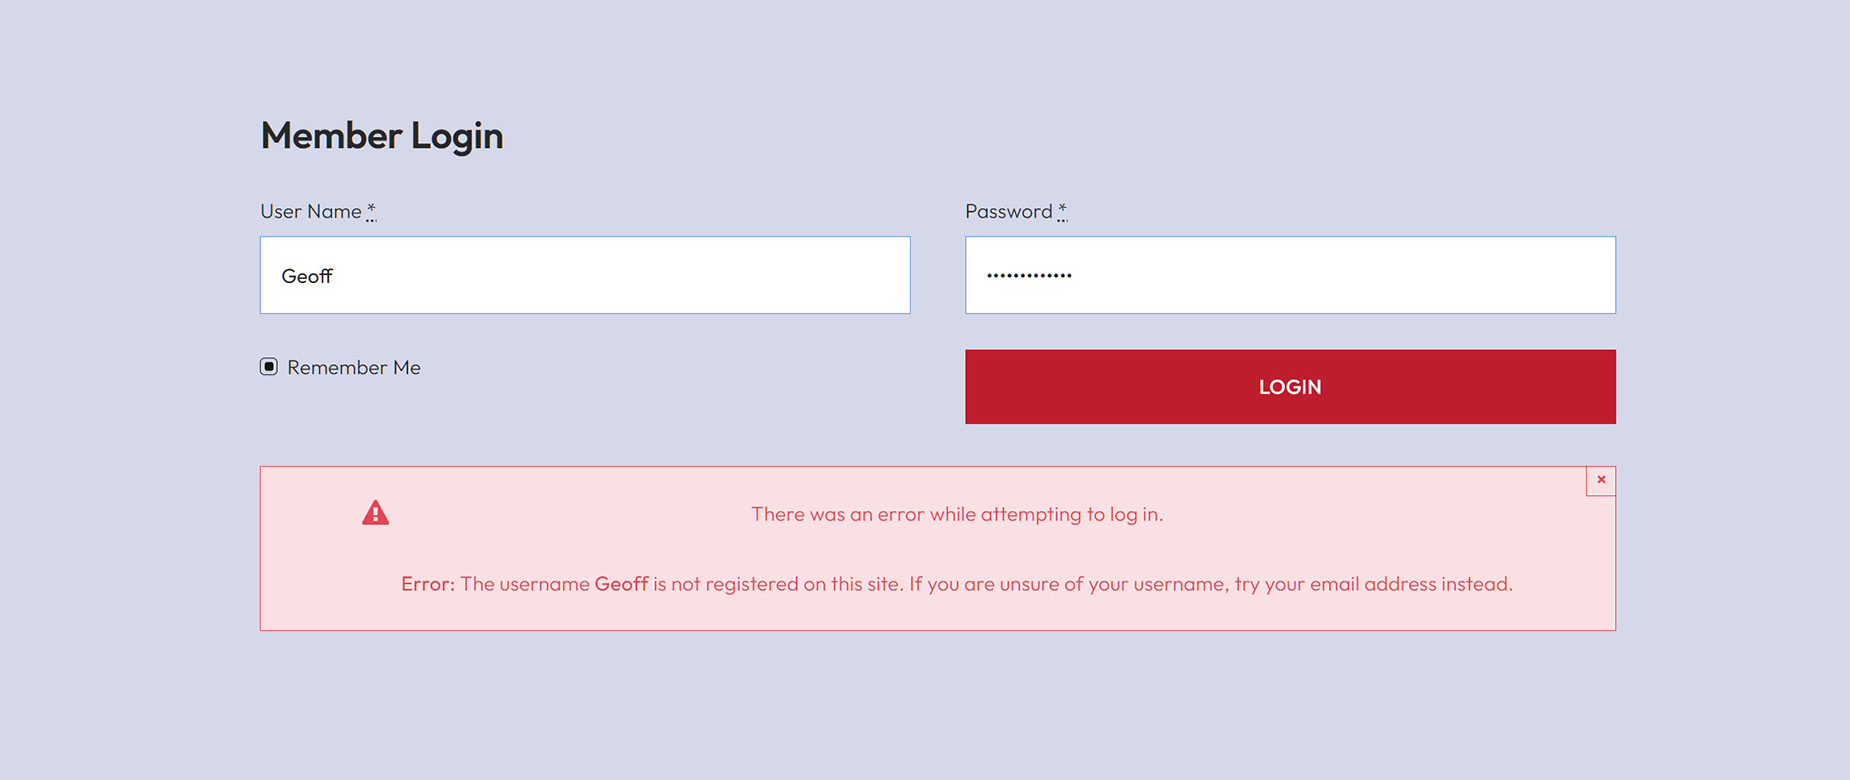
That’s it. Save the form and add it, via the Avada Form Element, to a page, and test. A failed login will display the Notice you added earlier, while a sucessful submission will log the user in and redirect to the URL you added earlier in Step 3. You can see an example of the error handling below.


