Adding Footer Widgets
Last Update: August 11, 2024
When constructing a footer using the Global Options method, the footer is a widgetized area that can display widgets in 1-6 columns. Widgets add various content or features to your site. They can be added, removed, and rearranged in the Appearance > Widgets tab on your WordPress admin panel.
You can also add the Widget Element or Widget Area Element directly to Footers built in Avada Layouts. For more details on how to create a custom Footer Layout, see the How To Build A Custom Footer doc.
How To Add Widgets To The Footer
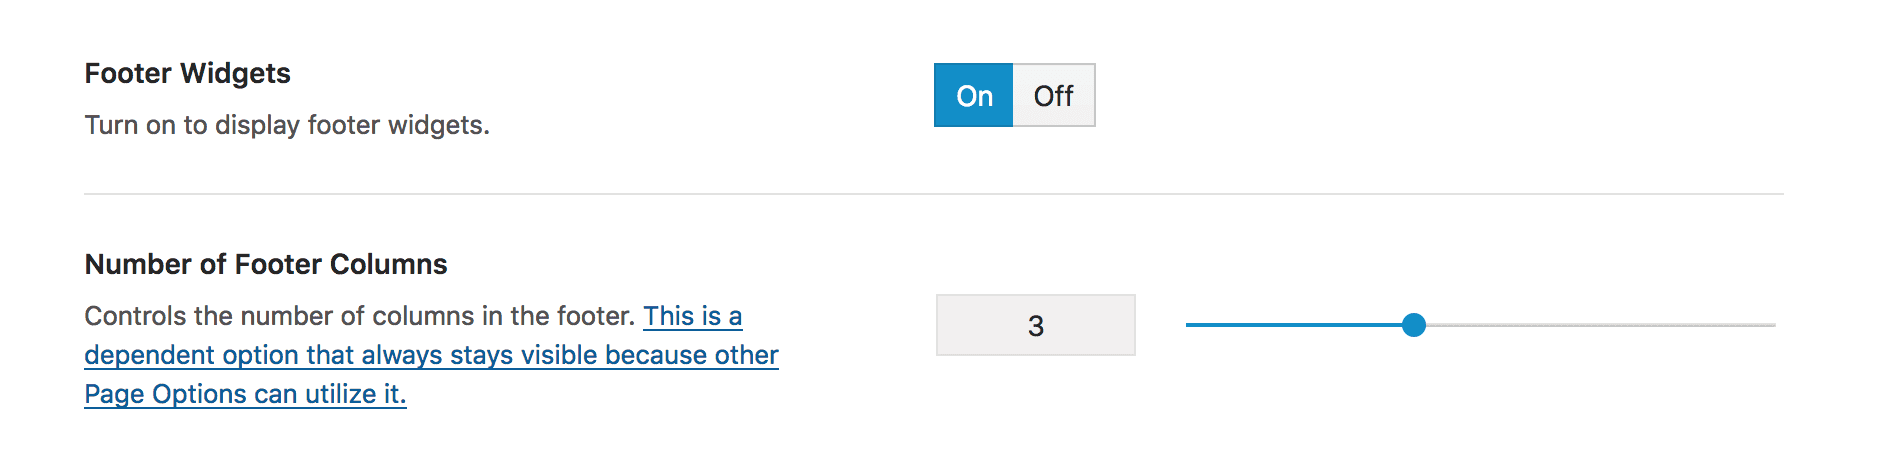
Step 1 – First, make sure that you’ve enabled footer widgets on your site. To do this, navigate to the Appearance > Options > Footer panel and ensure the ‘Footer Widgets’ option is set to On. Choose how many columns (1-6) you need to display with the ‘Number Of Footer Columns’ option.
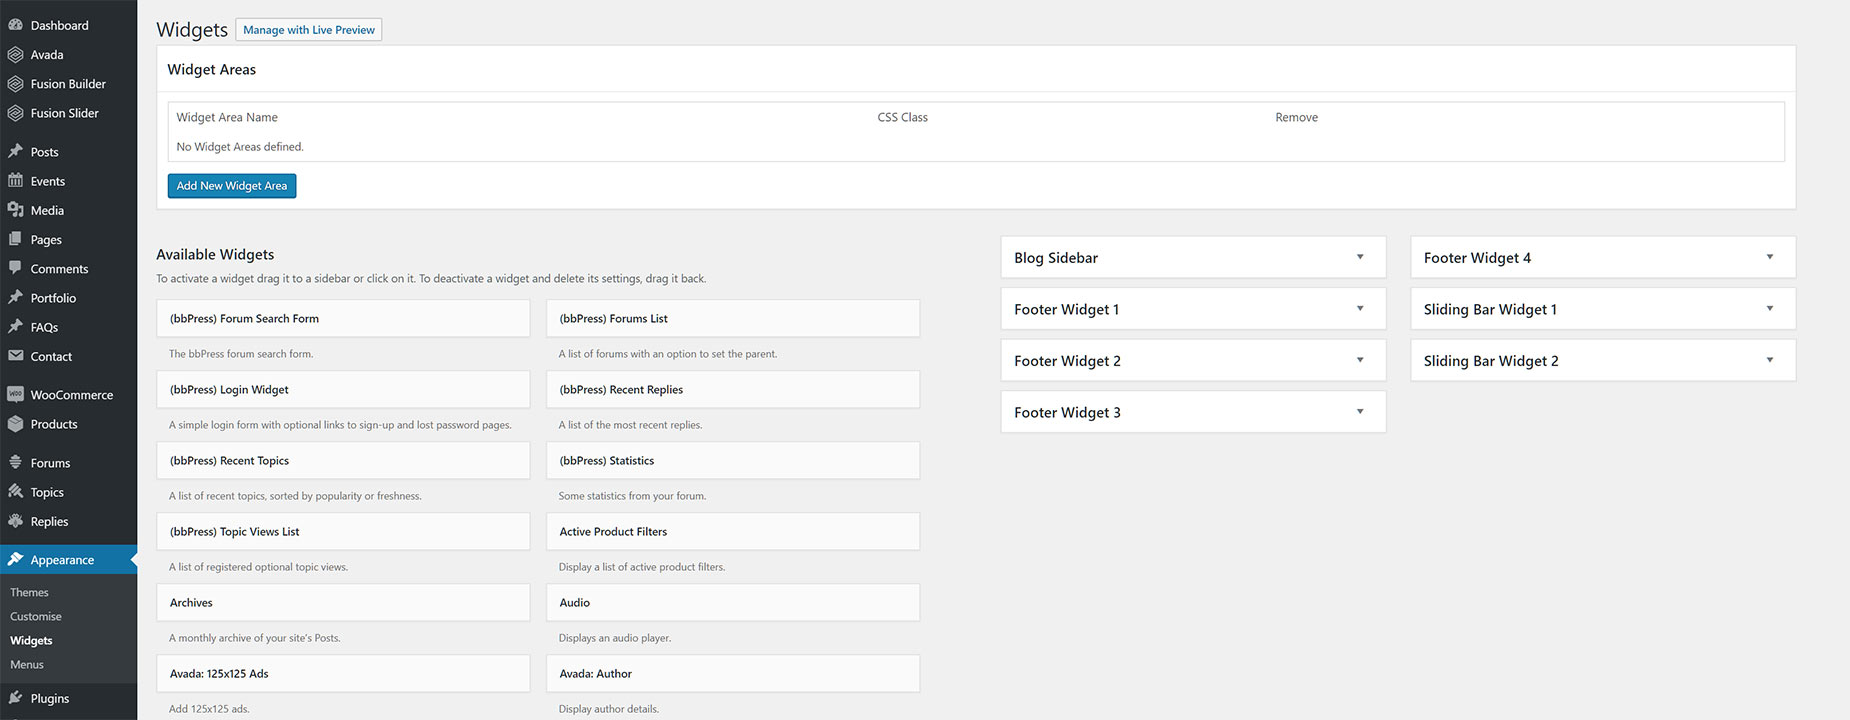
Step 2 – Once you’ve enabled footer widgets, navigate to Appearance > Widgets to access the widgets and footer widget areas.
Step 3 – You will see a ‘Footer Widget X’ area on the right hand side for matching the number footer columns (1-6) selected in the Avada Global Options.
Step 4 – On the left hand side are your widgets, simply drag and drop the widgets you want from the left side into the ‘Footer Widget’ areas on the right side.