Share
Failing to optimize your images for WordPress is a potential recipe for disaster in terms of user engagement, search listings, and bottom-line revenue. Image optimization is a pretty simple thing to get right and one of the quickest shortcuts you can take to transform a good site into a great site.
In this post, we’ll take a comprehensive look at everything you need to know to take your content to the next level by optimizing your WordPress images like a pro. Let’s get going!
Overview
- Overview
- Do I Really Need to Optimize My Images?
- What Do I Need to Know About Images for the Web?
- Should I Consider Cropping?
- Do I Need to Resize My Images?
- What Do I Need to Be Retina Ready?
- How Do I Compress My Images?
- How Do I Optimize My Images for SEO?
- How Do I Optimize Beyond WordPress?
- How Do I Avoid Re-Inventing the Wheel?
Do I Really Need to Optimize My Images?
Back in the mists of Internet time, everyone was on dial-up, and connection speeds came in one flavor: slow. Image optimization was naturally at the top of any developer’s to-do list in those days. However, fast forward a few years through the broadband revolution, and people happily stream the Superbowl live on their smartphones.
With that in mind, do we really still need to worry about a few kilobytes here or there with images? Let’s look at three critical reasons why the answer is an emphatic yes.
Page Load Times Matter to Users
Recent research from the HTTP Archive suggests that images, along with Javascript bloat, are the main culprits in average page sizes now weighing in at a hefty 1.25MB. So what, you might ask? Well, 73% of mobile internet users report recently coming across a website that they found too slow to load. It gets worse. In the same report, fully half of web users say they expect a website to load within two seconds. Meanwhile, the average page on a mobile device loads in seven seconds.
The conclusion is simple: First impressions count. Clog up your site with unnecessarily large images, and you risk antagonizing your visitors straight out of the gate.
Image Bloat Puts Search Engine Rankings at Risk
As far back as 2010, Google officially announced that site speed is a ranking factor. Their stated aim is that your page should load in one second or less when possible. The verdict is very much in an excessively slow page will hurt your search engine rankings.
Slow Pages Equal Lost Revenue
If you combine user dissatisfaction with plummeting organic rankings, you have a recipe for financial ruin. According to a Cloudflare report, a one-second delay in page load time translates into a 7% loss in conversions for most sites. Can you really afford to leave up to 10% or more of revenue on the table? The need for optimization is clear. But before we dive into the nitty-gritty, let’s take a quick refresher on images for the web.
What Do I Need to Know About Images for the Web?
Web images can broken into two categories: vector and raster. Vector images are mathematically generated, resolution-independent, and scalable to any size without losing quality. They’re perfect for illustrated elements such as backgrounds or logos; their file sizes are typically tiny.
After years of wrangling, modern browser support for Scalable Vector Graphics (SVGs) is finally nearly implemented across the board and, from the optimization point of view, they arrive pretty much perfect out of the box.

On the other hand, we need to do a little more work on the fixed pixel dimensions of raster images. Let’s have a quick look at the three standard formats.
GIFs
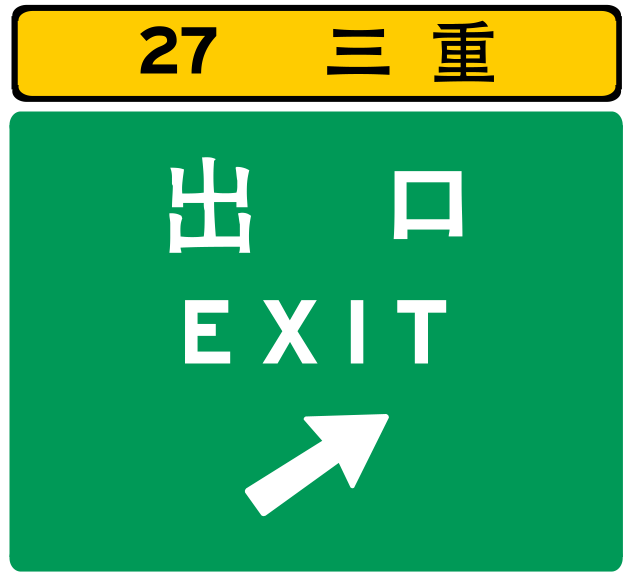
The workhorse of the early web due to their small size, suitability for text and simple graphics (as shown in the Taiwanese freeway sign below), and support for transparency. These have made a comeback of late in the recent craze for animated GIFs.
JPEGs
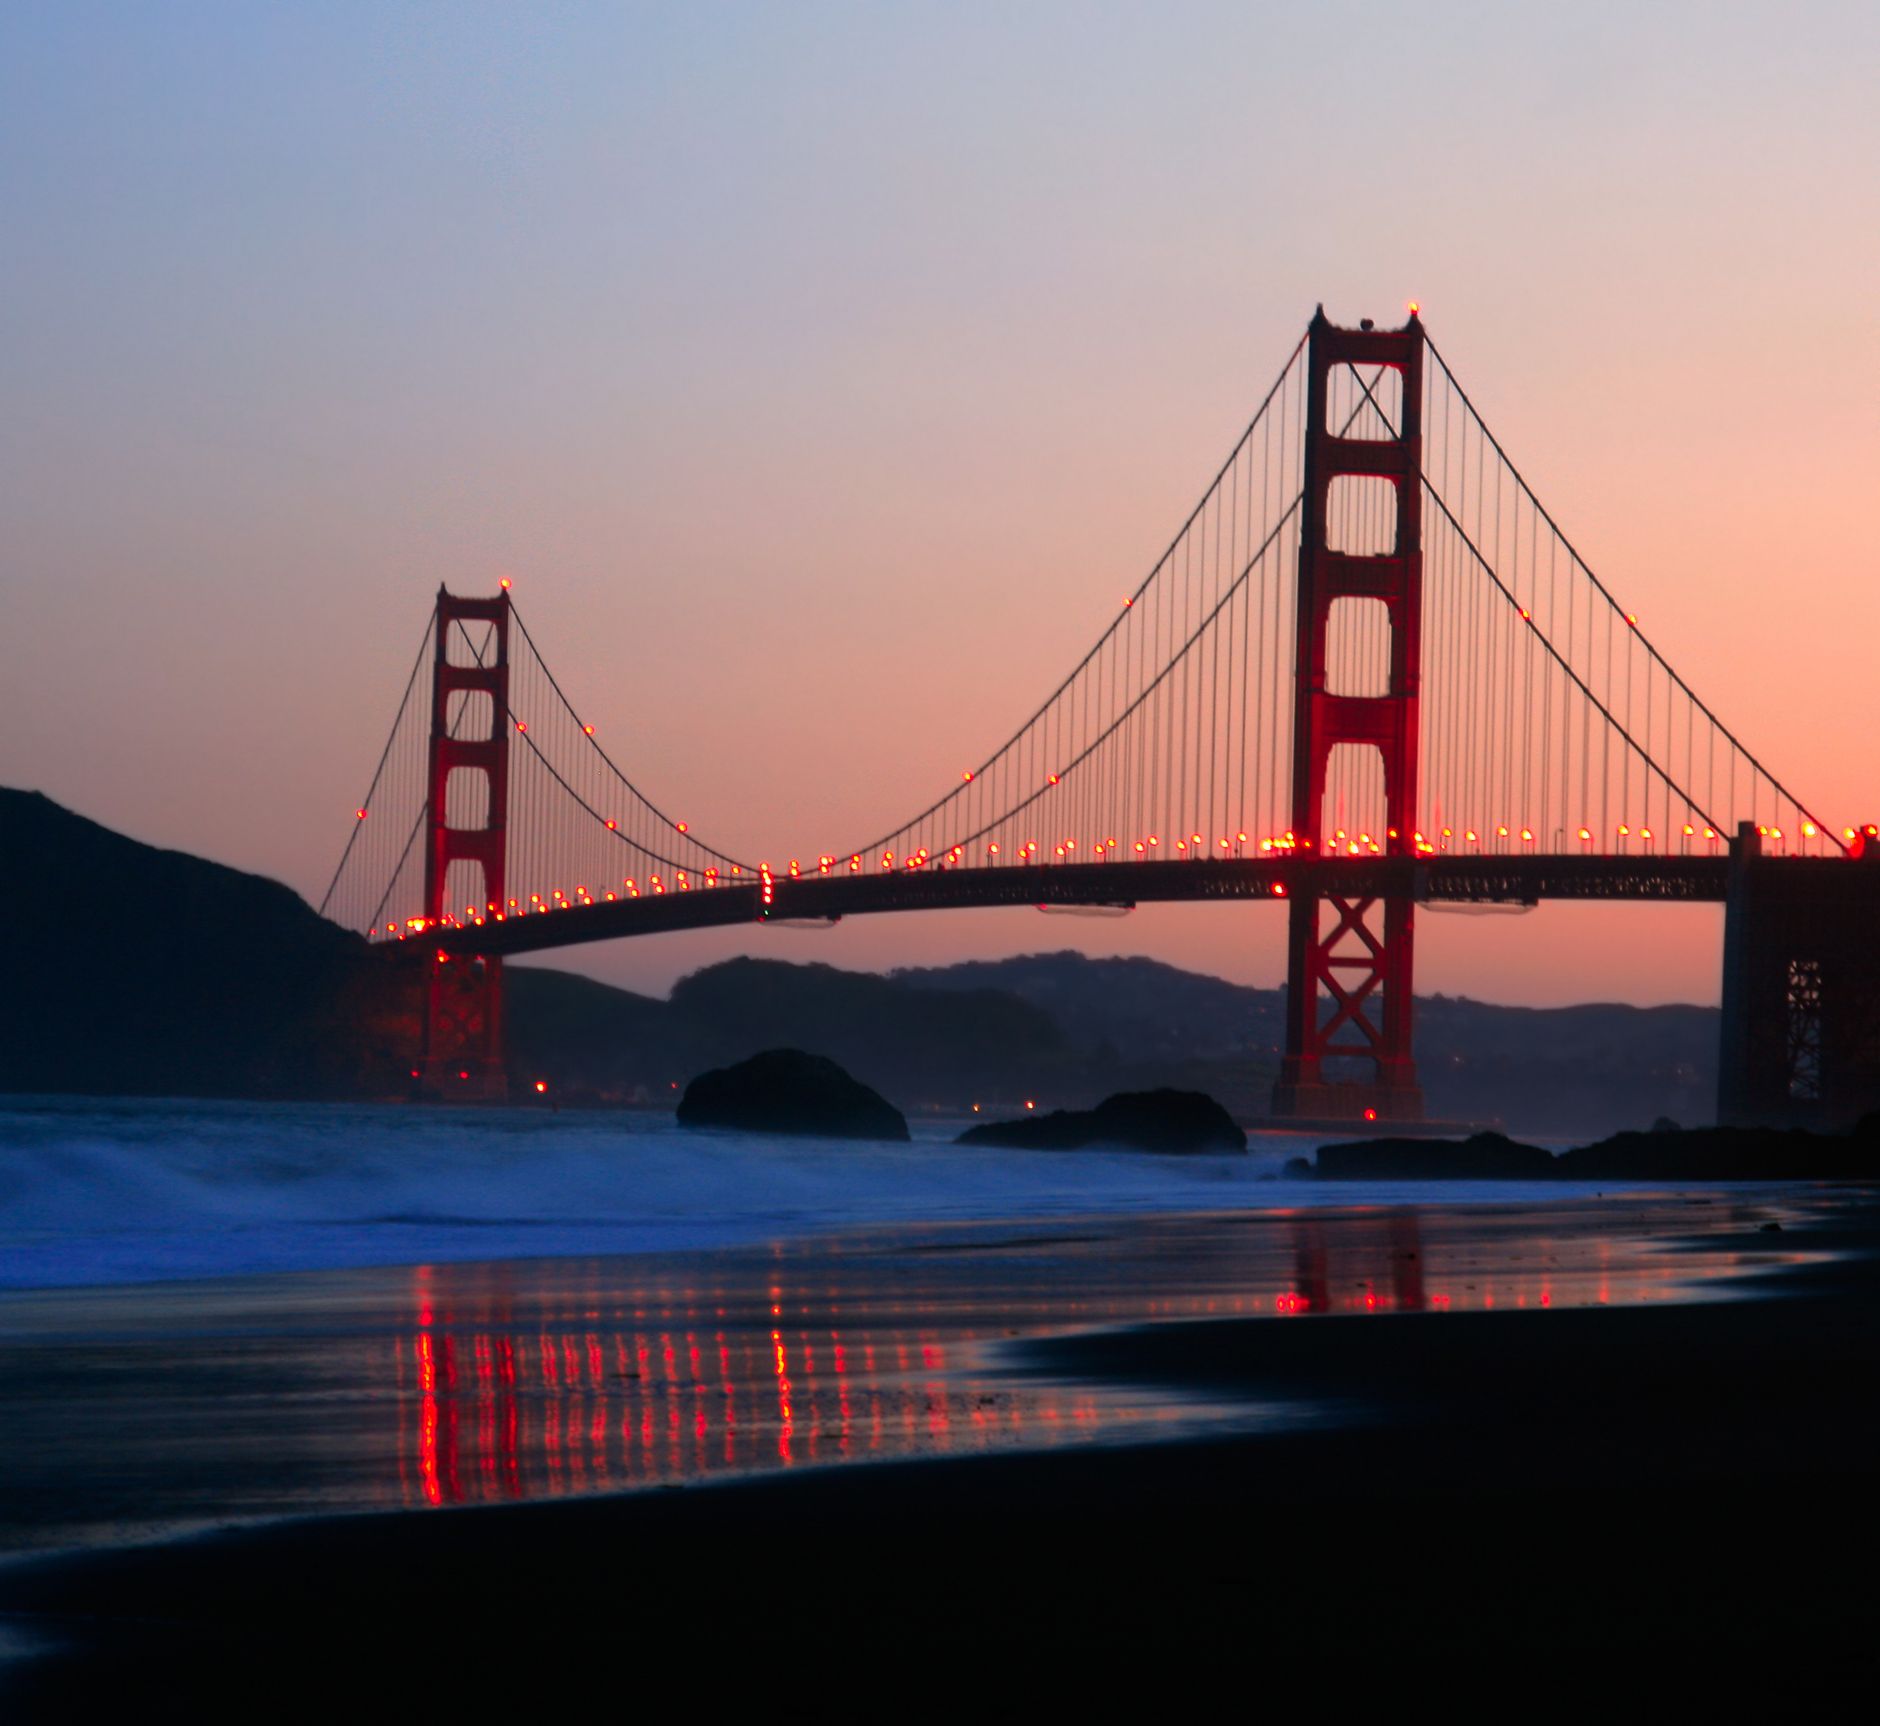
Long the universal standard for online photos, JPEGs compress superbly but are let down by a lack of transparency support. The twilight shot from Baker Beach below shows their suitability for gradient-heavy images with a wide range of colors.
PNGs
Offer lossless compression, excellent image quality, and support for transparency, as shown in the baseball image below. The downside is the larger file sizes that result.

You can take a deeper dive into the individual raster formats over at Sitepoint’s excellent overview and sneak a peek at the possible future with Google’s WebP project.
Should I Consider Cropping?
The answer is almost certainly yes. Trimming the visual fat kills two birds with one stone: your images will pack a more visual punch, and the file size will come down. Looking for inspiration? There’s a great tutorial over at The Next Web to get you started creatively filling the frame.
Do I Need to Resize My Images?
The default images produced by modern digital cameras are far larger than anything you need for WordPress. Depending on your device’s quality settings, they could be as huge as 7360 x 4912 pixels and well over 30MB. Further resizing of these images for the web is essential.
You’ll need a decent tool to do this, of course, and for many years, that effectively meant only one thing: Photoshop. It’s more affordable than ever these days with Adobe’s Creative Cloud packages, but an impressive range of online and offline alternatives have also emerged over recent years.
For offline use, consider Pixelmator Pro on the Mac or IrfanView on Windows. You can even use the default Preview and Paint programs for Mac and PC. Gimp also provides a free, cross-platform, open-source alternative if you can stomach the learning curve, and online options like Pixlr and befunkey are also worth a look. Here’s a simple checklist for resizing images:
What Do I Need to Be Retina Ready?
There’s no putting the Retina Display genie back in the bottle. 300dpi devices are here to stay, and their percentage of site traffic will only increase. So, you must adjust accordingly unless you want your carefully chosen images to look choppy and pixelated on newer devices. (Not sure what retina means? Take this useful primer.)
Check out the example below from the good folks over at the Jetpack blog for a graphic example:

The current best practice is to output two versions of your images: one at your base pixel size requirement and a 2X version for the retina. For example, a 300px x 300px JPEG would also be output at 600px x 600px.
When it comes to choosing which version is displayed on your WordPress site, you can either roll your solution using Retina.js or use a leading WordPress plugin to do the heavy lifting, WP Retina 2x.
How Do I Compress My Images?
So, you’ve prepped your images and factored in display requirements across various devices. It’s a good start in terms of optimization, but compression is often the step where the biggest gains are made. Compression is the process of algorithmically eliminating image information that the human eye (hopefully) cannot detect. If done correctly, you can expect to decrease your image sizes dramatically. In short, it’s well worth doing.
In contrast to PNGs, JPEGs use “lossy” compression, which means there is more room for savings, but you’ll have to check the results carefully for unwanted visual artifacts post-compression, as shown in the heavily compressed detail of our earlier Baker Beach image below. You aim to balance the lowest file size with the highest possible image quality. For a full discussion of the trade-offs involved, check out TechTarget’s excellent image compression overview.

With the offline image editors mentioned earlier, you’ll simply use the built-in Save-as options and tweaking. Consult this article for a detailed breakdown of how to do this in Photoshop. There are also dedicated offline apps on the market specializing in image compression. Check out ImageOptim for Mac or Caesium for Mac and Windows.
We recommend looking at the recent range of dedicated online image compression tools. Leading contenders here include TinyPNG, Compressor.io and Kraken.
How Do I Optimize My Images for SEO?
So far, we’ve concentrated on the “physical” properties of images, but SEO image optimization is arguably equally important to your site’s success. Let’s run through the basics:
For further information, consult Yoast’s excellent guide to optimizing images for SEO.
How Do I Optimize Beyond WordPress?
All this image optimization work is in vain if your site is springing a leak somewhere else in the stack. It’s a huge subject to cover but start with the following:
How Do I Avoid Re-Inventing the Wheel?
Leverage the power of checklists by turning image optimization into a documented, repeatable process that anybody can execute. Your exact requirements will naturally vary, but start with this 5-step outline for your checklist and refine from there:
We hope this article has given you useful pointers for optimizing your WordPress images. It’s a key step to build into your workflow and one of the simplest ways to quickly see improved user engagement, higher search rankings, and an increase in mobile traffic on your site.
Image Credits: Joey Gannon, Yug, Jay8g, Brocken Inaglory, Tage Olsin
