Share
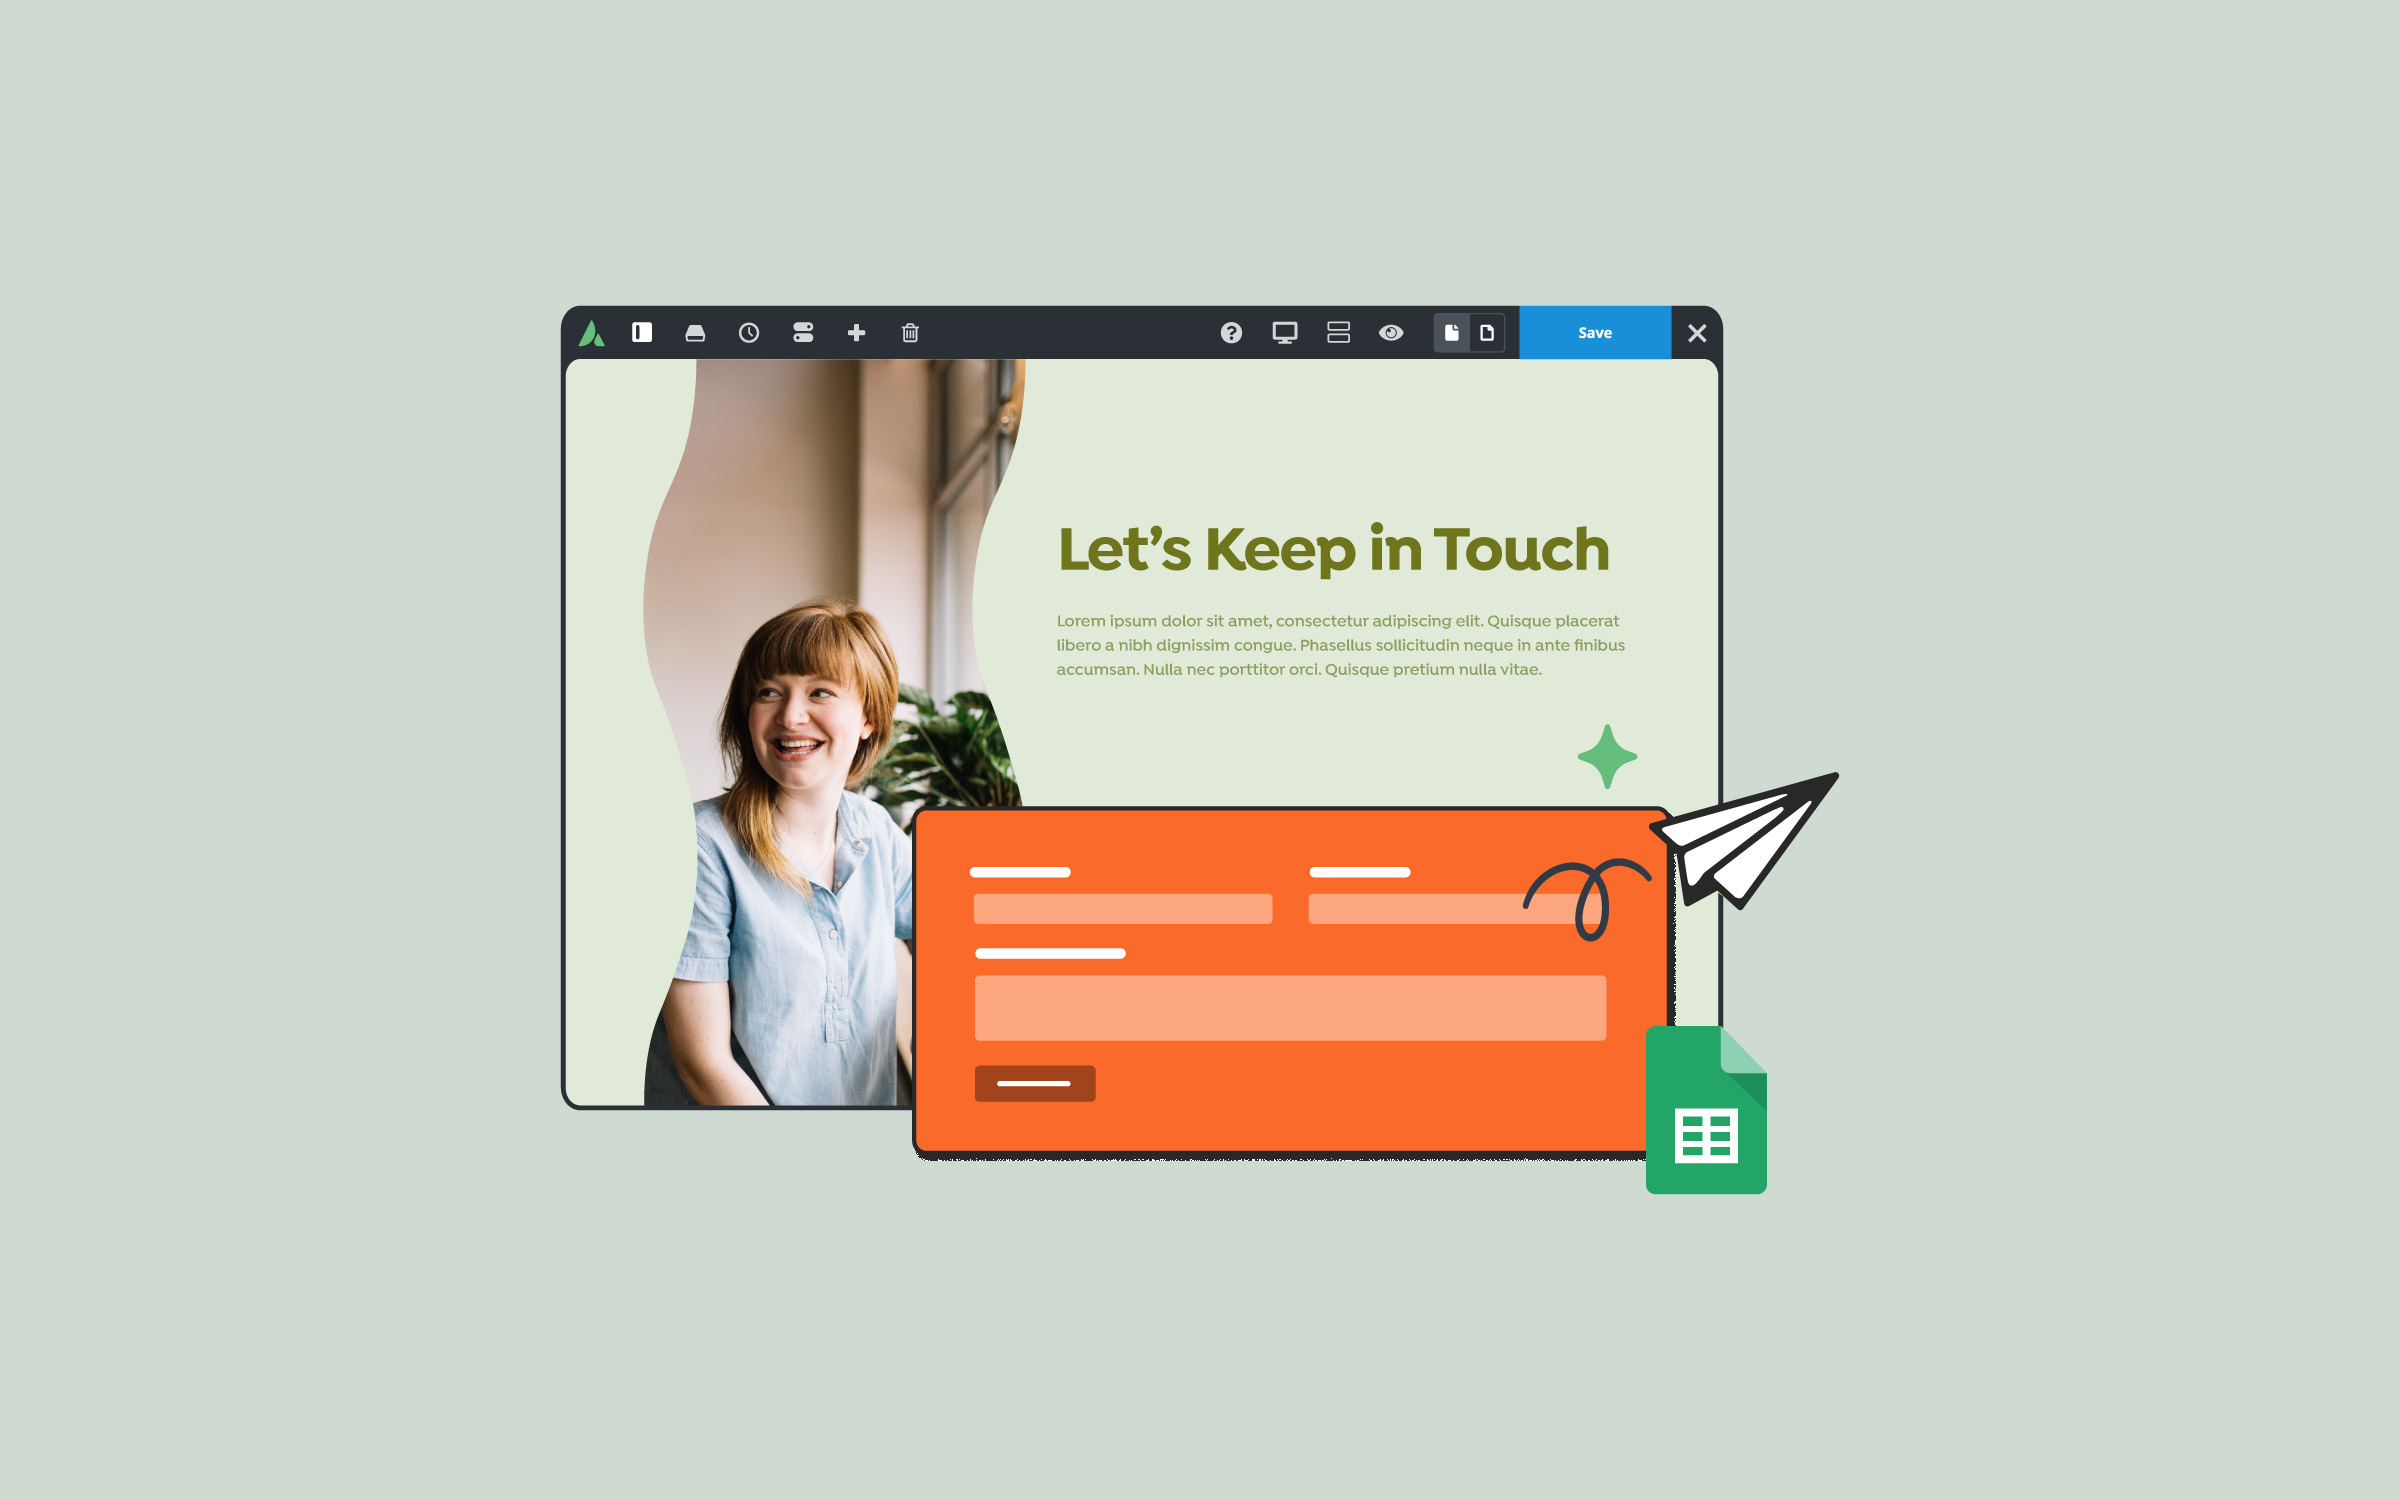
Have you ever filled out a contact form and wondered if it was actually received? Not knowing or even a delayed response on the website’s form can lead to unnecessary additional form submissions. That’s precisely why auto-reply notifications are so helpful — they instantly let people know their submission was received, giving your site a professional touch.
In a previous article, we discussed “How to Use Notifications in Avada Forms”. In this article, I’ll show you how to set up an auto-reply notification for Avada Forms. It only takes a few minutes, and once you’ve done it once, you can use the same setup on any form on your Avada website.
Overview
What Are Form Notifications?
Form notifications are automated emails sent when someone submits a form on your website. They can go to you, your team, or back to the person who filled out the form. Think of them as instant messengers that keep everyone informed.
Not only do notifications confirm to your visitors that their message was received, but they also help you respond faster, stay organized, and build trust right from the first interaction.
There really is not much to it. To get started with setting up a form notification, follow the seven easy steps below.
Step 1. Navigate to the Avada Form Options
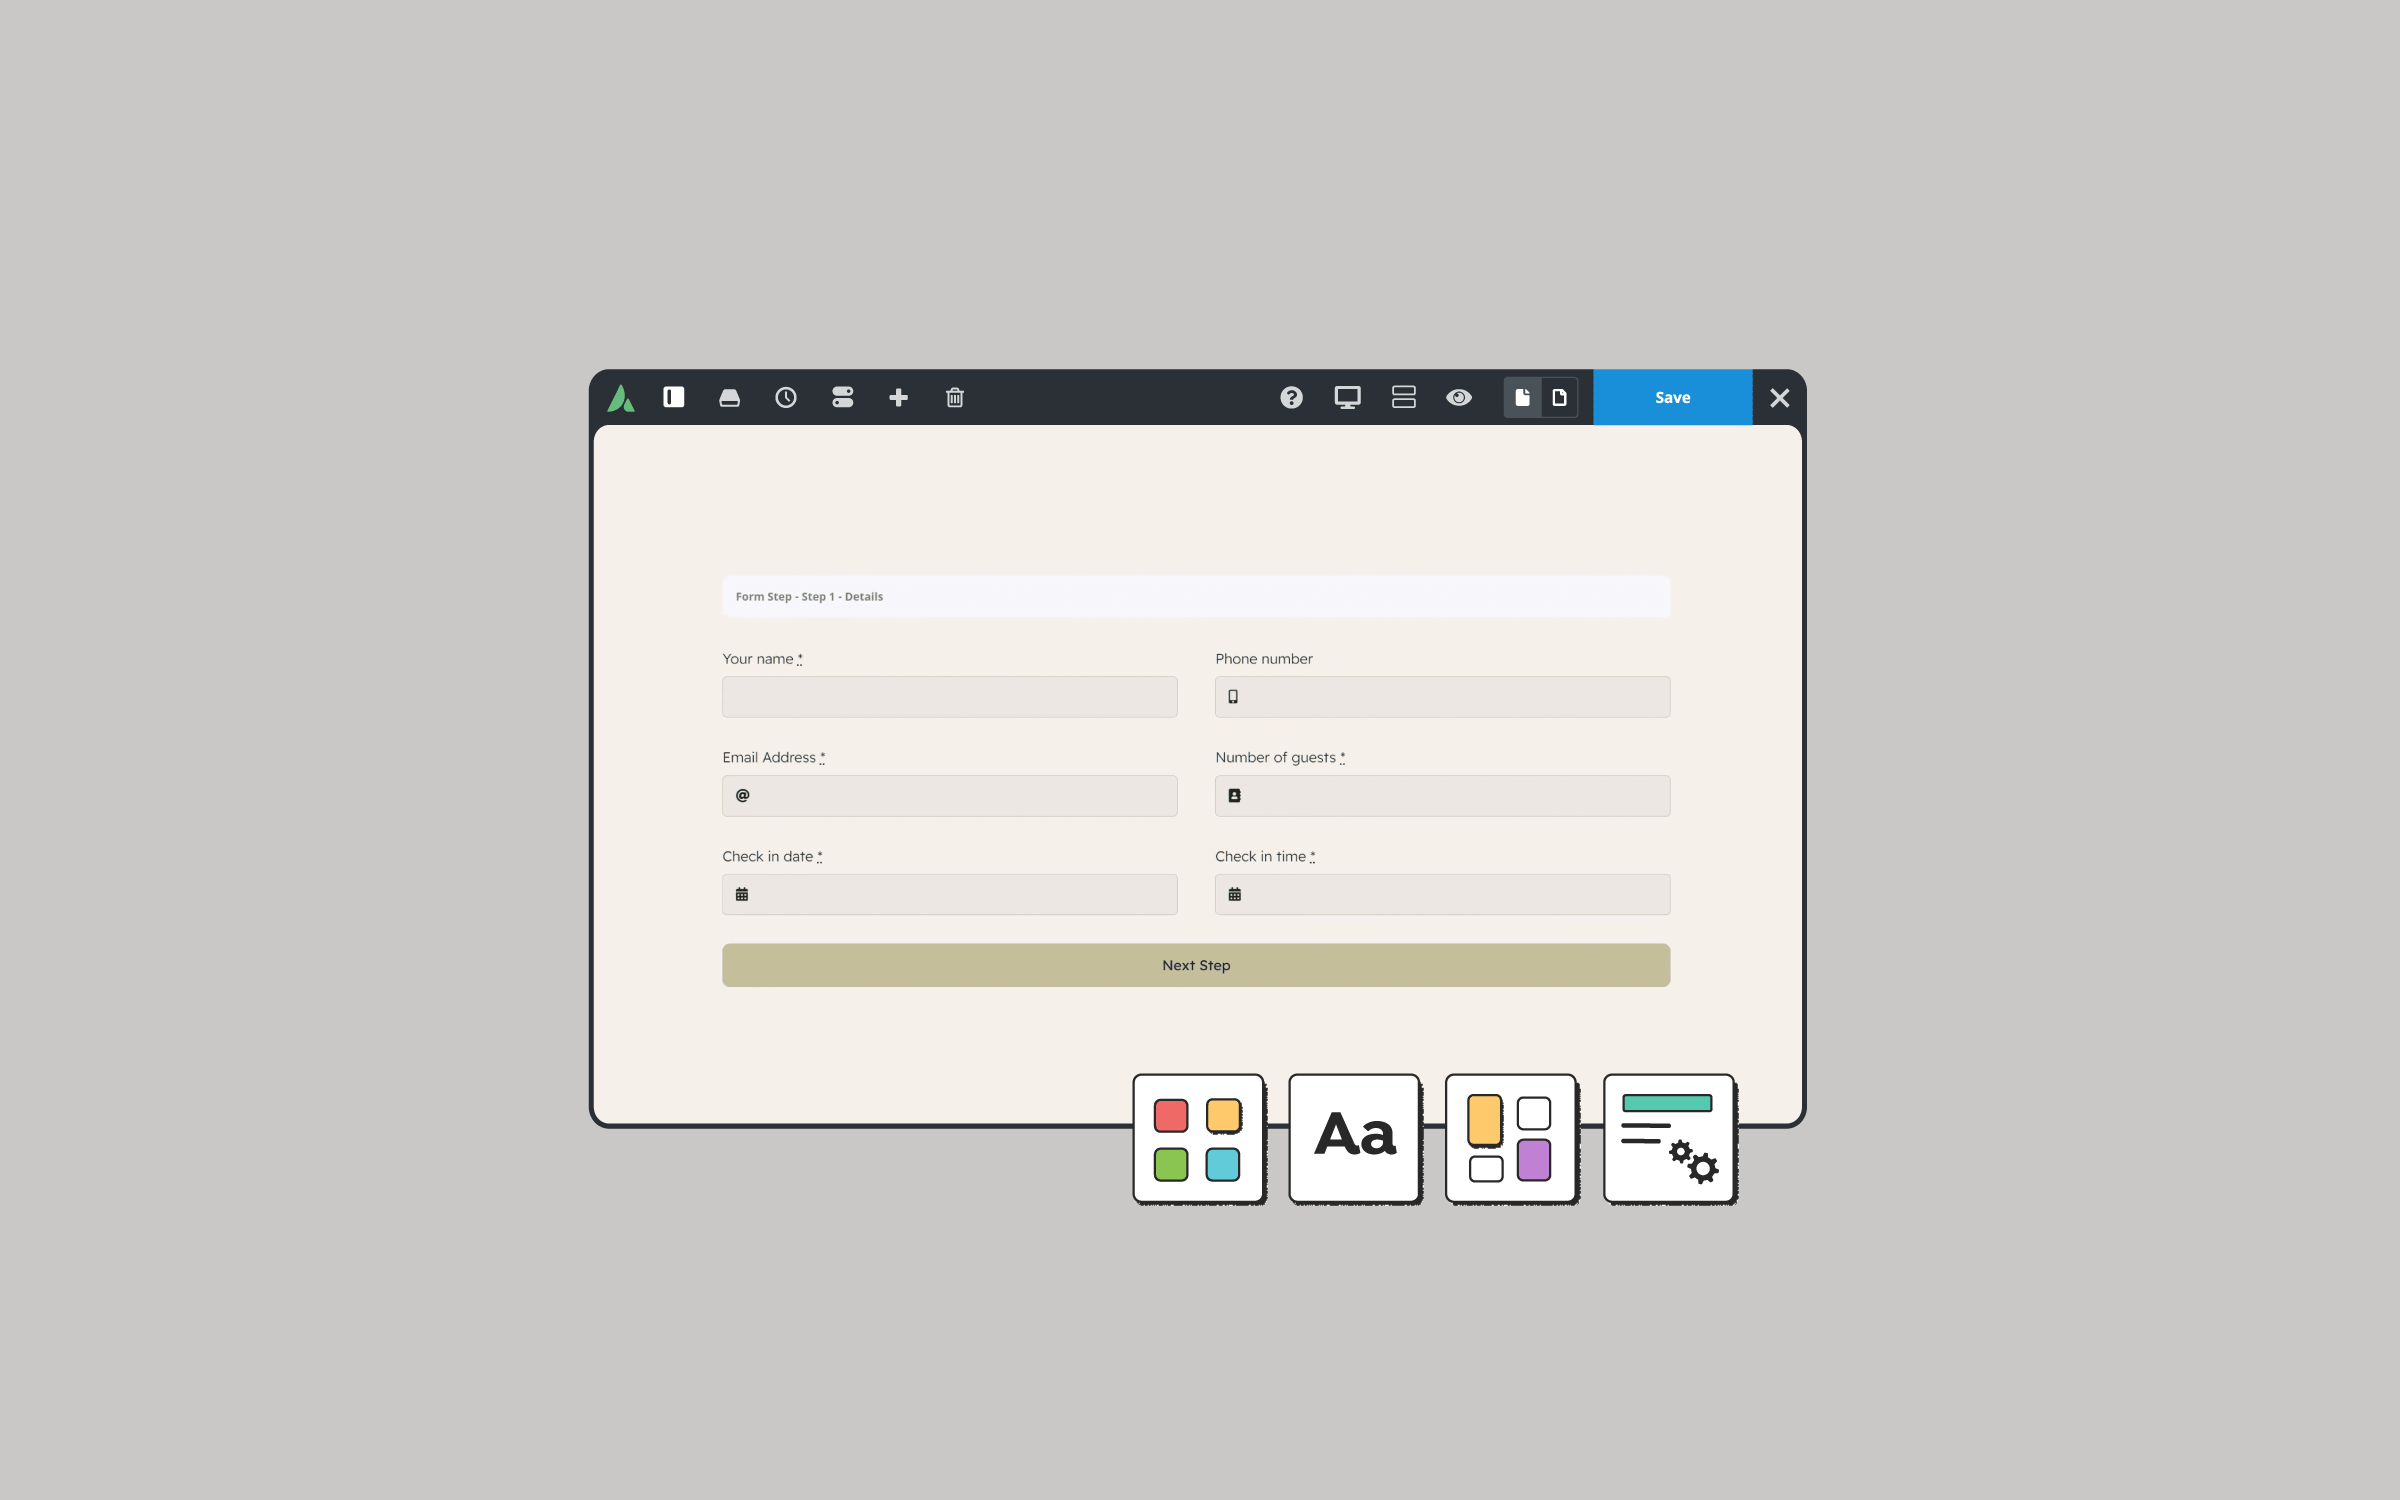
First things first — make sure you already have an Avada Form built using the Avada Form Builder. Suppose you don’t, check out the Avada Forms documentation to learn how to create one or import a prebuilt form from the Avada Studio. Once your form is ready:
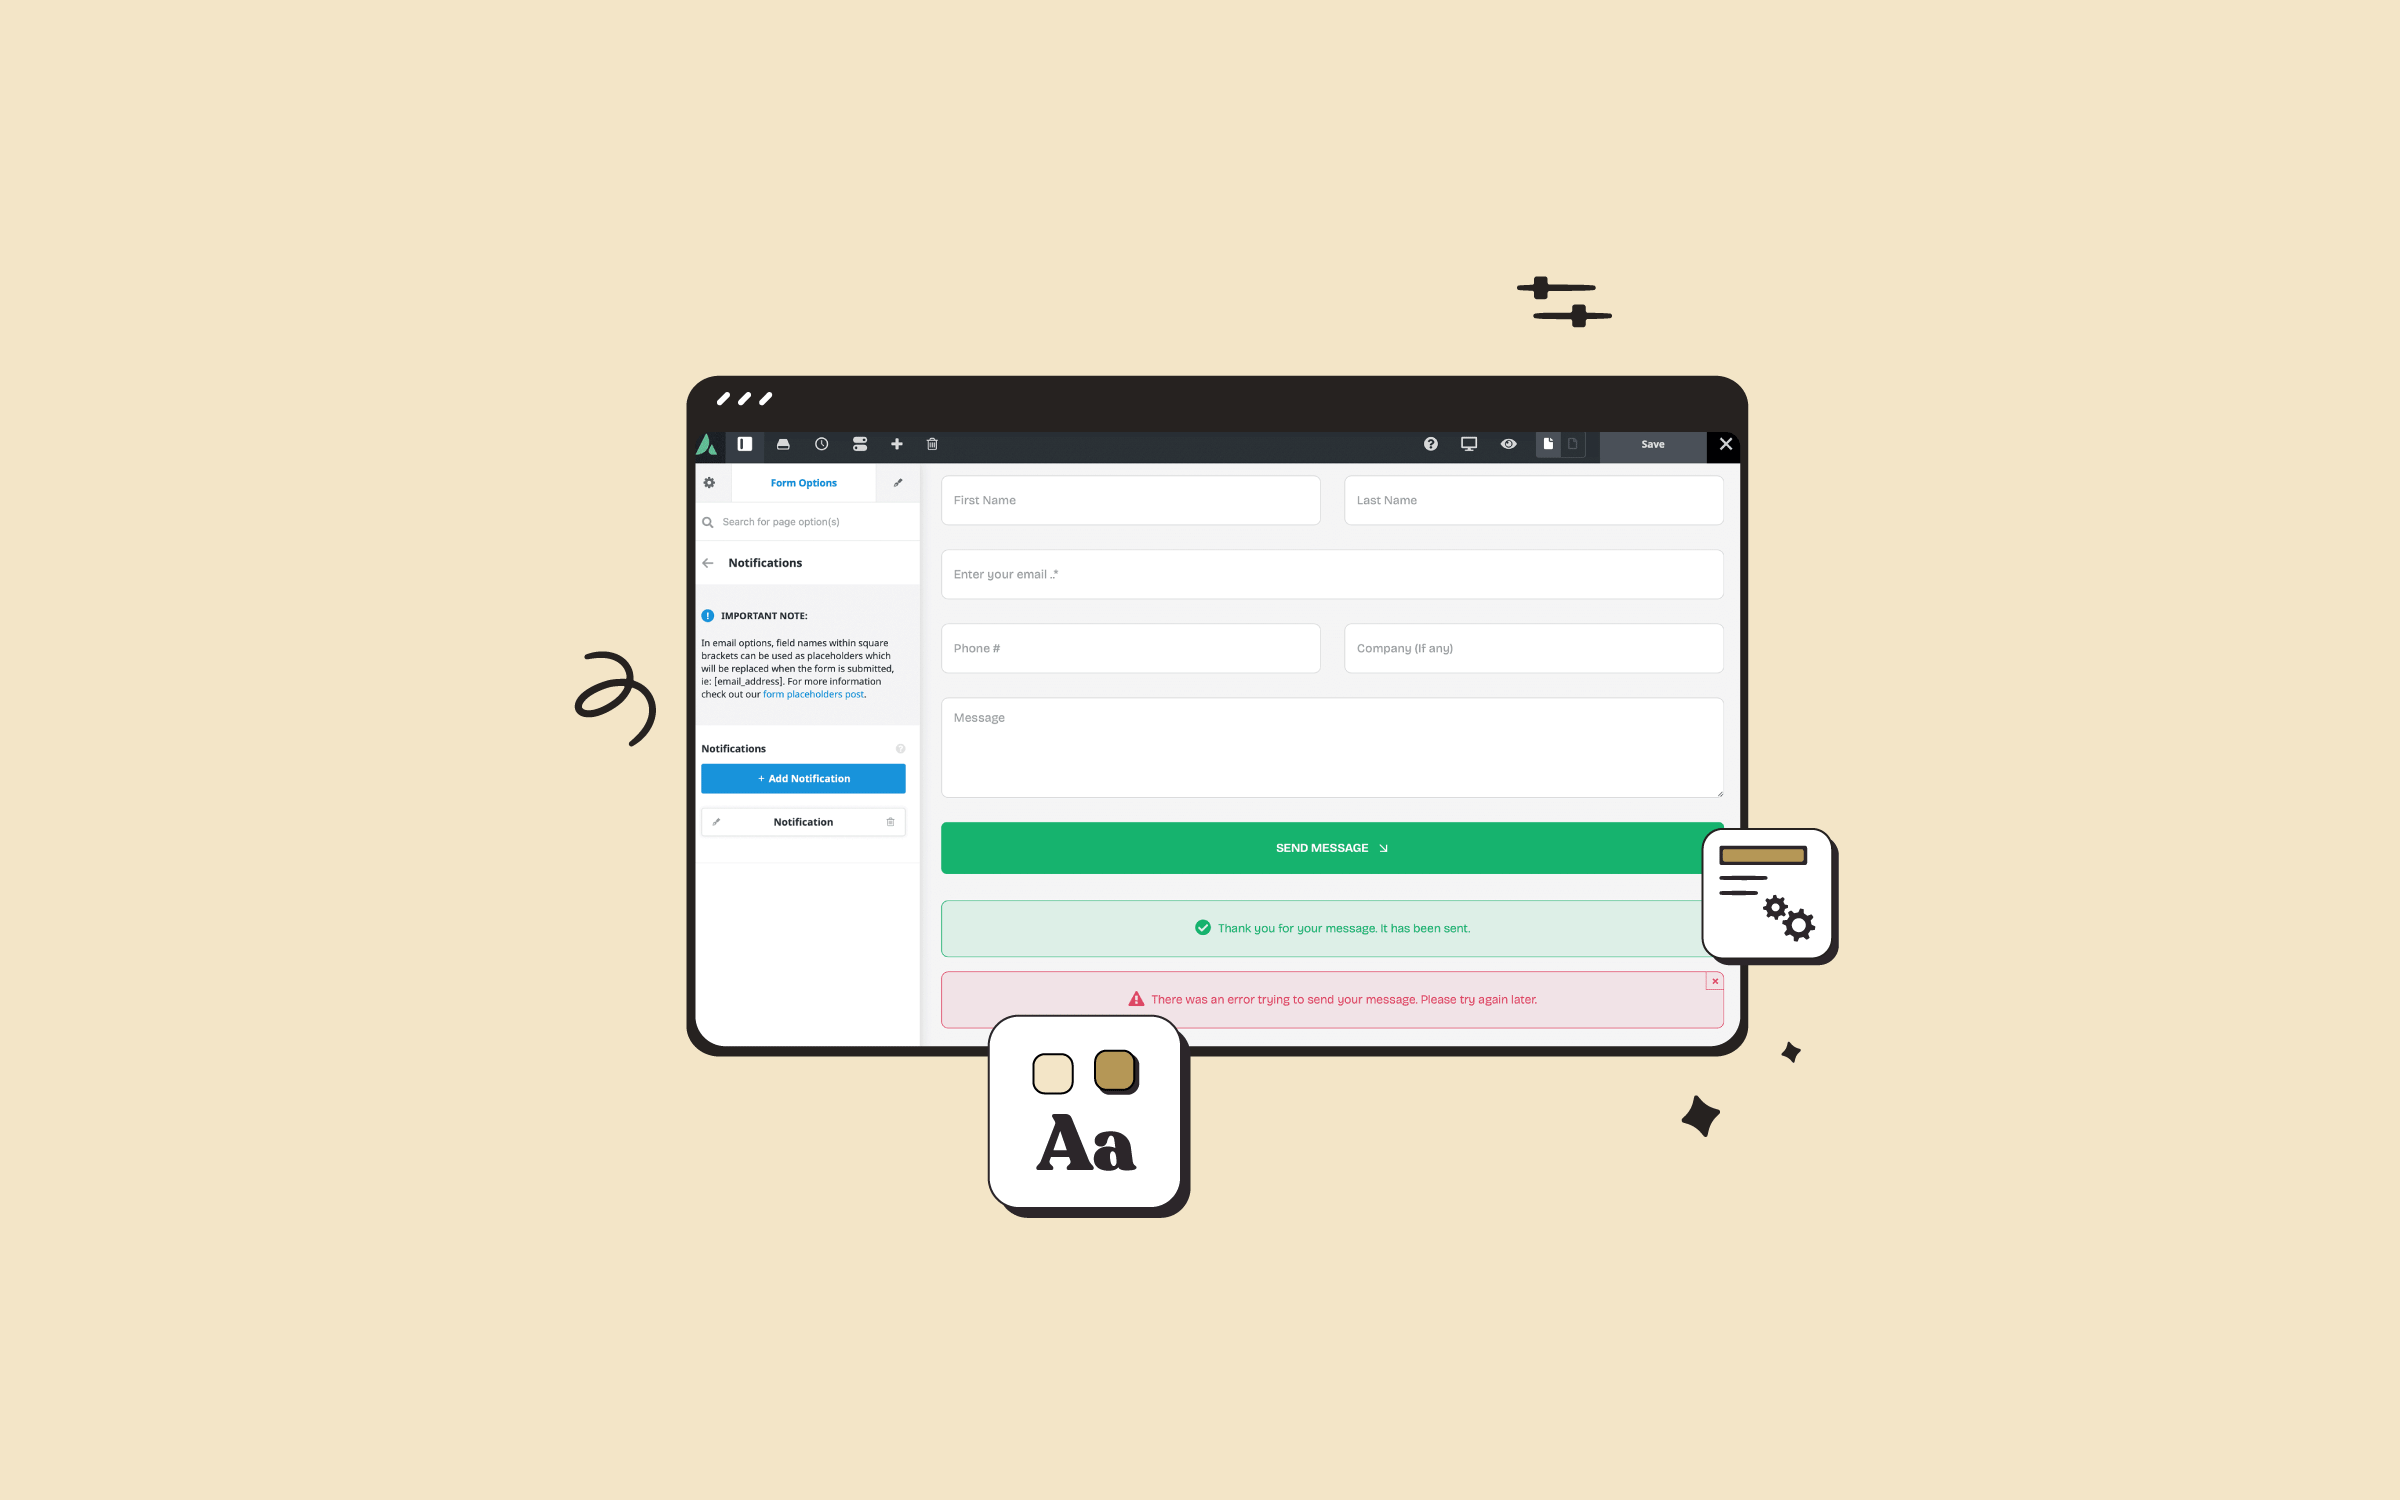
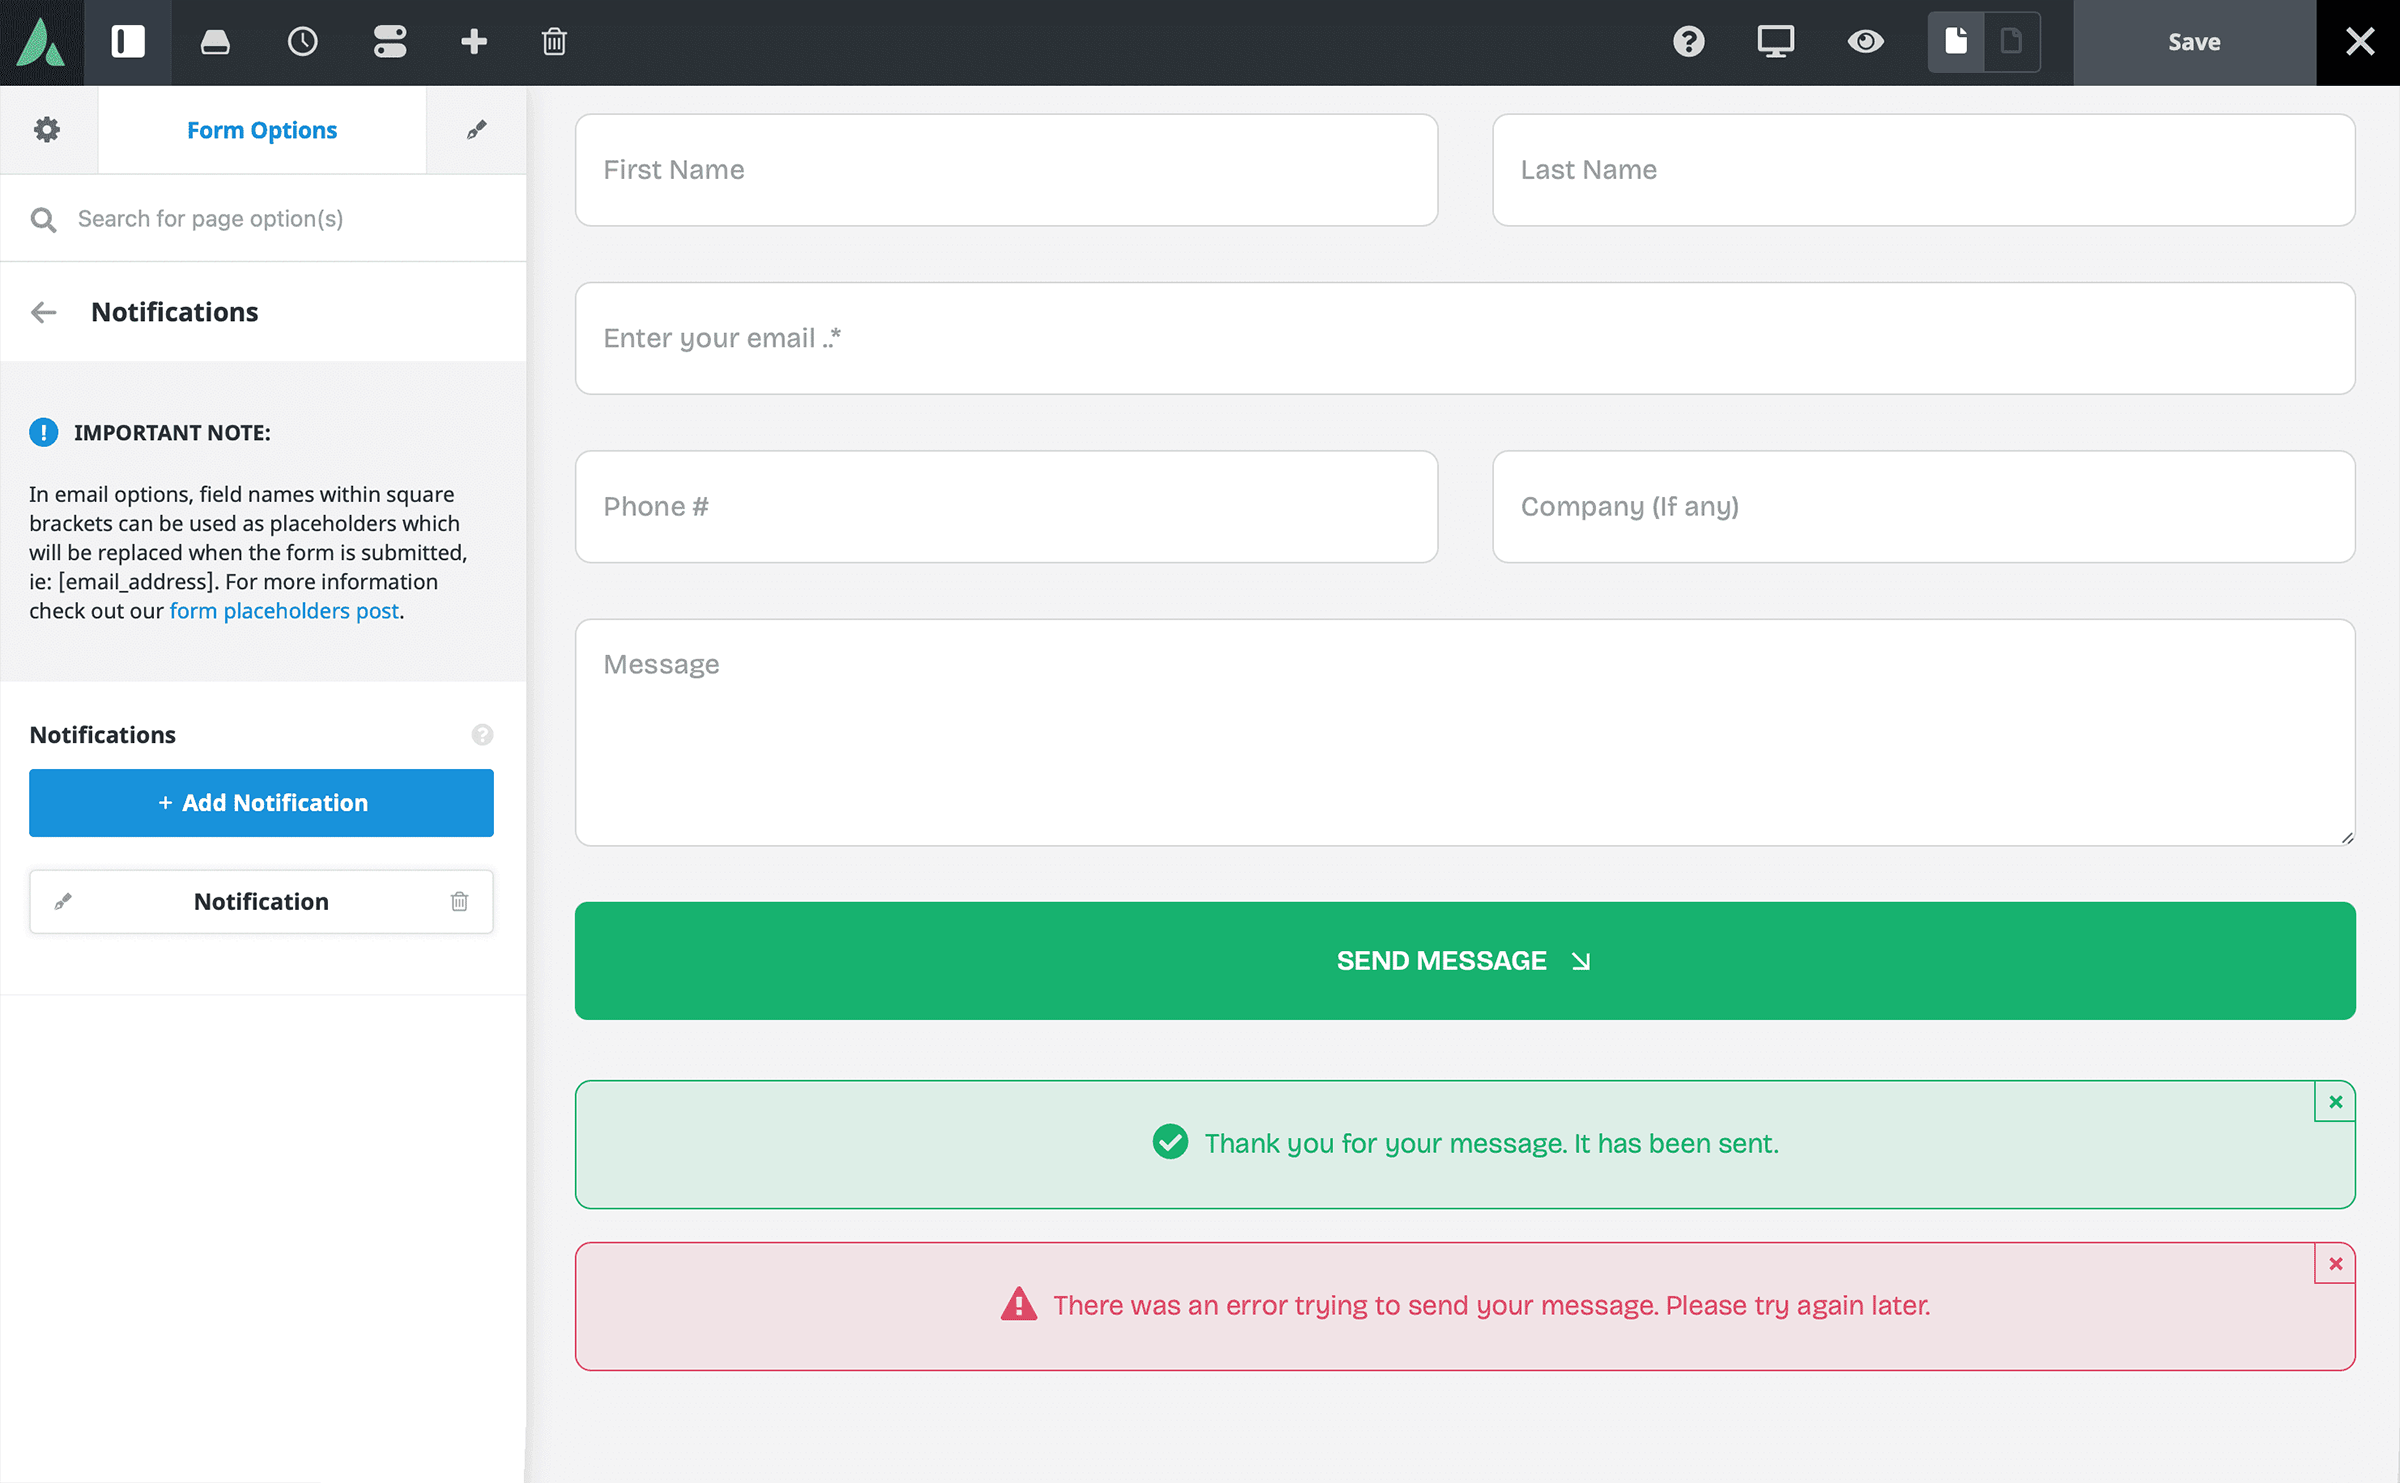
Step 2. Add or Edit a Notification
Every new Avada form starts with a blank notification by default. You can edit that one:
Step 3. Instruct The Website Who to Send It To
Since this is an auto-reply, we want the email to be sent back to the person who filled out the form. In the Email field, use the email placeholder from your form. For example:
The placeholder must match the exact field name of your email field (including the square brackets). That way, Avada knows to send the reply to the address entered in the form.
You can also add CC or BCC addresses if needed, but for a simple auto-reply, that’s not necessary.
Step 4. Fill Out the Email Details
This part sets up the “envelope” of your email. Here’s a simple example:
This info will show up in the recipient’s inbox, so make sure it looks trustworthy and professional.
Step 5. Personalize The Message
Here’s where you can personalize the email a bit. Start with a greeting that uses the person’s first name placeholder:
Then add a short confirmation:
Finally, drop in the [all_fields] placeholder underneath to include their original submission. It’s a nice touch that reminds them of what they sent.
Step 6. (Optional) Use Avada Conditional Logic
You’ll notice a Conditional Logic section below the message editor. For most auto replies, you can ignore this — but it’s handy if you want different replies for different situations (e.g., based on which checkbox they selected). For more detailed information, see the “How To Use Conditional Logic In Avada Forms” help file.
Step 7. Save and Test It Out
Once everything’s set:
Best Practices for Avada Form Notifications
Setting up notifications is easy — but doing it well can make a big difference in how professional and reliable your website feels. Here are a few tips to keep in mind:
Summary
And that’s all it takes to set up an auto reply notification in Avada Forms. From now on, anyone who submits your form will get an immediate confirmation email — no more guessing whether their message went through.
Auto replies are just the start. You can set up multiple notifications for different recipients, create conditional workflows, or send submission data to your own inbox, too.