Share
Your website is much like an old-fashioned paper newsletter. It provides instant information on your church and its activities, all from the comfort of the reader’s home. And just like a paper newsletter, your WordPress website has to appeal to those viewing it. Your church may provide excellent value to your community with activities and opinions of genuine interest to your congregation. Still, if your website can’t convince members to get involved, all that good work may go unnoticed.
Avada is the answer! Along with its bundled premium plugins, Avada can provide the functionality you need to increase engagement and generate interest in your church without coding or expert knowledge.
With the above in mind, we will explore four ways in this article to enable members to engage with your church using Avada and WordPress. We’ll be using the Avada Church pre-built website as an example; however, the same principles can be applied to any type of website. Avada includes over 100 prebuilt websites and Avada Studio creative content for you to use as a part of your web design toolkit. Let’s get started!
Overview
1. Create a Filterable and Searchable Events Calendar
Church events are an important part of community and togetherness that you don’t want your members to be missing. They’re also fantastic opportunities for others to get involved. By using the Events Calendar plugin, which is design integrated with Avada, the website can offer a calendar that members can filter and search to conveniently find the event they’re looking for. For further information on how to use The Events Calendar with Avada, check this help file and video.

If you are logged into the site, there are two paths to setting up an “Event. “ From the top toolbar, select: “Events > Add Event.”

Alternatively, from the top toolbar, select: “New > Event.”

At this point, if you want to use the Avada Builder to add Event content, the builder needs to be enabled for the Event custom post type (CPT). This can be done by navigating to “WordPress Dashboard > Avada > Options > Builder Options > Post Types > Event.”

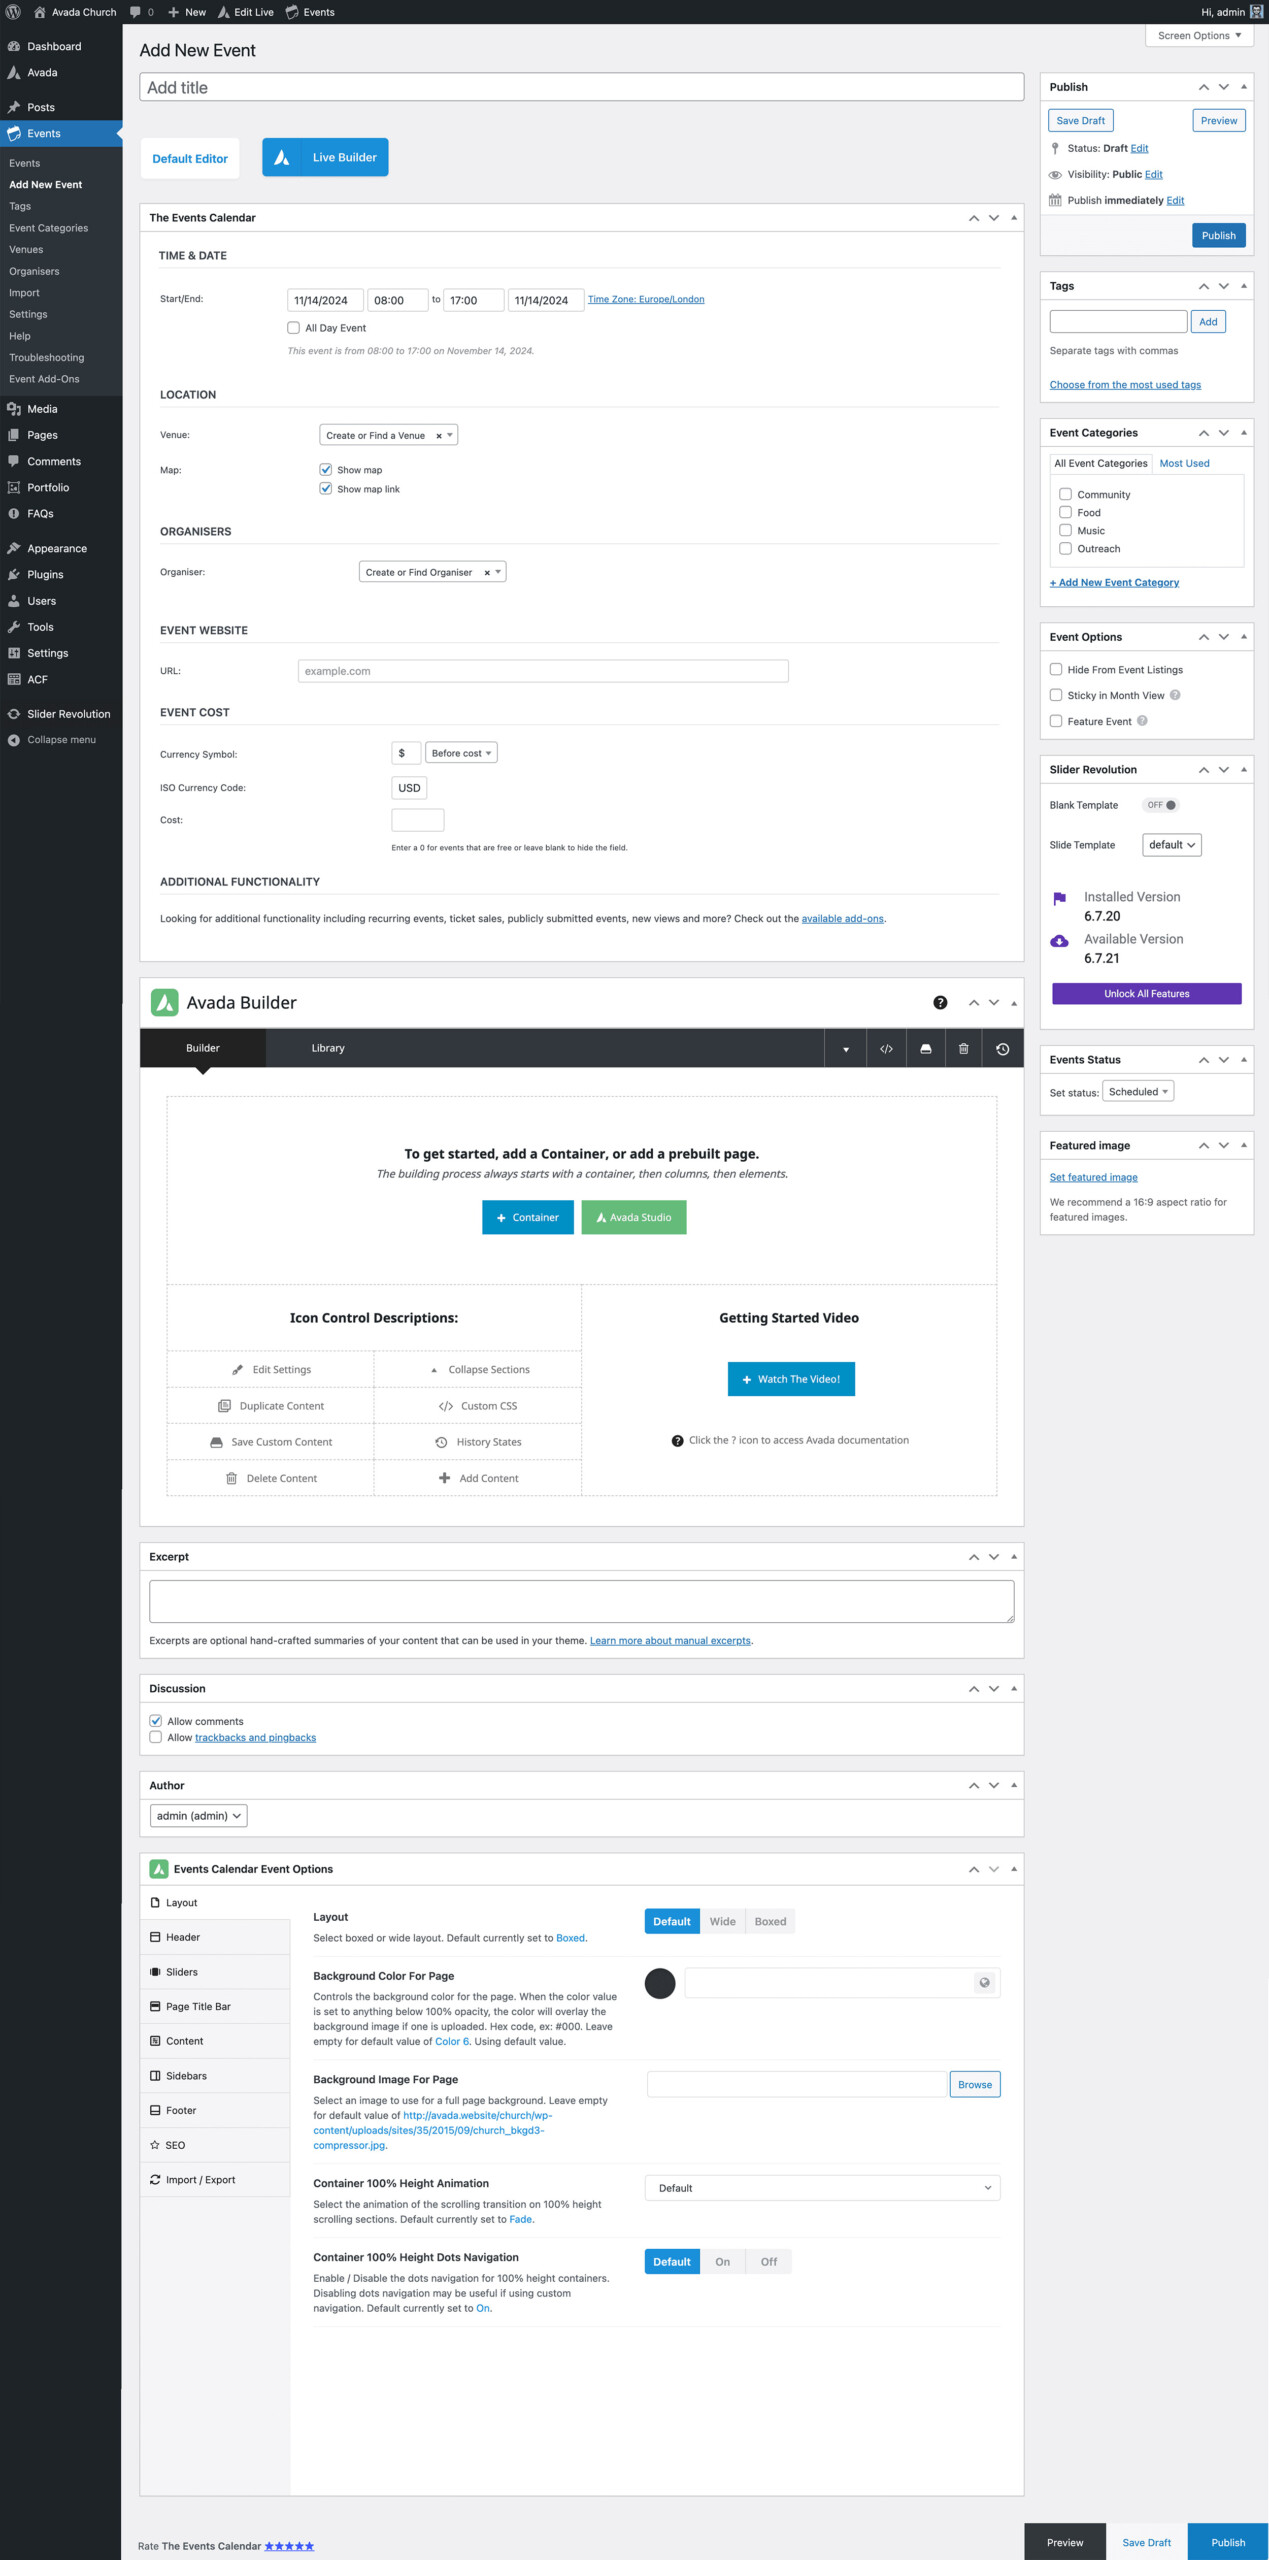
When adding a “New” event, you typically provide essential information such as the title, description, and time. You can set a start and end date and, if applicable, specify recurring dates for events that happen regularly. The event’s location can also be added, including the venue name, address, and even a map link, making it easier for attendees to locate.
You can also assign categories and tags to events, which helps you organize and filter them on your calendar. If the plugin supports ticketing, you might find options to integrate ticket sales, manage attendee limits, or link the event to an external ticketing platform.
The “Add Event” feature also includes settings to customize the event’s appearance on the calendar. For example, you can upload featured images or adjust how the event displays in different calendar views. After filling in the details, you can publish the event, making it visible for site visitors to view and interact with on your calendar.
Once you click “Publish”, that’s it! Your event is live and searchable by all the viewers of your church website. You can view a live event example here.

There are also additional options within the “Settings” dashboard tab, which enable you to show comments on events pages, change the number of events shown per page, and much more.
2. Build Anticipation With a Countdown Timer
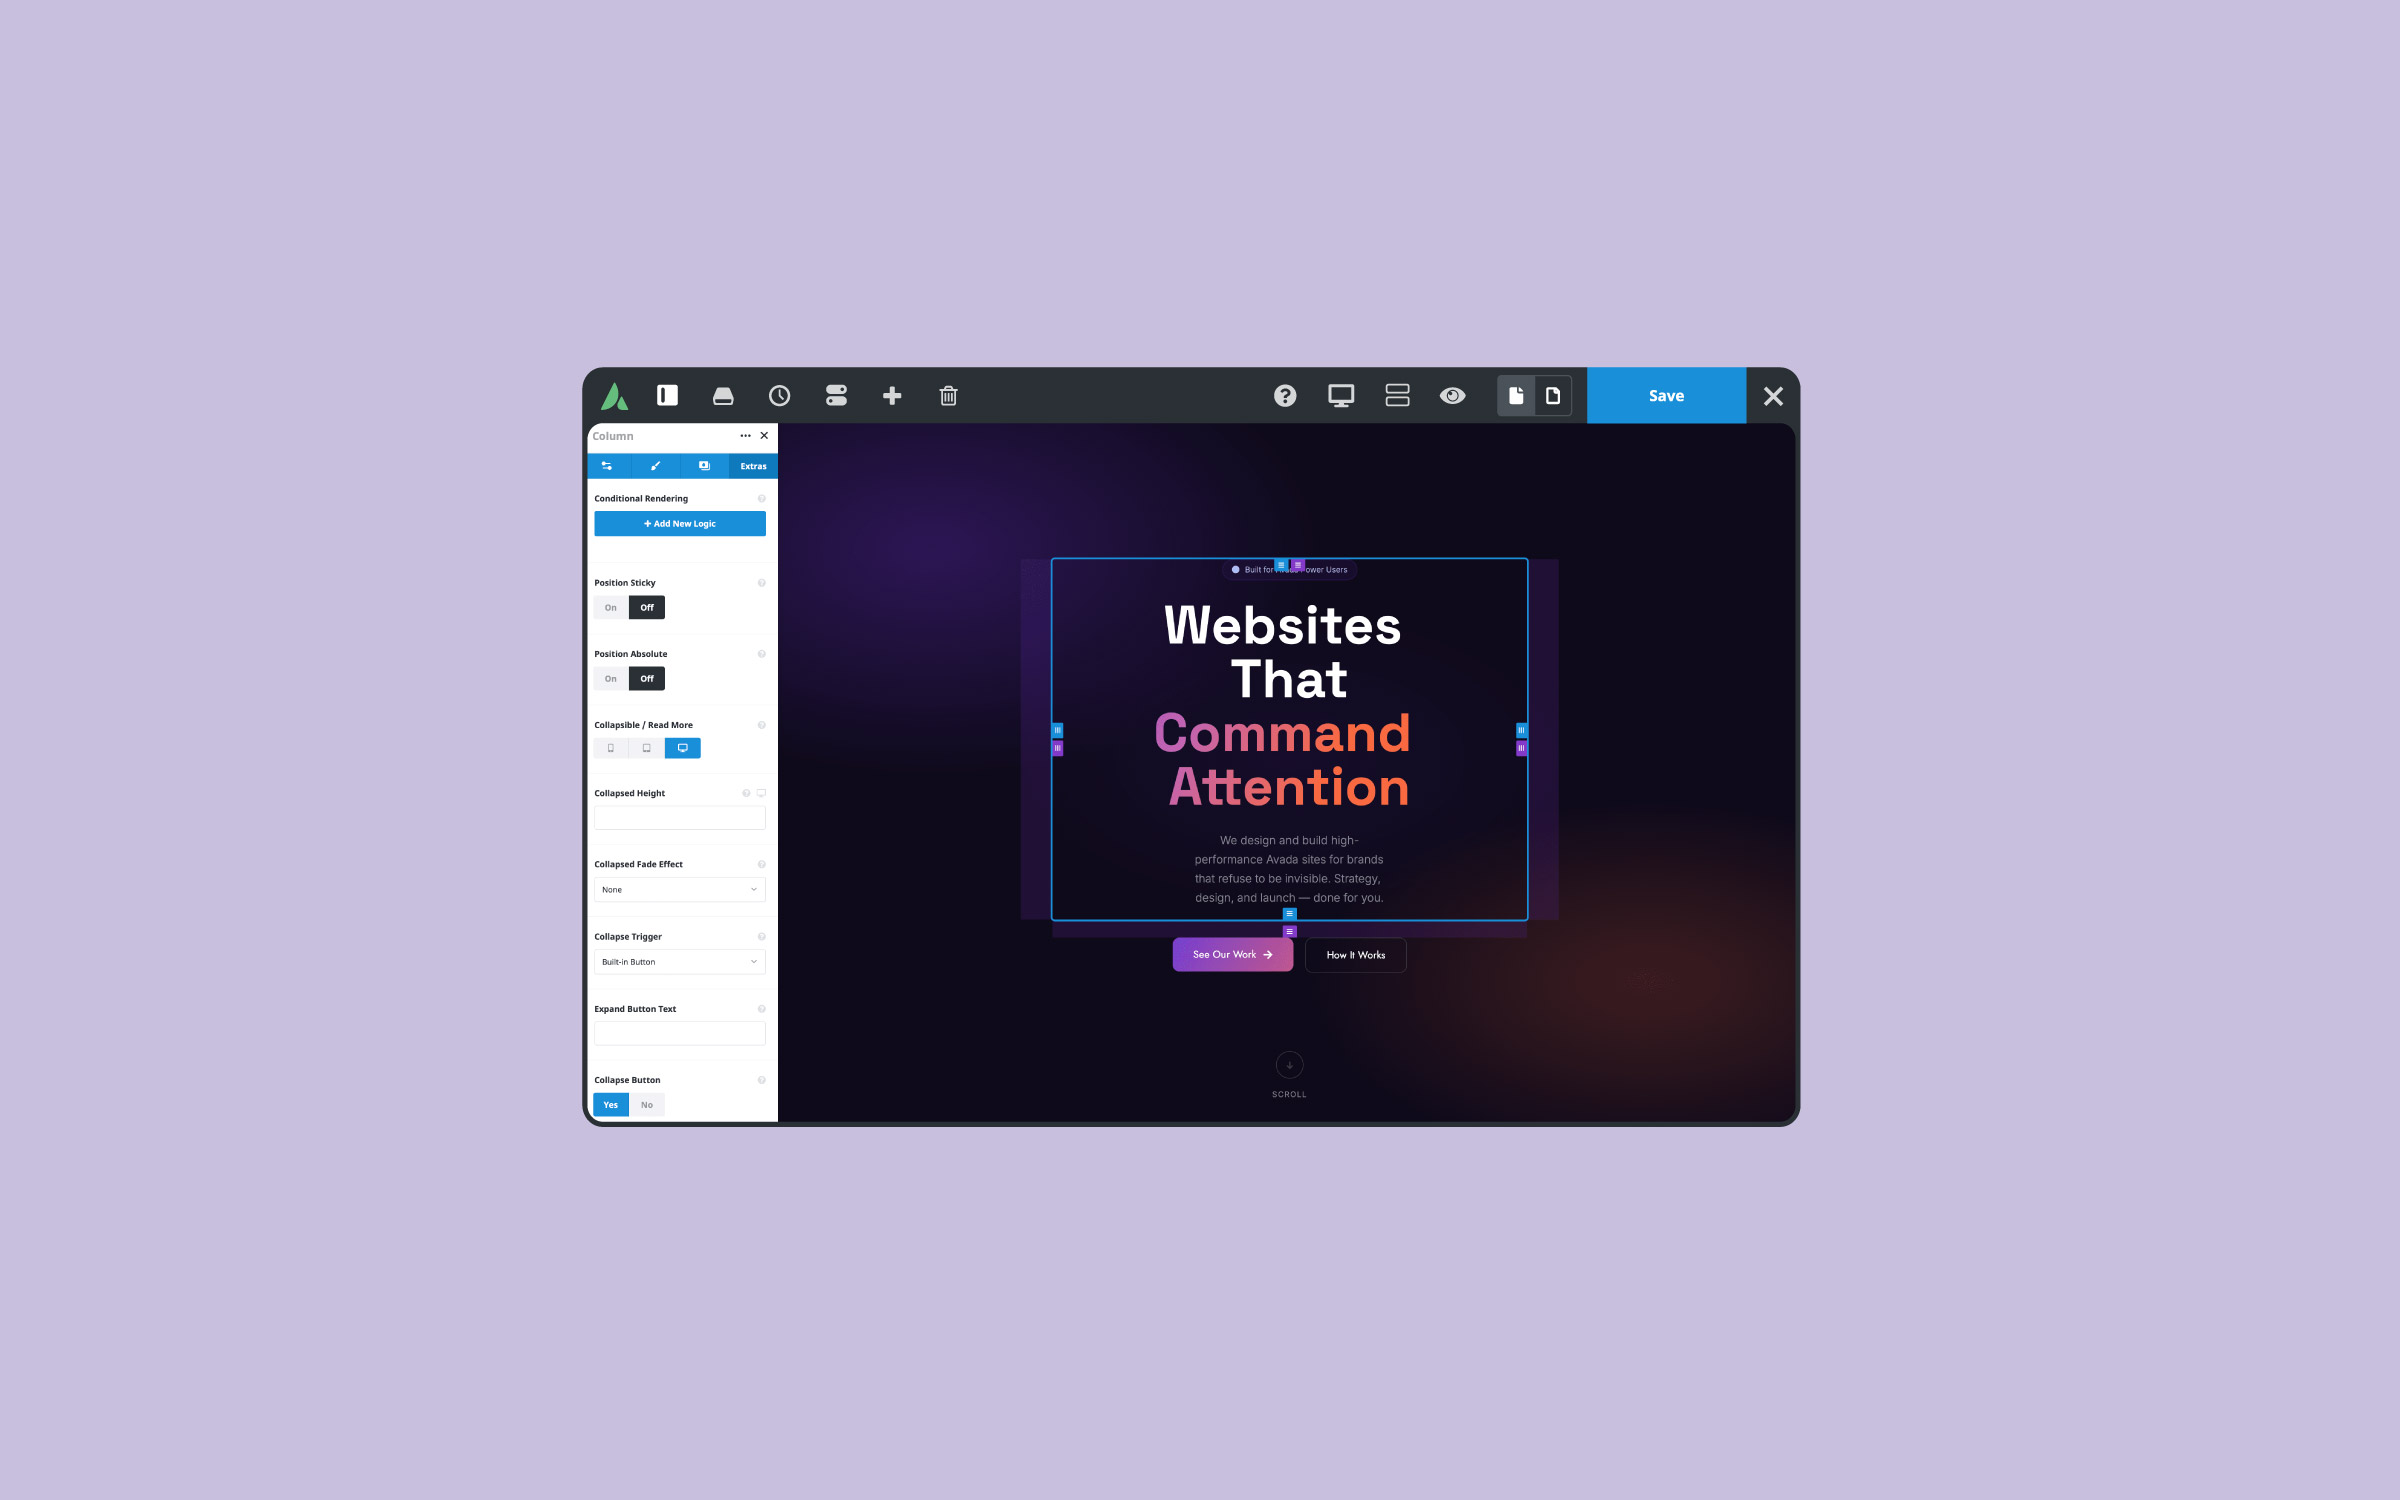
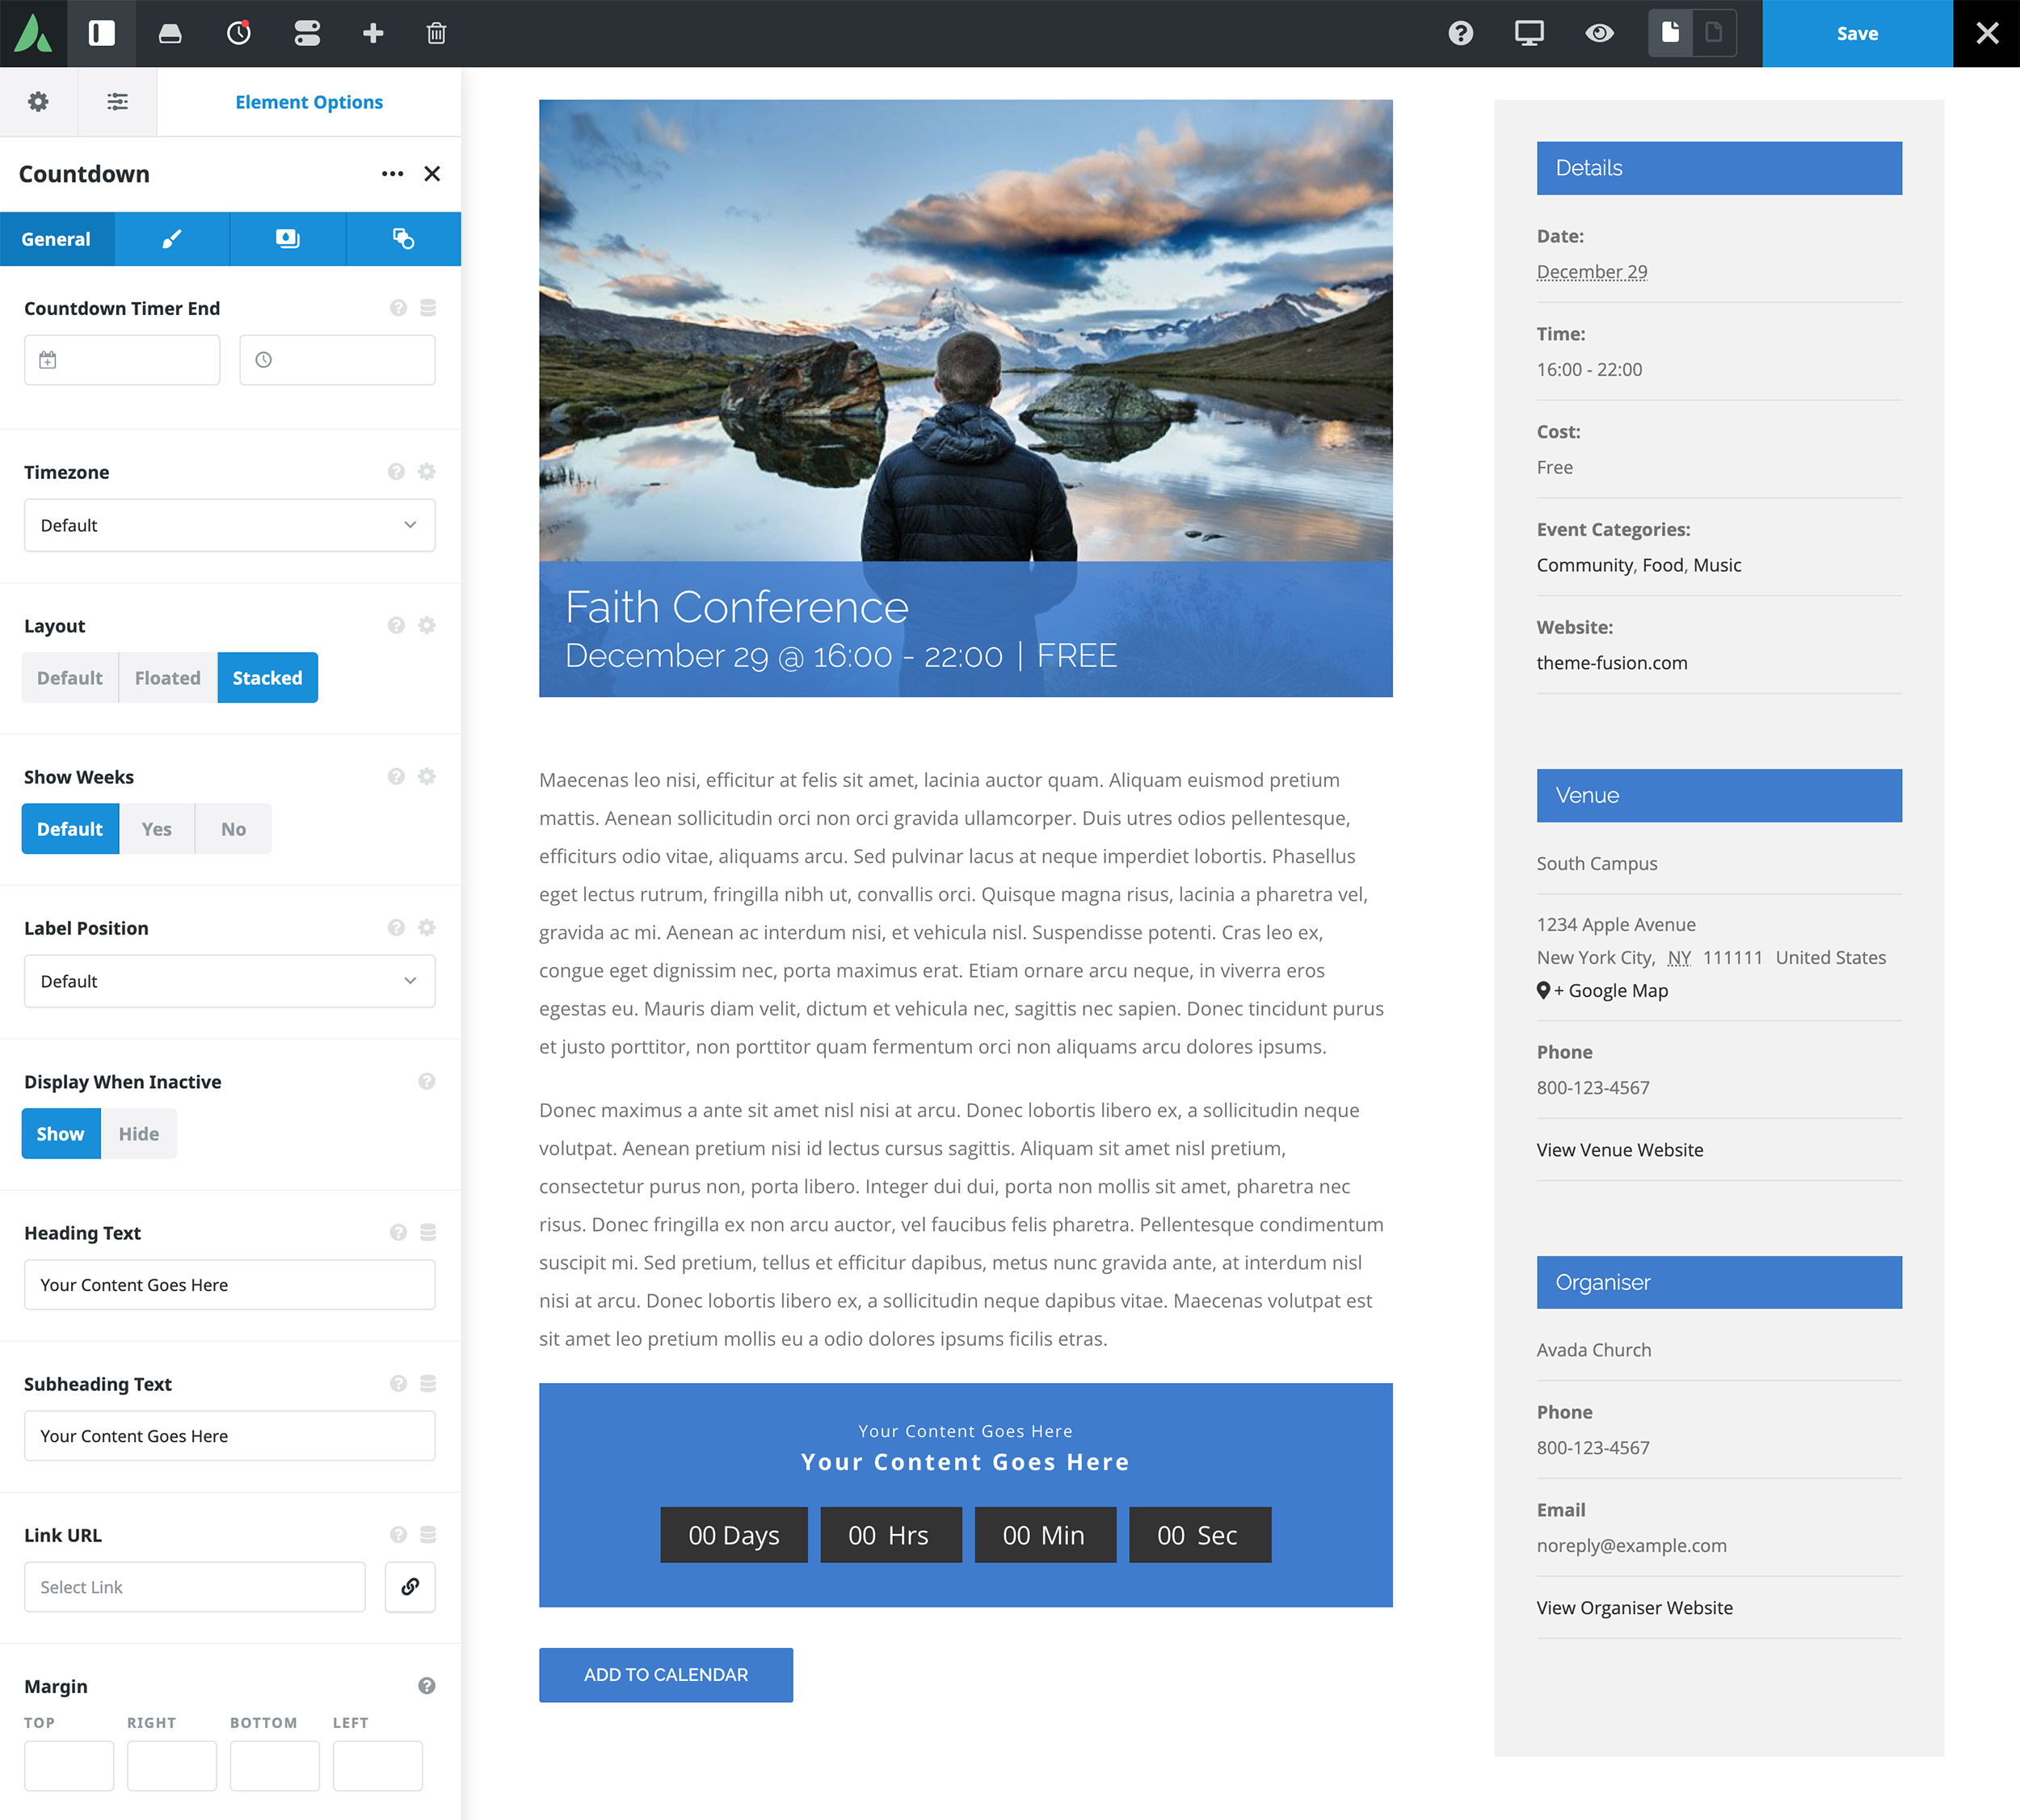
If an upcoming event holds a particular degree of importance, for example, an event centered around a holiday. You can add an Avada Countdown Element to a page or the event to engage your website visitors. You can view a live example of the Countdown Element in action.

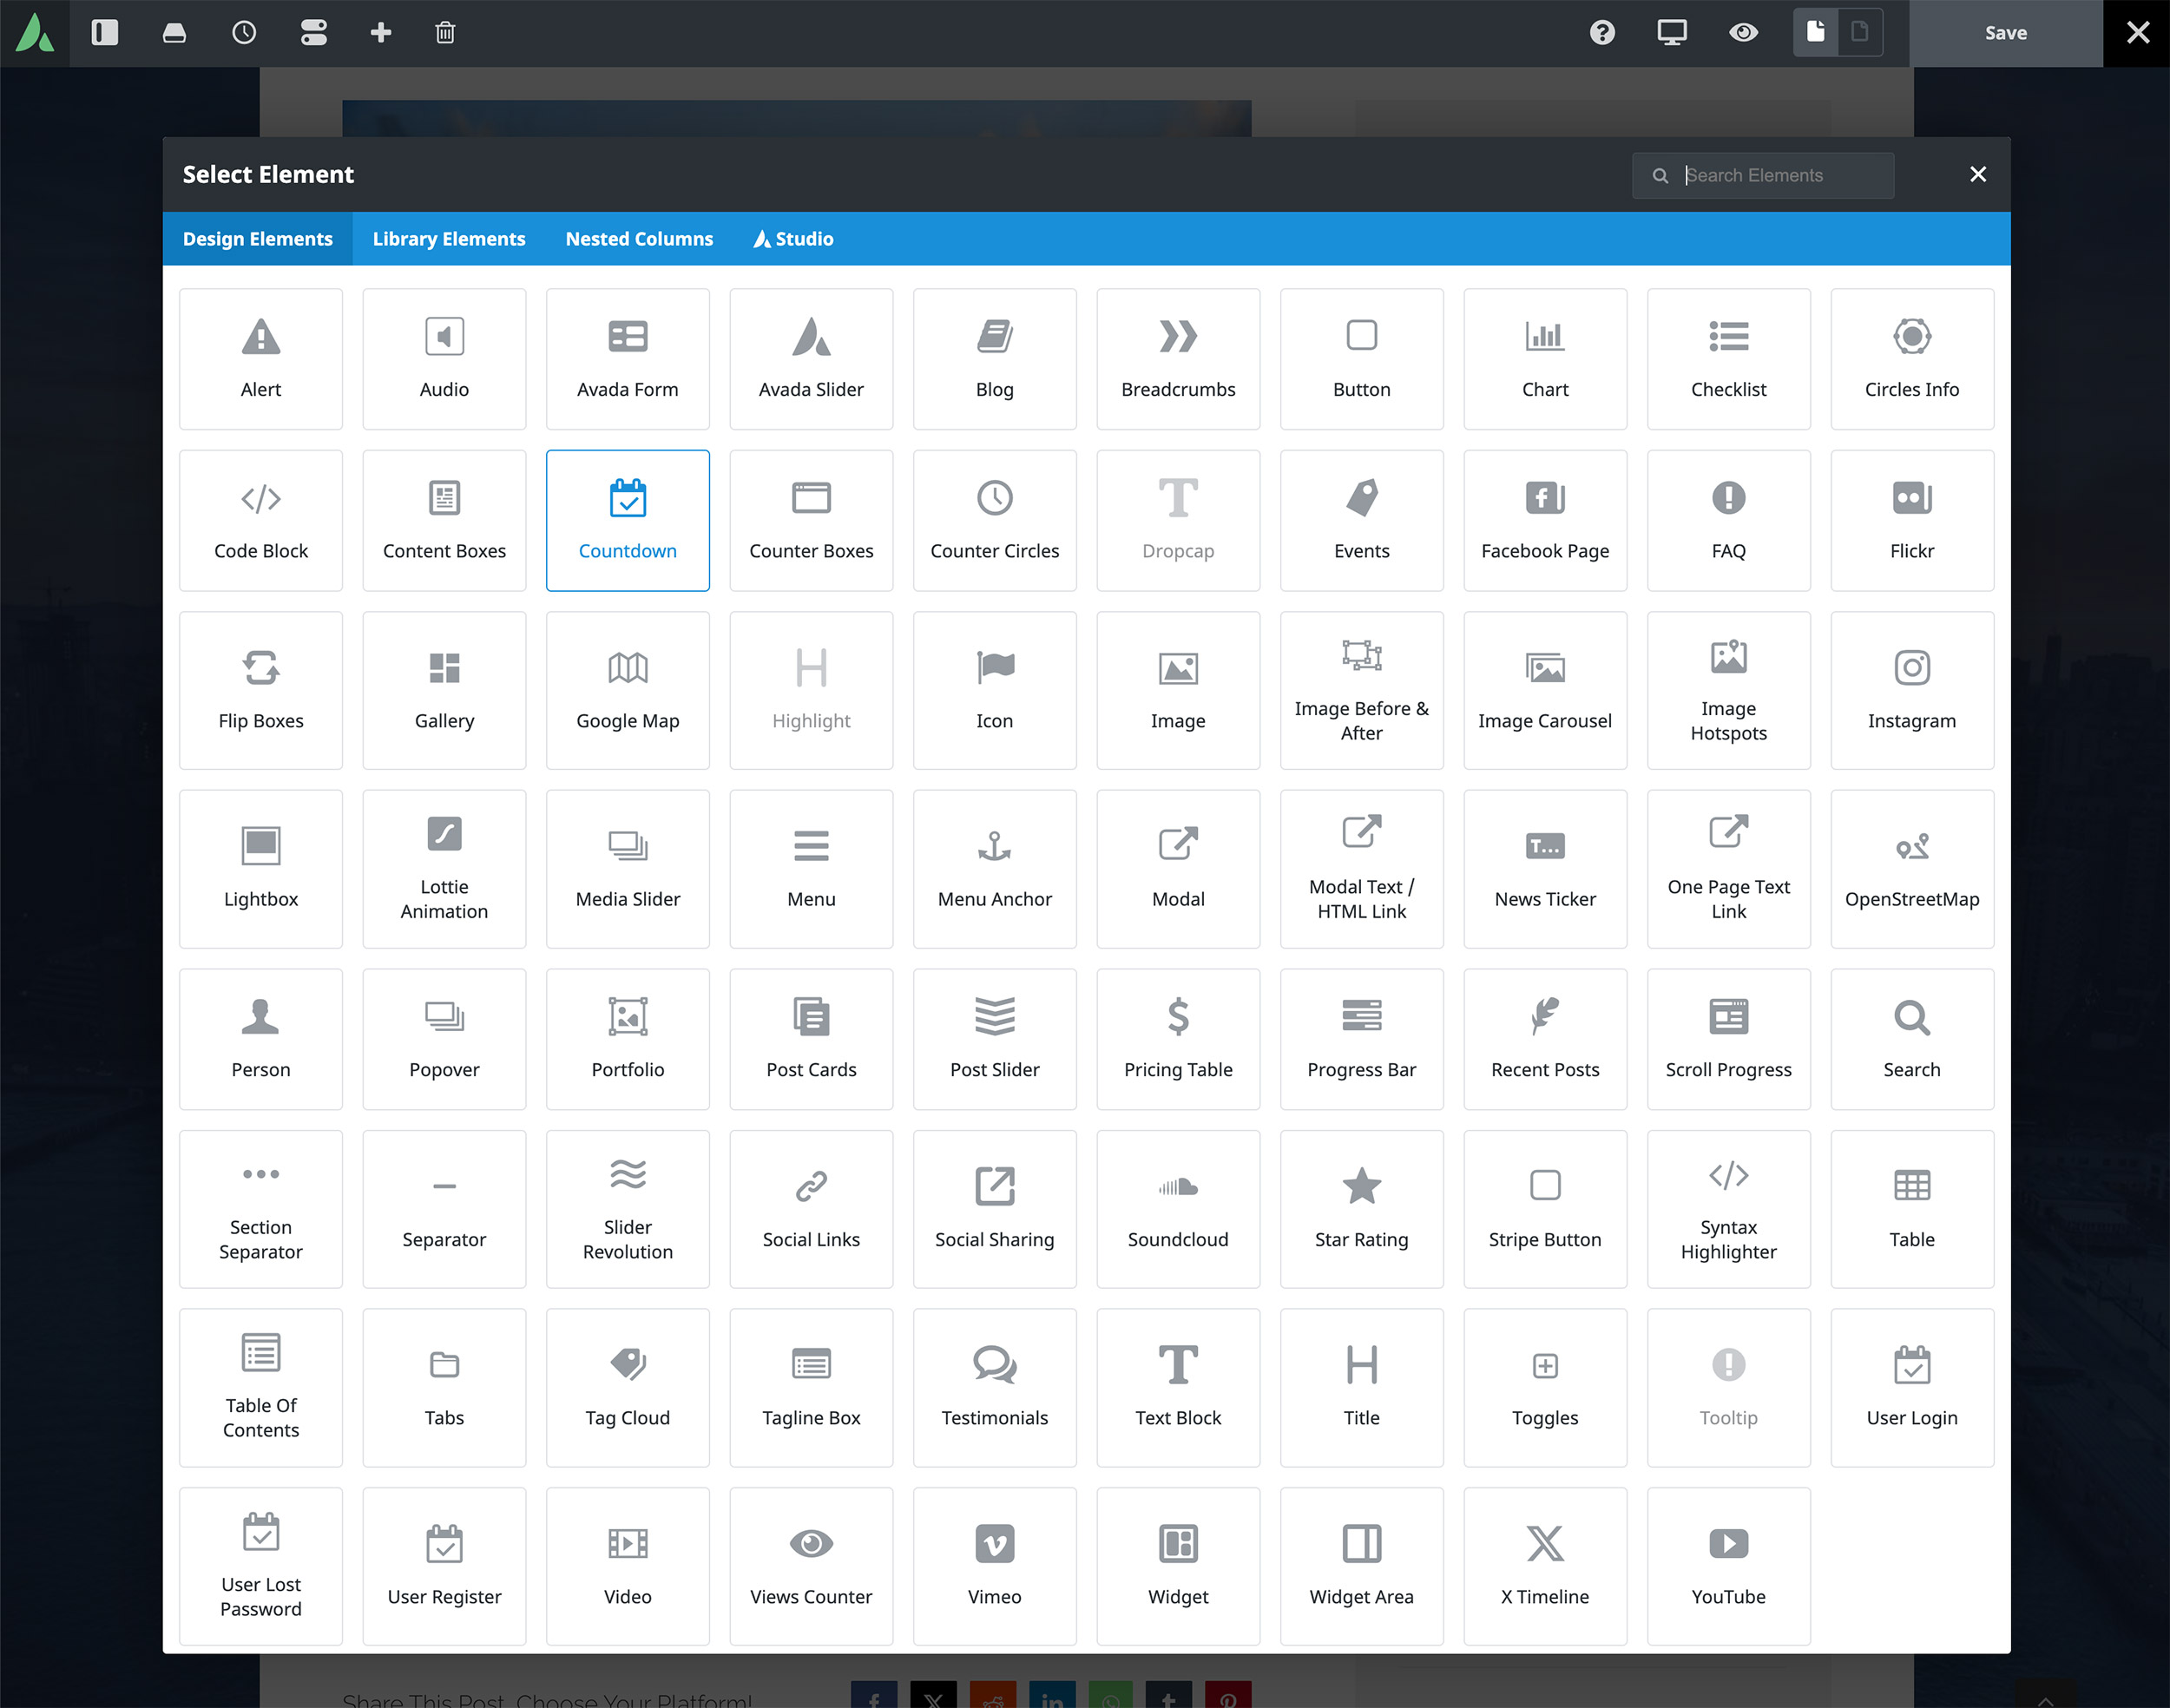
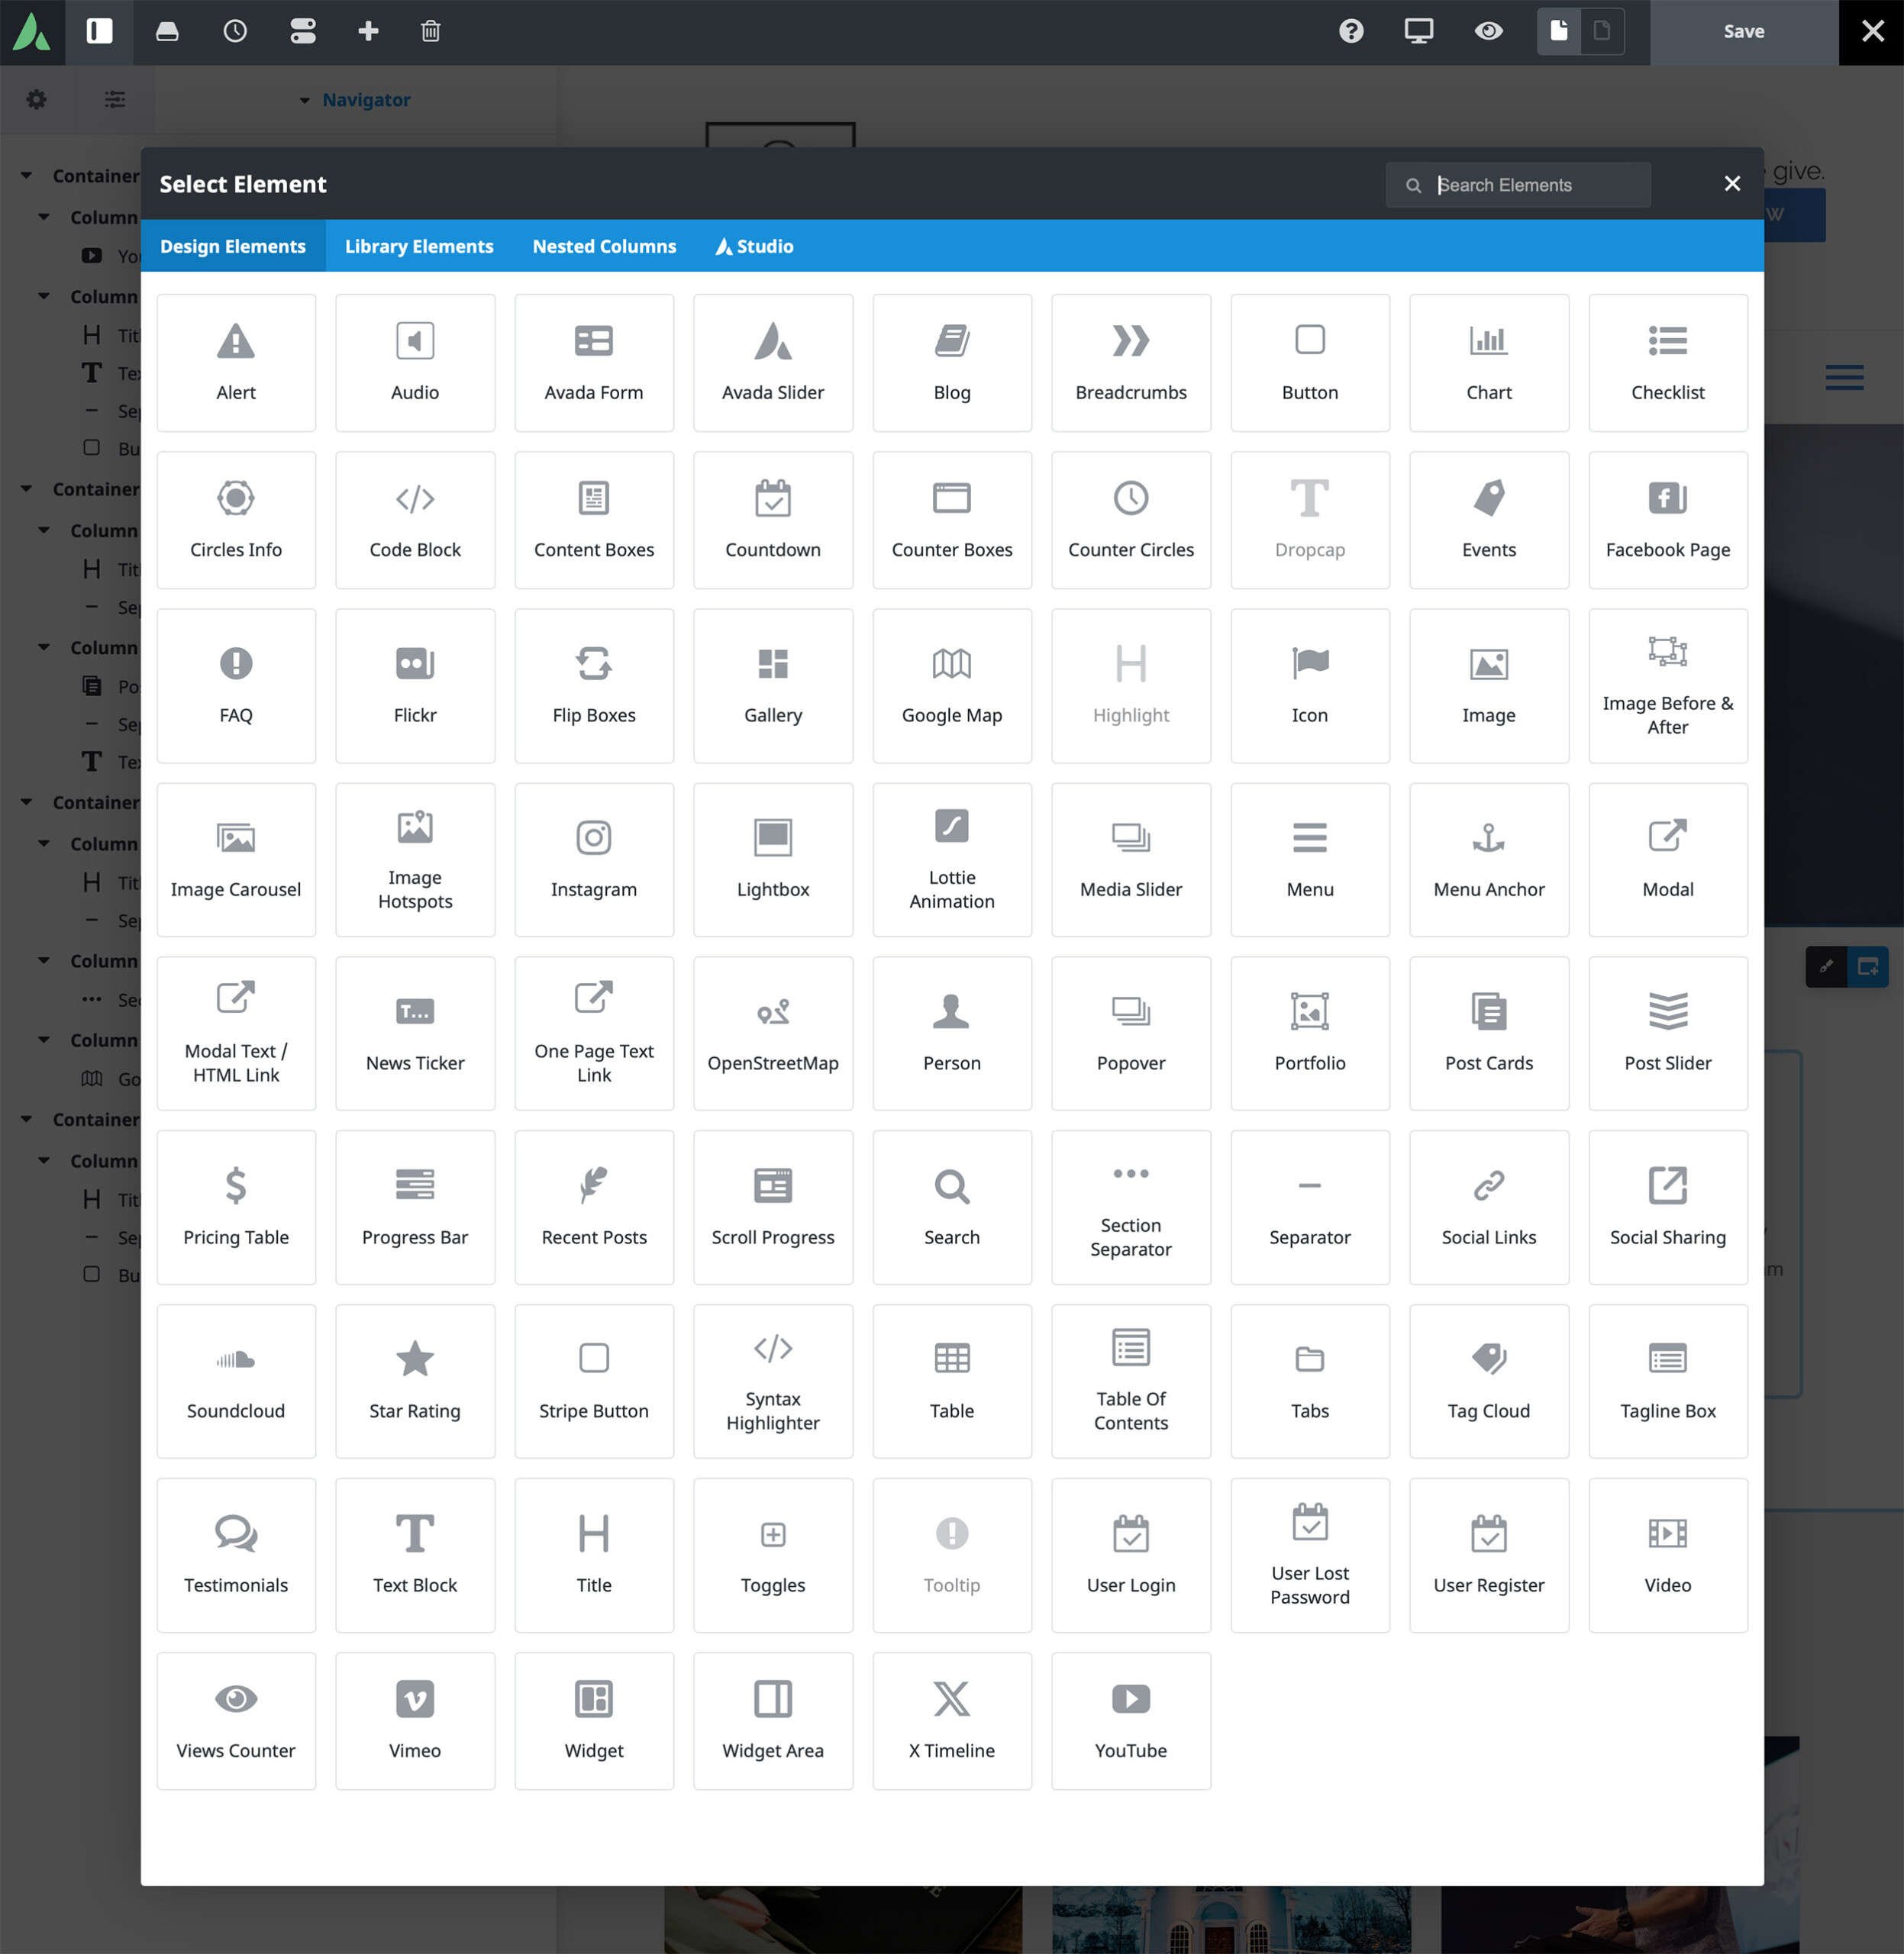
Using the Avada Live Visual Builder, click “+ Add Element Below” to select the Avada Countdown Element.
Start configuring the settings once the Countdown Element is added to the event page.
3. Launch a Community Forum
Forums have been around almost as long as the internet itself; that’s because they’re invaluable for creating an online community. The reasons for creating an online forum are limitless. Likewise, there are many different forum types to choose from, with the most popular being bbPress (for WordPress), Joomla, Discourse, phpBB, VBulletin, and more.
A Church forum (public or password protected) is an ideal space for Church community members to discuss recent or upcoming events, sermons, outreach programs, prayer requests, and community fundraising efforts. The Avada Forum pre-built website is an excellent example of the WordPress bbPress forum plugin being an ideal solution.

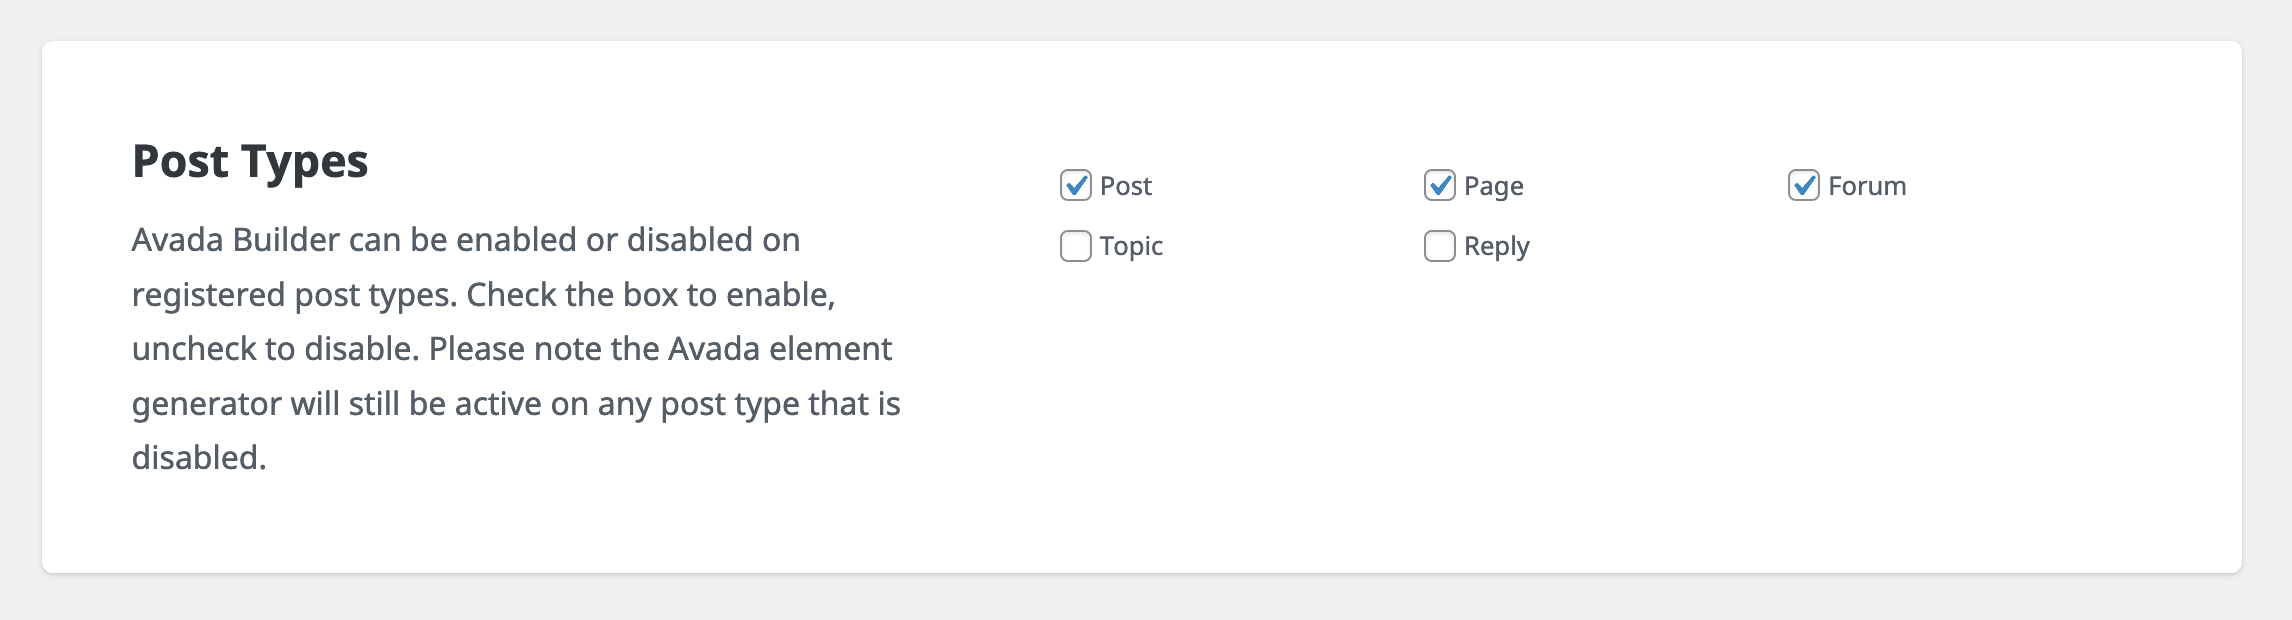
It must be noted that by default, the Avada Builder is turned off for the Forum Post Type and should be enabled. To enable the Avada Builder for the bbPress plugin CPT (Custom Post Type), navigate to Avada Dashboard > Options > Builder Options > Post Types and select “Forum.”
At this point, you will probably want to set up your first bbPress forum. To do this, navigate to WordPress Dashboard > Forums > “Create New Forum.” Give your forum a title and start configuring the options to personalize your new forum.
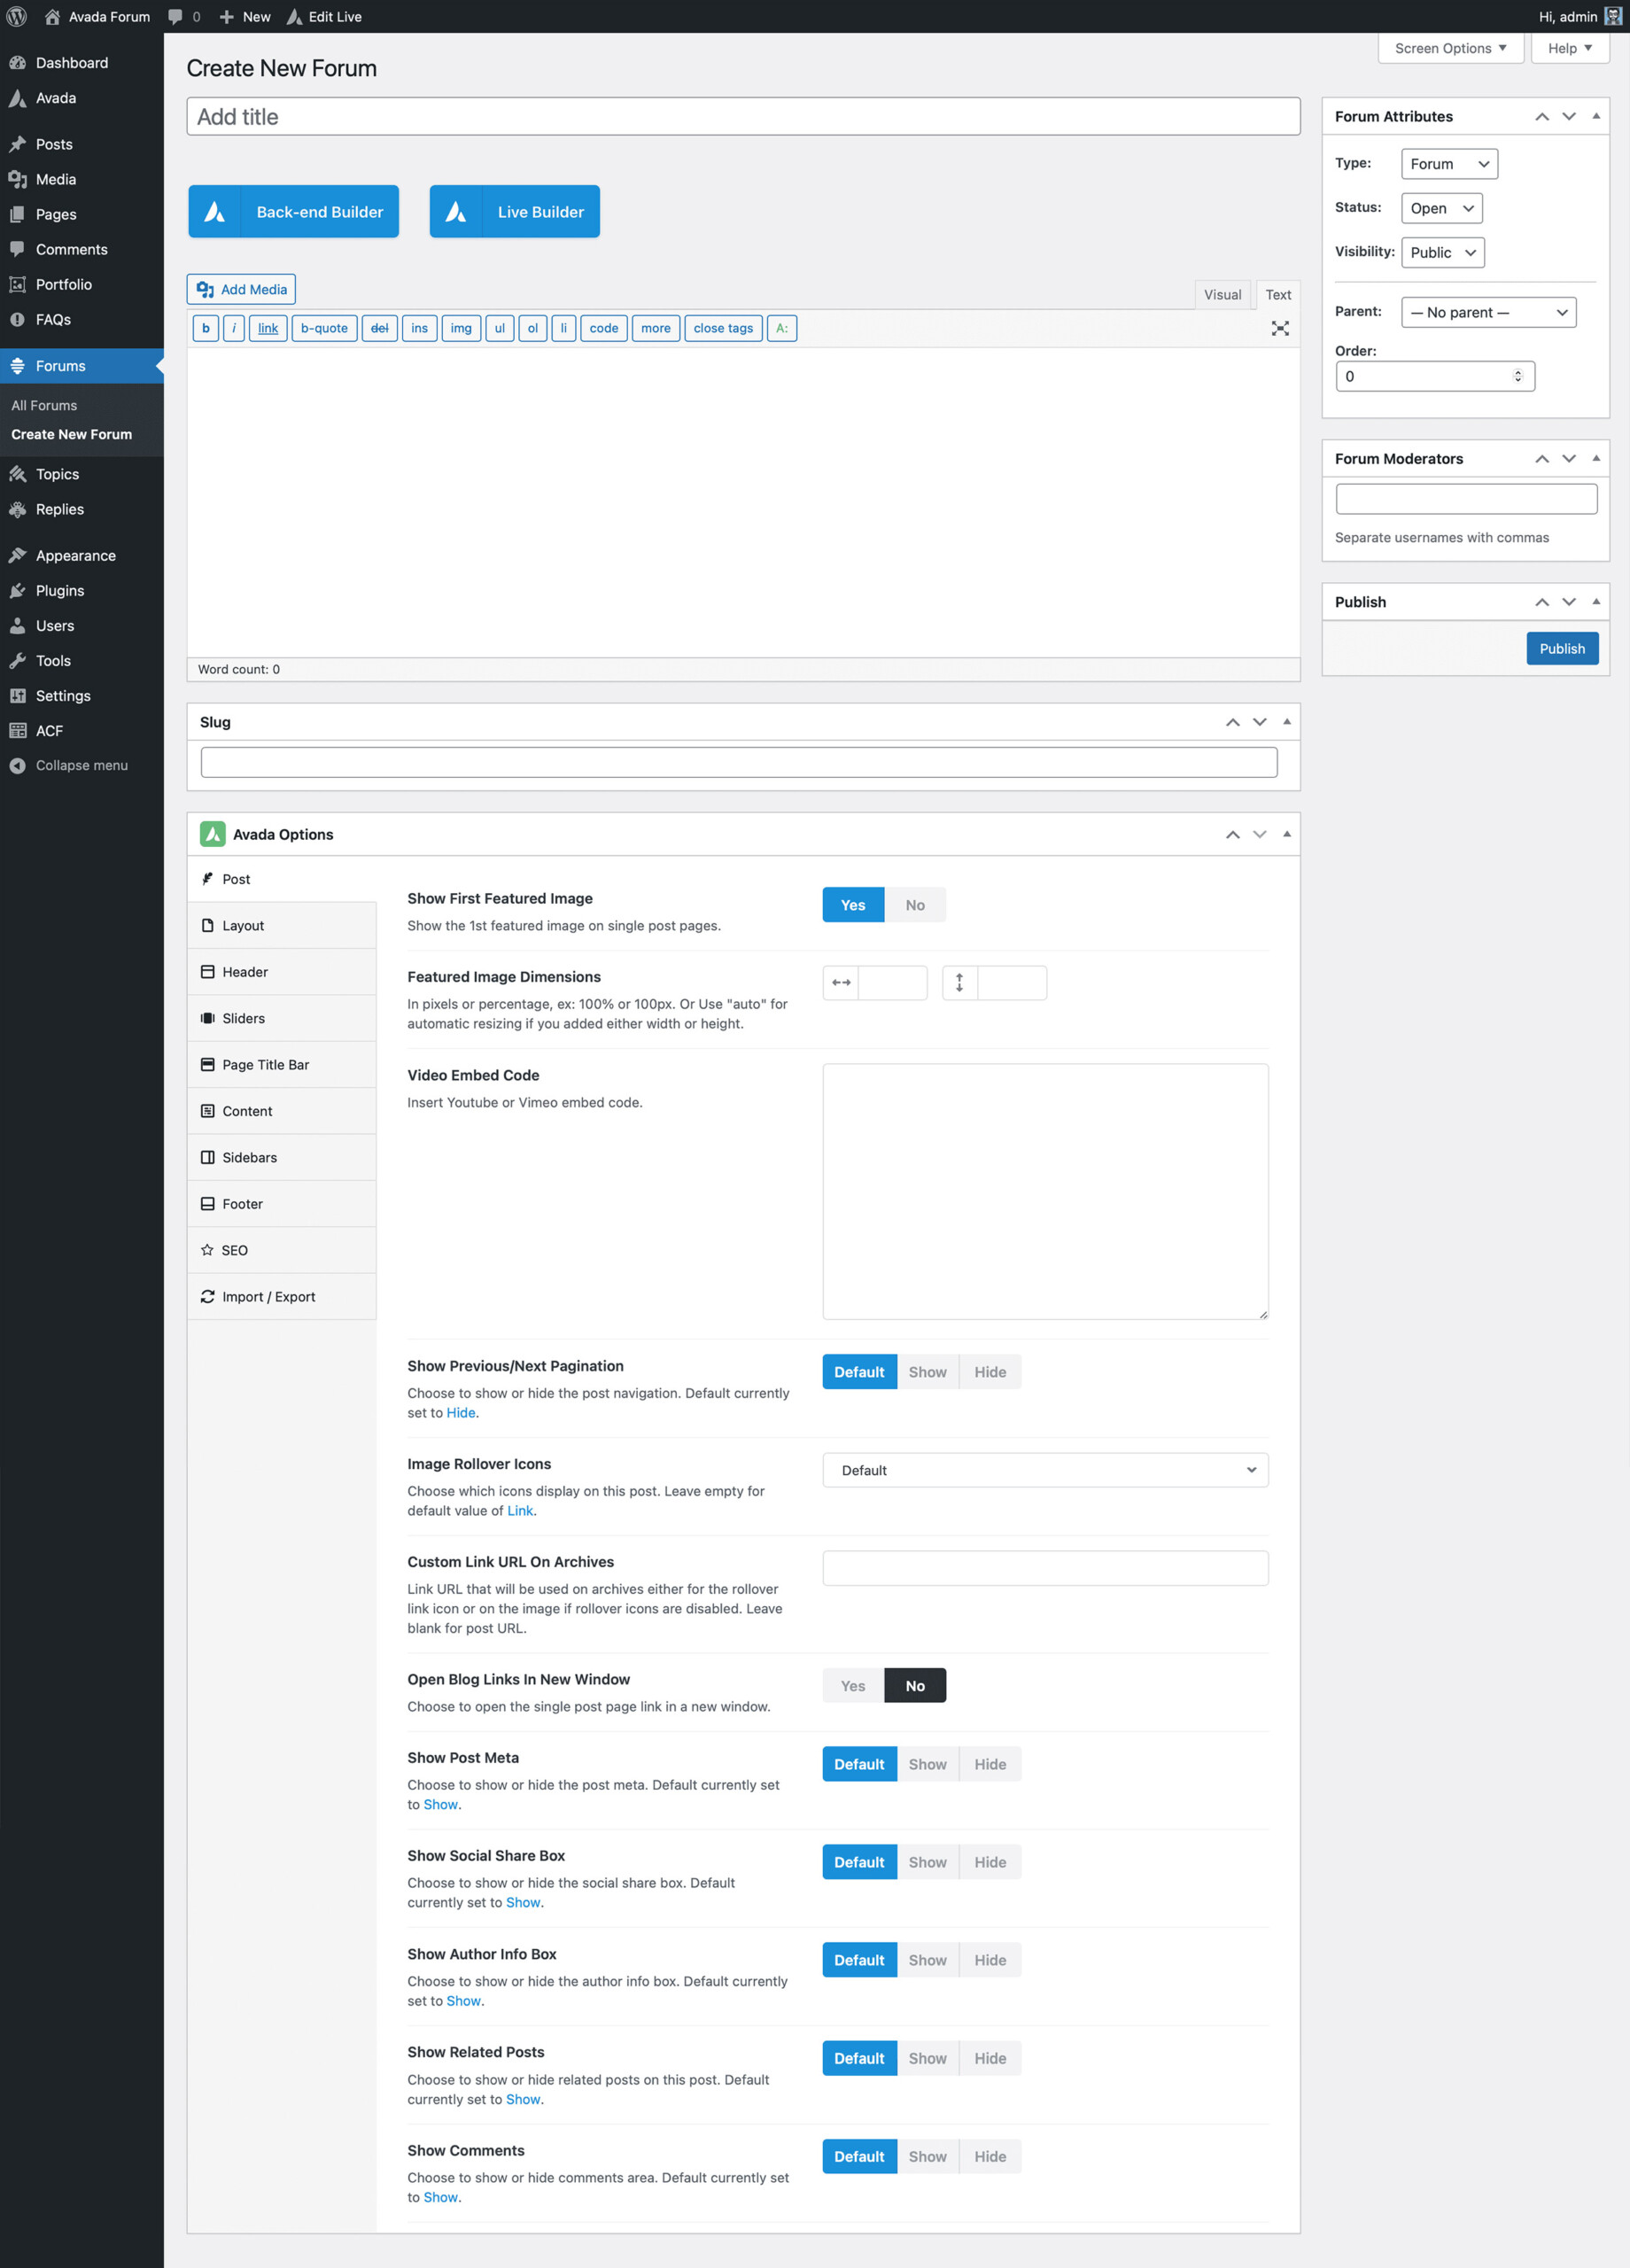
In the “New Forum” edit screen, you can choose whether to create a forum or a category, set its status as Open or Closed, and determine its visibility choosing from Public, Private, or Hidden. To create sub-forums, you can specify which parent forum it belongs to.
Finally, the Topics and Replies tabs within the dashboard allow you to carry out basic moderation of member activity. Topics can be set to “Sticky” from here. Also, topics and replies can be edited, trashed, or marked as spam.
4. Publish Video and Audio Sermons
With the convenience of the internet, members unable to attend church no longer have to worry about the sermons they’ve missed. Those who did attend can listen again or share their favorite sermons when you archive them on your church website. The example below demonstrates using the Avada YouTube Video Element to showcase an online worship music video.

Using the Avada Live Builder, you can upload and showcase your sermons online using numerous methods, either in video format or audio. Avada includes three Video Elements (online streaming or self-hosted) and two Audio Elements.
Adding any of these Avada Elements is straightforward and can be added to any page or post, accessible publicly or restricted by password controls.
Summary
A website that doesn’t engage with its visitors can mean that the important events and community activities you have planned go unnoticed by your congregation. Here are the steps you can take to get creative and engage your church members with Avada: