How To Backup And Restore Your Avada Website
Last Update: November 19, 2025
Creating a backup of your website is arguably the most important task you have as a website administrator. Even if you don’t do it yourself, the golden rule is to make sure someone specifically has the responsibility of backing up your site. Don’t just assume your hosting will take care of it.
And a backup is not very useful to you, without knowing how to restore it in the case of an emergency. In this article, we will look at a few of the most popular backup plugins and services available for WordPress users. Let’s get started!
Why Do I Need To Backup?
If you want to ensure your website will be able to cope with all potential issues going forward, then taking backs is simply a no-brainer. There are numerous situations where backups will be useful Here are just a few.
So it’s clear there are many situations where a backup would not only be useful, but would be critical for your website. Now, let’s look at a couple of the most popular options for taking and restoring backups.
UpdraftPlus
UpraftPlus is a free WordPress plugin (there’s also a Premium version) for taking and restoring backups. It’s by far the most popular backup plugin around with over 3 million active installations.
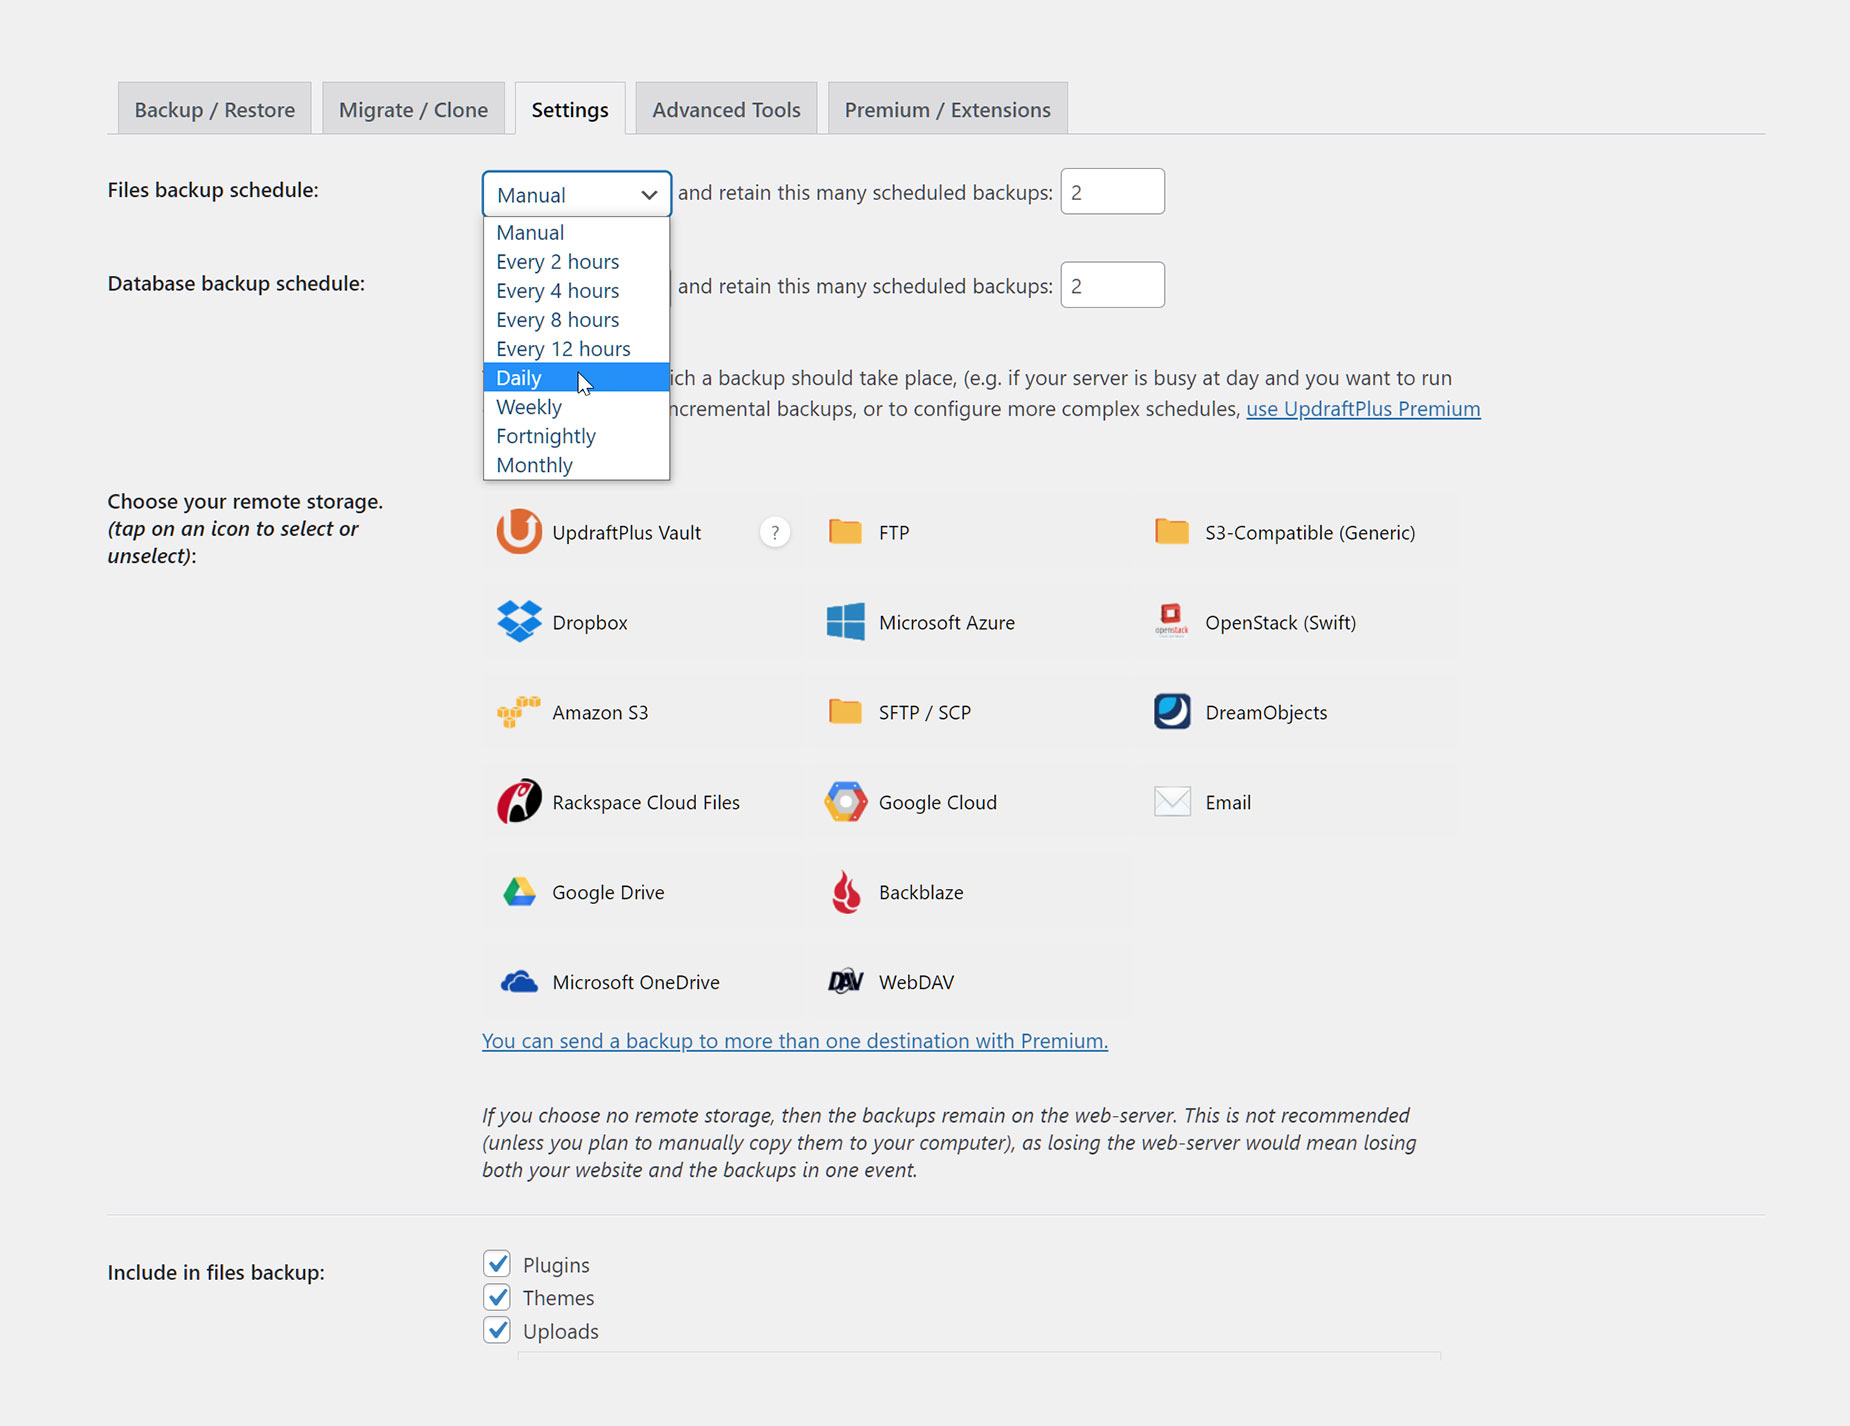
To get started with Updraft Plus is basically a two-step process.
– Select how often you want your files and database to be backed up.
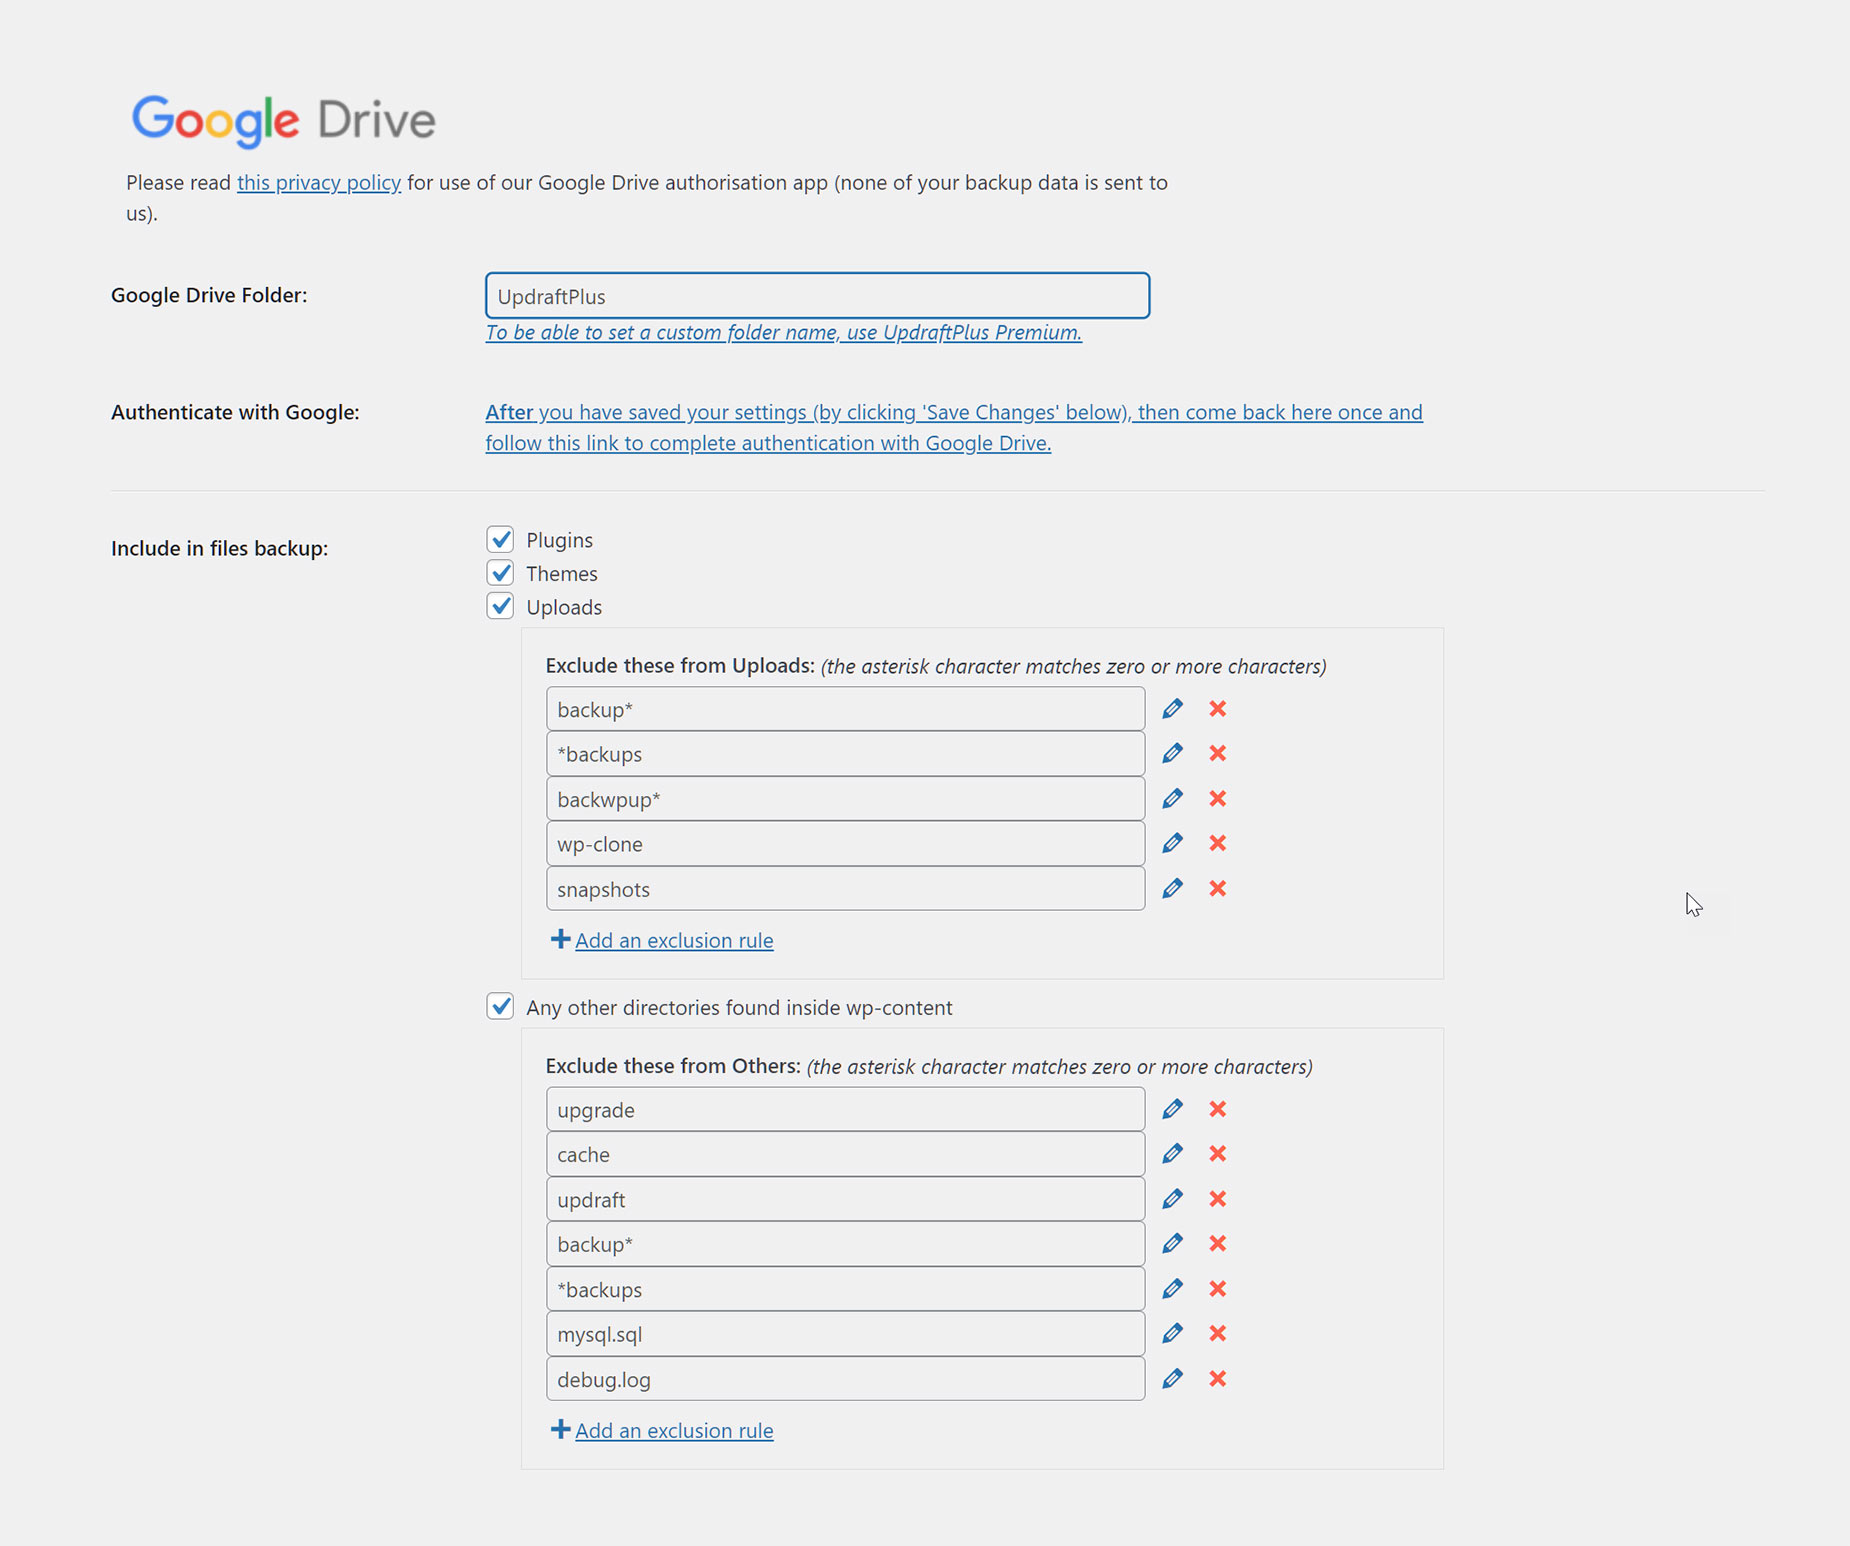
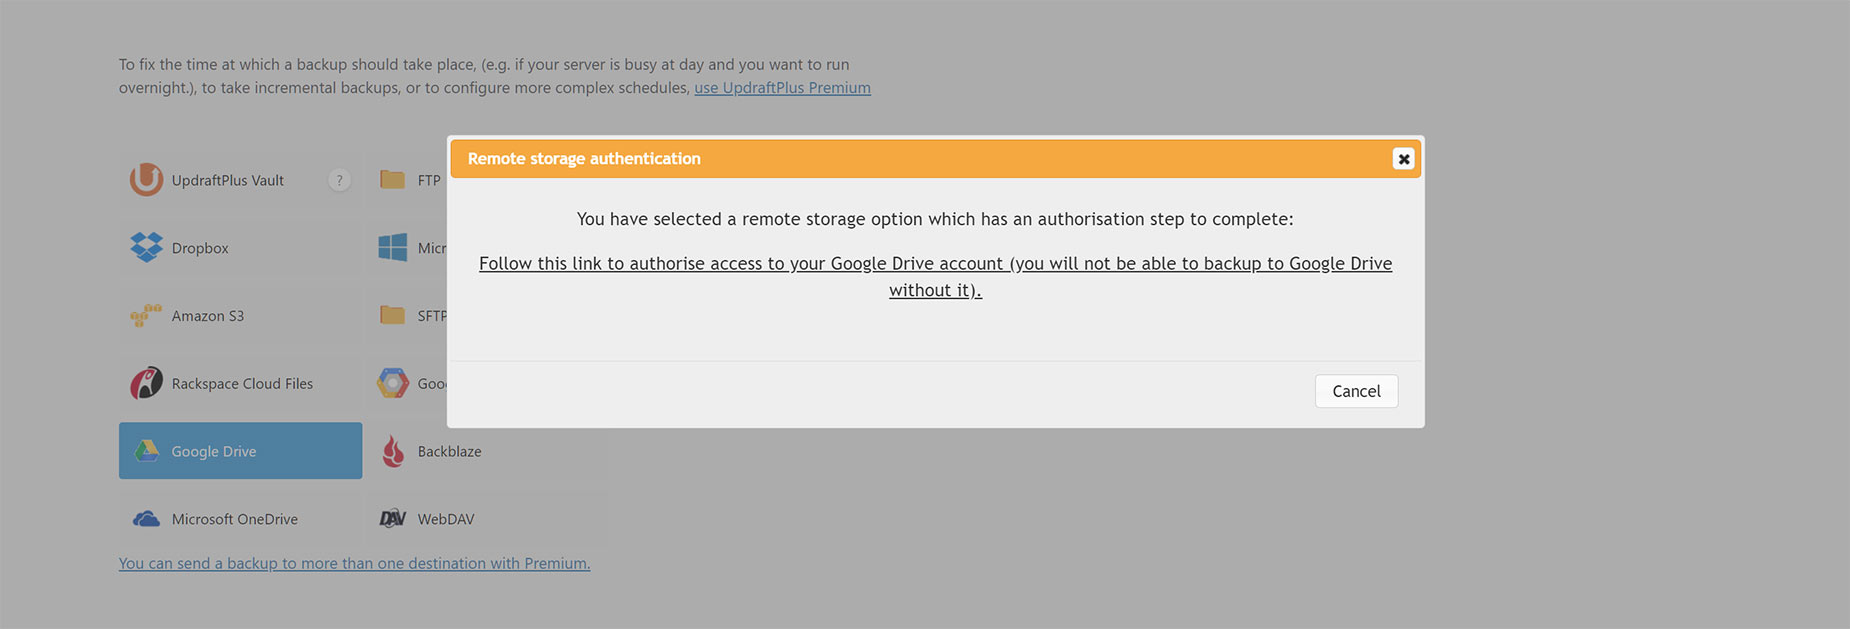
– Select Where you want them to be backed up.
You can make a manual backup, but the strength of UpdraftPlus is in the scheduling, so you’ll want to take advantage of that.
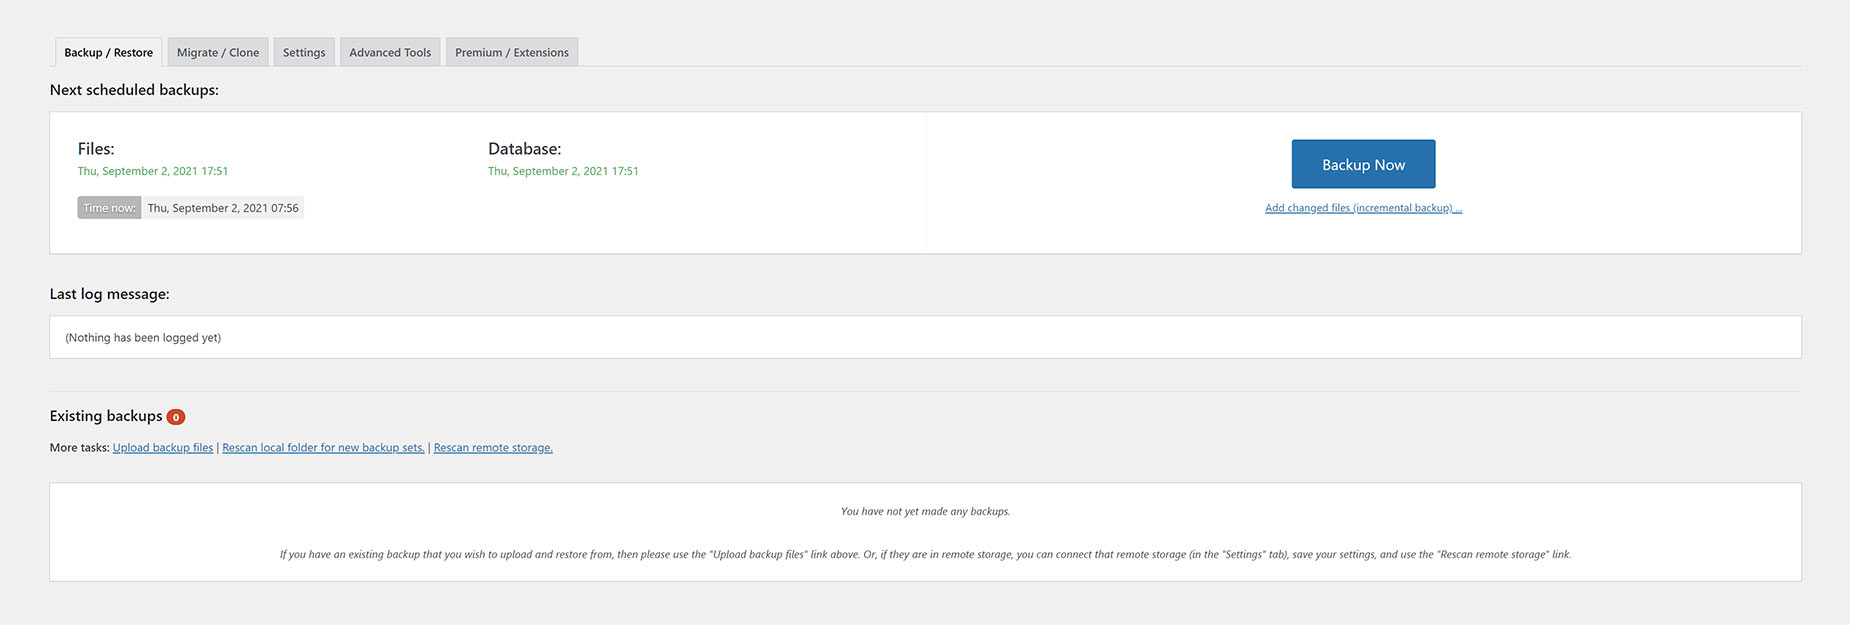
The backup begins and you can see the progress of the backup. Depending on the size of the site, this will take a few minutes to complete.

You are notified when the backup is completed, and your backup is now listed in the Existing Backups, ready for you to restore if neccesary.

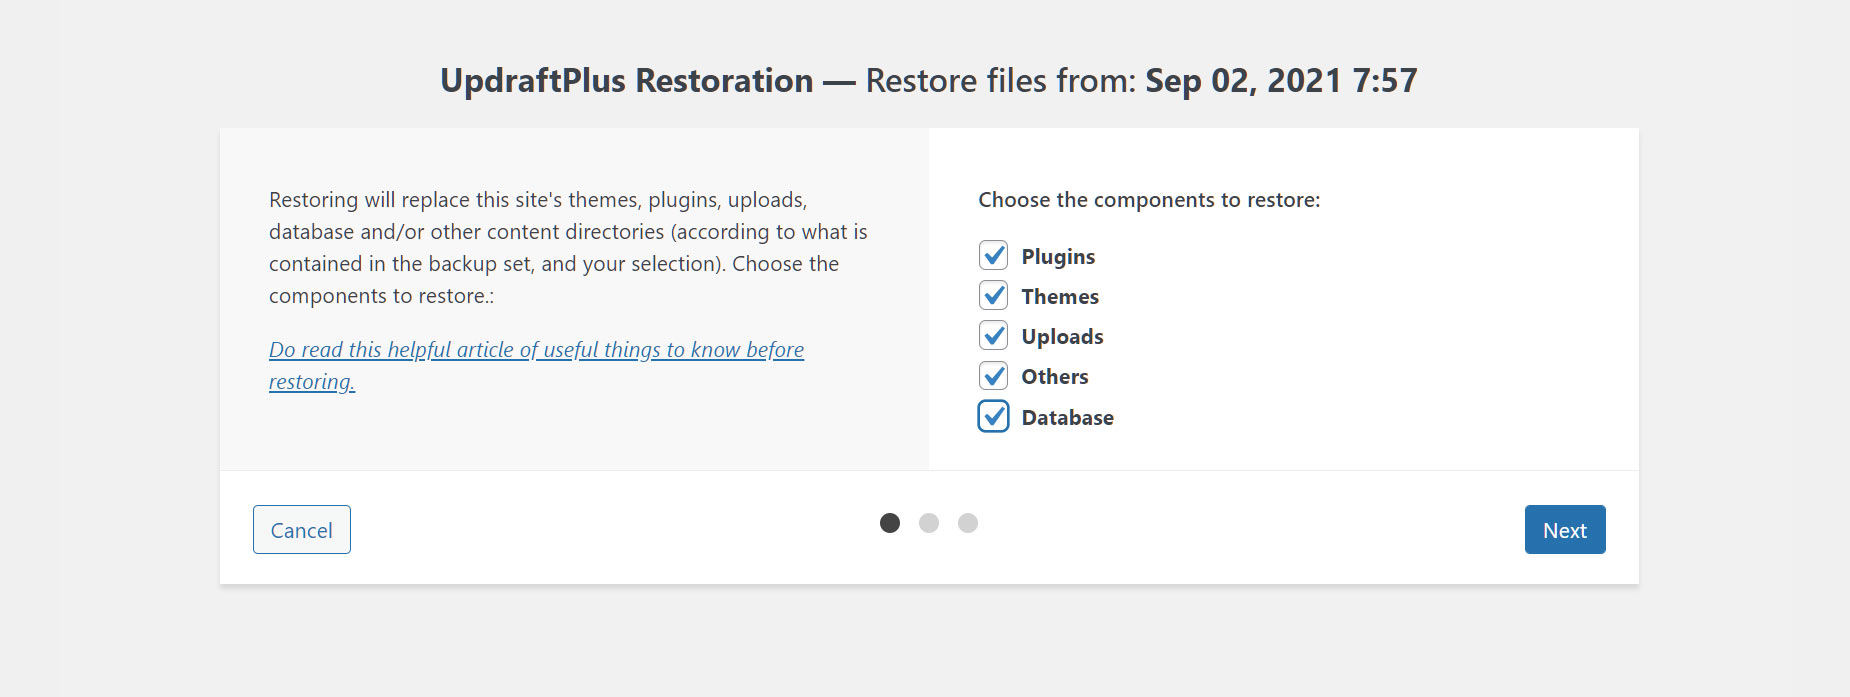
Restoring Backups
To restore a backup, it’s a simple step of choosing the backup you want to restore, and clicking of the blue Restore button. A dialog appears with restore options, and the restore process begins.
In the event that you can’t get back into WordPress to initiate the Restore porcess, never fear. You can use your saved backups to recreate your site. Please see this detailed article for how to do that.
Jetpack Backup (was VaultPress)
VaultPress has been the Gold Standard of backups for many years. It is owned and run by Automattic, so it’s almost an official part of WordPress. VaultPress is now moving over to be part of the Jetpack plugin, also made by Automattic.
Jetpack is a popular plugin that comes with a huge range of features, and backups are just one of these. This is a paid service with many different options, depending on the type of website you have. To get Jetpack Backups, you have to first connect your Jetpack plugin with your wordpress.com login. You then purchase the Plan you want, and your backups occur automatically. Restoring is just as easy.
To learn more about the Jetpack Backup service and process, see this page.
Other Methods
There are also a number of other methods to take a WordPress backup. The first of these is to take a manual backup. This is not nearly as complicated as many people think, but it’s still a method reserved for those familiar with working with server software. This goes beyond the scope of this document, but here is a good tutorial if you want to know more.
You may also have backup options directly with your hosting company. Some hosts offer easy to create and restore backups as part of their hosting plans, and this is an option you should investigate with your host.
Useful Docs
While these videos refer to website migration, the process is virtually the same as backup and restore, and might also fit your situation.


