How To Use The Container & Column Filter Options

Last Update: April 15, 2024

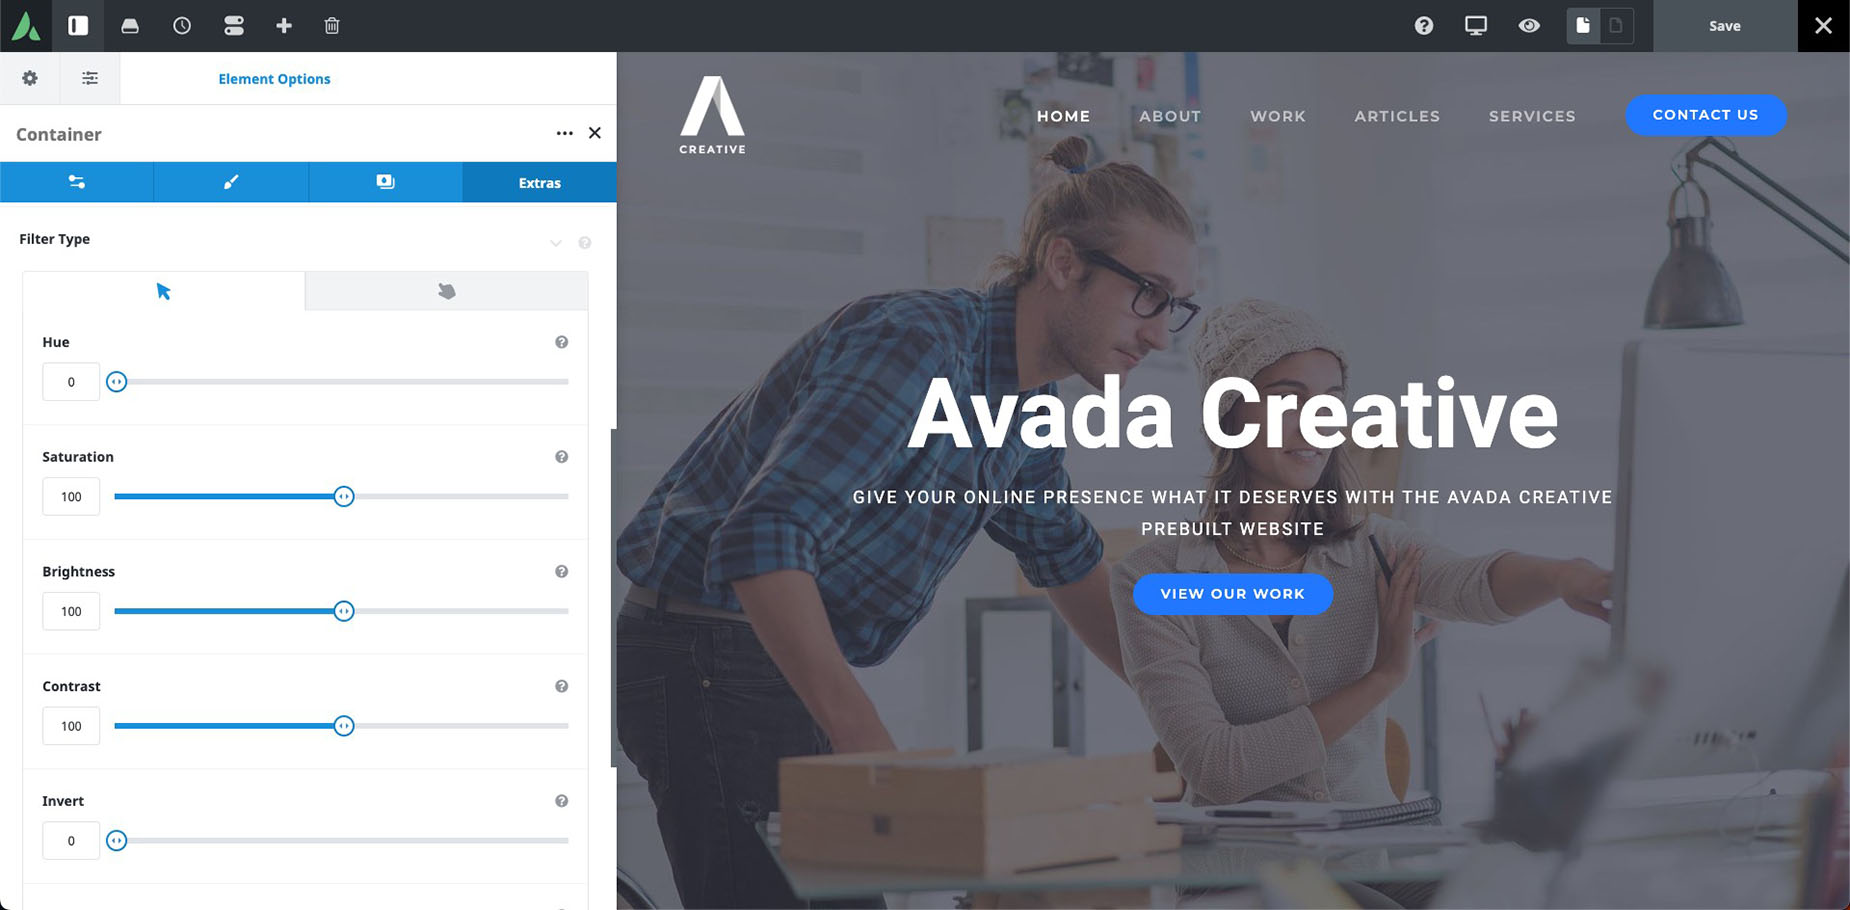
When using Avada, you have Filter Options in Containers, Columns and Nested Columns. These filters are similar to the ones found in Photoshop or other editing programs. There are eight filters in all, Hue, Saturation, Brightness, Contrast, Invert, Sepia, Opacity and Blur, and there are options to apply these on both the normal and the hover state of the container or column.

You can apply any or all of the filters concurrently, with complete separation between normal and hover state, and the filters applied on a column work independently, but also in conjunction with filters applied on the parent container (though usually, you’d probably be only applying them to one of them). Filters affect not only the containers and columns, but also the content in them (and the controls for that column or container in the live builder). Read on to find out more about the filters, and watch the video below for a visual overview.

For privacy reasons YouTube needs your permission to be loaded.
I Accept

Where To Find Them

The filter options are found under the Extras tab, in Containers, Columns, and Nested Columns. There are eight in all, and they can be applied on both the normal and the hover state of the container or columm. Let’s go through them one at a time to see what they do.

Container & Column Filters

The Filters

  • Hue – The Hue Blend Mode preserves the luminosity (brightness) and saturation (the intensity of the color) of the base pixels while adopting the hue (the color itself) of the blend pixels. Hue can be used to change hues in an image while maintaining the tones and saturation of the original. The slider travels the full 360 degrees of the color wheel.

  • Saturation – The Saturation Blend Mode preserves the luminosity and hue of the base layer while adopting the saturation of the blend layer. The slider is set to 100 by default, and can go down to 0 to fully desaturate an image, and up to 200 to fully saturate the image.

  • Brightness – The Brightness (luminosity) Blend Mode preserves the hue and saturation of the base layer while adopting the luminosity of the blend layer. The slider is set to 100 by default, and can go down to 0 to fully reduce the luminosity an image, and up to 200 to fully increase the luminosity of an image.

  • Contrast – The Contrast Blend Mode increases or decreases the contrast in the image, by lightening or darkeing the lightest pixels and lightening or darkeing the darkest pixels. The slider is set to 100 by default, and can go down to 0 to fully reduce the contrast of an image, and up to 200 to fully increase the contrast of an image.

  • Invert – The Invert Blend Mode inverts all of the colors in the image, making each color its exact opposite color, for example, replacing greens and browns with magentas and blues. The slider is set to 0 by default, and can go up to 100 to fully invert the colors in the image.

  • Sepia – The Sepia Blend Mode effectively reduces an image to greyscale (black & white) and adds a mid brown color filter over the image, originally designed back in the mid 1800s to warm black and white images.  The slider is set to 0 by default, and can go up to 100 to fully desaturate and apply a sepia tone to the image.

  • Opacity – The Opacity Blend Mode gradually increases transparency into the image. The slider is set to 100 by default, which is fully opaque, and can go down to 0 to make the image fully transparent.

  • Blur – The Blur Blend Mode adds a Gaussian blur to the image as the slider is increased. The slider is set to 0 by default, and can up to 50 to fully blur the image.