How To Use The Avada Live Navigator
Last Update: April 16, 2026
The Avada Live Navigator is a handy sidebar map of the page or post content that lets you see and manage every Container, Column, and Avada Design Element while you’re working in the Avada Live Visual Builder interface. Think of it like a clean, collapsible layers panel: you can jump to any part of the layout with one click, rename Elements to stay organized, and drag-and-drop to reorder or nest content without hunting around on the canvas.
The Navigator is helpful on long, complex pages when searching for an Element, toggling visibility, duplicating or deleting, and quickly accessing settings from one place. With real-time syncing to the page, the Navigator keeps your workflow fast and tidy so that you can build precise, professional layouts with total confidence—no coding required.
How To Access The Avada Live Navigator
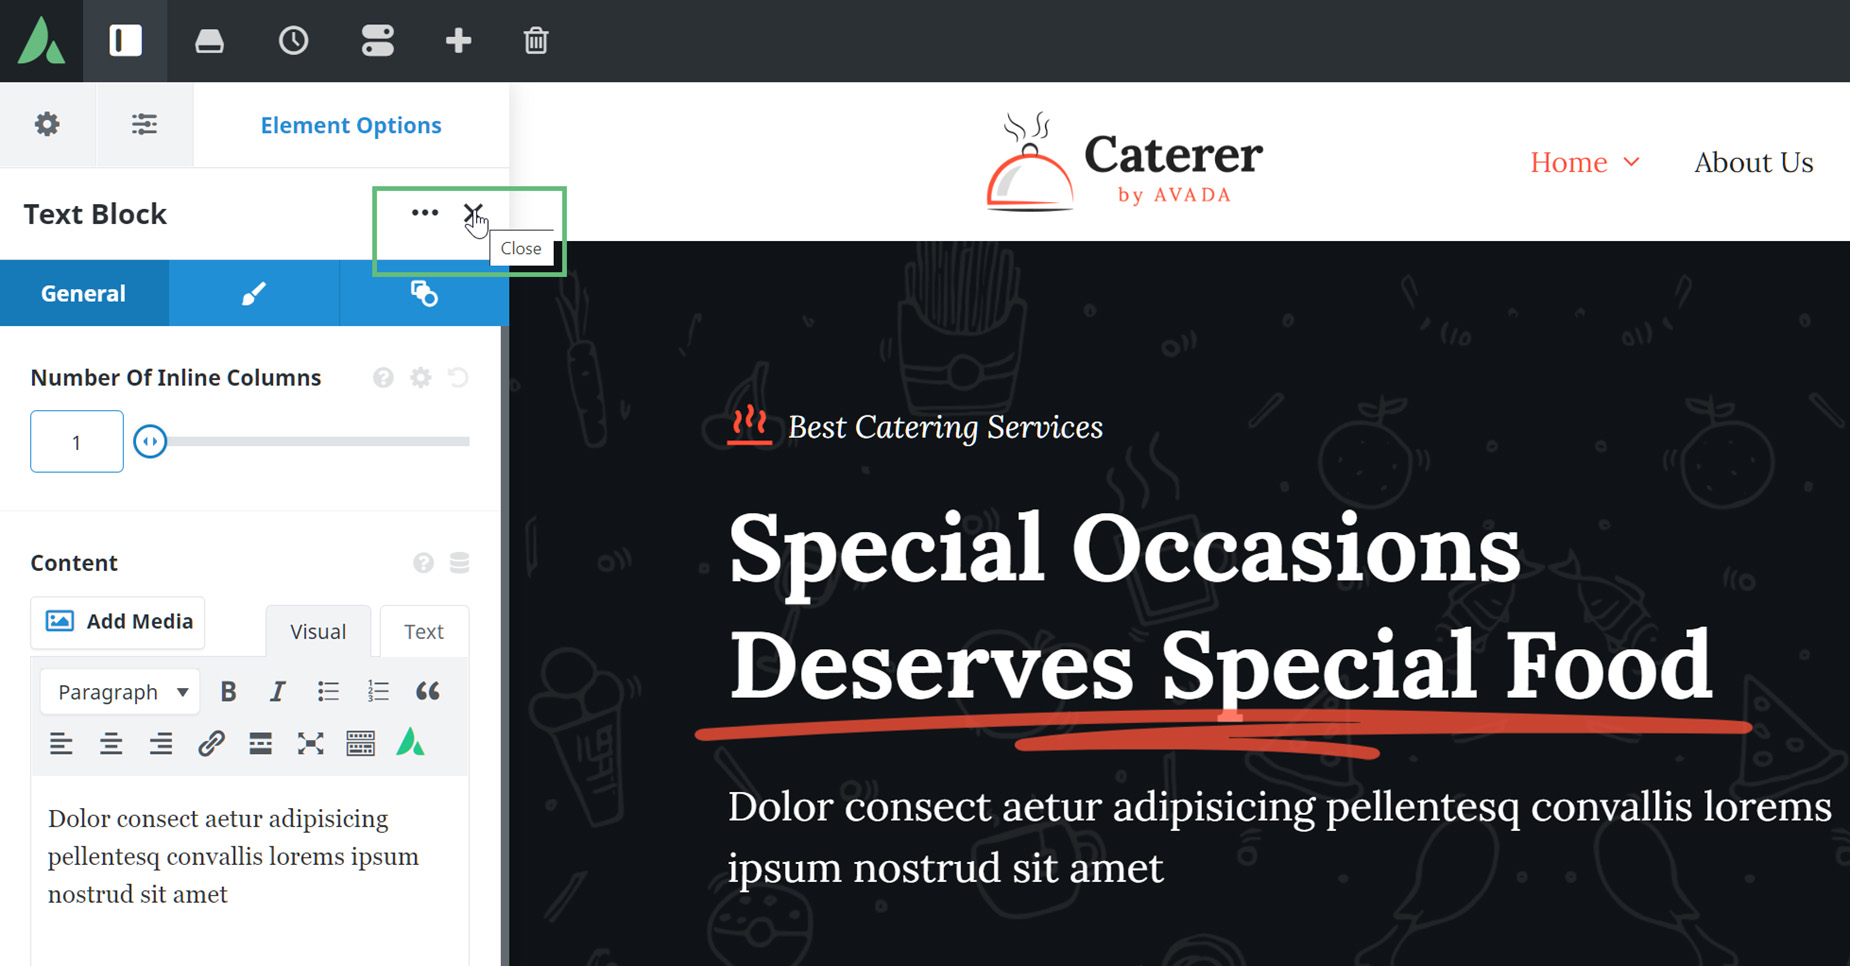
By default, the Avada Live Editor opens with the Sidebar open to the Navigator, which shares the third tab with the Element Controls. If you edit an Element, the Navigator will be replaced by the Element Controls. To view it again, close the Element Controls, and it will reappear.
Live Navigator Tools & Functions
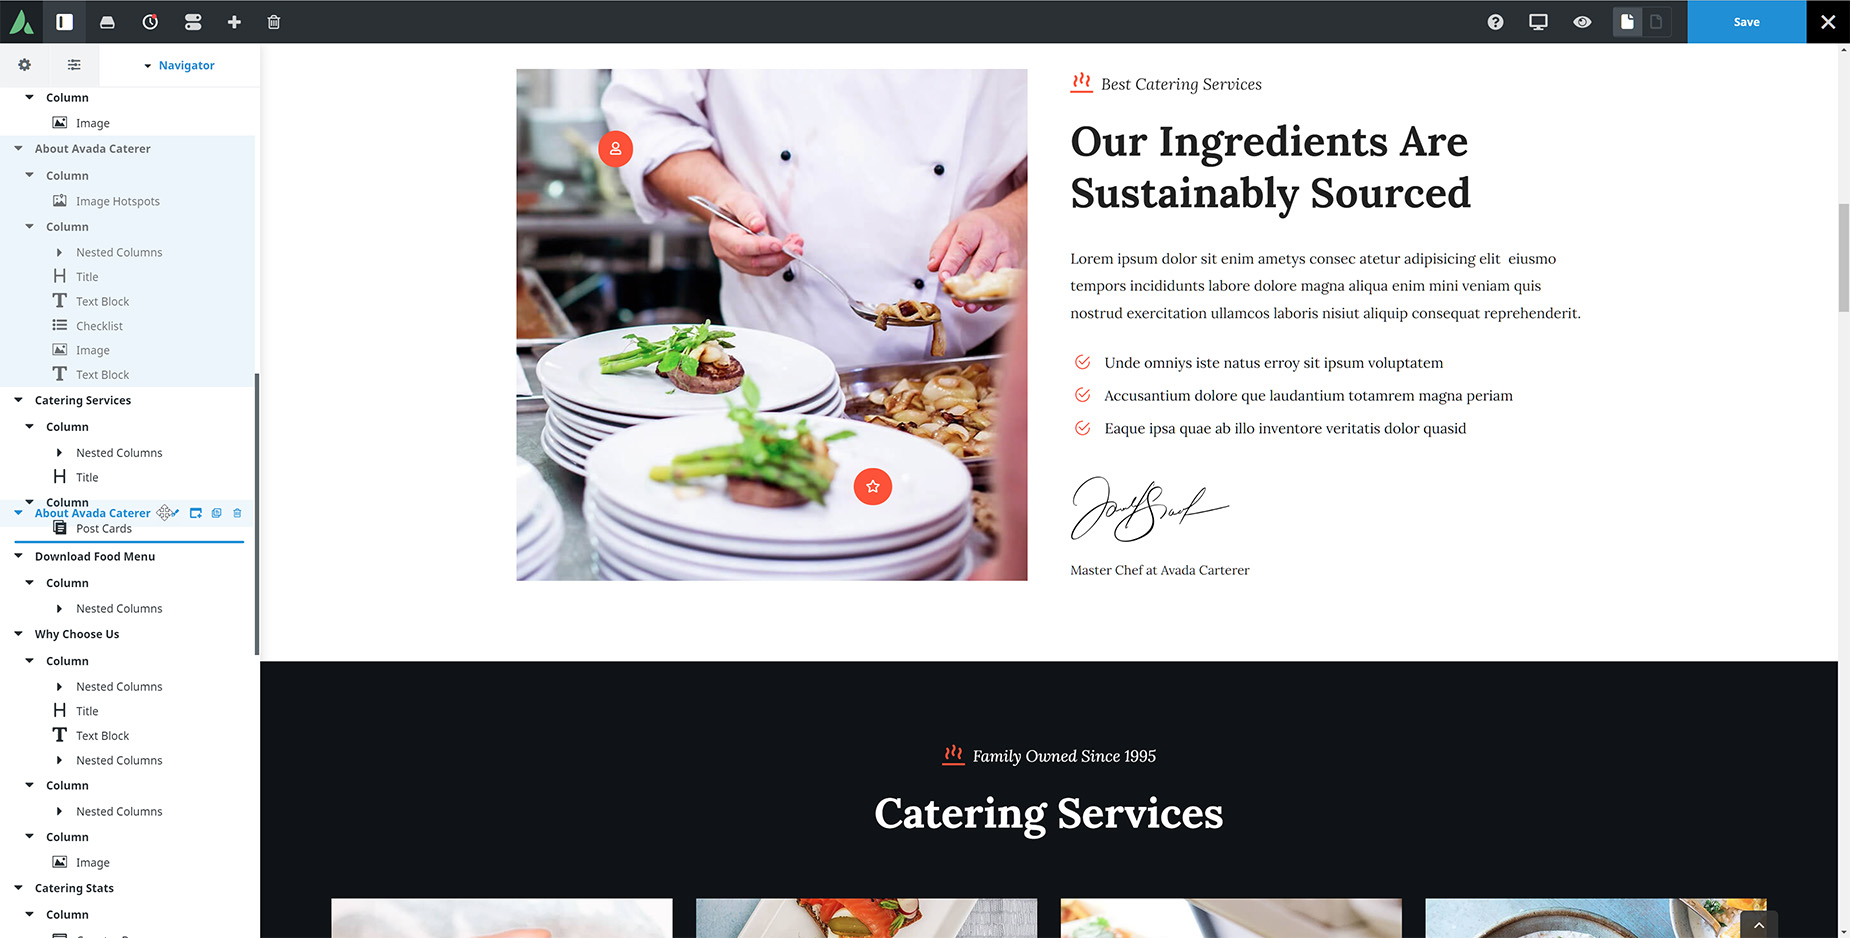
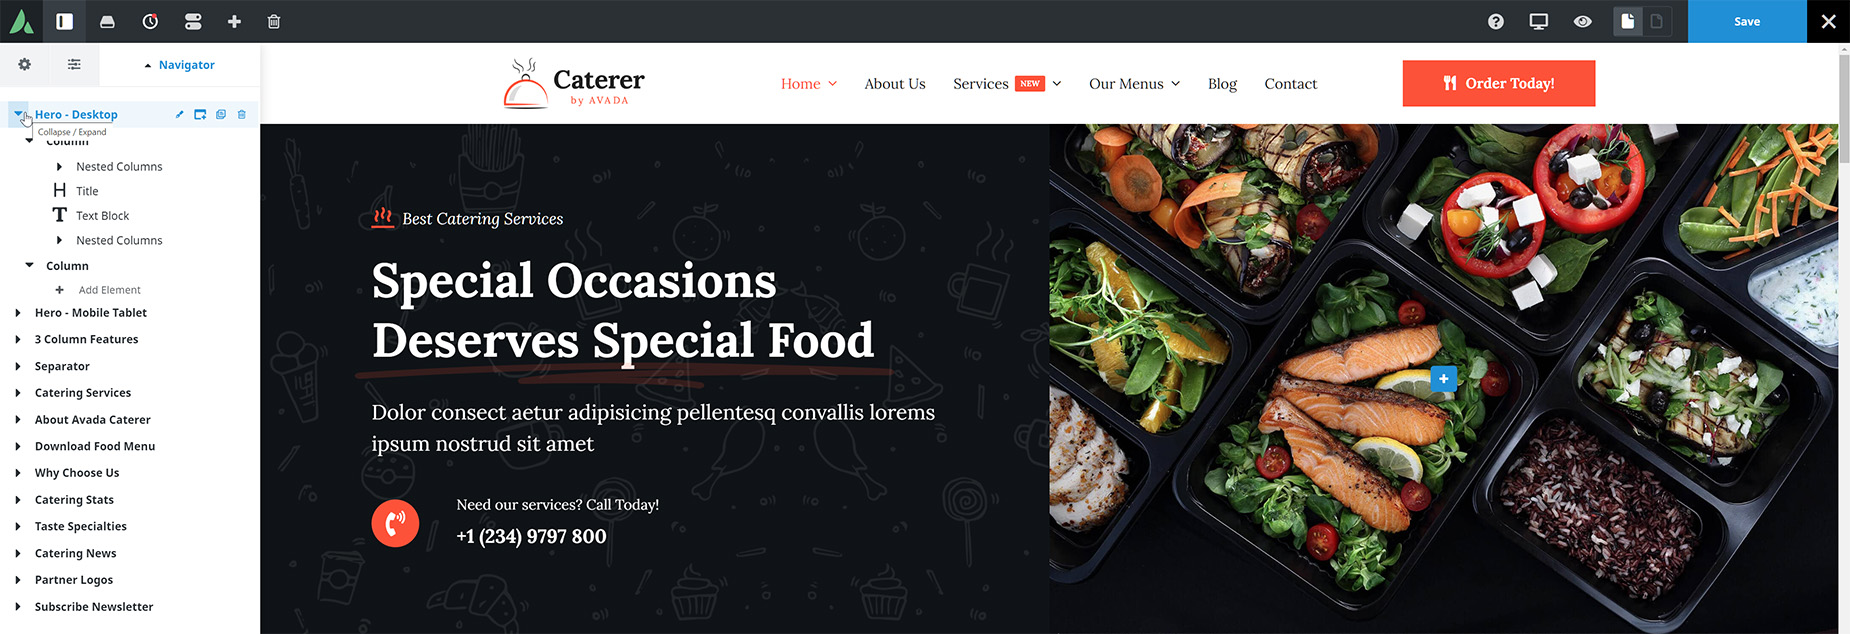
If you mouse over any Avada Element (including Containers and Columns), you will see a range of tools appear next to the title of that Element. Here, you can Edit, Add, Clone, or Delete. If you click the title, the selected Element will be temporarily highlighted on the page, as seen in the screenshot below.
↘ Element Search
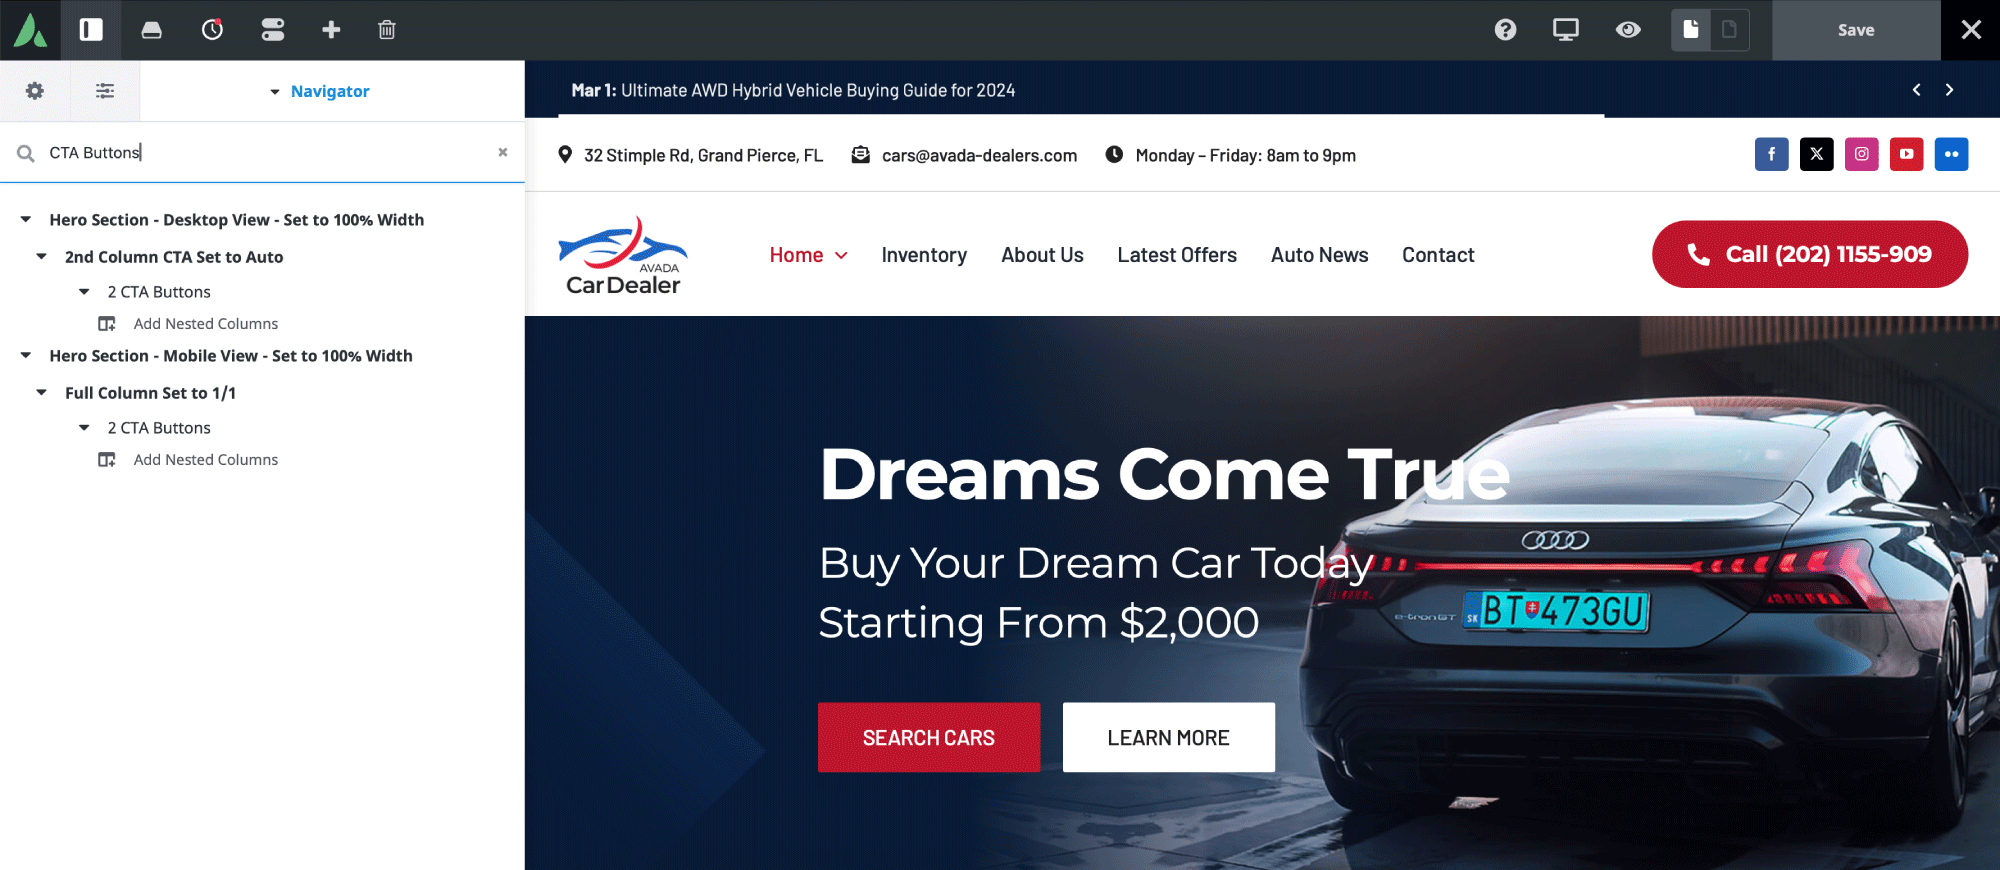
The Live Navigator includes a comprehensive search feature that further improves usability by allowing users to locate specific Elements by name quickly.
At the top of the Navigator panel, a search field lets users filter items by name. For example, searching for “CTA Buttons” will display only the Avada Button Elements on the page whose titles contain “CTA Buttons”.
↘ Easily Rename Elements
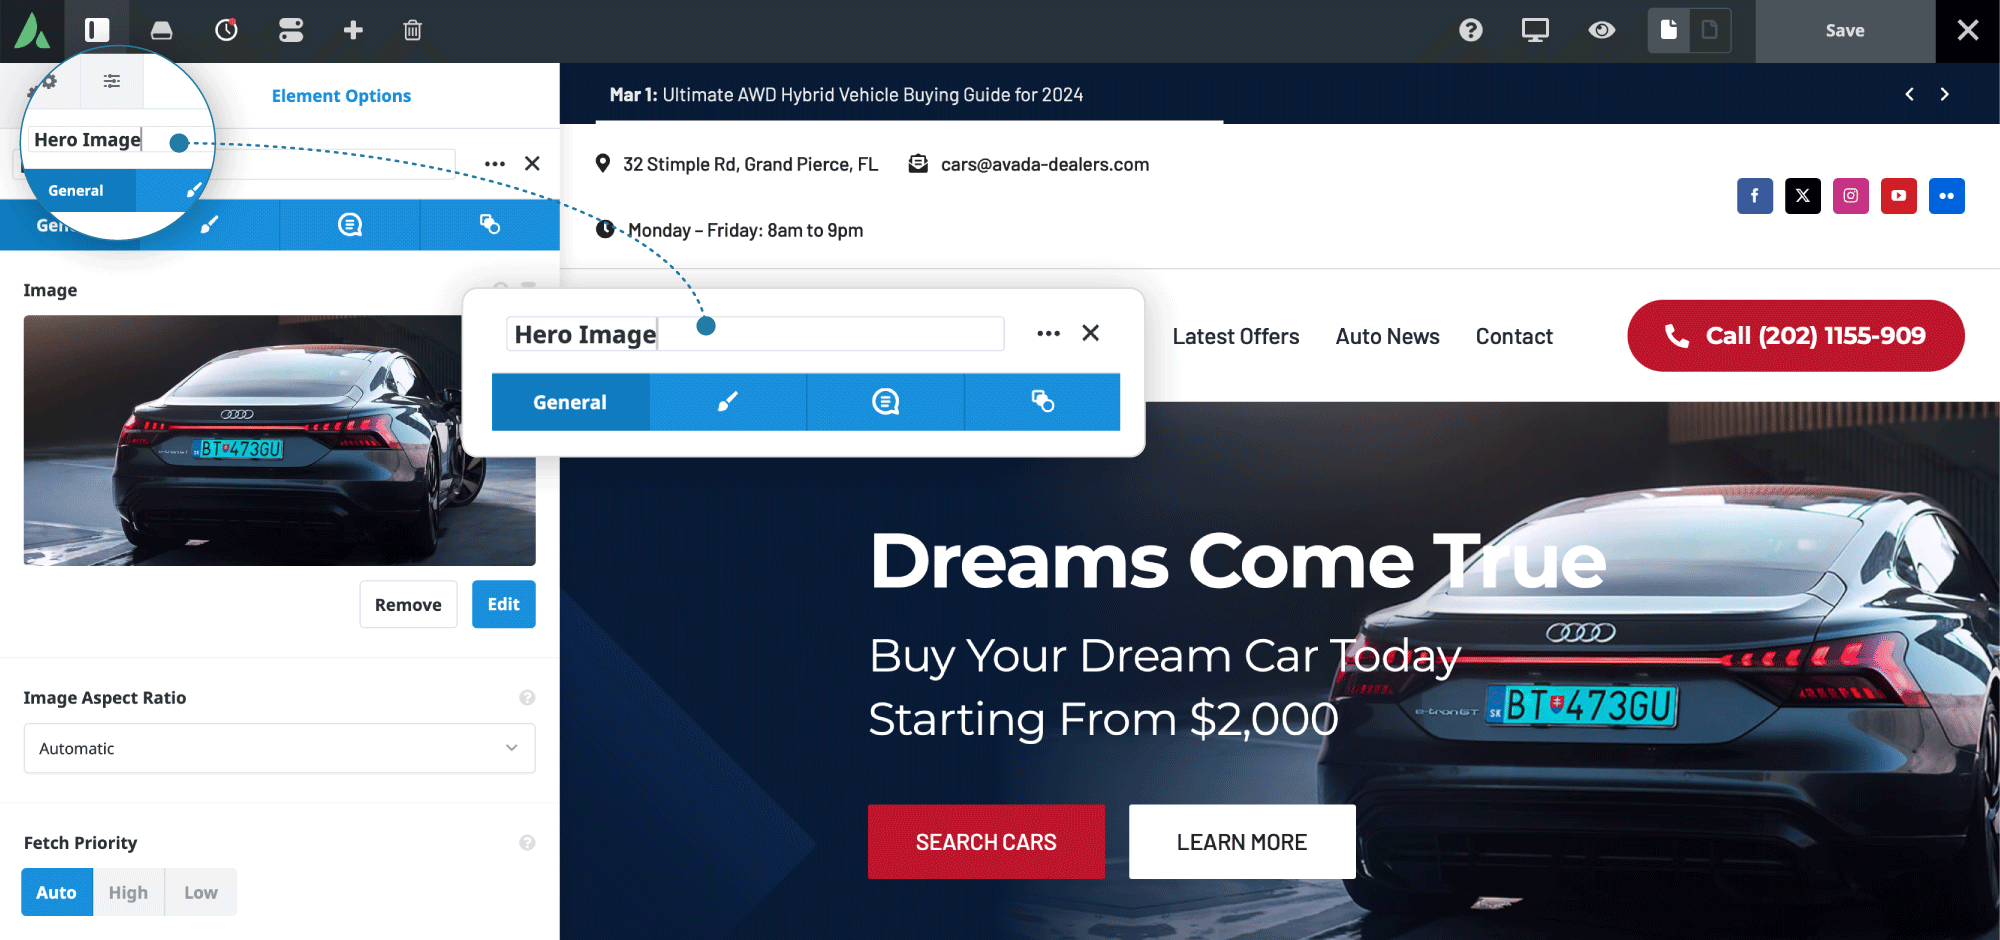
After selecting any Container, Column, or Element, the name field appears at the very top of its settings panel. From there, users can type a custom name that reflects the item’s content or function.
As soon as the custom text/label is entered and the panel is closed, the updated custom text/label appears instantly in the Avada Live Visual Builder Navigator. This seamless workflow makes it easy to rename Elements as you build, without interrupting your design process.
↘ Edit, Add, Clone, or Delete
Moving your cursor over an Element highlights it in blue and reveals a selection of icons. Here, you can Edit, Add, Clone, or Delete the Element.

If you click the light blue highlight, the selected Element will be temporarily highlighted on the page, as seen in the screenshot below.

↘ Collapsing/Expanding Elements
There are collapse/expand controls on each Element, including one at the very top of the Navigator. This collapses the content to the Container level. You can also expand or collapse an Element on the page individually.
↘ Positioning Elements (Drag & Drop)
You move any Avada Element on the page by selecting it and dragging it to its new location. A line shows you where the Element can be dragged. In the screenshot below, the “About Avada Caterer Container” is being repositioned under the “Catering Services Container”.