How To Setup HubSpot Live Chat With Avada
Last Update: November 4, 2025
What is HubSpot?
HubSpot is an inbound marketing and sales cloud-based software suite, and their free plugin is now one of Avada’s Recommended Plugins, and it needs to be added to any import of the new Avada Consultant Prebuilt Website, for full replication of the online website.
The HubSpot tools and service offerings help companies and individuals attract visitors, convert leads, control their marketing efforts, manage their sales processes, and so much more. Using HubSpot with the Avada Website Builder gives you the confidence to turn your site into a marketing powerhouse.
What is Live Chat?
HubSpot is loaded with features, and it’s one of these we will look at in this document – Live Chat. With Live Chat you can create a chatflow with live chat to connect visitors directly with members of your team. The live chat will appear as a widget on your website pages that visitors can click to start a real-time conversation with someone on your team. Read on to see how to set HubSpot up for a live chat with your website users, or watch the video for a visual overview.
Importing A Prebuilt Website With HubSpot Live Chat
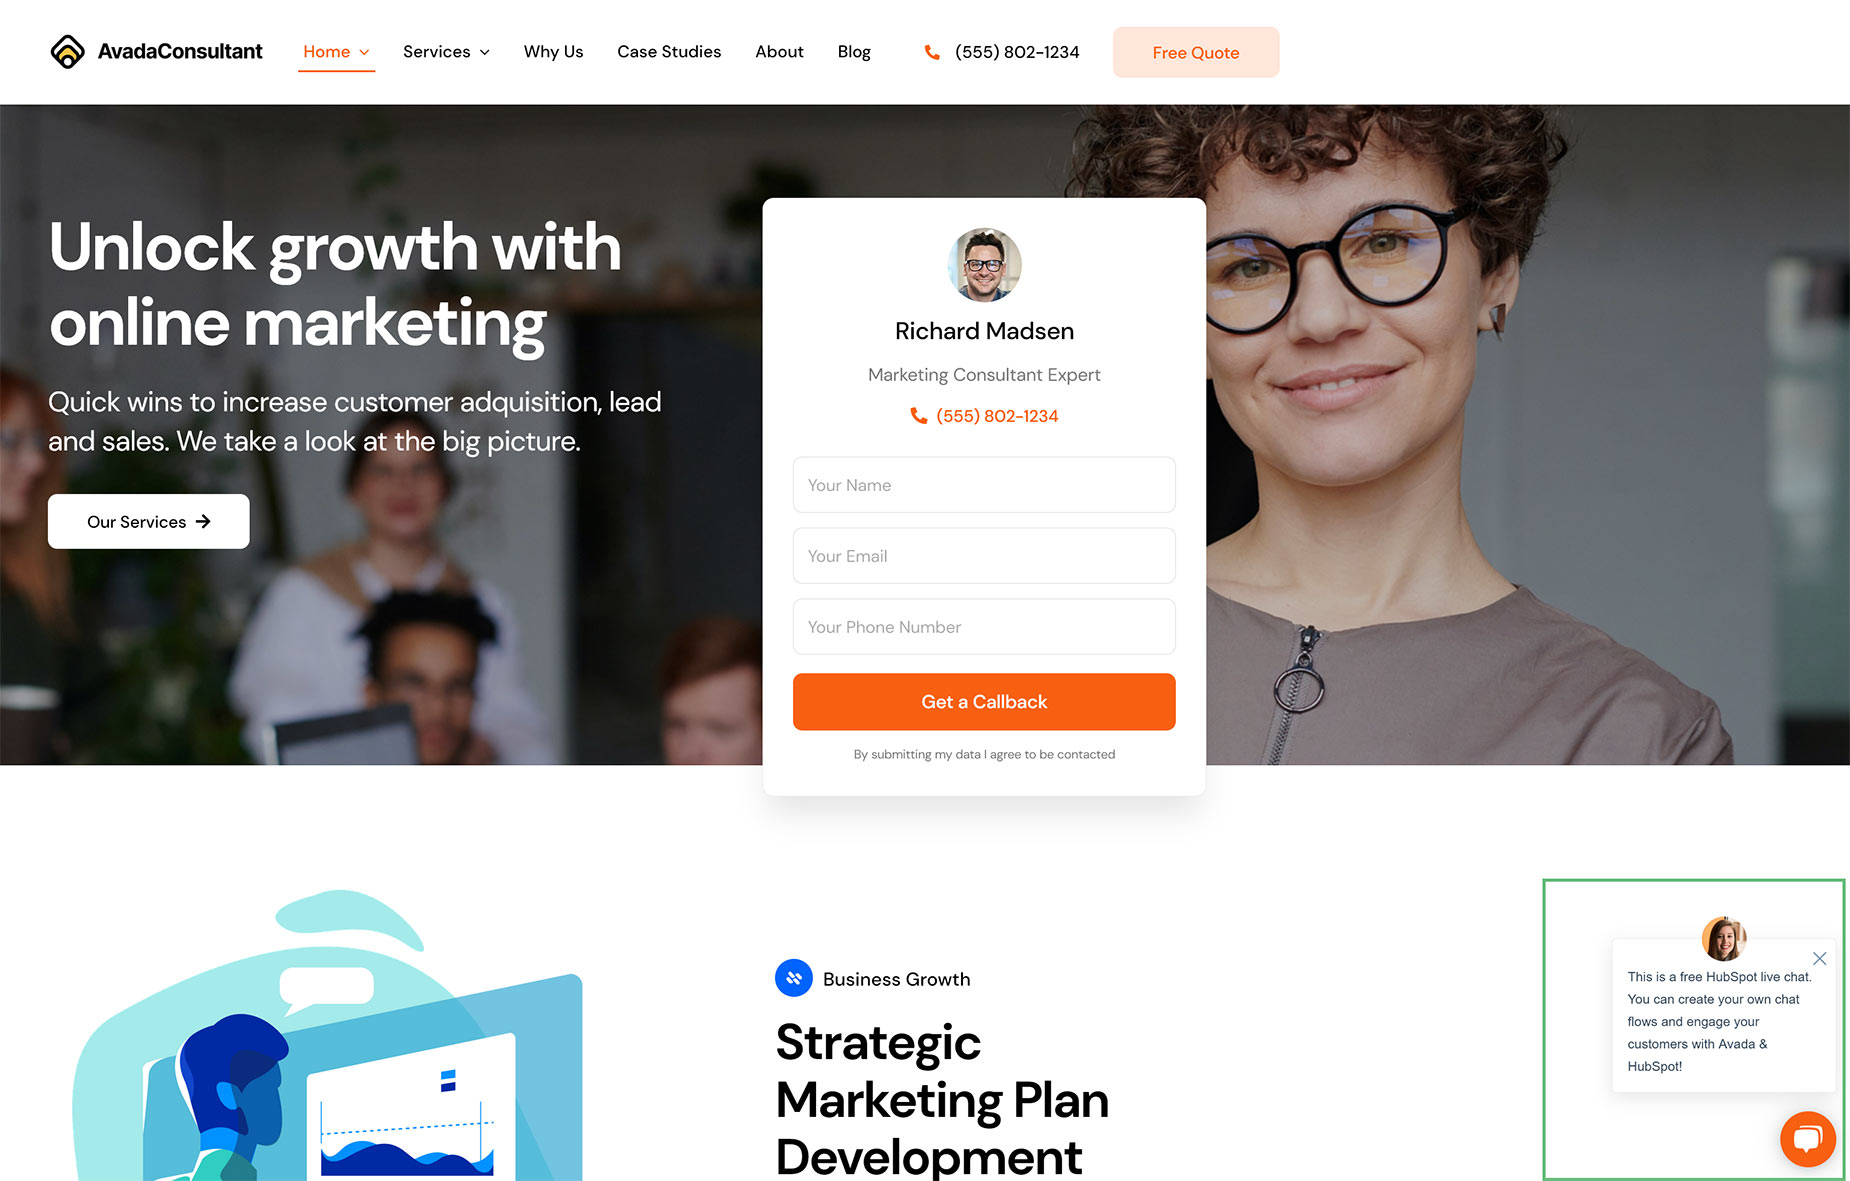
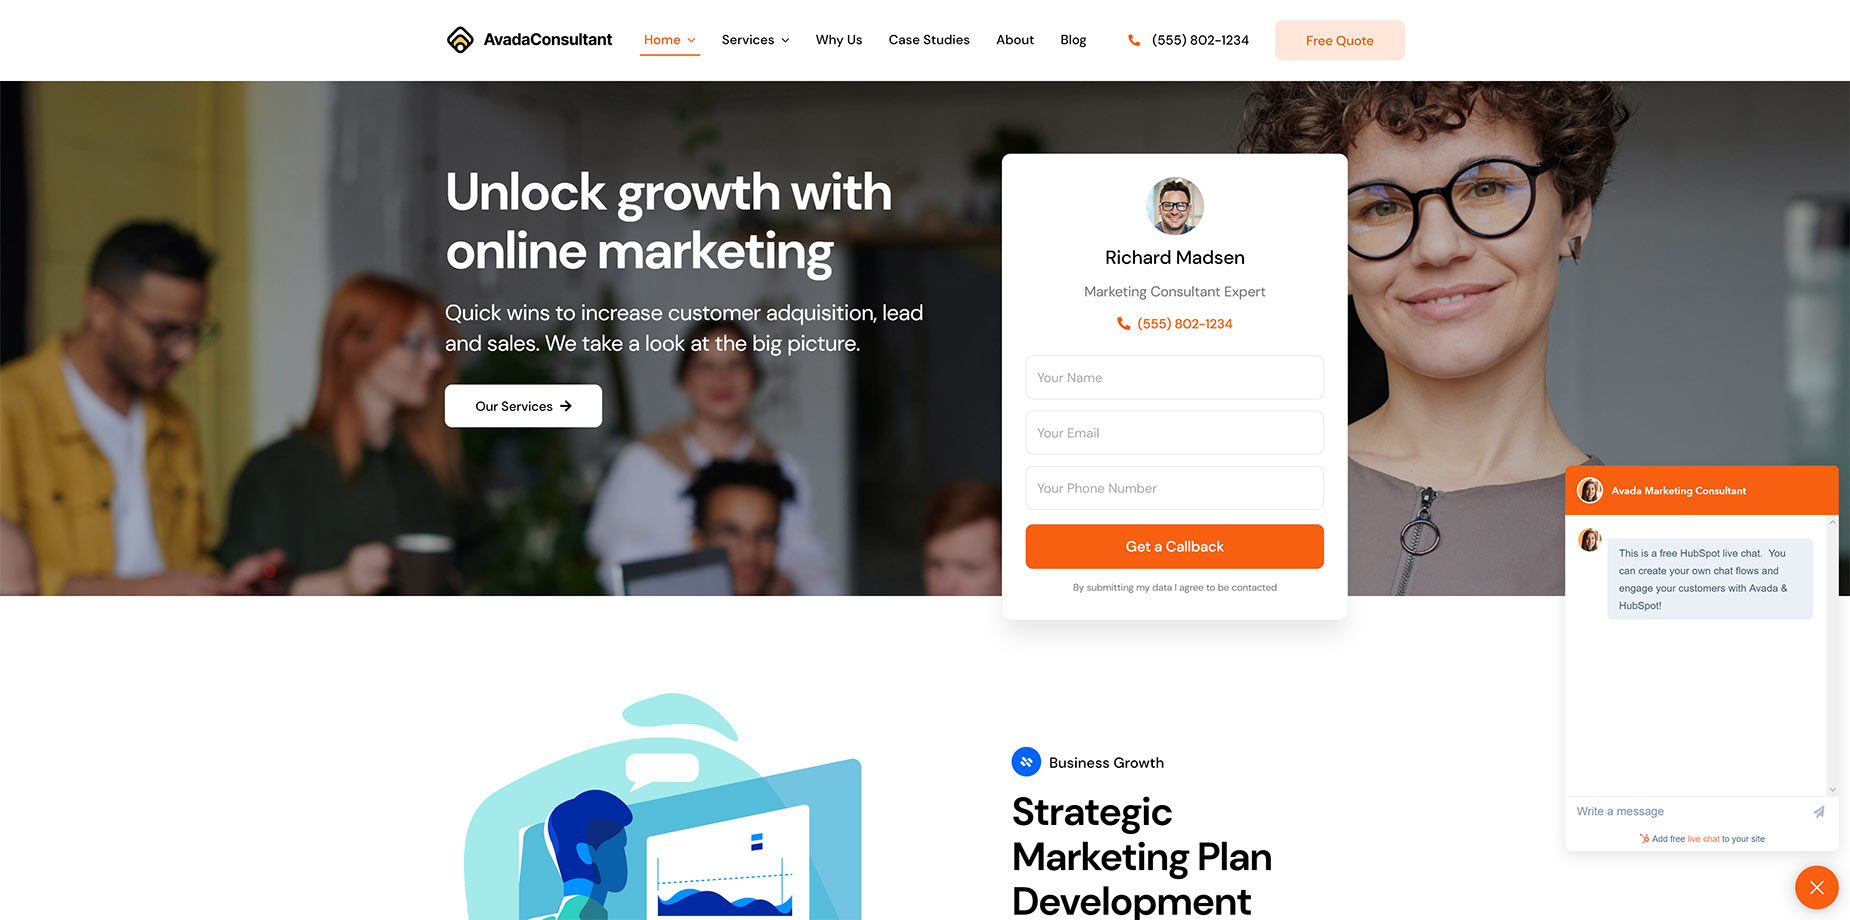
As mentioned before, some Prebuilt Websites require the HubSpot plugin installed to achieve full replication of the online experience. In the Avada Consultant website for example, we have added Live Chat to the site, as you can see in the bottom right corner of the screenshot below.
The HubSpot plugin is added during the Website import, but you will still need to connect your account and configure Live Chat. Please see Setting Up HubSpot in Avada for more info on the initial steps of adding an account.
How To Add HubSpot Live Chat To An Existing Site
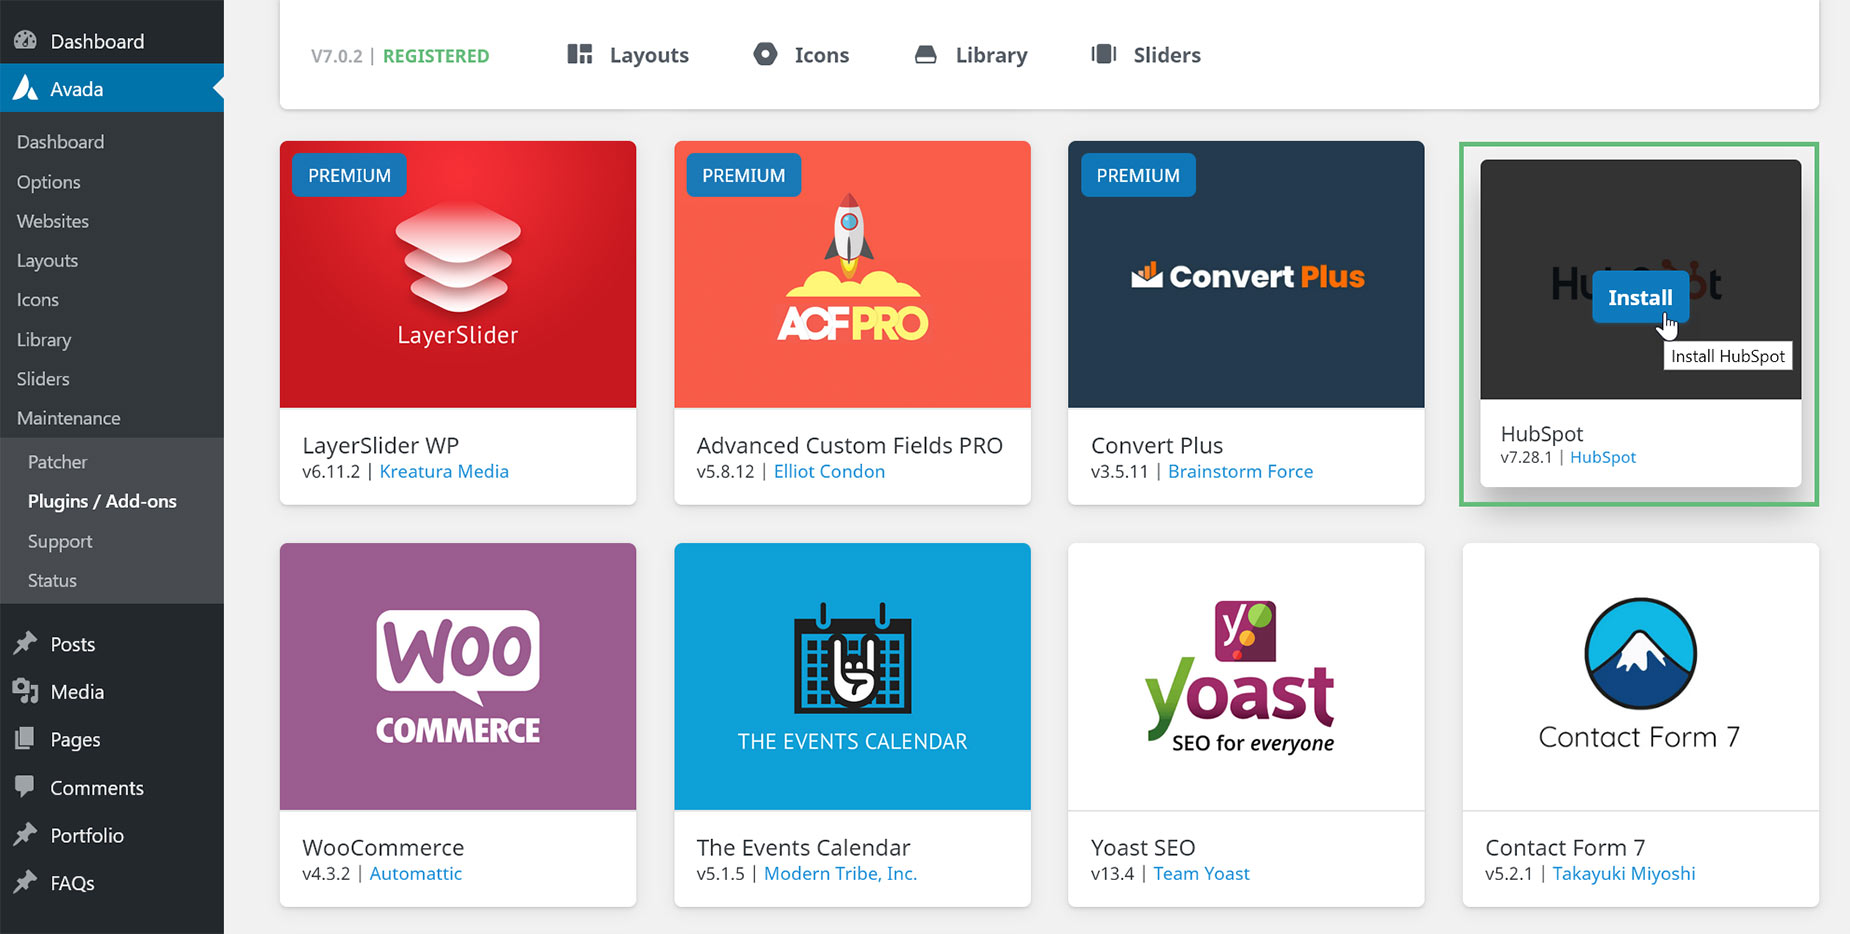
If you already have an existing site you’d like to add Live Chat to, you need to add the HubSpot plugin to your site, which you can do with one click on the Avada > Plugins / Add-ons page. Then you simply need to register for an account, and then you can add the Live Chat feature. Please see How To Use HubSpot With Avada for more info on HubSpot, installing the plugin, and the initial steps of adding an account.
How To Configure The Conversations Inbox
Once you have installed the HubSpot plugin and connected your account, you are ready to configure your HubSpot account for live chat.
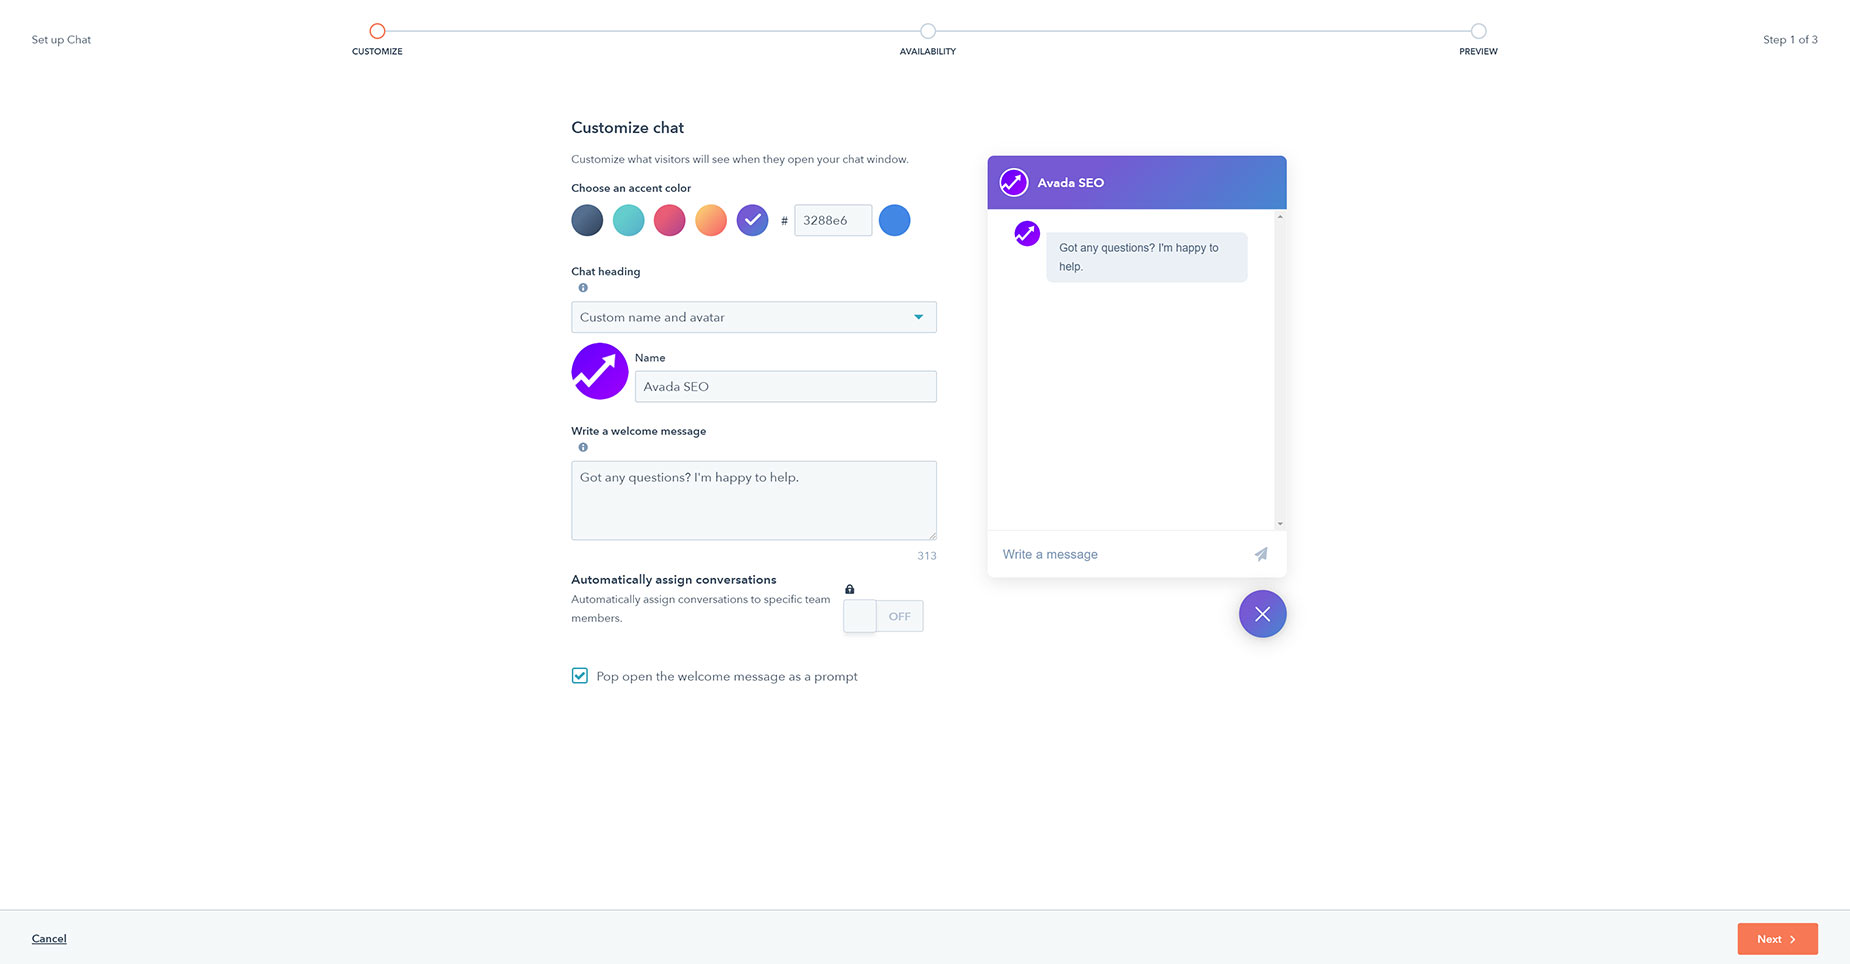
The first thing to do is to edit and configure your default Conversations Inbox. A conversation inbox streamlines and centralizes communication with your contacts. You can connect team emails and/or chat channels to the inbox, and then view, reply, and manage all conversations from each channel in one place. Let’s walk through it.
Start Chatting!
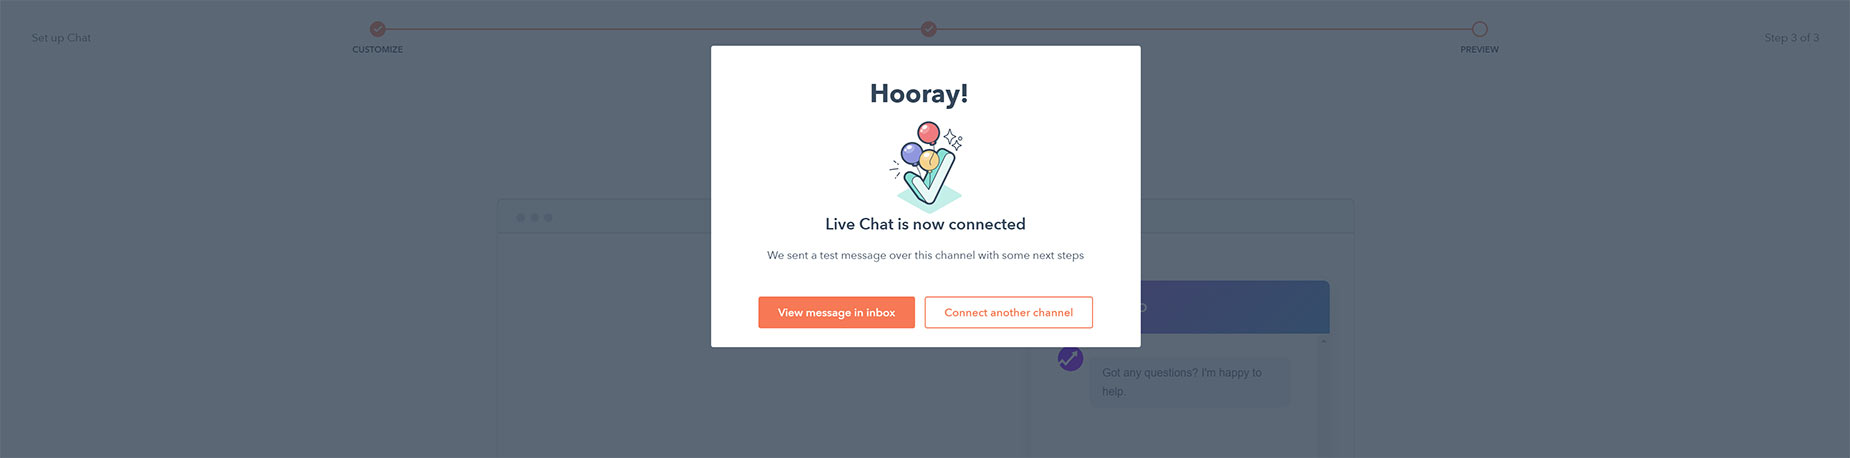
That’s it. You can now return to your website front end, and refresh, and the live chat box will display according to your settings.
HubSpot Resources
HubSpot has a huge amount of resources, and an in-depth Help Section, found at https://help.hubspot.com/. Please see the following two sections that relate to Accounts and Live Chat.


