How to Migrate Your Website With Duplicator
Last Update: October 31, 2025
This document will walk you through how to migrate your website from a local install to a live server, or from one server to another, using the Duplicator plugin as our example tool. Essentially though, regardless of where you are moving a site from and to, and which method you are using, the process will remain the same. Effectively, we are taking a backup of a site in one place, and restoring that backup in another place.
Read on for a step by step walkthrough of How To Migrate Your Website With Duplicator.
Installing The Plugin
Duplicator is available in the WordPress repository. This means it can be installed and activated directly from WordPress. Navigate to the Plugins > Add Plugin page and search for ‘Duplicator’. When it shows on the page, you just need to click Install, and then when that is finished, you will need to click Activate. The plugin is now installed, and can be accessed from the WordPress Main Menu.
Settings
It’s always a good idea to go through the Settings when having installed a new plugin.
For the Free version of Duplicator, only the General and Packages tab have any relevance. The default settings are going to be ok for almost everyone, but go through them to see what’s possible. Once you have done that, you’re ready for Stage 1, which is ‘Creating a Package’. This is essentially taking a backup of your entire site, and this step applies to both scenarios; i.e. moving a local install to a server and moving a site from one server to another.
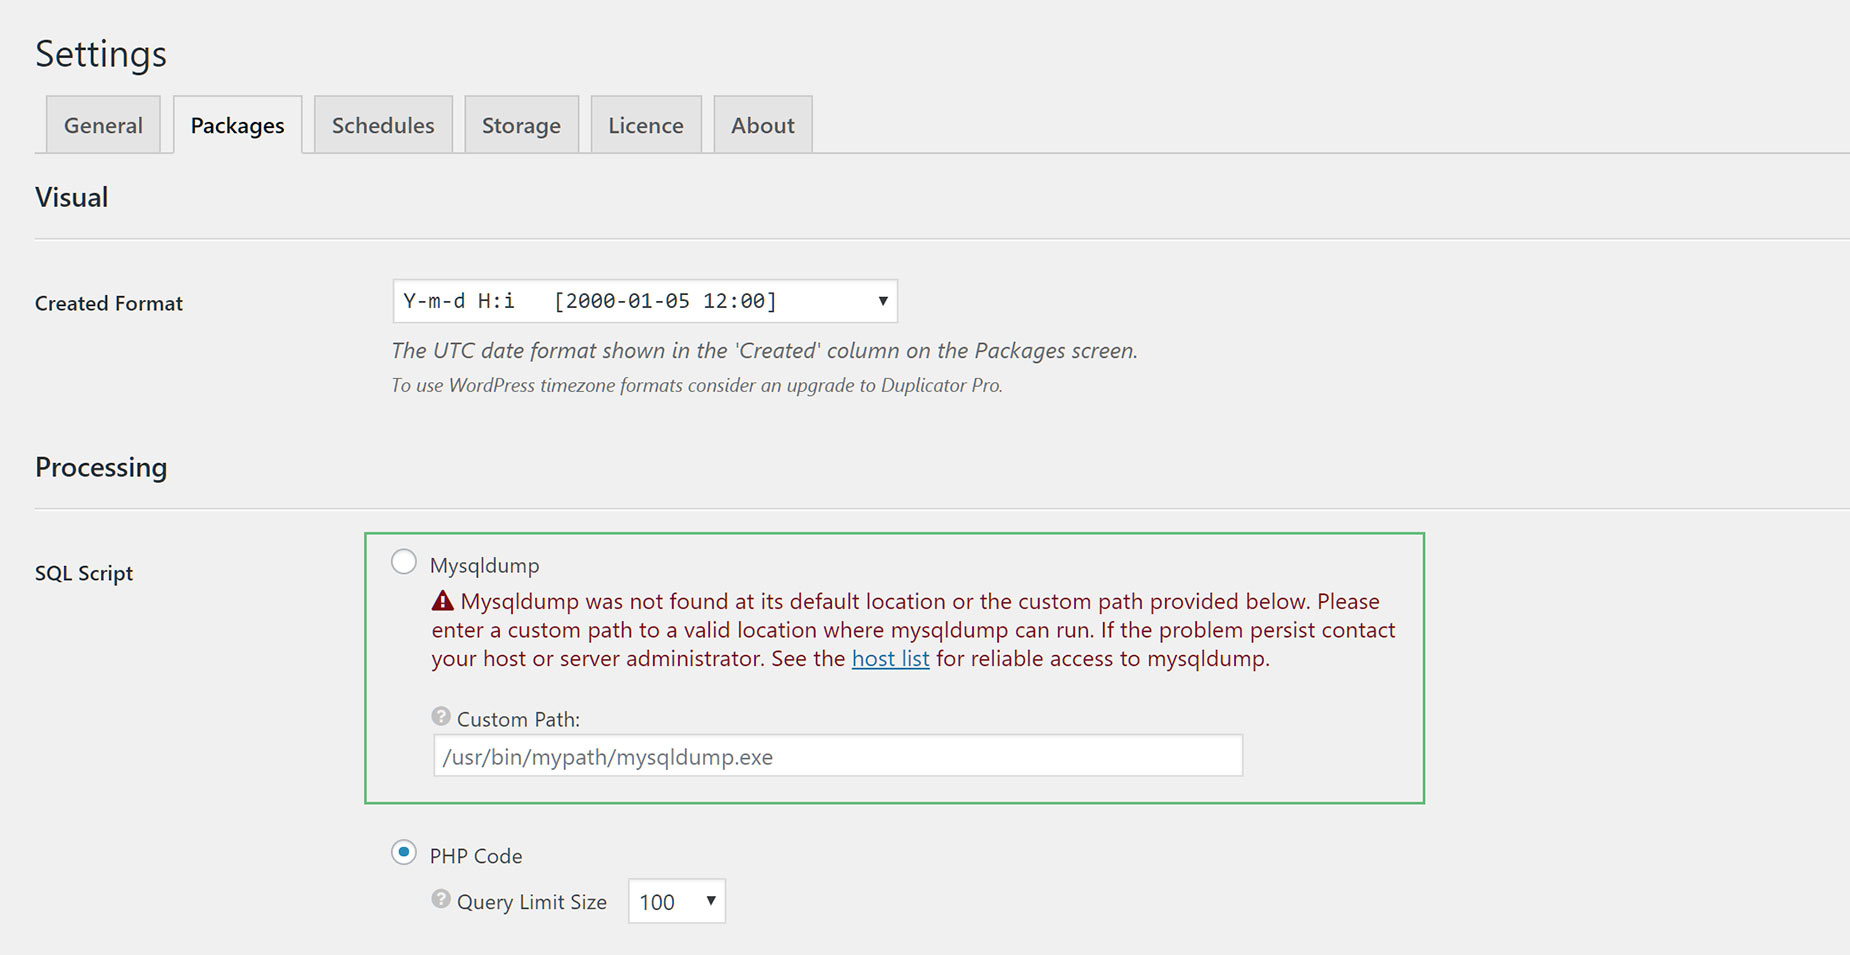
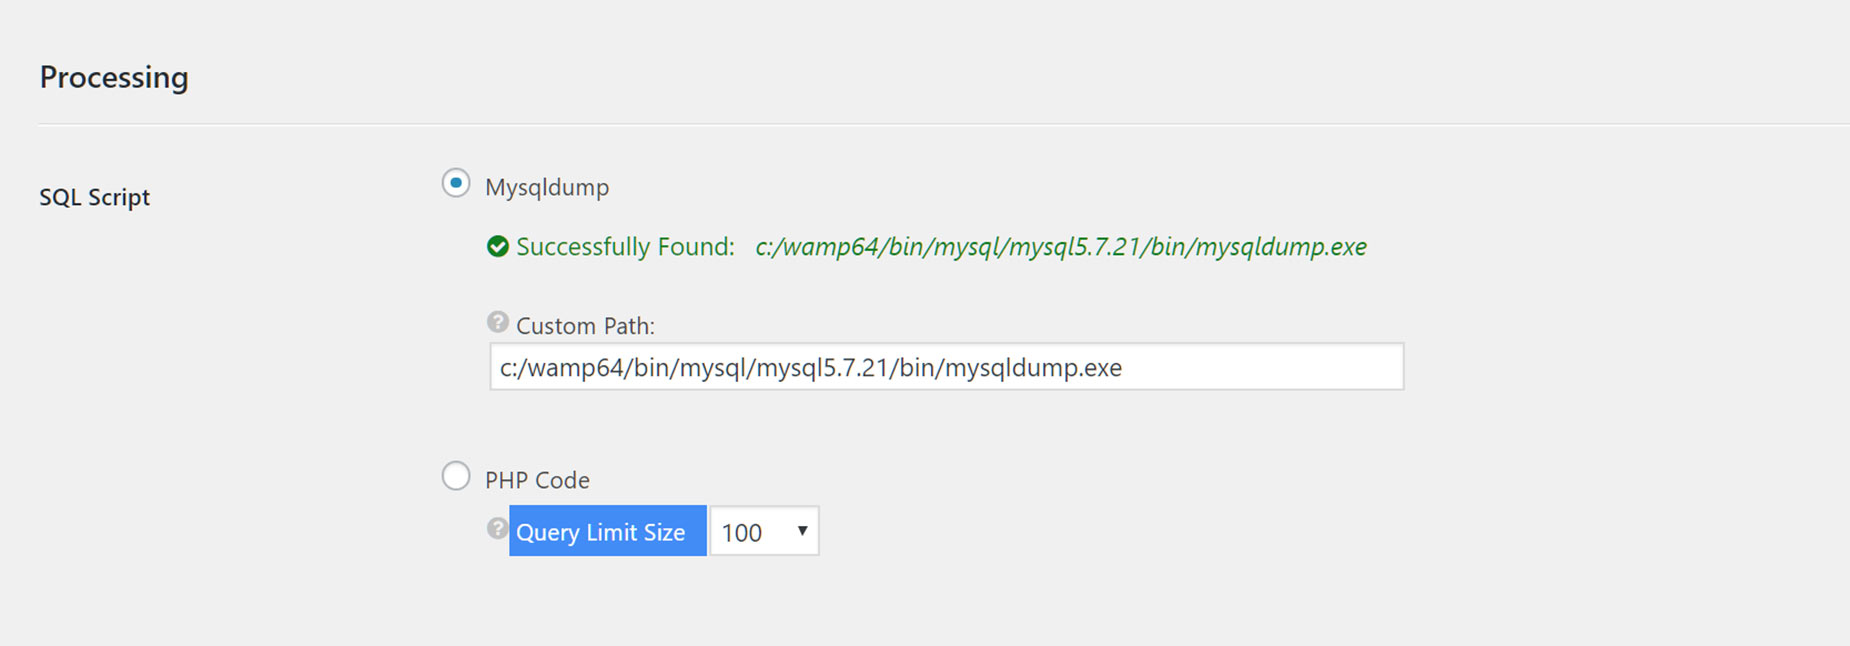
If you are moving your site from a local production site to a web server, you may encounter the MySQL error below. This could occur if, for example, you are using WAMP, and Duplicator cannot find the path to its preferred Build Mode, mysqldump. To fix this, you need to enter the path to the mysqldump.exe file in your WAMP installation. See the pictures below for more detail.
Creating A Package
The first step in the process is to ‘Create a Package’. This is the term Duplicator uses for making a full backup of your site. For this reason, Duplicator is also well known as a backup plugin. If you are not familiar with Duplicator, you may want to watch the Quick Overview Video below before continuing.
Creating a Package is a three step process of Setup, Scan & Build. Let’s step through that one at a time.
Setup
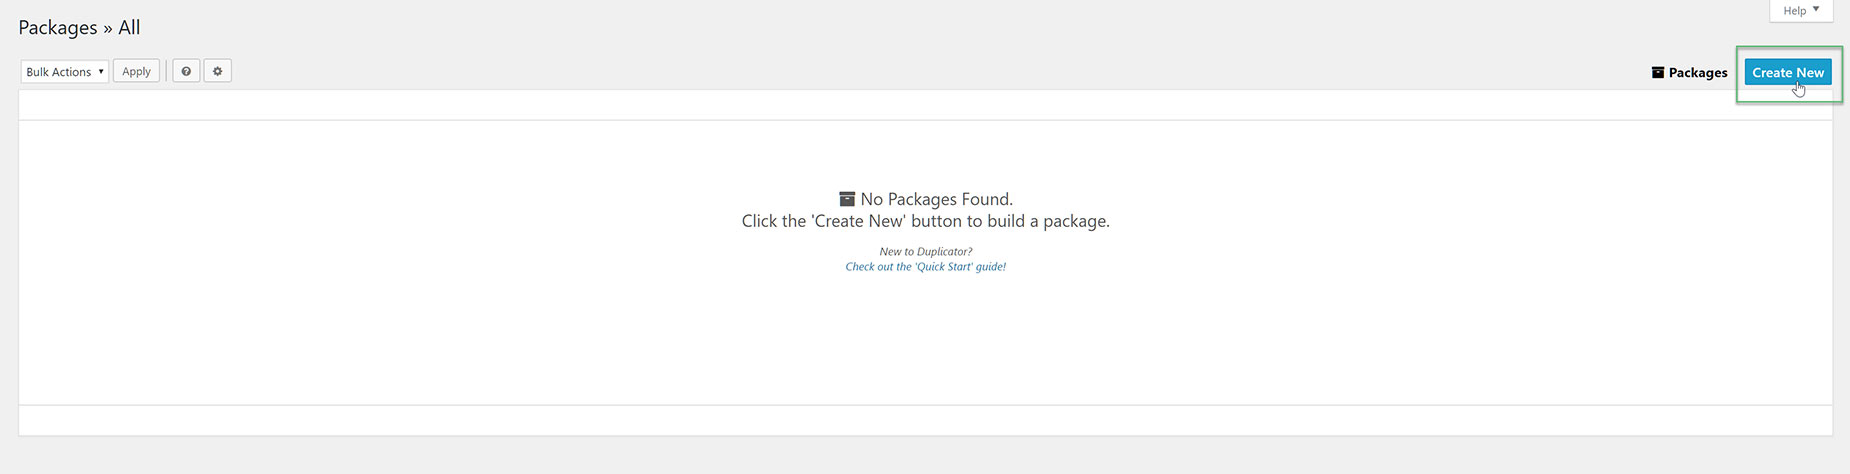
When you first click on Duplicator, you come to the screen below. Simply click on ‘Create New’ to being the package creation process.
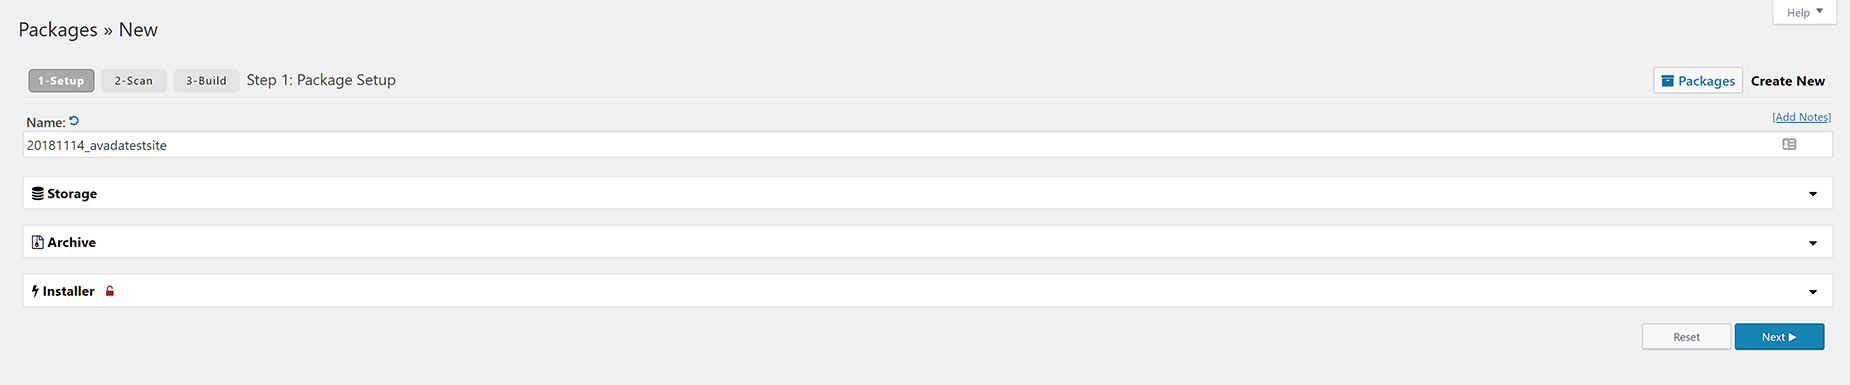
Next, you come to the screen below. At this point, you can just click Next to continue, but there are options here for you to explore, if you wish. Let’s take a look at those.
The options in the Storage area can only be accessed with the Pro version. These allow you to control where the package is stored, and you can choose from a number of options, including Amazon, Dropbox, Google Drive, OneDrive and FTP/SFTP.

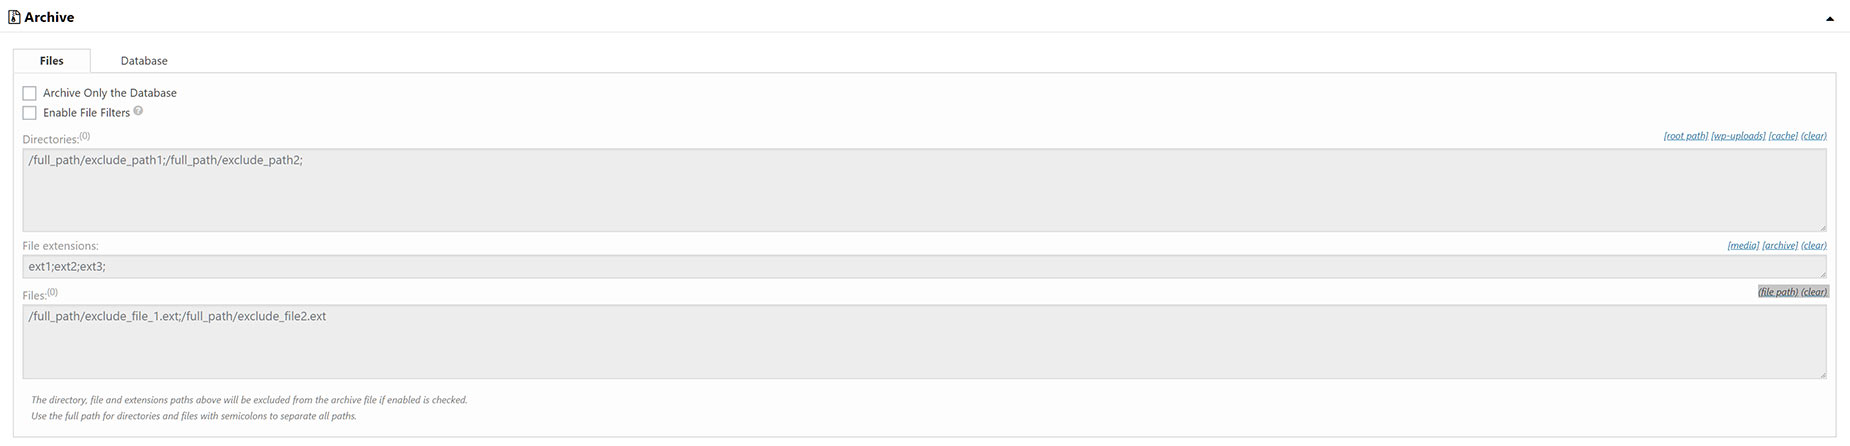
The options in the Archive area are split into two sections. The first section – Files, gives you a range of options to choose and filter the files you will backup. You can make a backup of the database only and you can also exclude certain files from the backup.
The second section – Database, allows you to exclude certain tables from the database backup. Use this with caution, as it might break your site if you exclude the wrong tables.
To understand these sections better, please refer to the Archive sub-section of the Packages >> New – Step 1: Setup section of the Duplicator docs.

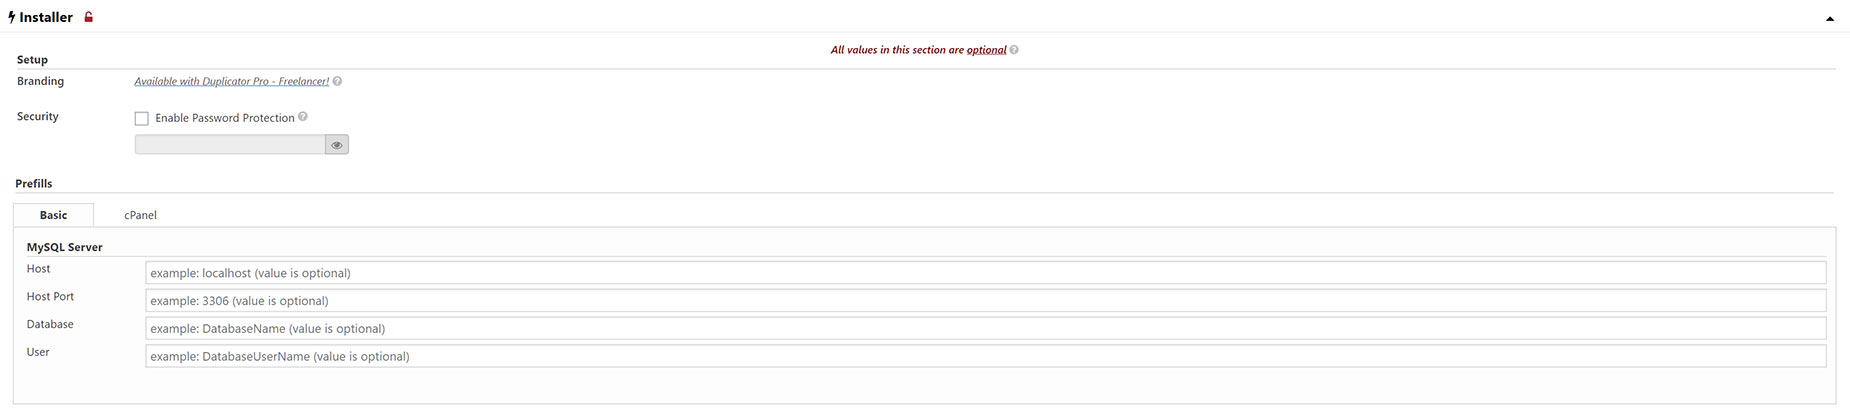
Finally, the options in the Installer section are completely optional, and some are only available with the Pro Version. For more info on this section, please refer to the Installer sub-section of the Packages >> New – Step 1: Setup section of the Duplicator docs.
Scan
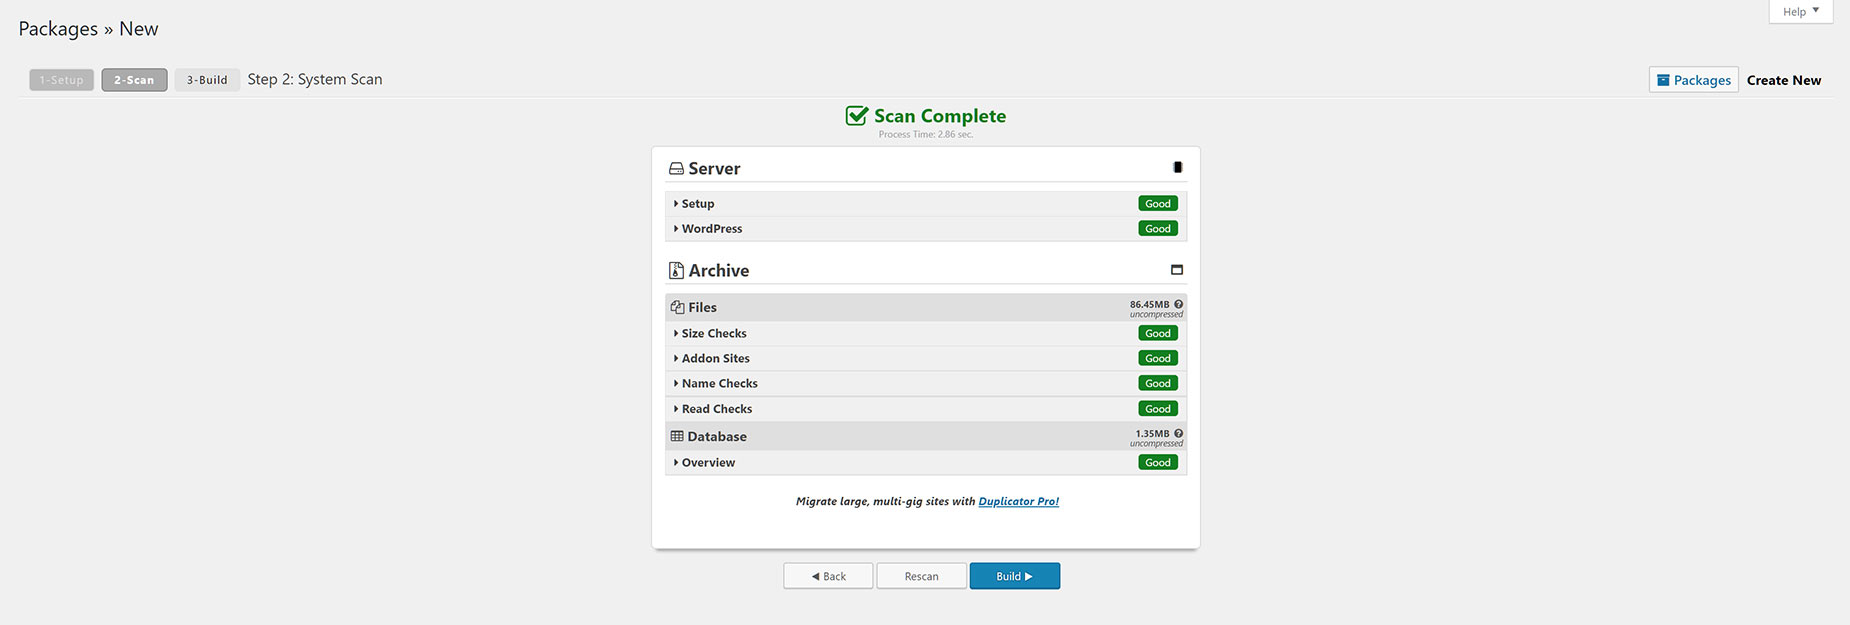
So, whether we have explored the options or not, the next step is the scanning process, in preparation for the build process. When you are finished with the Setup page, and you click Next, Duplicator immediately begins scanning the site for any potential issues. You will see the scanning window, and then you will get the scan results, both shown below. If the scan results are all good, you can continue to the Build stage. If there are warnings, you can address these and rescan, but many of these warnings will not interfere with the backup at all.
As they say in the Duplicator documentation; “It is OK to try and build a package even if you have a ‘Warn’ status. If you are able to build a package with a ‘Warn’ status then you can ignore the warning. However if you have issue during the build or install process you may want to work with your hosting provider to try and address the warning.”

Build
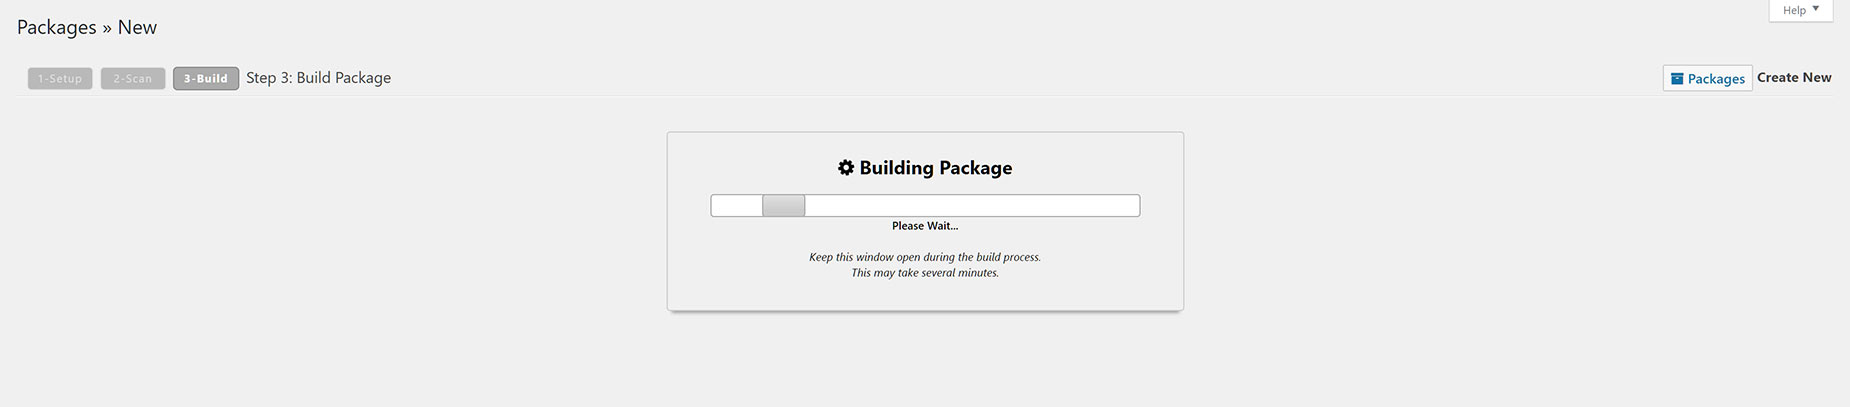
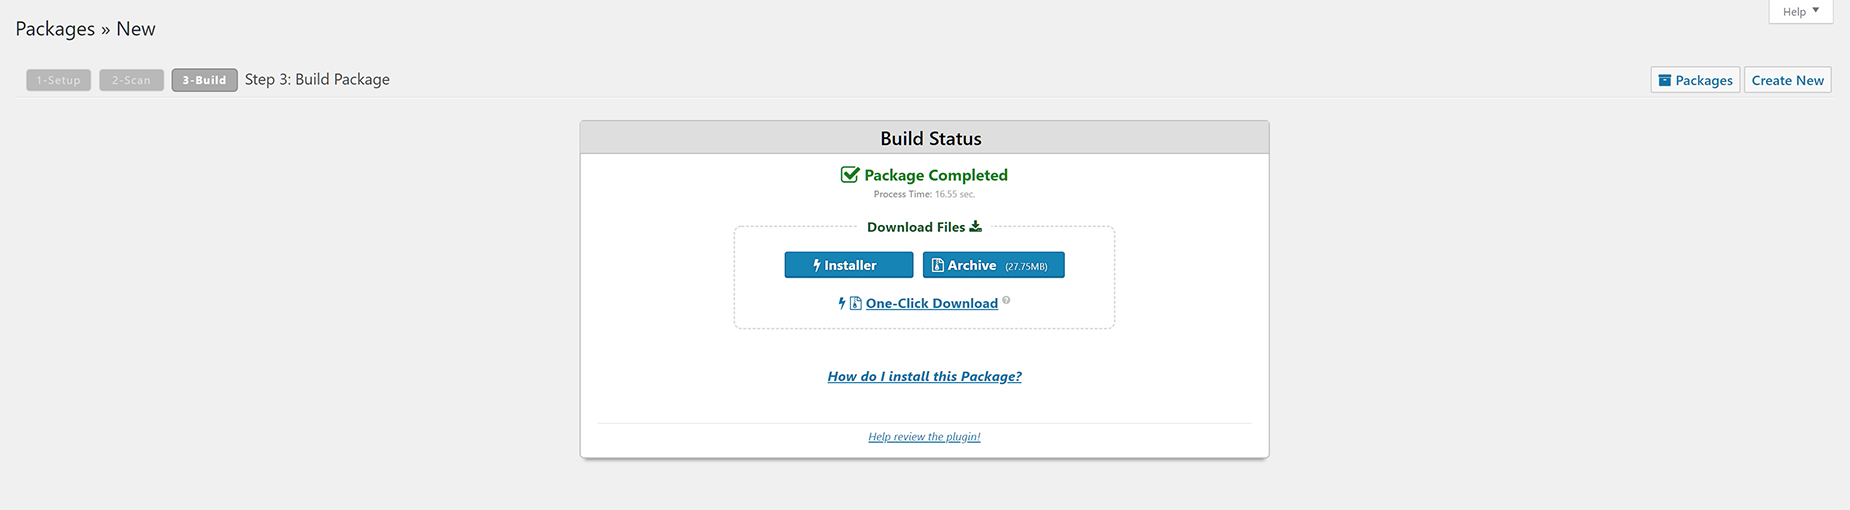
When you are satisfied with the Scan results, click the blue ‘Build’ button under the Scan results to actually create the package. You will see a Build Screen for a time, while your package is being prepared, and when it is complete, you will see the second screen below. From this screen, you can download the Archive file, and the Installer separately, or together, from the ‘One Click Download’ button.
Once you have the package contents, you need to then upload them to the server you wish to migrate the website to. In the local production to web server scenario, it’s likely you have a brand new hosting account, or perhaps just a new folder on an existing server if you already have hosting. If you are moving your website from one server to another, you will be uploading the files to the new server.
The next section will show you how the second part of the migration takes place.
Install / Migrate
Once you have downloaded the two package files, you need to place them in a directory where you would like to install/migrate the WordPress site.
To do this, use FTP or cPanel to upload both the archive.zip and installer.php to your hosting provider. Place the files in a new empty directory under your host’s webroot, where they are accessible from a valid url such as http://your-domain/installer.php or http://your-domain/your-wp-directory/installer.php. On many hosts the root directory will be a something like public_html -or- www. If you’re not sure what your root directory is, then contact your hosting provider.
Step 1
Once you have the files uploaded to the directory you wish to migrate the site to, you can then navigate to the installer. Simply type the full path into a browser. For example, http(s)://your-domain/installer.php or http(s)://your-domain/your-wp-directory/installer.php
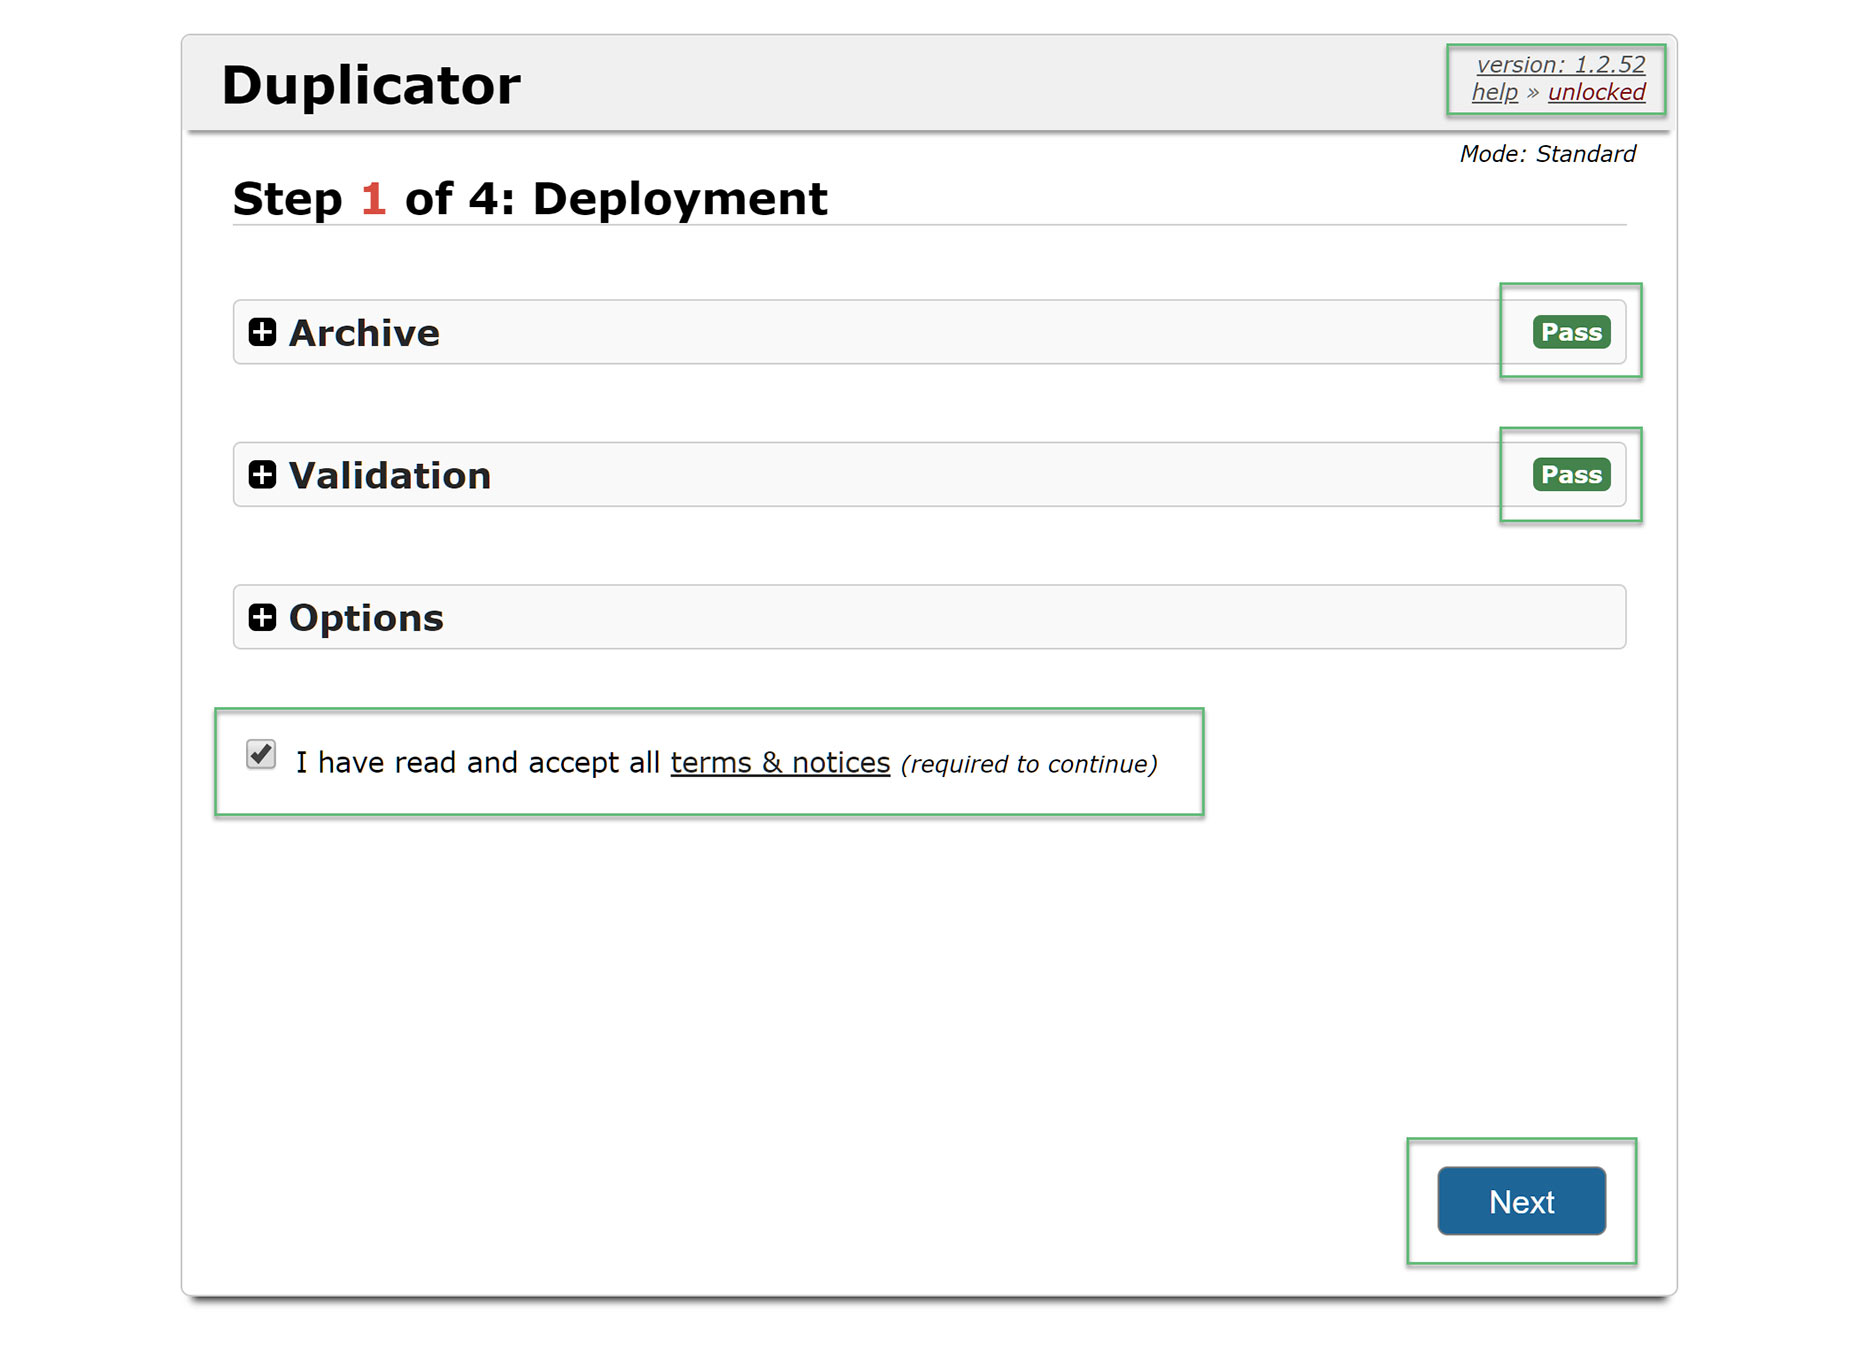
This will bring up the Install / Migrate screen seen below. As you can see, it is a 4 step process. Let’s walk through it.
In the image below, you will see that there are three sections on the page – Archive, Validation, and Options. You should note that Archive and Validation have both got a green Pass mark next to them. Also take note of the link to the extensive Help docs at the top right if you need them. Note, as well, that if it says Unlocked next to the Help link, this is because you haven’t set a password in the initial Create a Package steps. Click the unlocked link for more details, but it’s not a problem if you will be doing the install straight away and not leaving it at this stage for a considerable amount of time.
Finally at the bottom, you must tick the checkbox next to the Terms and notices section, before the Next button will appear in the bottom right.
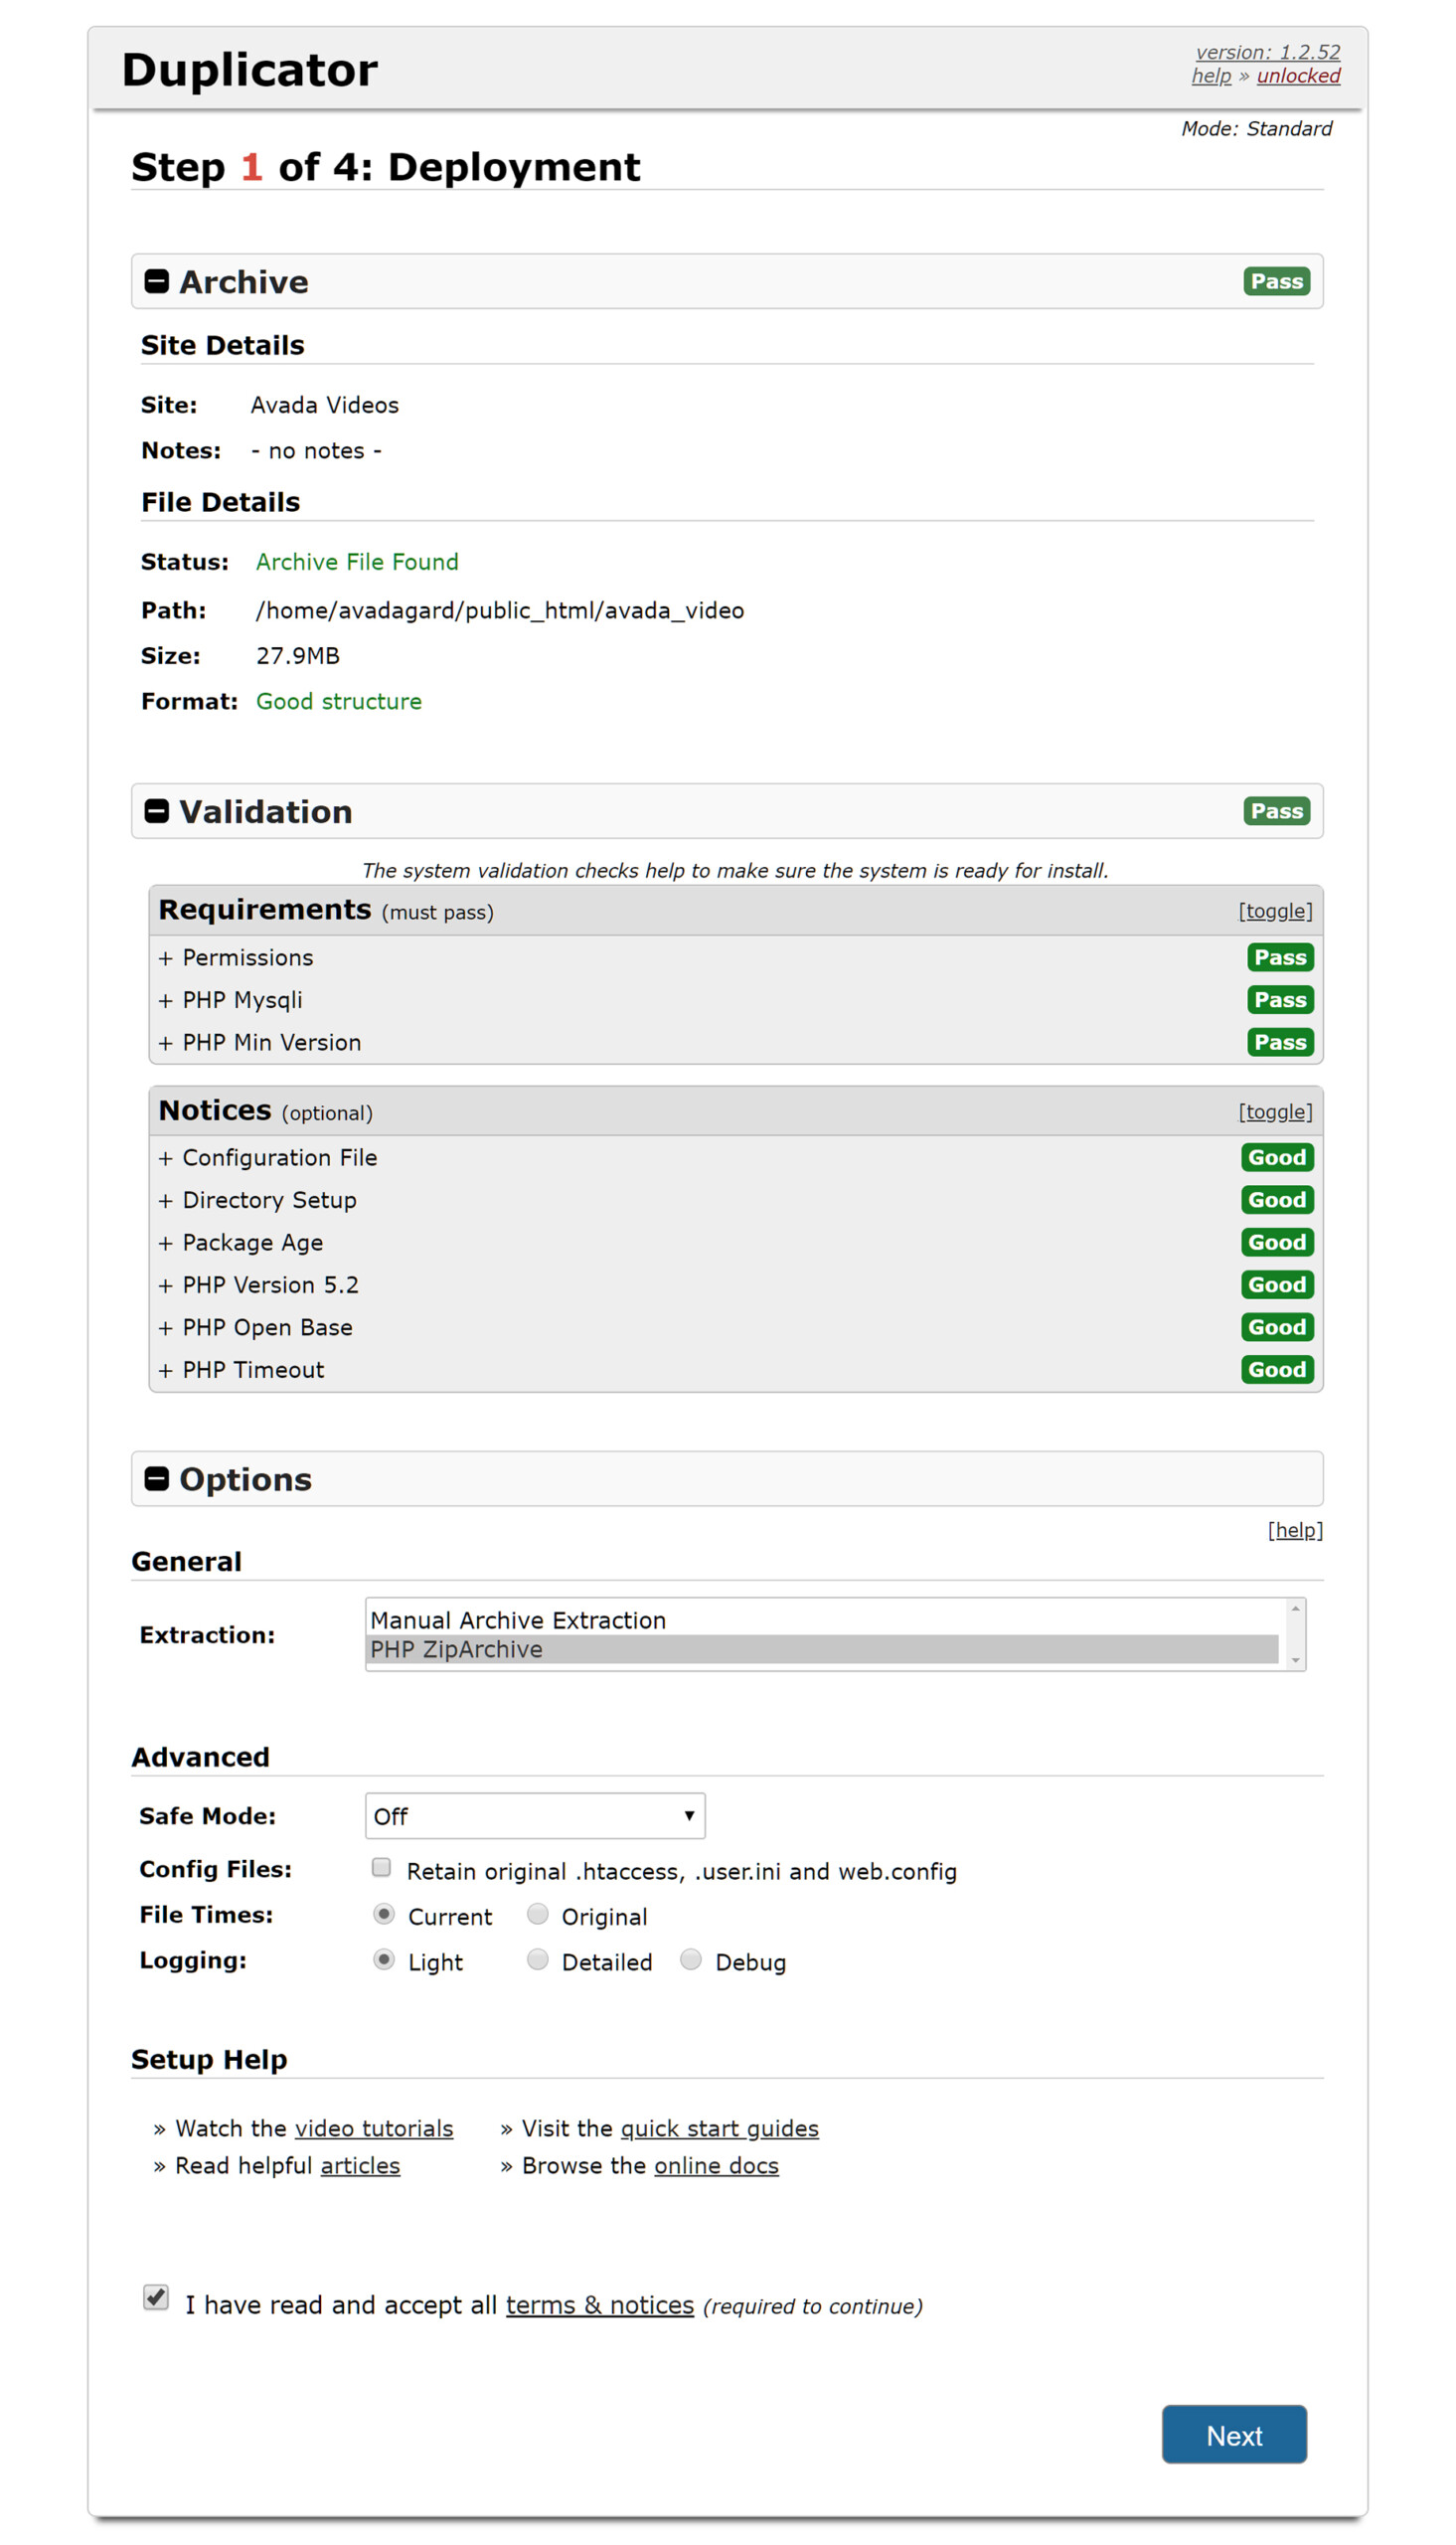
If you expand the individual sections, you will see the detailed results of the Archive and Validation steps, and under Options, there are some advanced options. 95% of users won’t need these, but if you run into issues, there is extensive documentation in the help menu linked at the top right of the dialog.
Upon clicking Next, the final part of Step 1 takes place, which is the deployment of the files. This will take some time, depending on the size of your package. When this is finished, we move to Step 2.

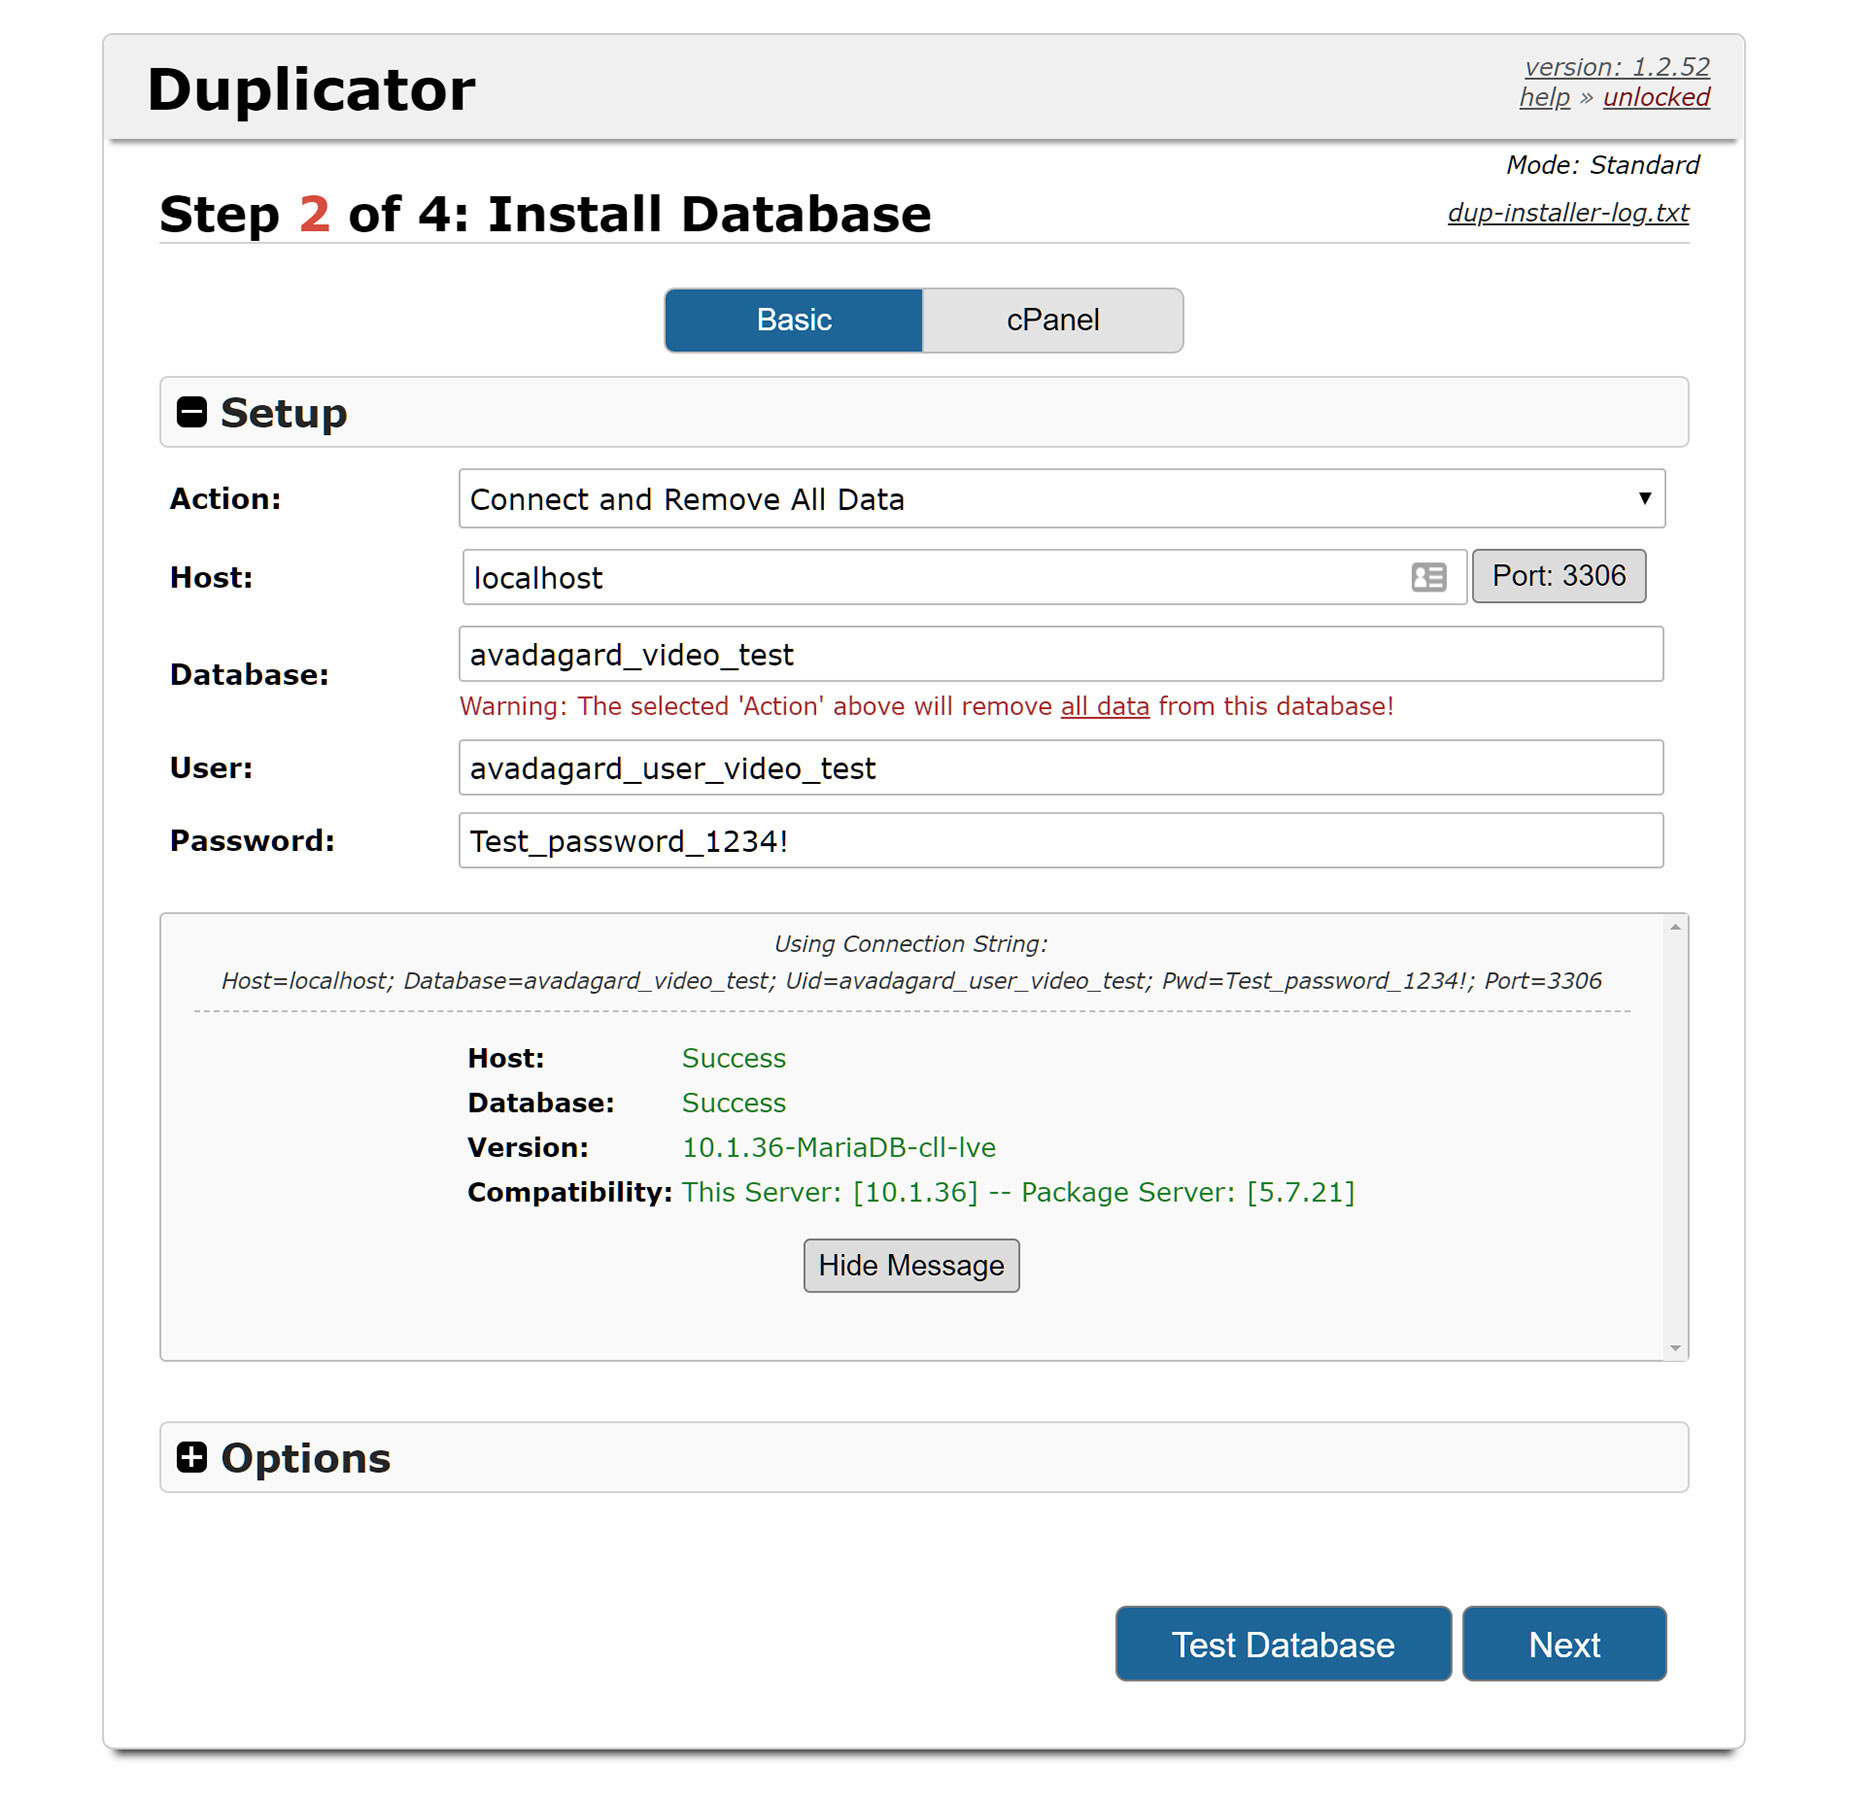
Step 2
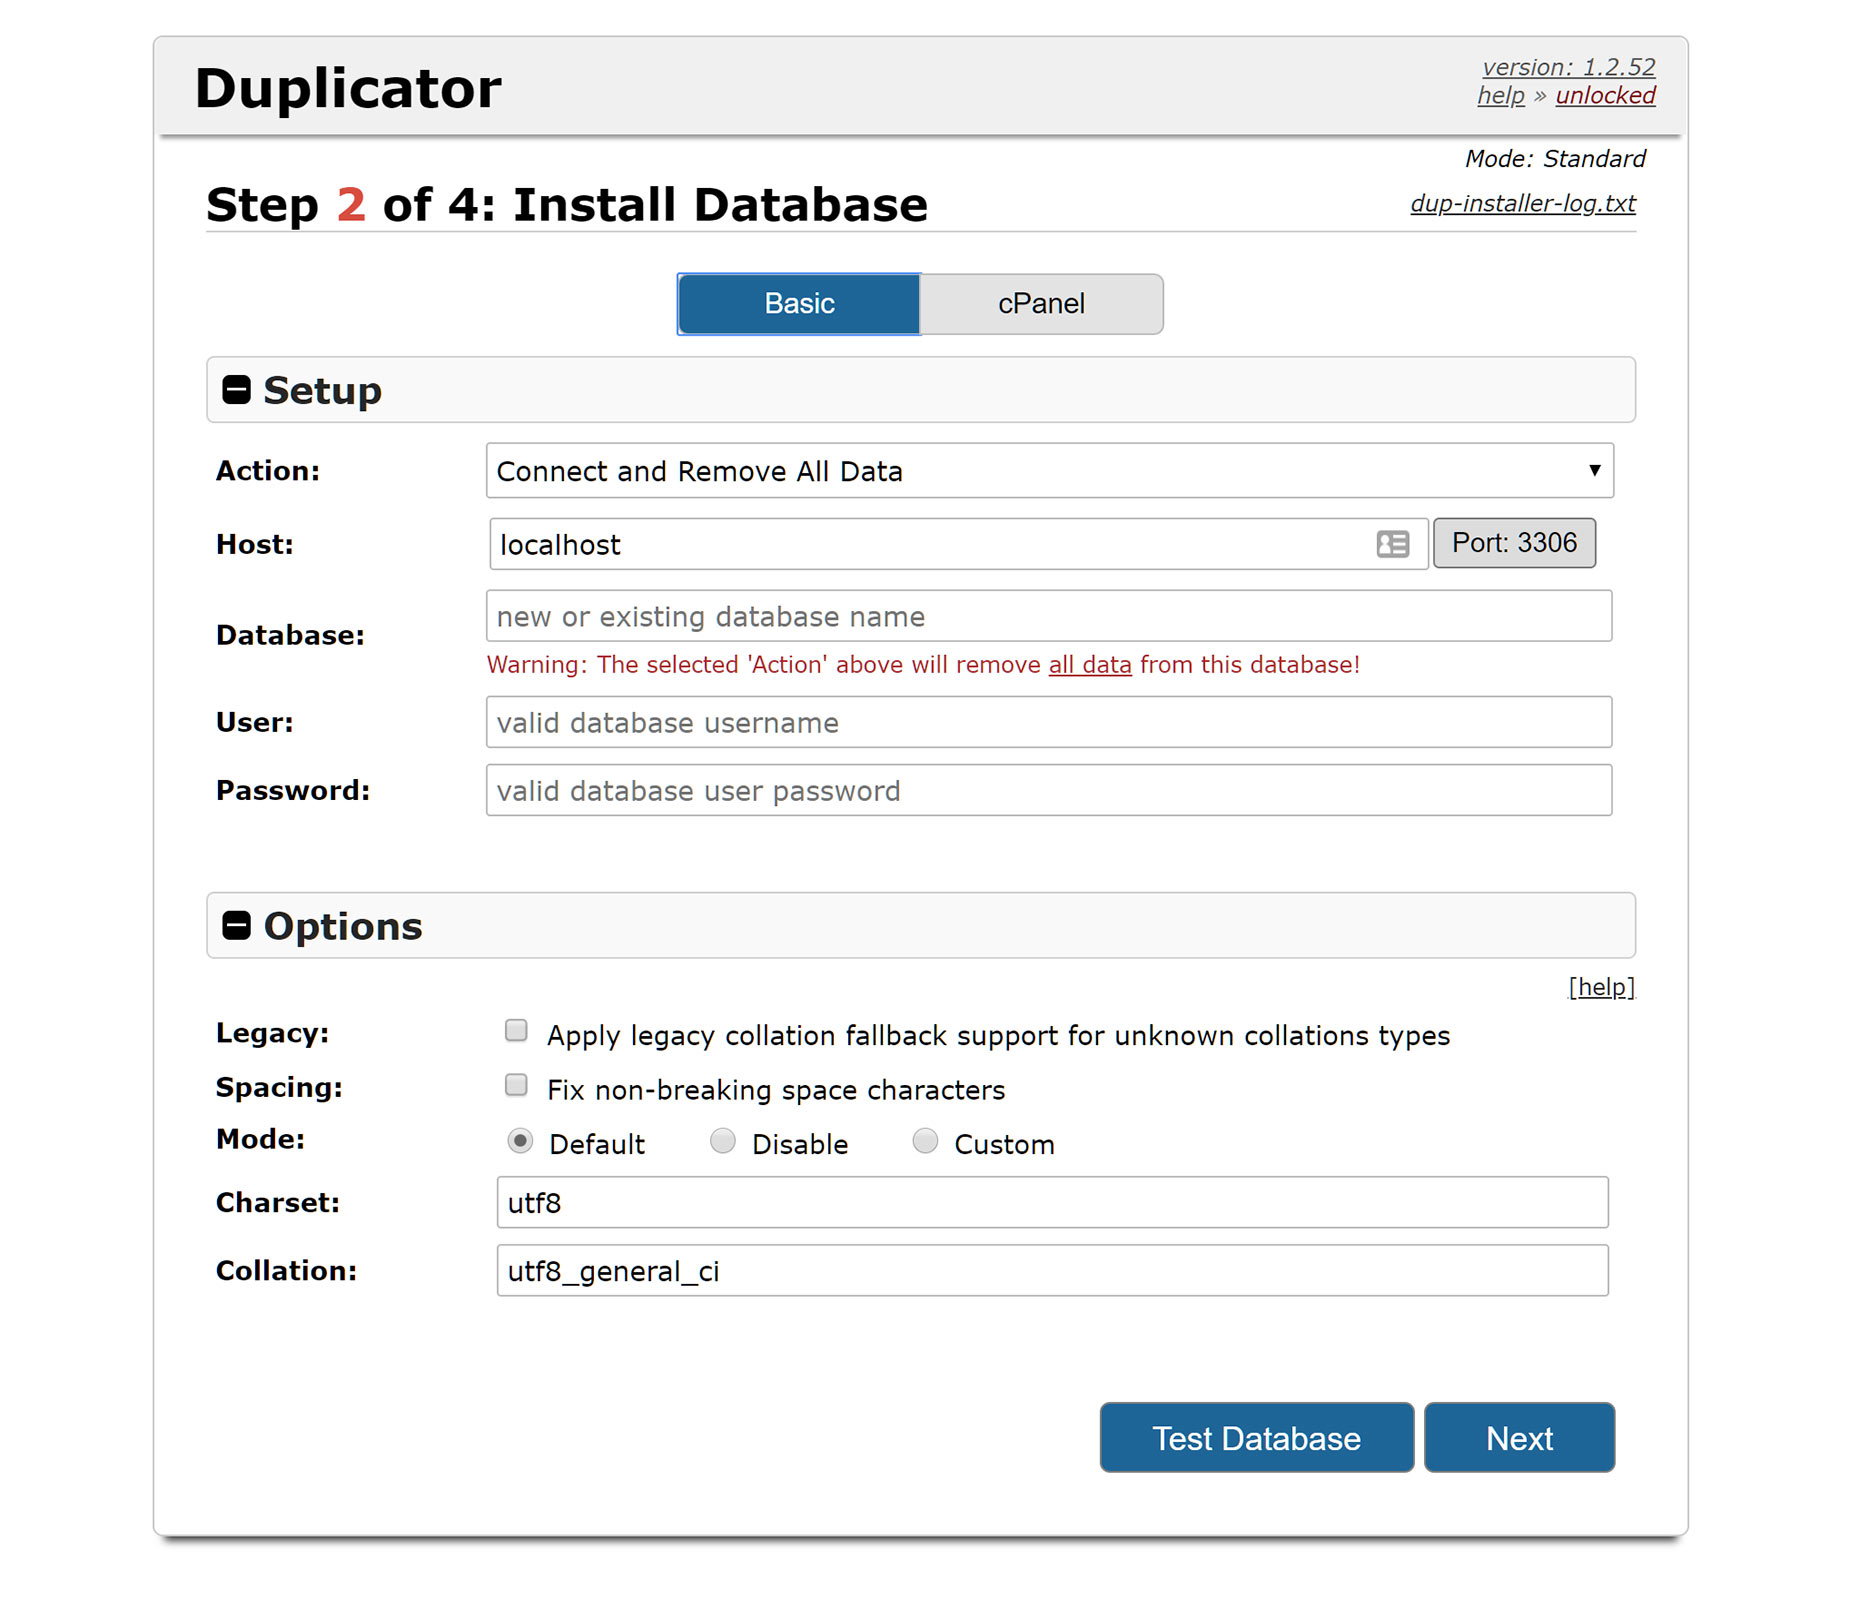
Step 2 is all about installing a MySQL database on the target server. Unless you use the Pro version, this is a manual task, but it’s not very difficult. As you can see in the Basic panel, the default Action is Connect and Remove All Data. The remove part won’t be an issue, as we will be connecting to a brand new, empty database.
Before we can click on Test Database, or Next, we have to switch over to our cPanel to create a new database.
Once you have logged in to your cPanel, you need to create a database. What options you have and how it looks will depend on your cPanel version, and indeed, whether you are running cPanel at all. Plesk is another popular hosting administration package, but the concepts will be the same. For this example we are using cPanel.
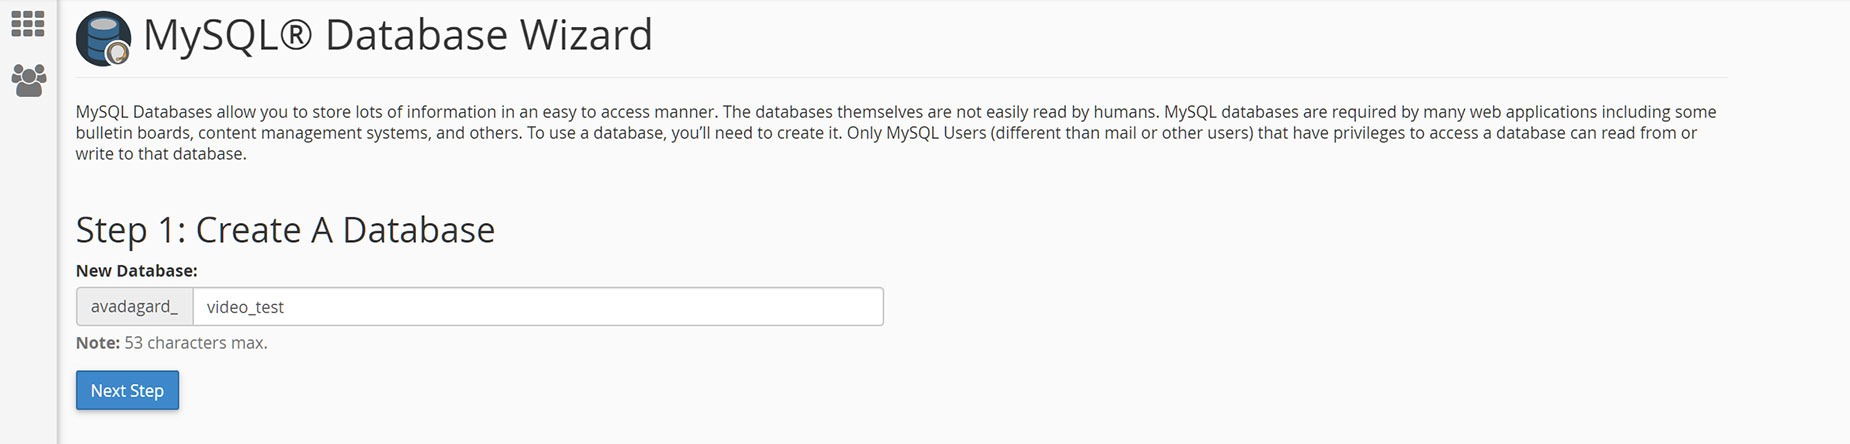
To create a new database you need to choose either MySQLD Databases, or MySQL Database Wizard. Either will help you quickly create a database for your incoming site.

Either way you do it, there are 3 basic steps (the 4th is just confirmation). See the images below for each step.
- Create a new database. Take note of the full name of the database.
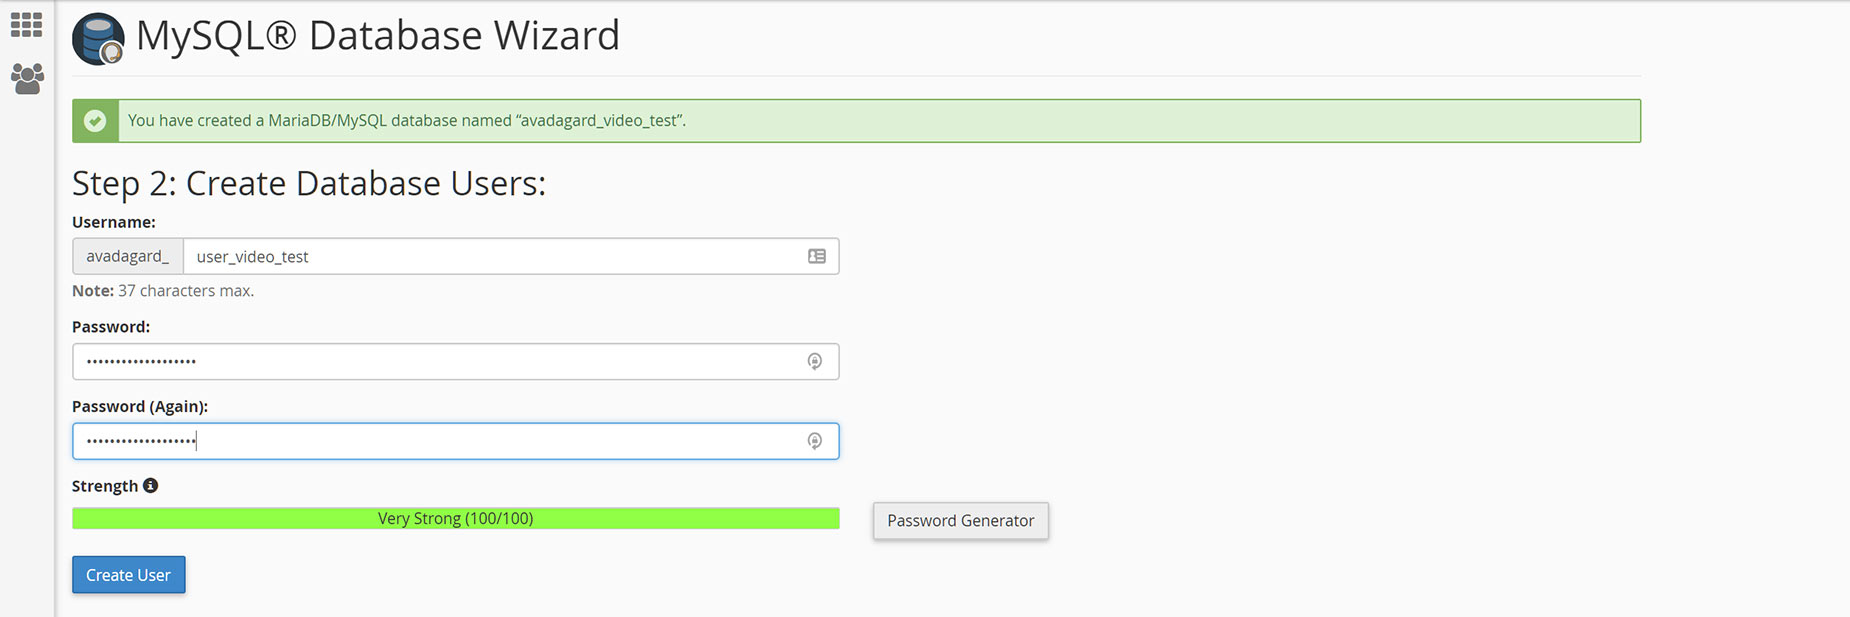
- Create a new user. Again, take note of the full name of the user, and the password used.
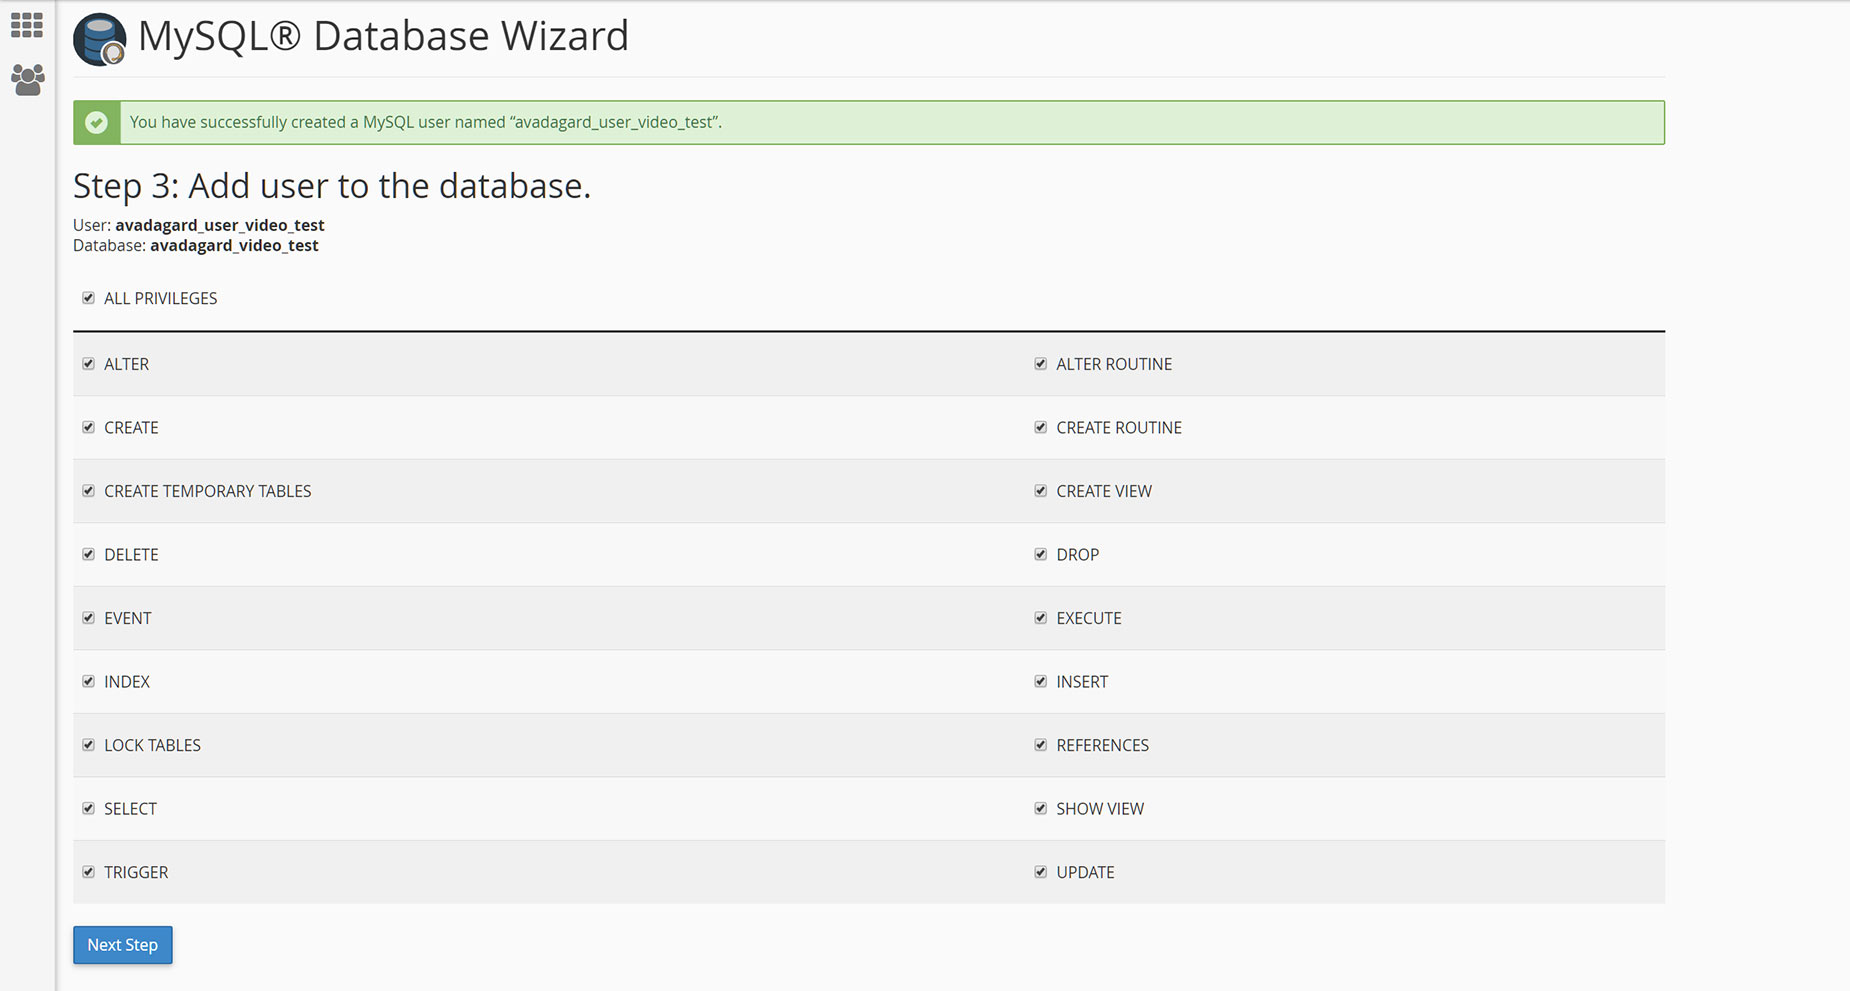
- Add the user to the database, assigning full privileges.
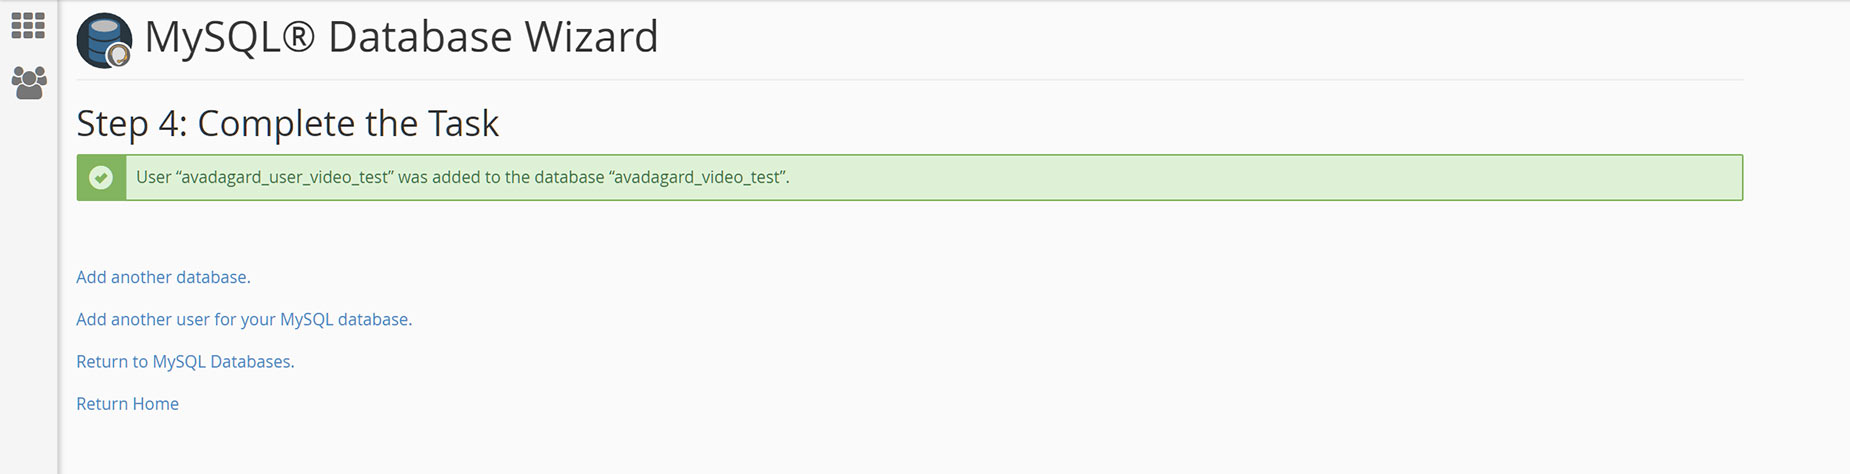
Once you have created your database, we can go back to the website and finish Step 2.
Here, you need to enter the details of the database you have just created. Once you enter the details, you can click on Test Database to be sure it’s all connecting, and then click on Next.
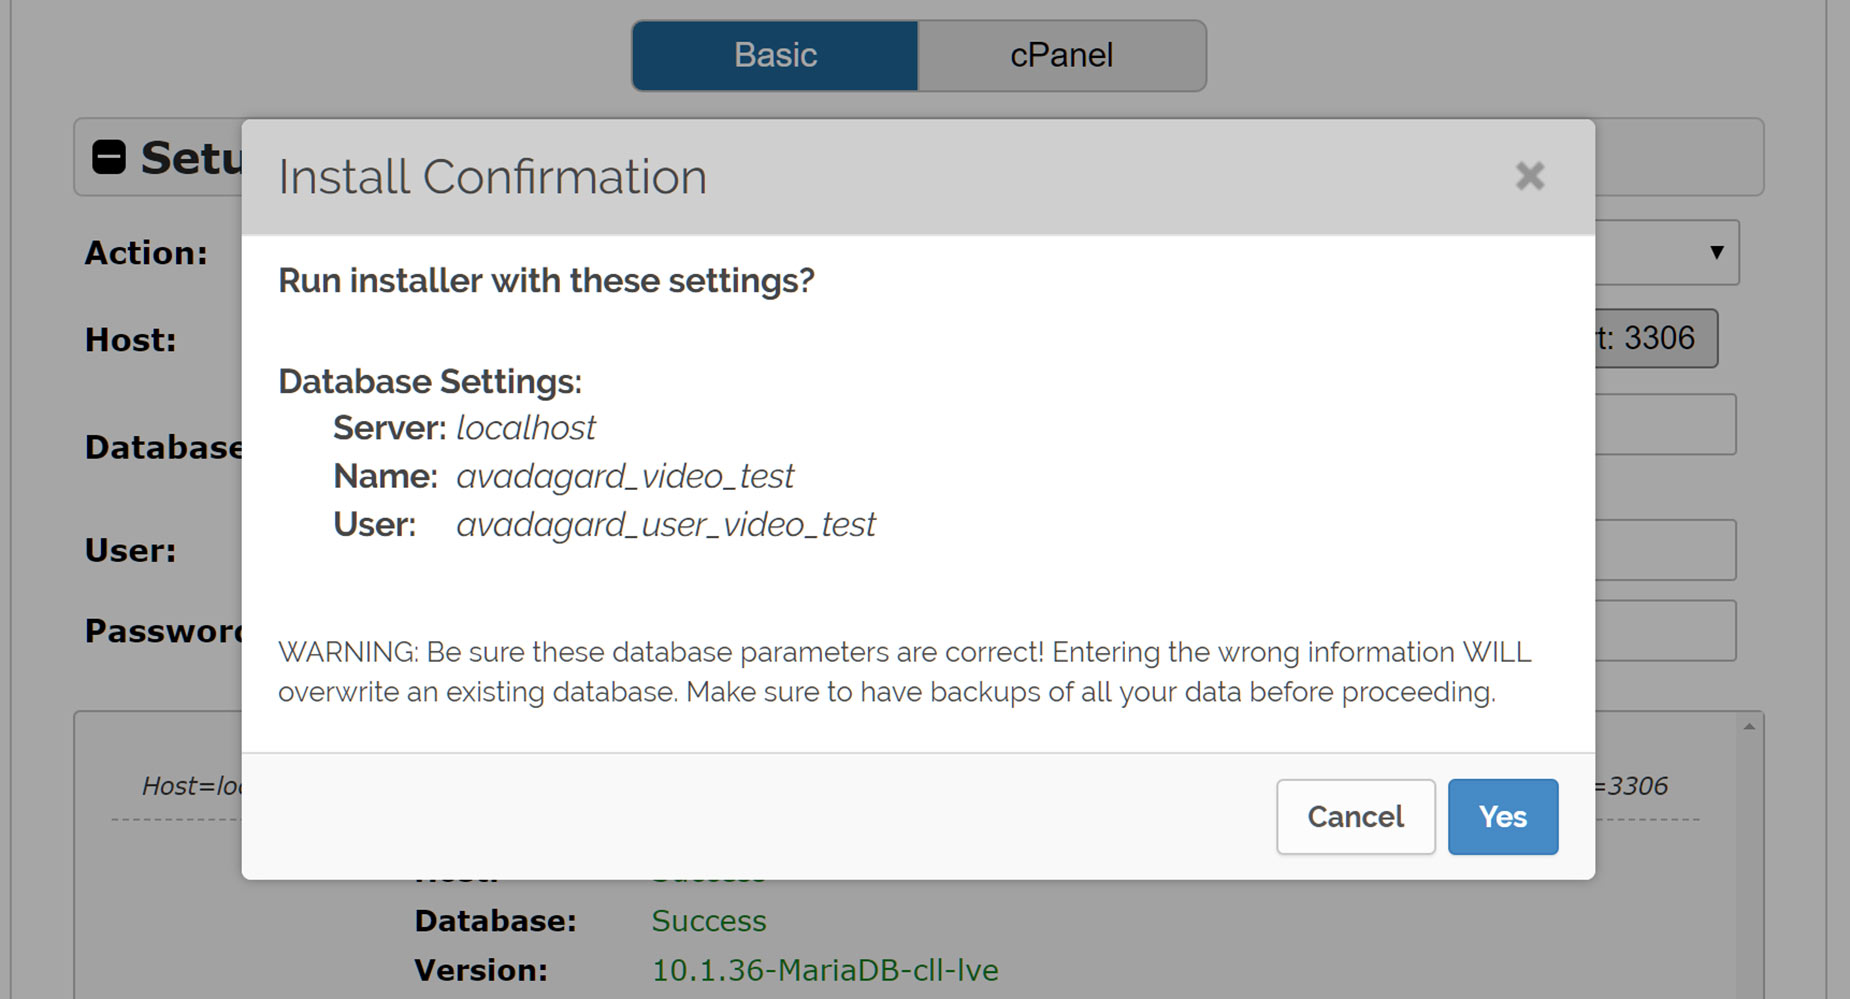
One final confirmation screen, and we are on to Step 3!
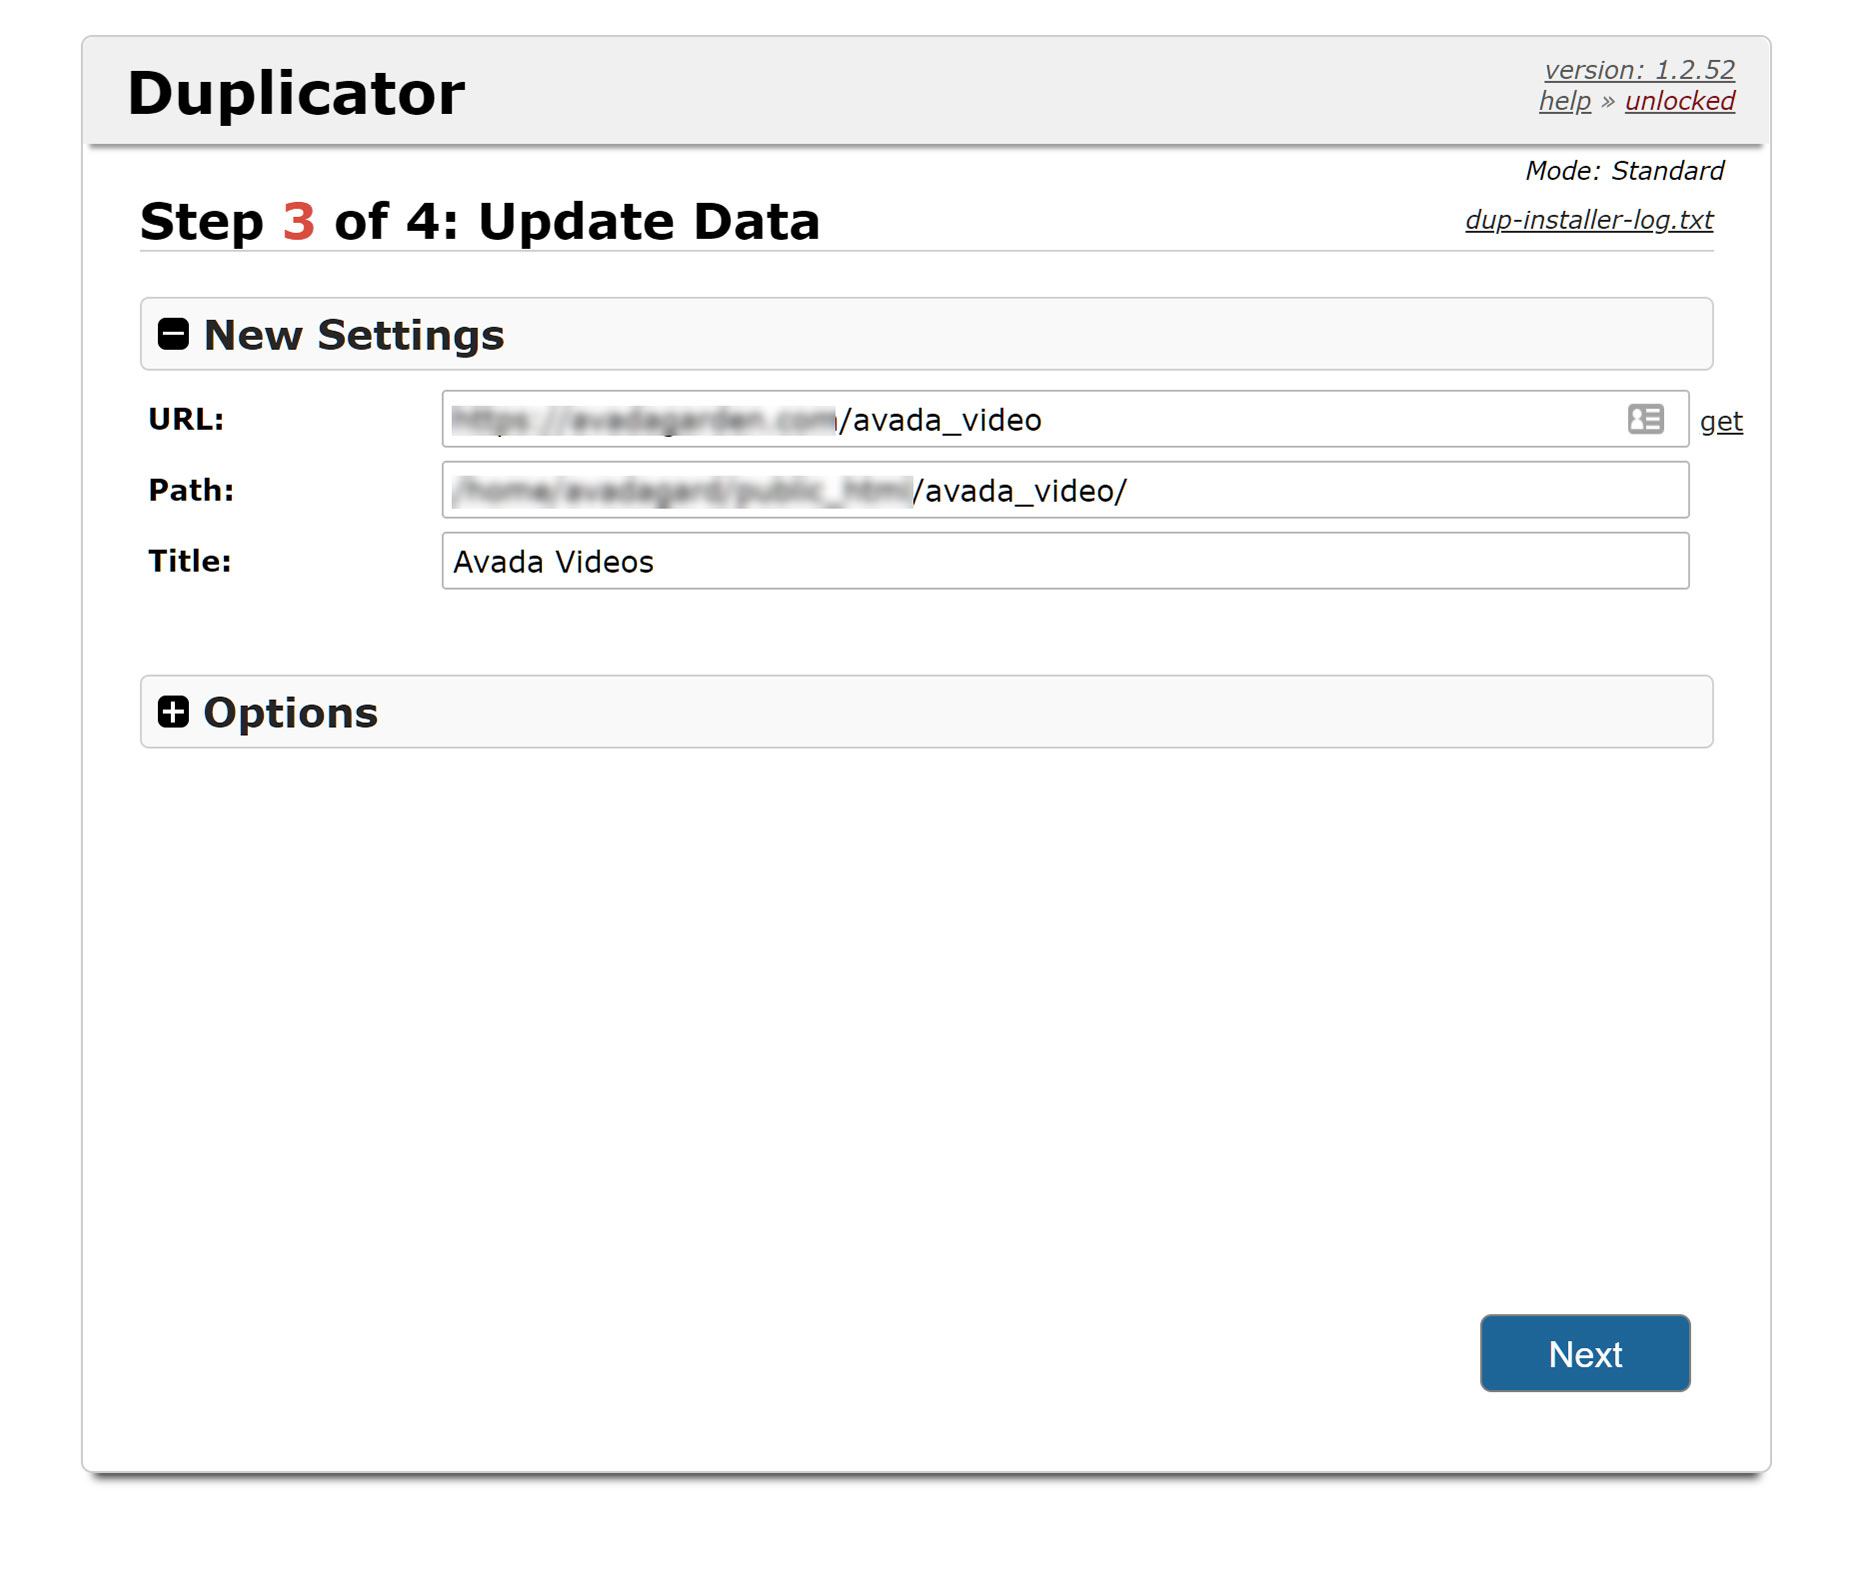
Step 3
Step 3 and 4 are quite fast, as the job is nearly done.
Step 3 is simply to update the new paths to the new website. Review and click next.
Step 4
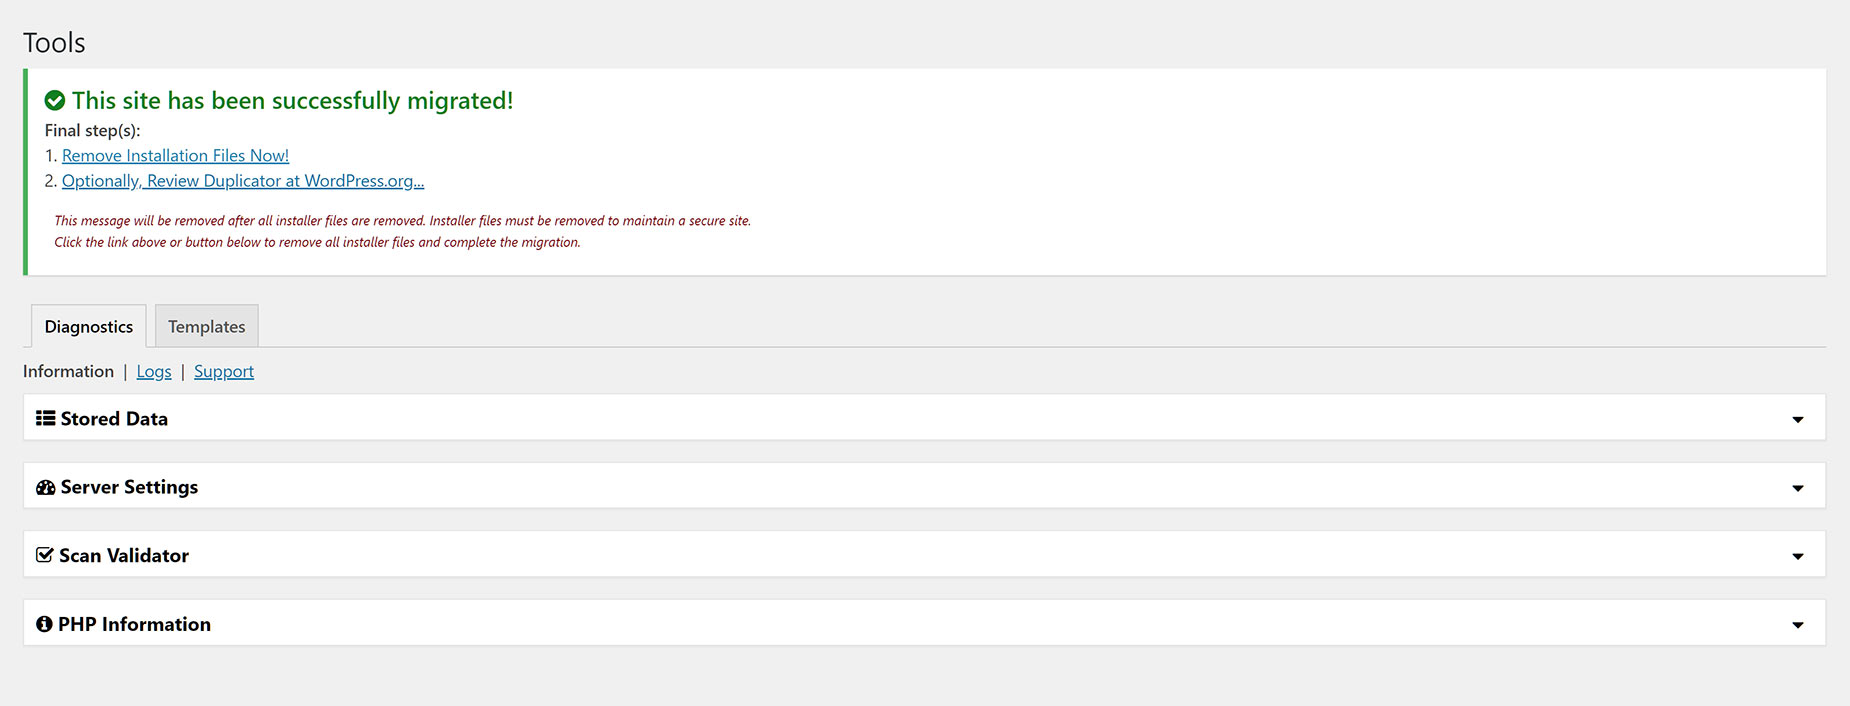
The final step, Step 4, is to log in to the new website and to check everything is good, and then delete the installation files. Click on the Admin Login button as seen below. To log in, you have to use the credentials of the original site you migrated.
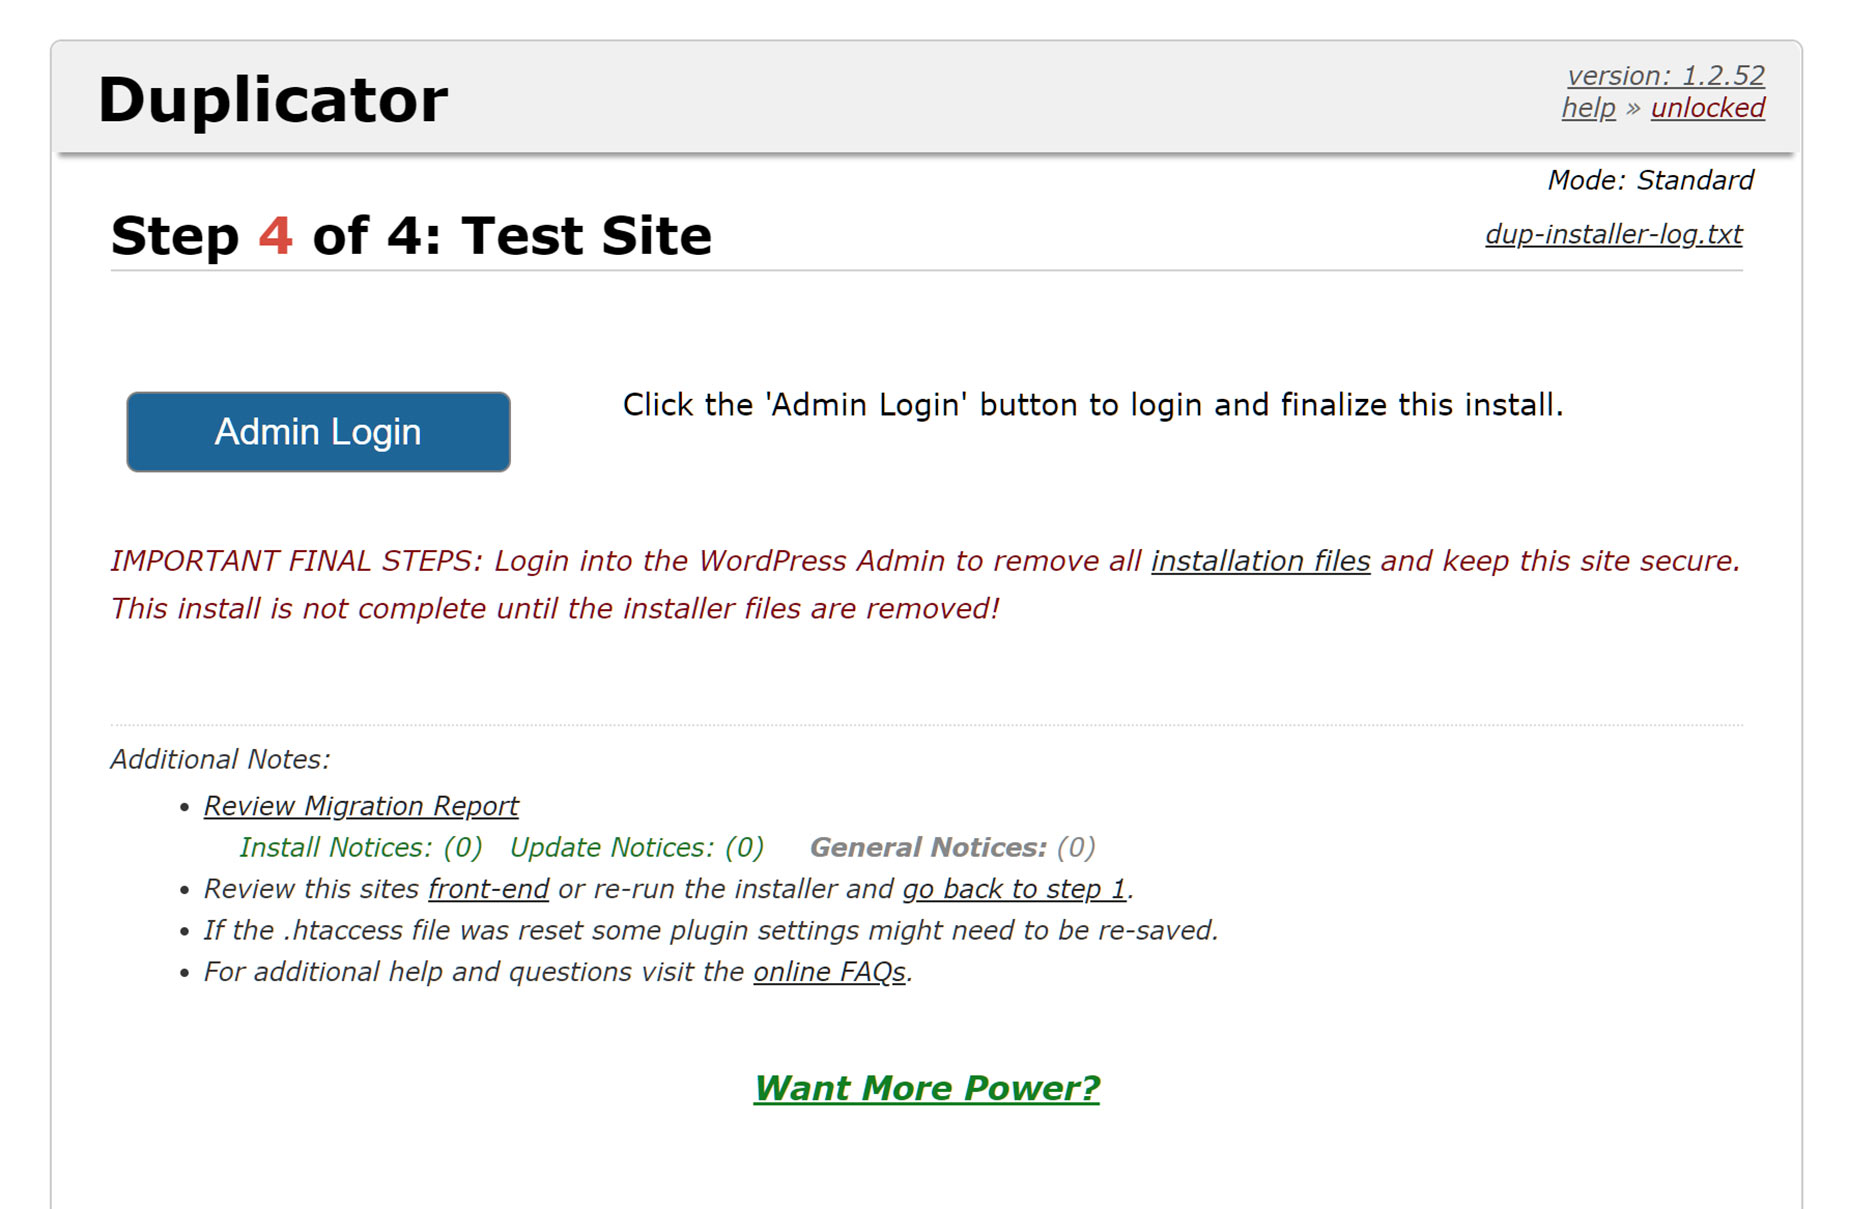
The next screen shows that you have successfully migrated your site, and provides a link to delete the installation files. Once you have clicked on the link, the final screen shows you what has been deleted, and includes a link to Which files need to be removed after an install, in case there are any issues with the automatic deletion.
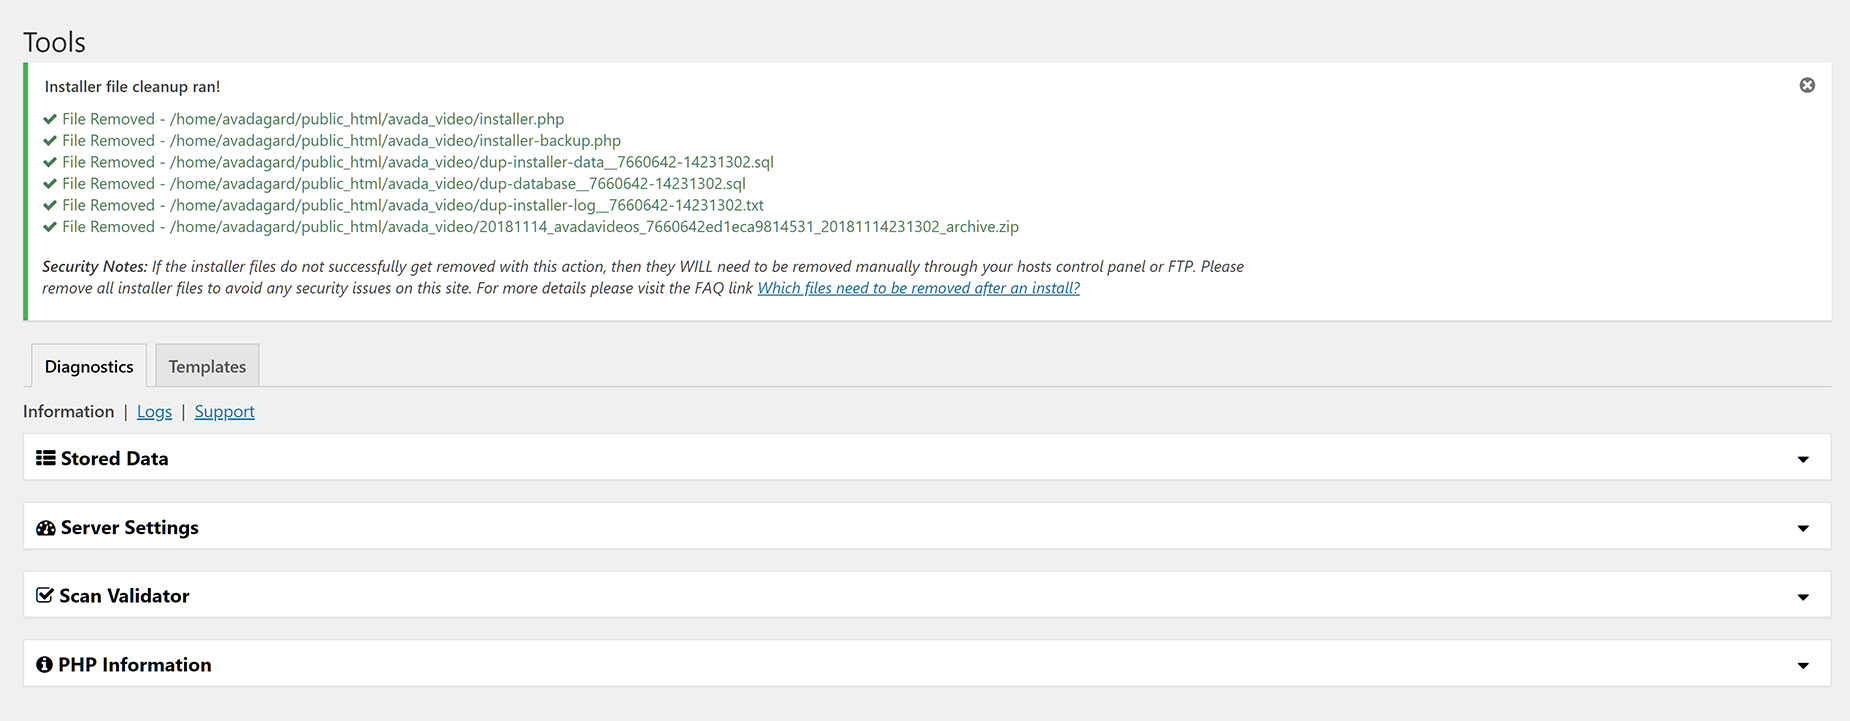
If all the files have been removed, you’re done! You have successfully migrated your website from either a local production site or another server, using Duplicator.


