How To Connect Avada Forms With Google Sheets

Last Update: October 29, 2025

We get regular requests for a way for Avada Form Responses to be submitted to a Google Sheet. This is relatively easy to set up. Follow the steps below to get specific form fields from your submission to be written to a Google Spreadsheet, and watch the video below for a visual overview.

For privacy reasons YouTube needs your permission to be loaded.

Step by Step Process

Create and Name Sheet

  • Create a new spreadsheet in Google Sheets

  • Name the sheet which you want to add responses to as FormResponses, and give the spreadsheet a name as well.

FormResponses Spreadsheet

Create App

  • Go to Extensions > Apps Script

  • Replace the default dummy code with the code below to handle adding responses

Copy to Clipboard
FormResponses Script
  • At this point, you should update the code to match what you want to be added to your sheet. Each e.parameter should match a field name in the form. So for example, the e.parameter.name would insert the value for a field with the field name of ‘name’. In the example code, we pull three fields, the name, the email and the message.

Deploy App

  • Once you have finalised your code, give the project a name at the top left and then click Deploy > New Deployment

FormResponses Deploy
  • Choose Web app from the Settings Icon

  • Give the deployment a description, set ‘Execute as‘ to Me and set ‘Who has Access‘ to Anyone, and click on Deploy

FormResponses Deploy

Authorize App

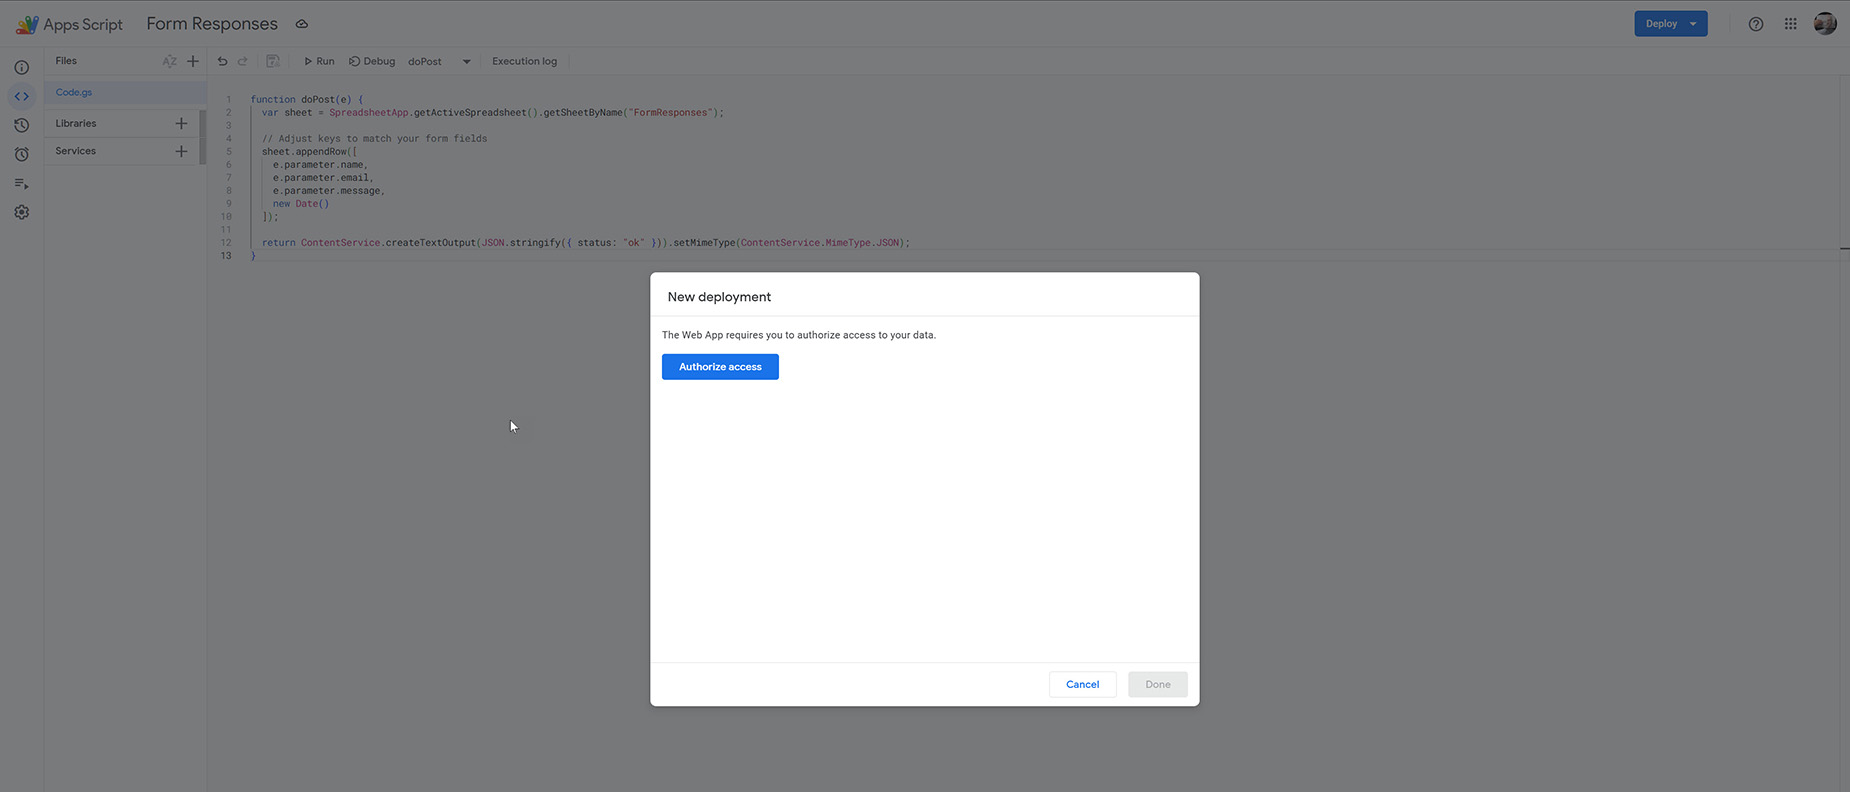
  • This brings up an authorization screen. Here, you need to click on Authorize Access

FormResponses Deploy
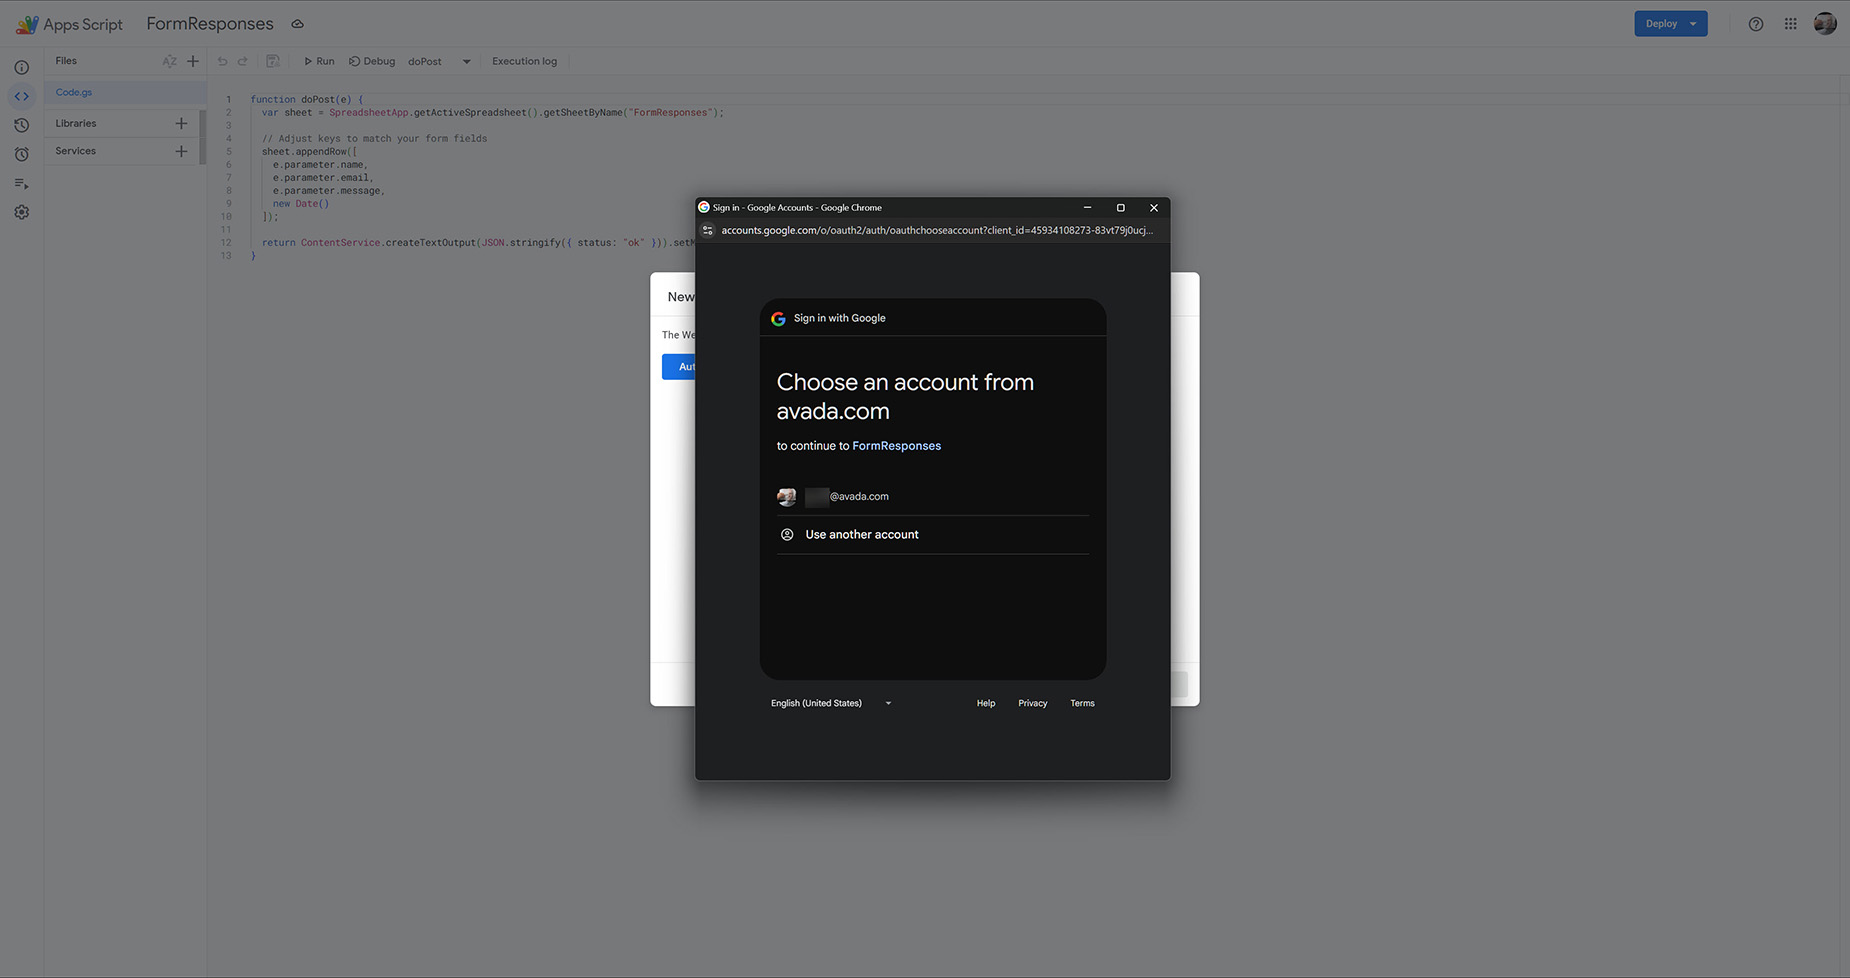
  • Choose the account you want to connect to the deployment.

Authorisation - Step 1
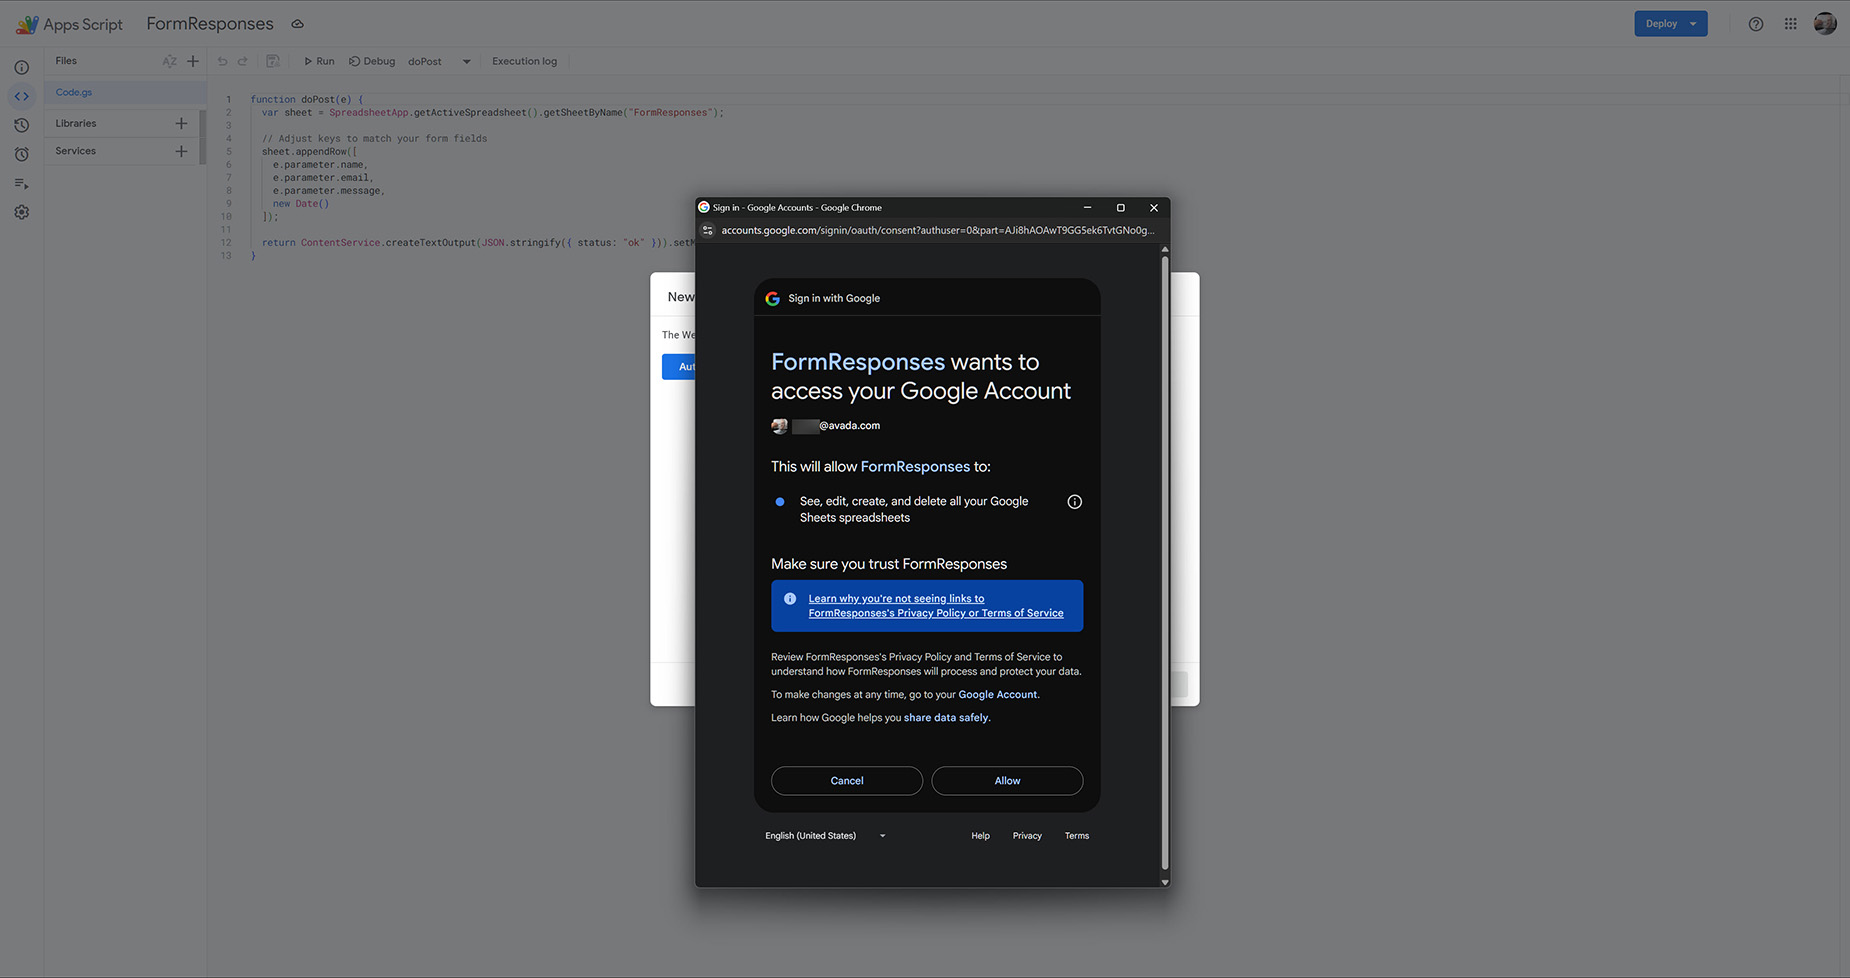
  • Finally, authorise the FormResponses deployment to access your Google Account by clicking Allow

Authorisation - Step 2

Copy Web App URL

  • This takes you to a screen where you can copy the Web App URL. Once you have that, click Done

FormResponses Deploy

Connect Form

  • In the form you want the reponses added to the sheet on, in the Form Options > Submissions tab, Select Ajax as the Submission Type, Send to URL and the Action, and then paste the Web App URL into the Form Submission URL, and then save the form

That’s it. When the form submits, it then posts the selected fields to your web app and adds them to your spreadsheet.
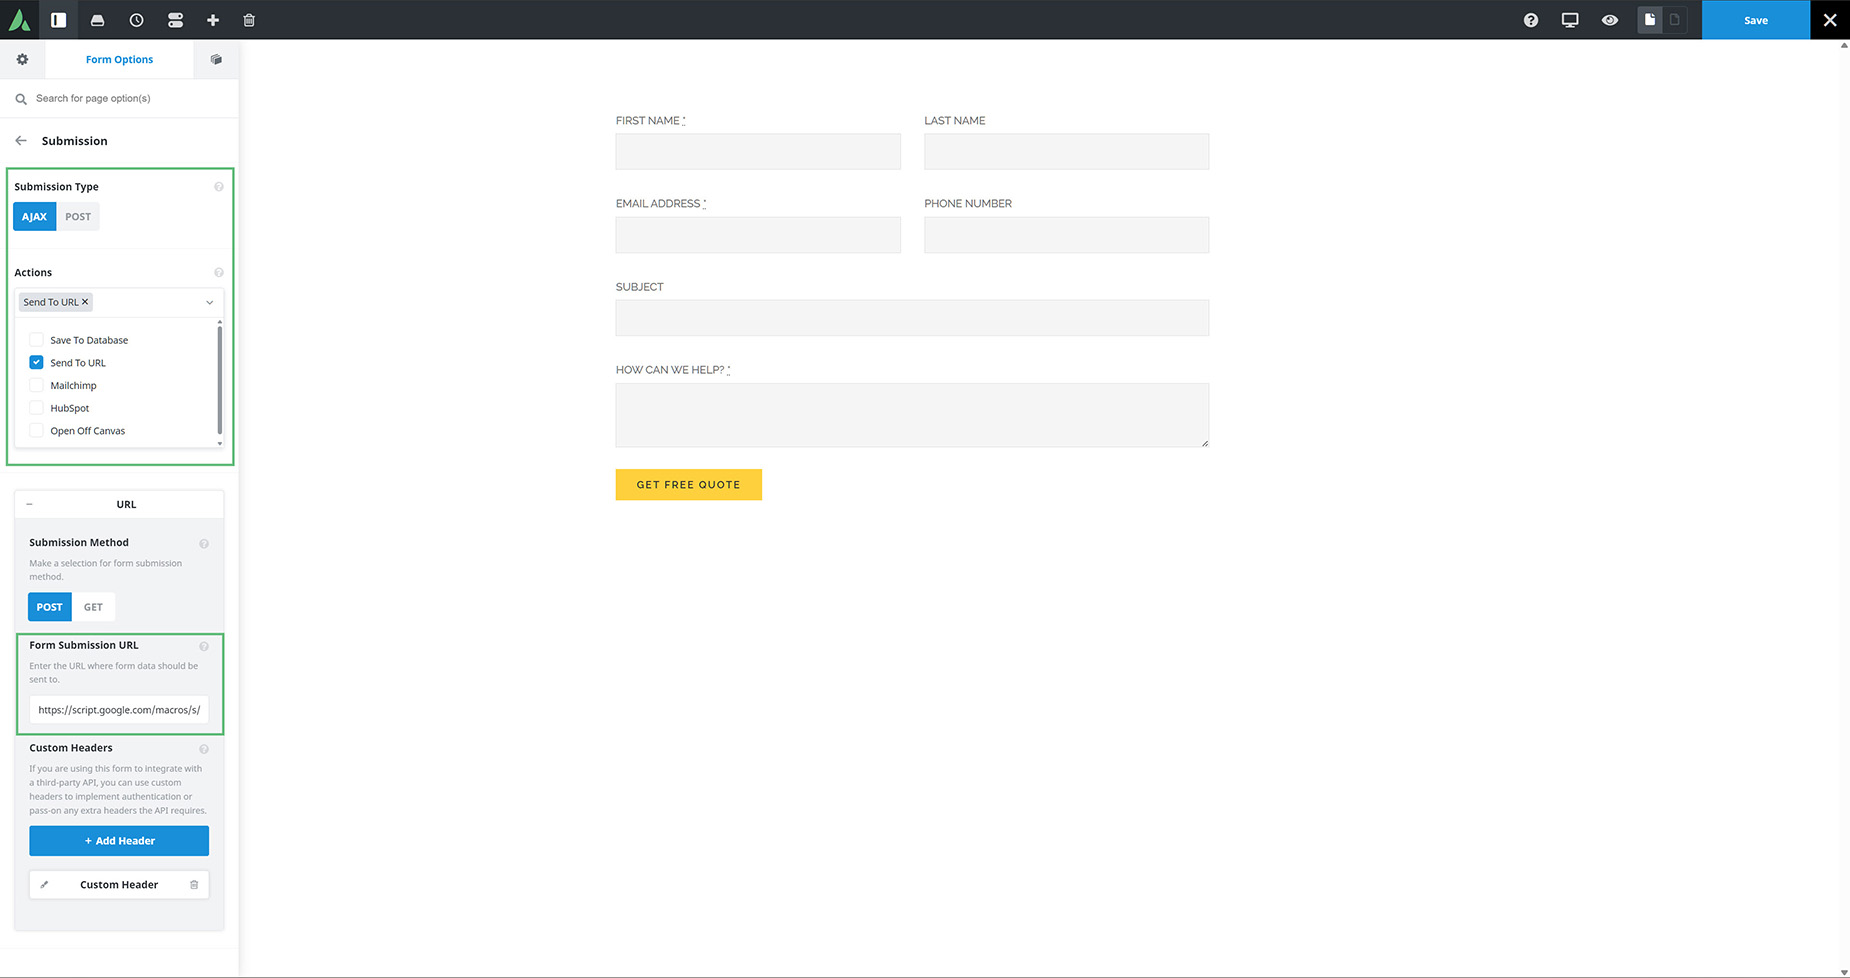
FormResponses Submission

Note for Checkboxes

If you are using checkboxes in your form, and want those values in the sheet, you will have to adjust the code. You will need to add another function to turn the checkbox values into a single string, and then use that for each string you want to get the values for.

See below for an example of the code.

Copy to Clipboard

In this article