General Cache Information
Last Update: December 11, 2025
Sometimes issues that shouldn’t exist on your webpage are caused by cache and can be resolved by clearing it. Four types of cache may affect your website’s performance. These caches are Avada Cache, Browser Cache, Plugin Cache, and Server Cache. Please read below to learn how to clear each type of cache.
Avada Cache
This resets all Dynamic CSS & Dynamic JS, cleans up the database, and deletes the “uploads/fusion-styles” and “uploads/fusion-scripts” folders on the server.
How To Clear Plugin Cache
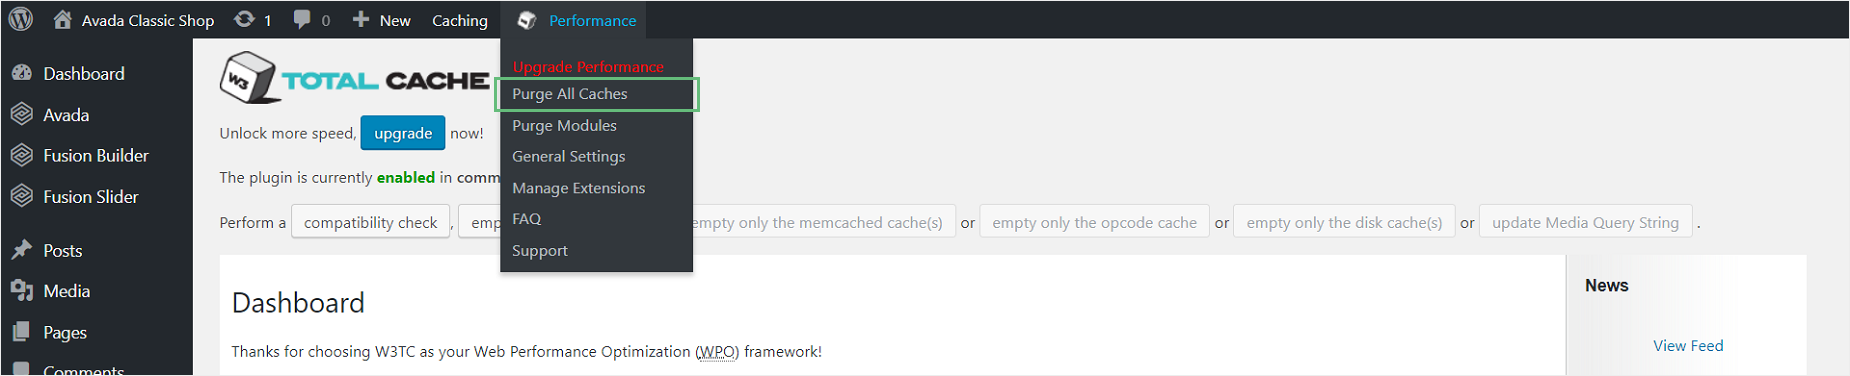
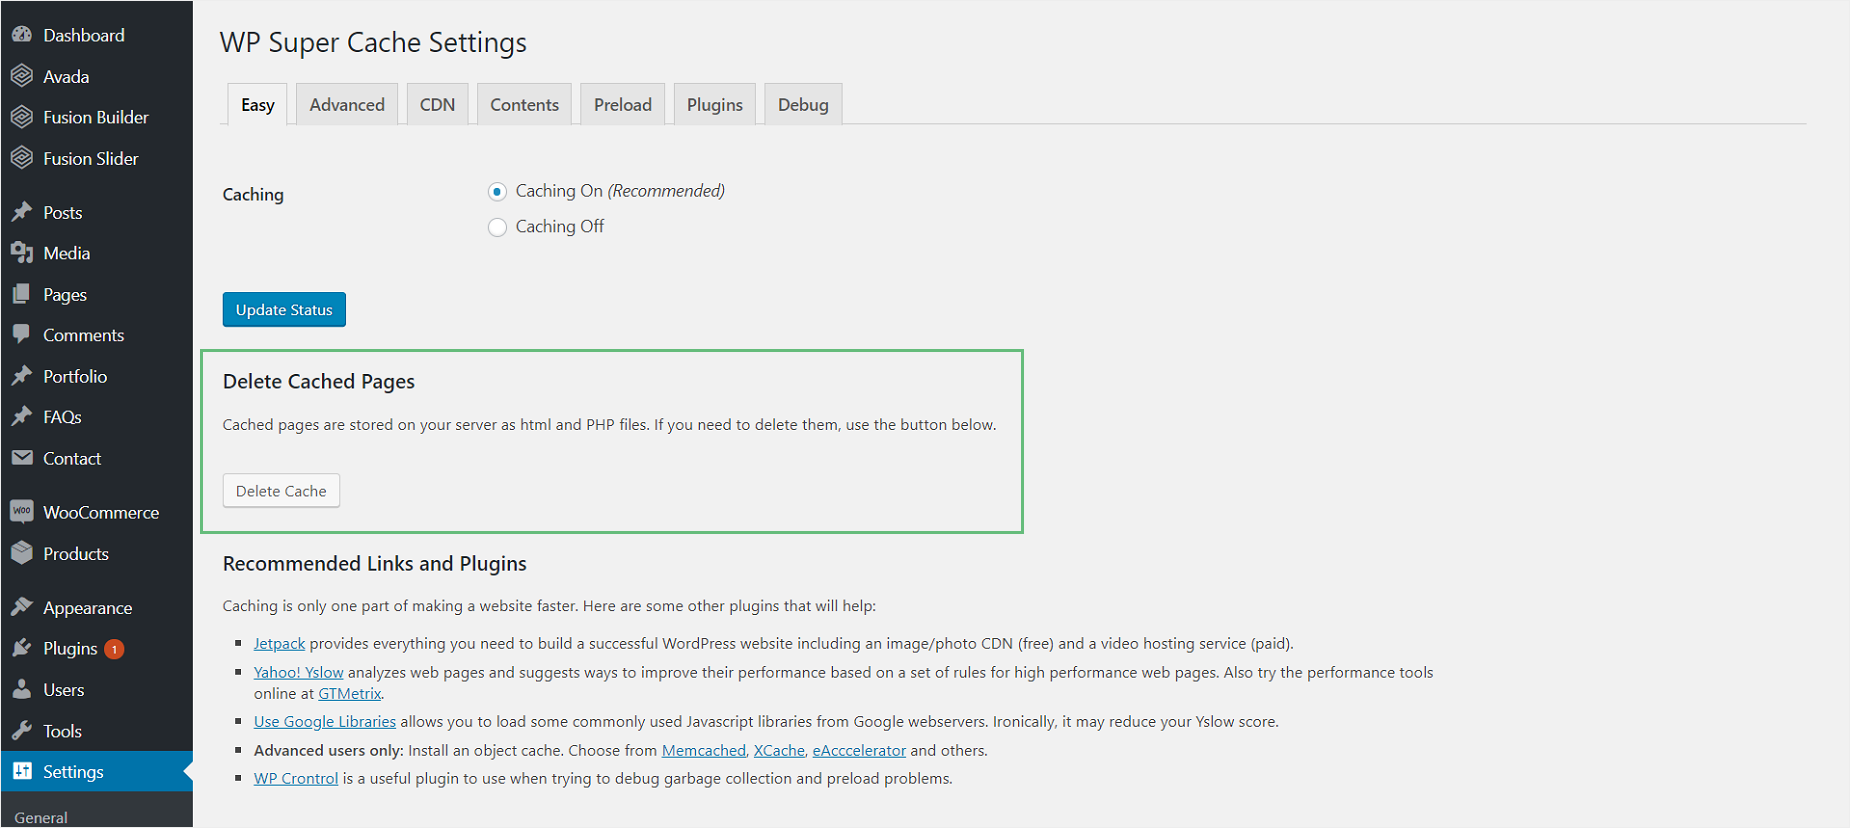
If you’ve installed a third-party caching plugin, such as W3TC or WP Super Cache, it may interfere with how your website’s performance and may cause unexpected issues. To clear your plugin cache, see below.
For W3TC
For WP Super Cache
How To Clear Server Cache
Clearing a server cache varies by cache type—DNS, application-level, or web server—though the process typically uses the appropriate tools or controls for that system. For example, DNS caches can be cleared with commands such as ipconfig/flushdns on Windows, while web servers or caching layers (including IIS, ARR, or hosting control panels like cPanel) offer their own purge options.
Many WordPress sites use plugins such as LiteSpeed Cache or W3 Total Cache to clear cached pages or specific URLs. After purging the server cache, it’s always a good idea to clear your browser cache as well so you’re viewing the latest version of your site.
In some cases, your web hosting provider may have server-side caching software installed, which can also cause issues on your website. You also need to clear this to resolve those issues and preview any new changes you make to your website.
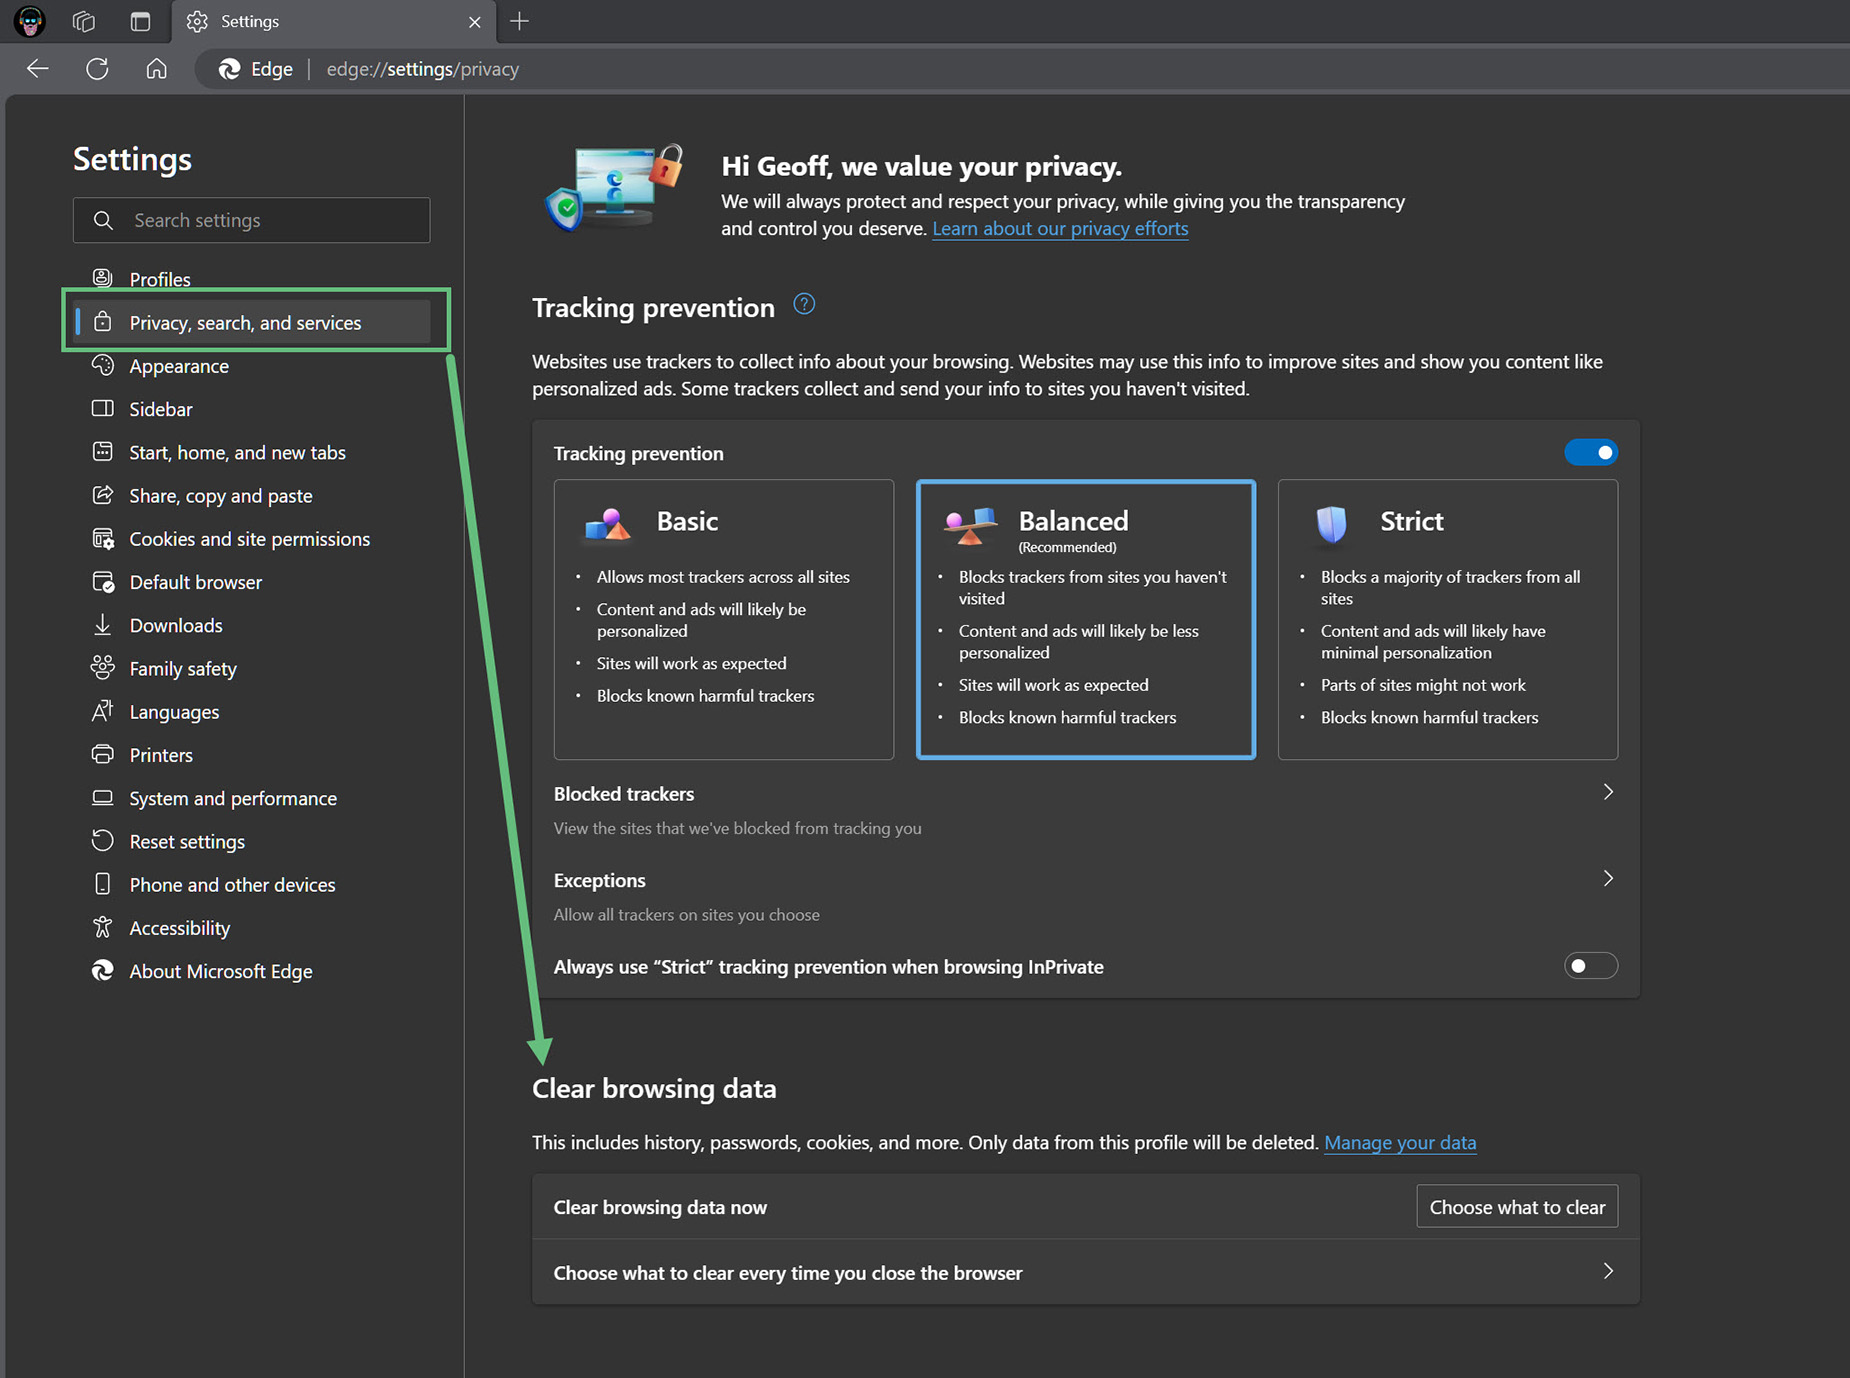
How To Clear Browser Cache
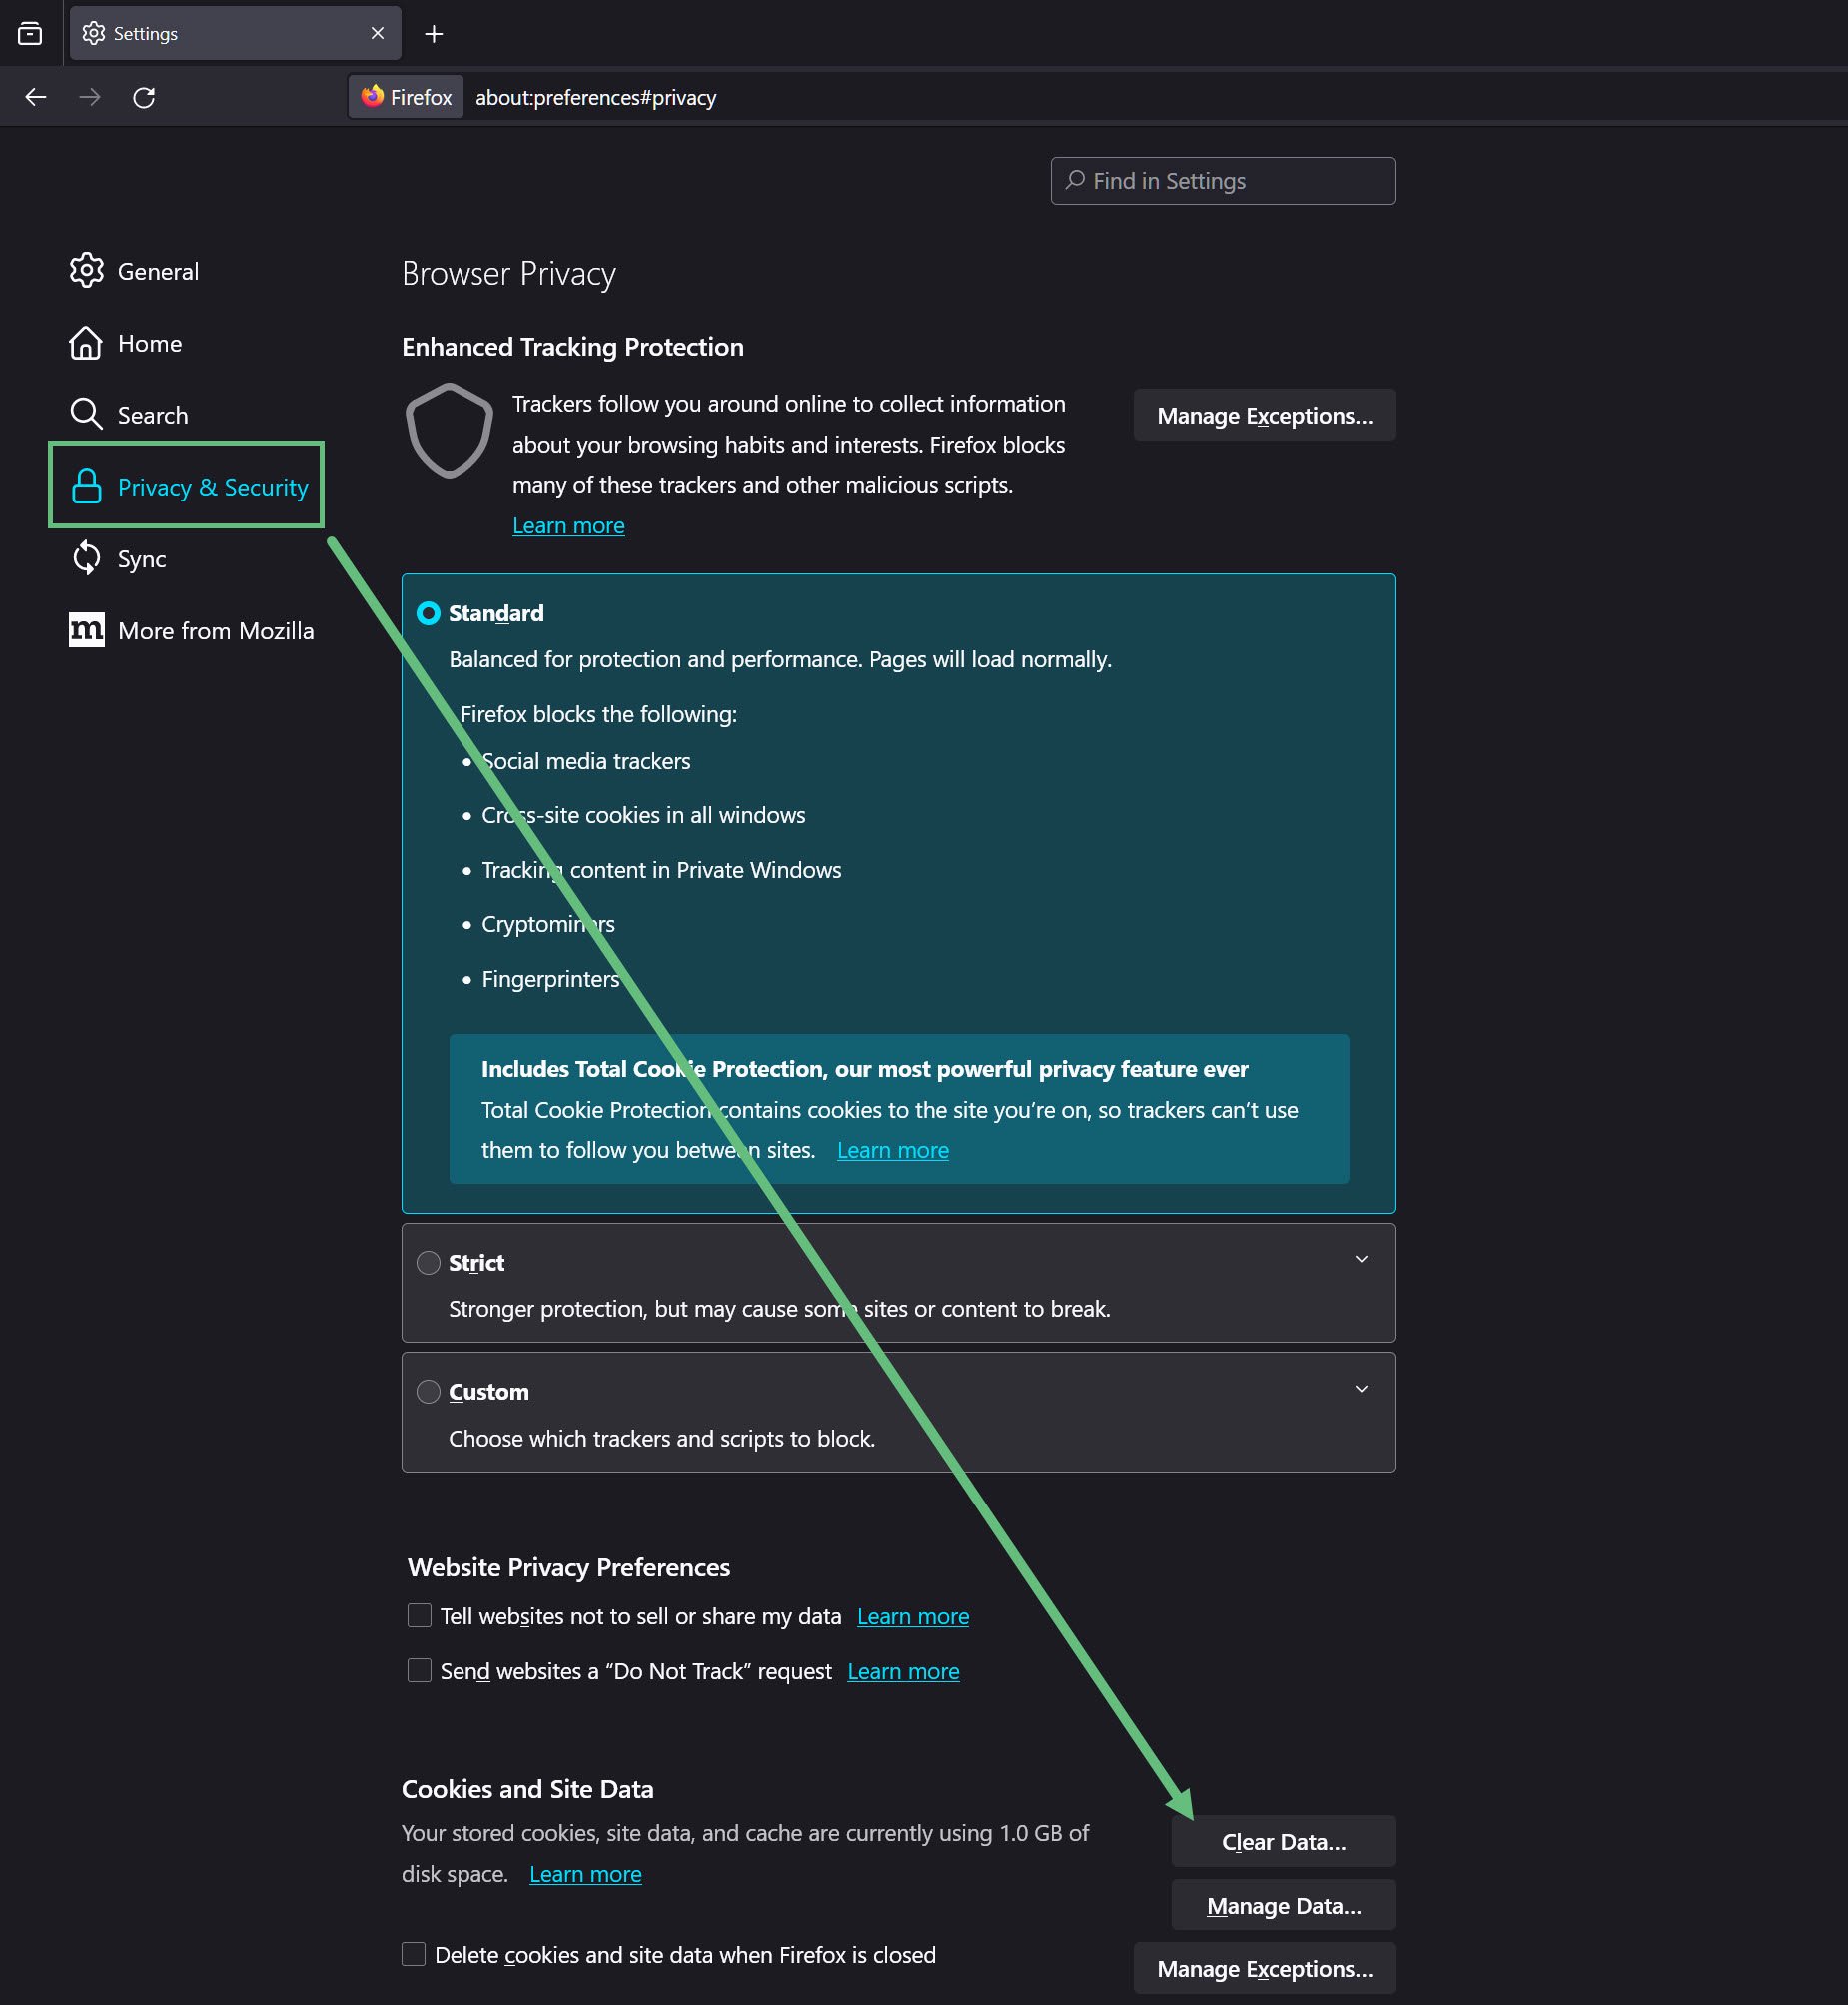
Your browser cache, also called Temporary Internet Files in some browsers, is a folder where items such as images, photos, or entire websites are stored. This reduces the time required for frequent website visits and improves load times. There are times when simply refreshing the page isn’t enough, and you need to clear your browser cache to resolve specific issues.
For Mozilla Firefox
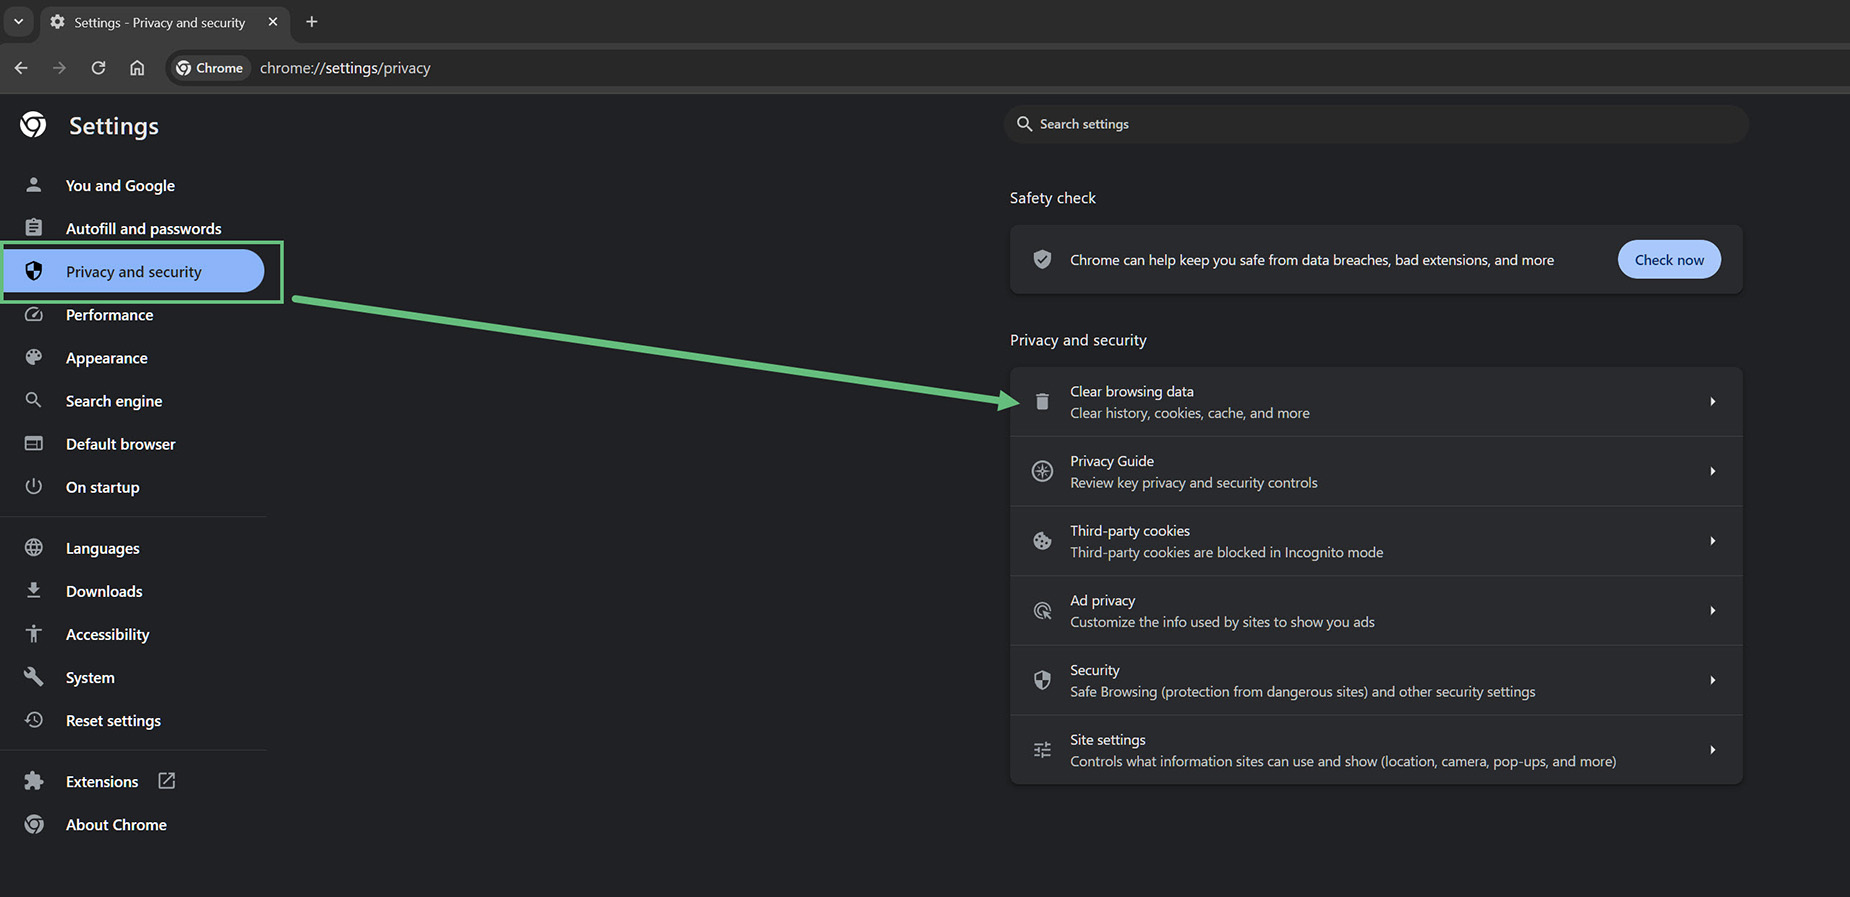
For Google Chrome
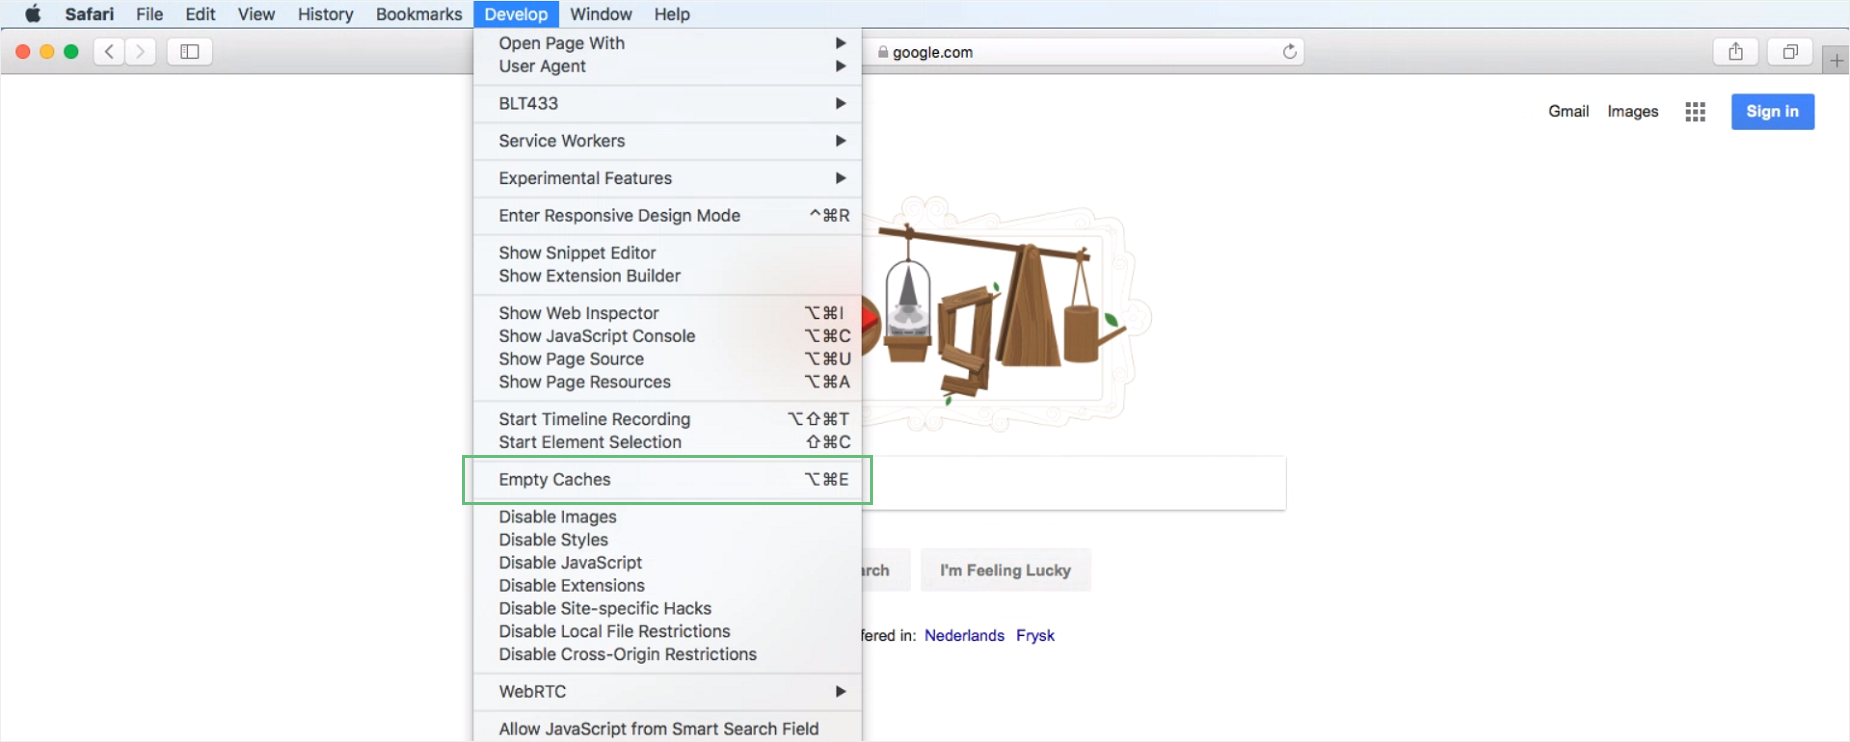
For Apple Safari
For Microsoft Edge