Creating A Gallery With Image Elements
Last Update: October 30, 2025
The Image Element allows you to create a photo gallery on a page or post through the ‘Gallery ID’ option. In this article, we’ll show you how to use the ‘Gallery ID’ option on multiple Image Elements to create a lightbox gallery. To learn how to do this please continue reading below.
Process
To create a gallery like this, you start by adding your images to your page as normal. With this method, not all images on the page need to be in the gallery. You choose which ones are, and which are not.
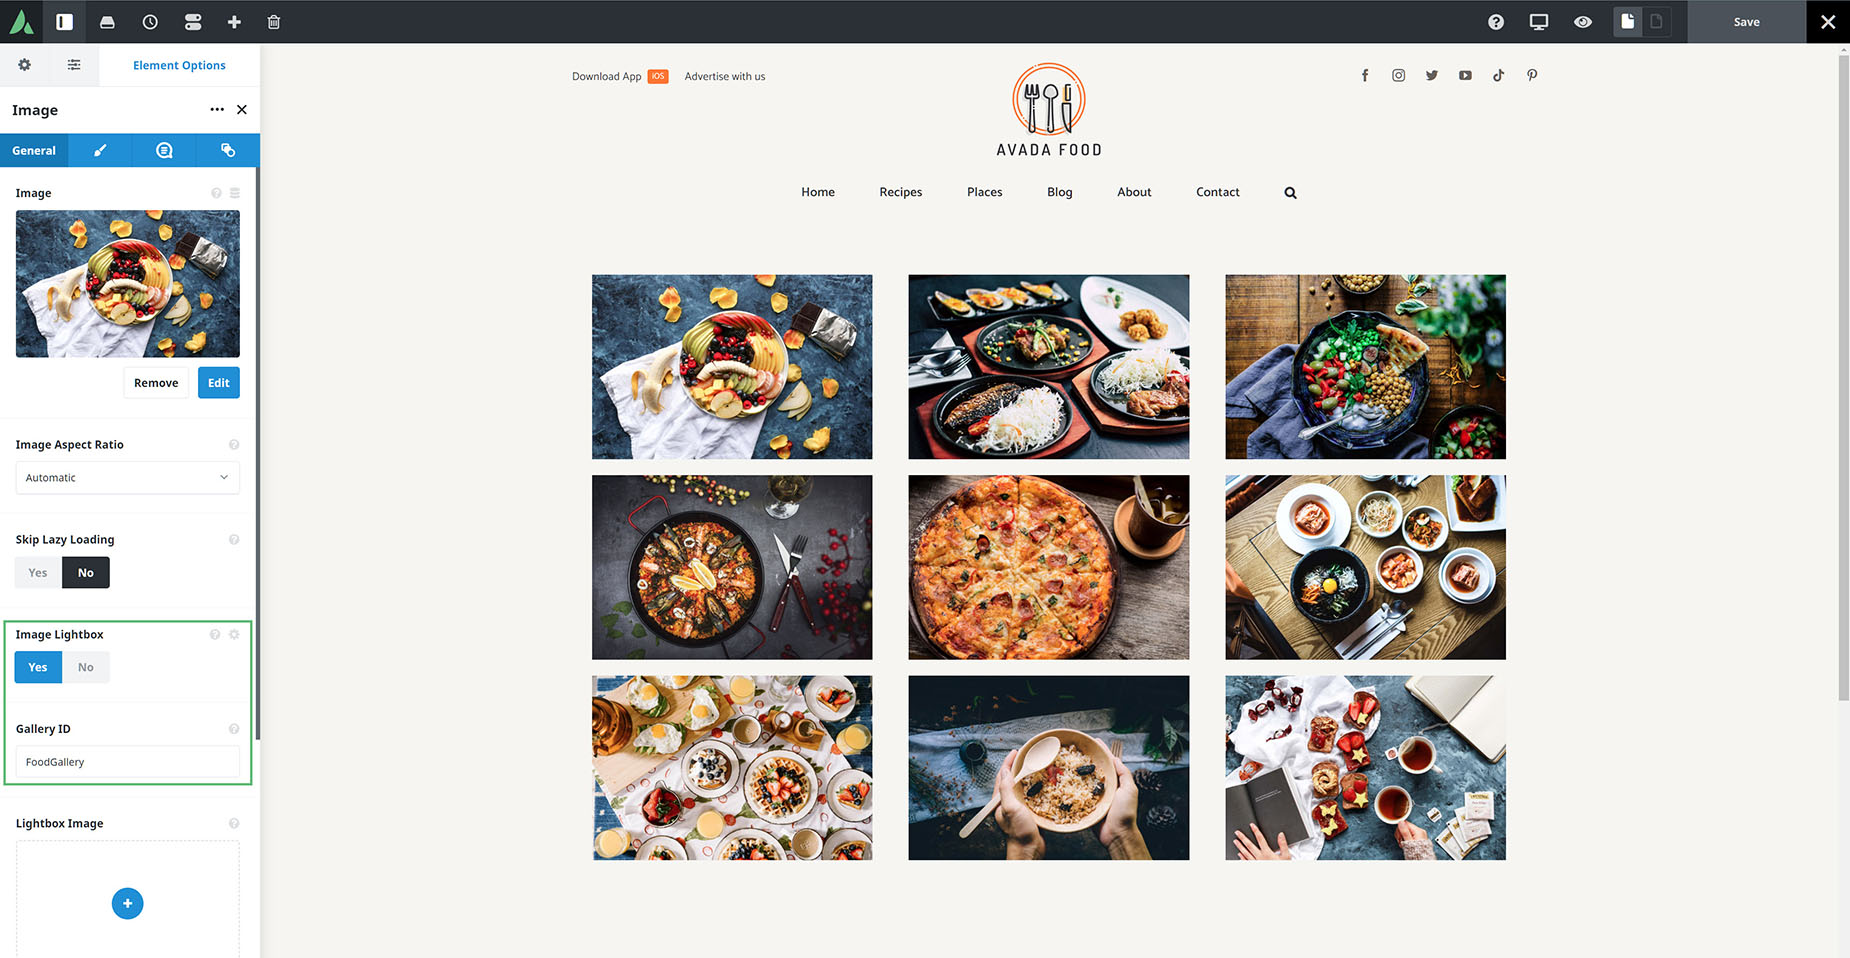
As you add the images, consider if it will be in the gallery. Make sure to set the ‘Image Lightbox’ option on each image you want to be in the gallery to Yes. If you’d like to set a different lightbox image, you can also do this by assigning one using the ‘Lightbox Image’ option.
To assign images to the gallery, locate the ‘Gallery ID’ option. Into this option, insert a unique gallery ID. For example, FoodGallery.
Keep repeating this step until you’ve added the same unique Gallery ID to all the Image Elements that you want displayed in the Lightbox gallery. You can add the Gallery ID to as many Image Elements as you wish.
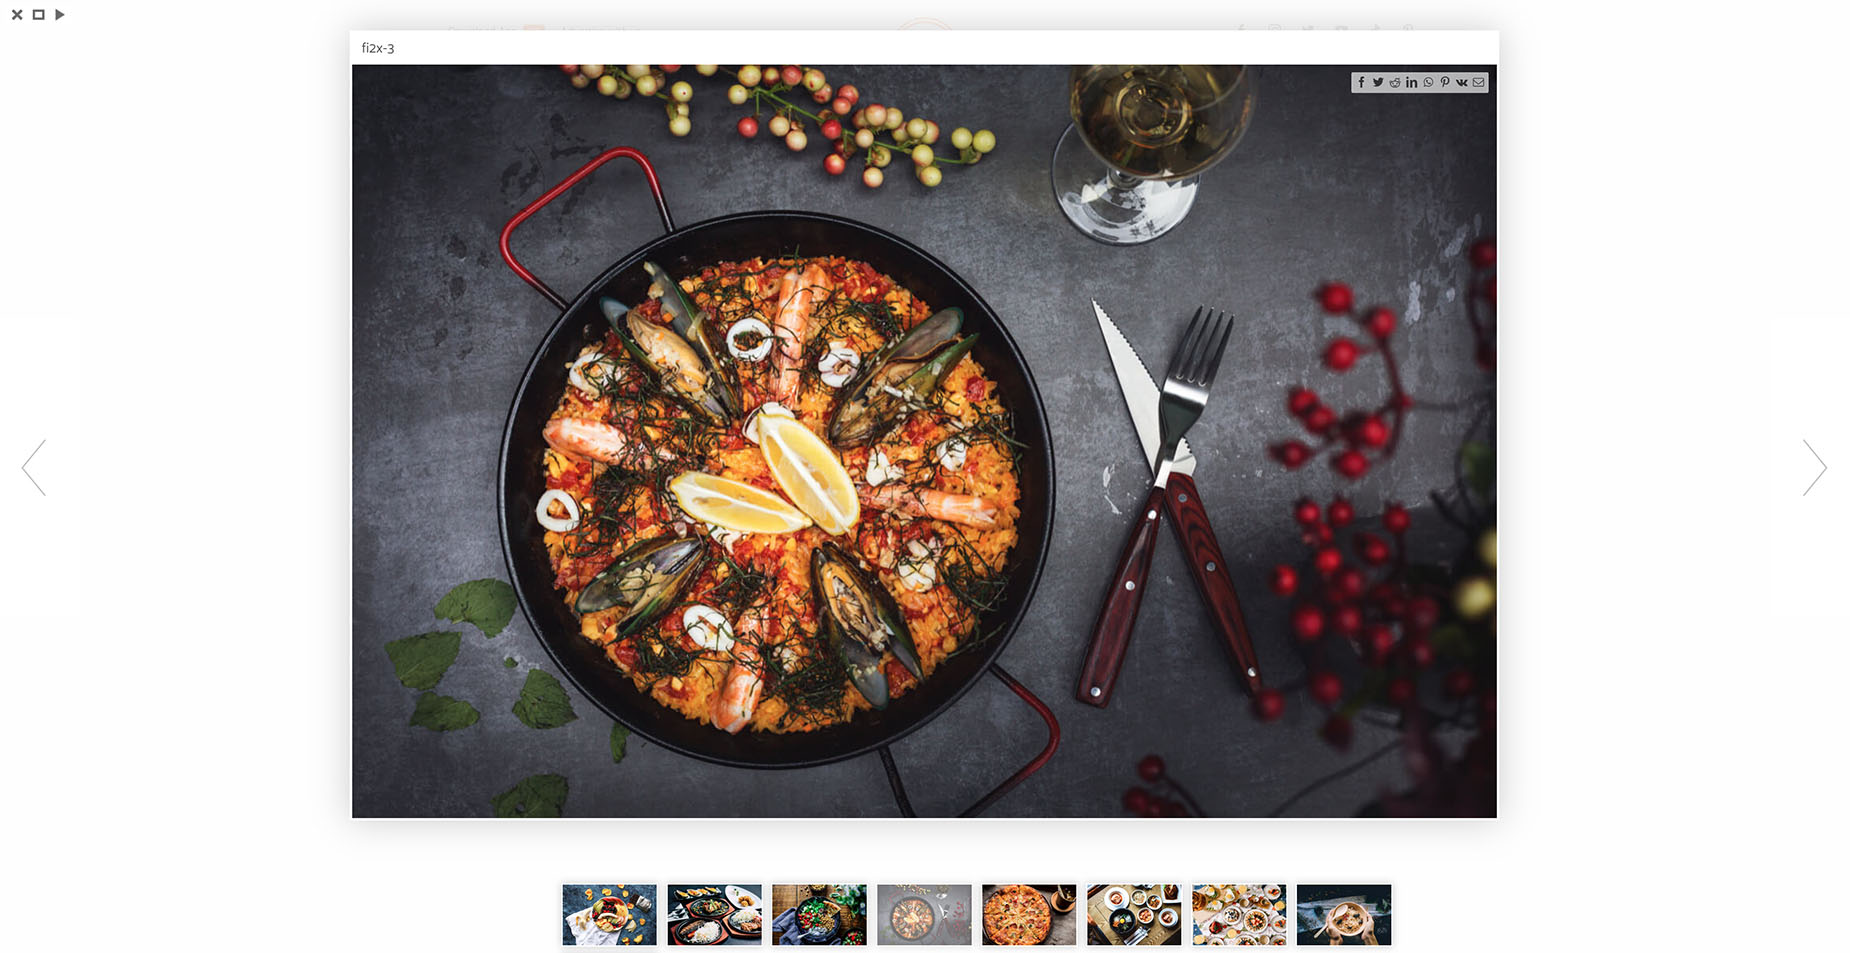
That’s it. When you open the page on the front end, and click on an image that has the ‘Gallery ID’ you set, it will open in a Lightbox, but the other images that share that Gallery ID will open in thumbs alongside or below it (as per Lighbox global options) to create a gallery.