Assigning A Posts Page
Last Update: November 30, 2025
Assigning A Posts Page
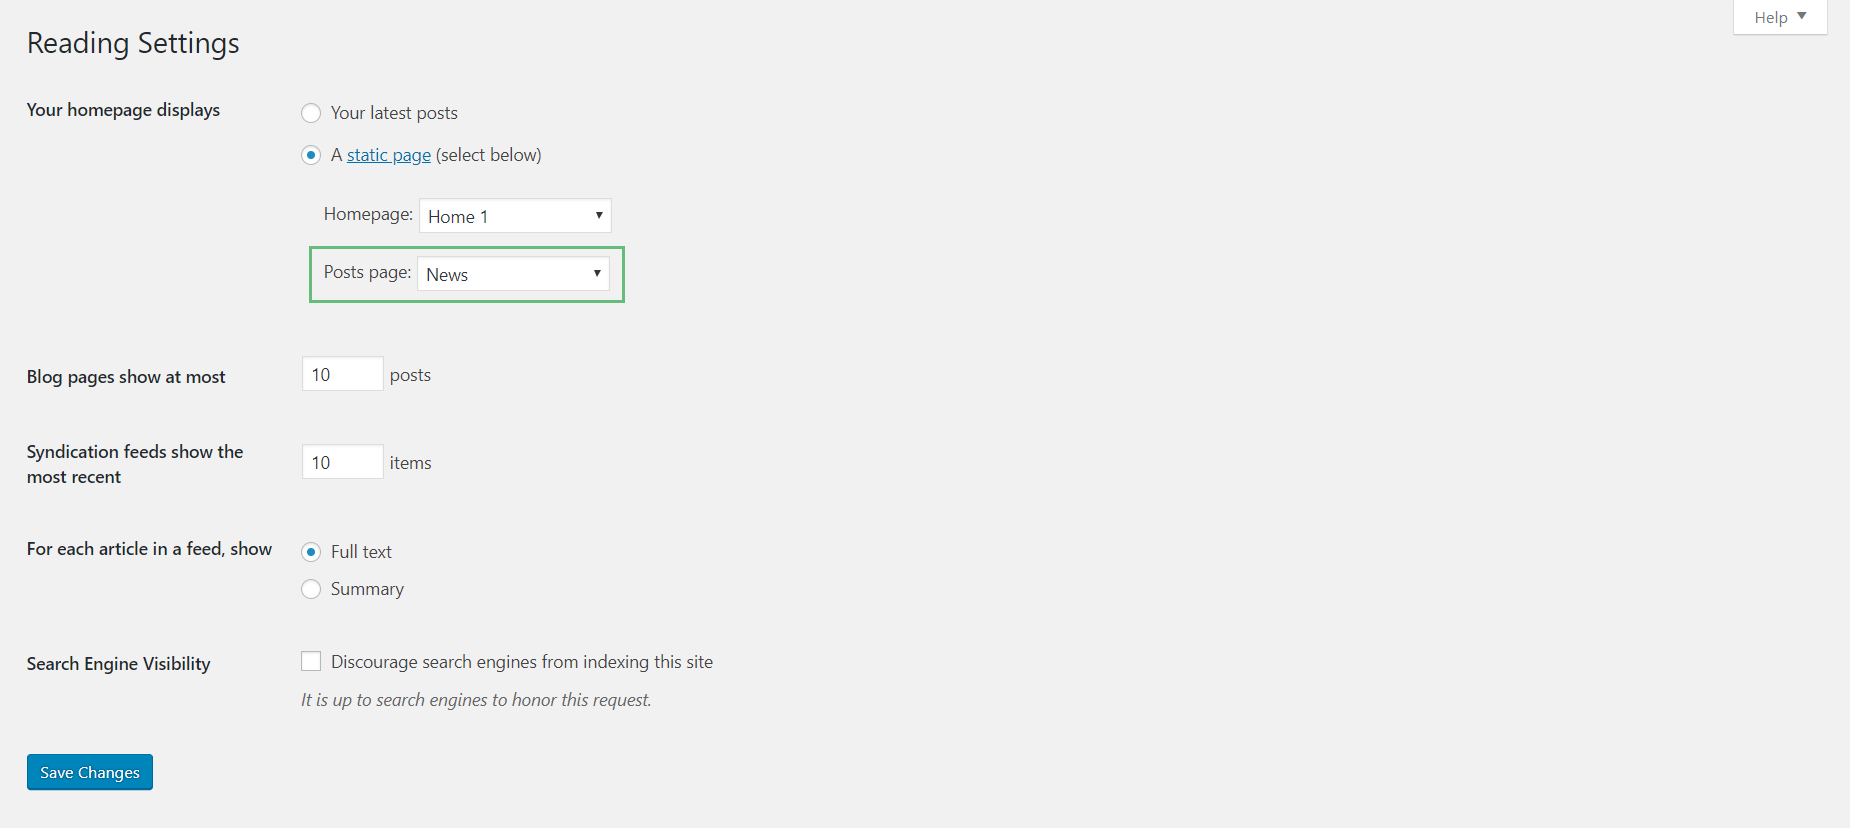
The standard WordPress method for setting up a blog is to assign a blog or post page. It’s as easy as making a new blank page to hold the posts, and then telling WordPress to use that page as the post page. This method is very easy to implement, but lacks the flexibility of other methods, such as the Post Card or Blog Elements.
Avada Global Options For The Assigned Blog Page
When using the assigned posts page as described above, all the options for it are located in the Avada > Options > Blog tabs. There are dozens of options to choose from like layout, sidebars, excerpts, full width, etc. There are general blog options, single post page options, and blog meta options. Each one has titles and descriptions to help you better understand what they do. For full details, see the Blog Global Options doc.


