Share
WordPress has been making serious waves in the world of membership sites over the last few years as a slew of affordable plugins have emerged explicitly designed for that use case. In our recent roundup of leading contenders in the membership plugin space, one solution stood out for its combination of ease of use and powerful functionality – MemberMouse.
In this article, we’ll examine MemberMouse’s main features, walk through setting it up, and examine its advantages in helping you build a killer membership site. Before we get going, though, let’s quickly review the advantages of adding a membership offering in the first place.
Overview
The Benefits of Setting up a Membership Site
Businesses everywhere are starting to feel the pinch as the big beasts of the online jungle continue to encroach into their space. Take just a few obvious examples: Google will happily answer your customers’ questions; Amazon will take care of delivery and fulfillment; Apple treats itself to a cool 30% of the sale for bringing users to you via an app.
Many businesses are increasingly concerned about building some sort of moat around their core offerings to ringfence their relationship with their own customers. Membership offerings are an excellent way of doing this. In addition to that general point, four further obvious advantages make membership offerings a no-brainer for most businesses:
We’ll concentrate on that last point here, taking a detailed look at a great solution that works effortlessly with your Avada website: MemberMouse.
Introducing MemberMouse
Set up by Eric Turnnesson in 2009, MemberMouse boasts a strong core team with impressive Fortune 500 backgrounds, who are used to delivering in genuinely high-volume eCommerce environments.
MemberMouse is a subscription service and offers four pricing plans.

The standout features are the range of available customer management options, detailed reporting and analytics, and integrated marketing tools such as upsells, downsells, and trial offers. International currency support also comes as a standard.
If you’re looking for examples of MemberMouse sites in the wild, there’s an impressive list of seven-figure businesses prominently listed on their homepage, including slick-looking offerings from sites such as Coffee & Contracts and Danielle MacKinnon.
For those looking for a path to that kind of success, the How to Build a Profitable Membership Site guide from MemberMouse’s own Dan Caron is a great starting point. So, with the background out of the way, let’s start using the software.
Getting Set Up with MemberMouse
MemberMouse offers a 100% no-risk 14-day money back guarantee, so taking the service for a test spin is nice and straightforward. The onboarding process is straightforward, with detailed instructions provided and a ton of helpful resources to get your membership business up and running.

To get you started, we suggest that you take a look at their Video Training: Master the Essentials of MemberMouse series.
How to install the MemberMouse Plugin
Before activating the MemberMouse plugin, you must register your website domain. This is done via the dashboard on the MemberMouse site itself. We should point out here that options for installing MemberPress on a localhost or in a staging environment are both supported.

After you’ve authorized your domain, you can download and install the MemberMouse plugin in the same way you would any other WordPress plugin. Start by downloading the plugin file from the MemberMouse website. We suggest checking out their pre-installation checklist.
Then, in your WordPress dashboard, you go to the Plugins section, click on “Add New,” and then “Upload Plugin.” Choose the downloaded MemberMouse file to upload, install it, and then activate the plugin. Once activated, you might need to configure the plugin settings according to your membership site requirements.
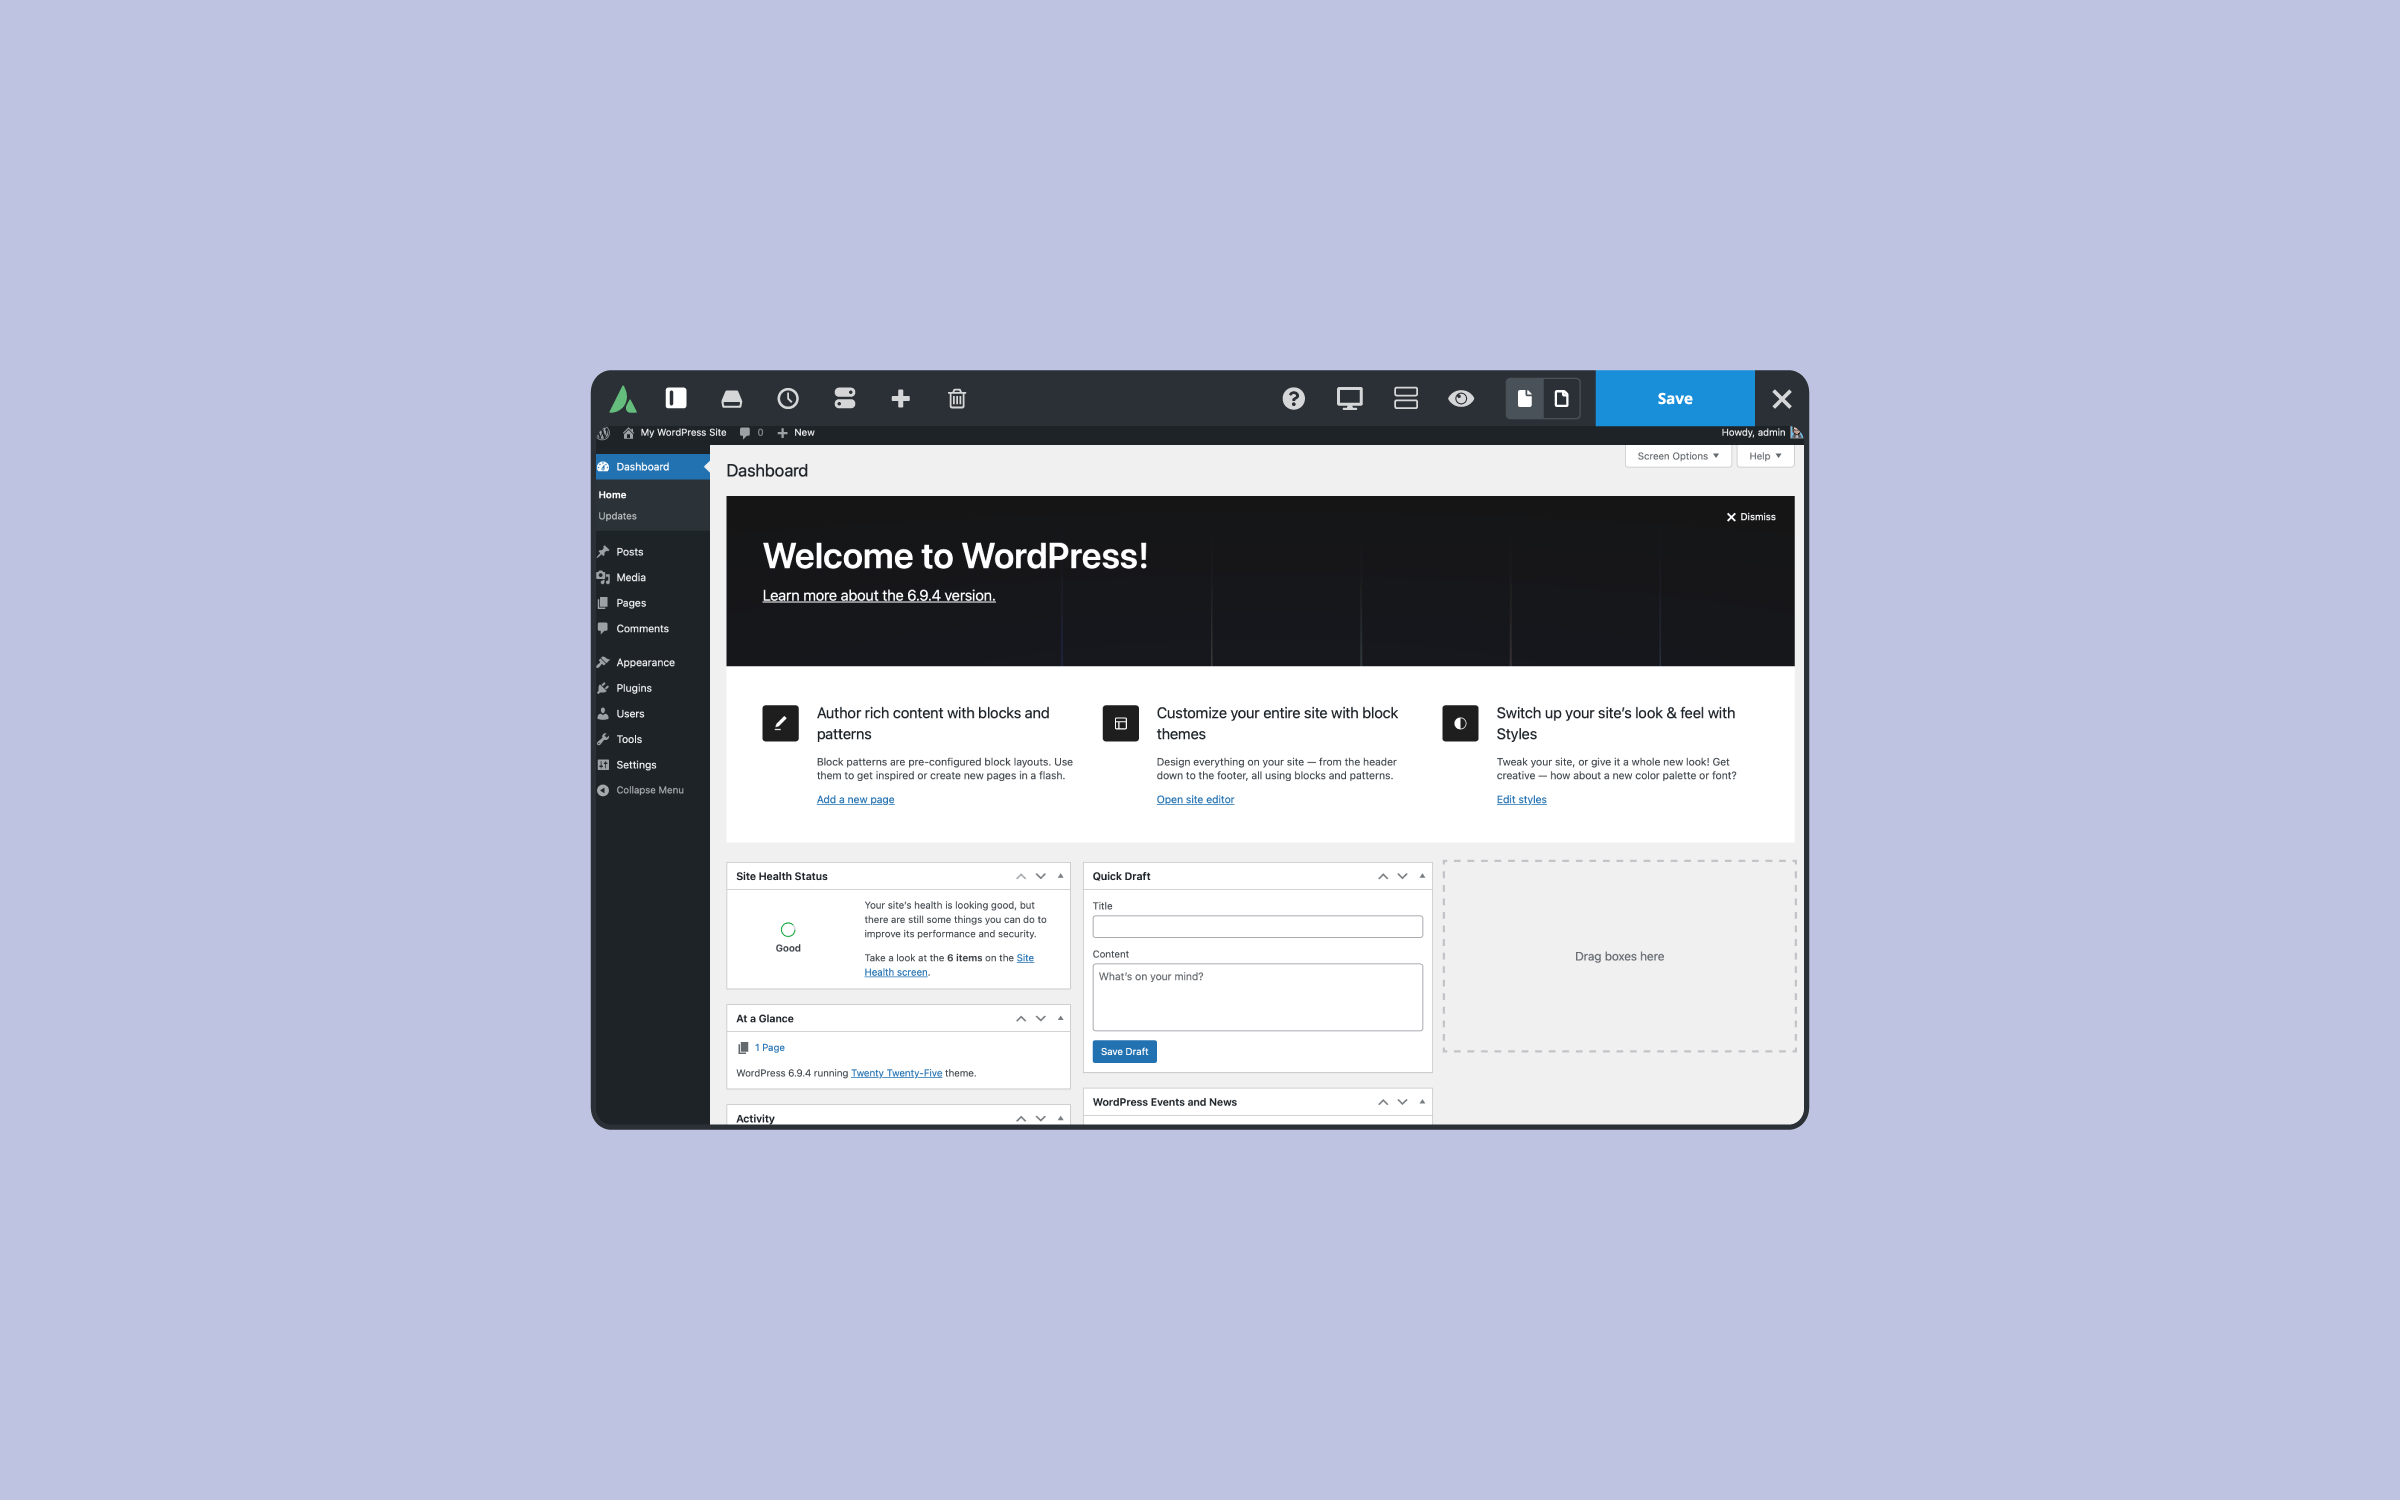
Once the plugin is installed and activated, you can access the MemberMouse dashboard in WordPress.
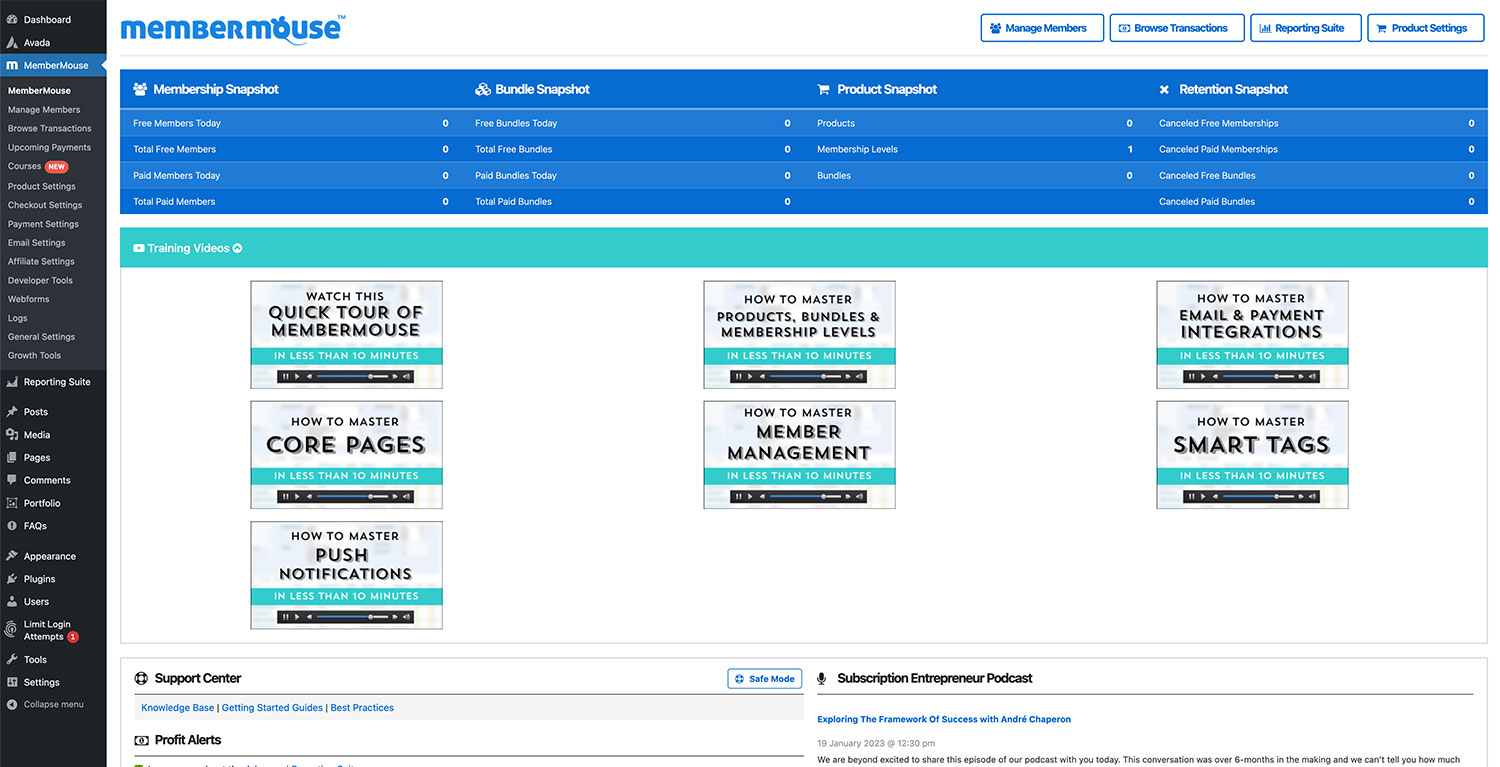
As you will see, you’re presented with some useful metrics relating to your site and a comprehensive set of training videos to get you up to speed on overall functionality. We suggest starting with this Quick Tour video, which will give you an excellent run-through of the main sections in the WordPress admin and what they’re responsible for.
The General Settings tab is another useful first port of call to set up some basics, such as organizing Employee Accounts to get your team on-board as quickly as possible. If you find yourself getting stuck at any stage, the Support Center is just a click away. Now that MemberMouse is up and running, let’s look at creating and selling some memberships.
Creating and Selling Memberships
The guided setup video series has a great overview of the steps involved in getting your initial membership offering off the ground, and we highly recommend viewing that when you’re first starting off to avoid confusion. The general sequence is as follows:
1. Creating a Product
A product in MemberMouse is simply what your customers pay for. Products could be one-offs, payment plan offers, monthly billing products, or trial periods—the choice is yours.
Start creating your products under Product Settings tab. As you can see, there are options for setting your price, offering a trial, and controlling subscriptions and payments conveniently built in.

2. Associating Access With a Product
Once your product is created, you need to control who has access to what content based on purchasing it. MemberMouse offers two types of membership access: “Membership Levels” and “Bundles”.
The primary difference between the two is that members can have only one membership level but can purchase more than one bundle at a time. Membership levels can be associated with multiple products and are created by going to Product Settings > Membership Levels.

Access to content itself can be configured on the post/page level, and this is also where you can start setting up drip content options. Once you’ve set up a few pieces of content, you can get a handy overview of schedules per membership level by visiting Product Settings & Drip Content Schedule.
Intelligent features such as SmartTags also allow you some finer-grained control in terms of offering purchase links and being able to preview excerpts of content as an incentive to sign up.
3. Sell the Membership
MemberMouse largely leaves the sales page up to you, so it’s simply a question of creating compelling copy on your chosen page and incorporating the relevant purchase link in your call to action.
Of course, you will also have to set up your payment methods. These can be configured via the Payment Settings tab, as pictured below.
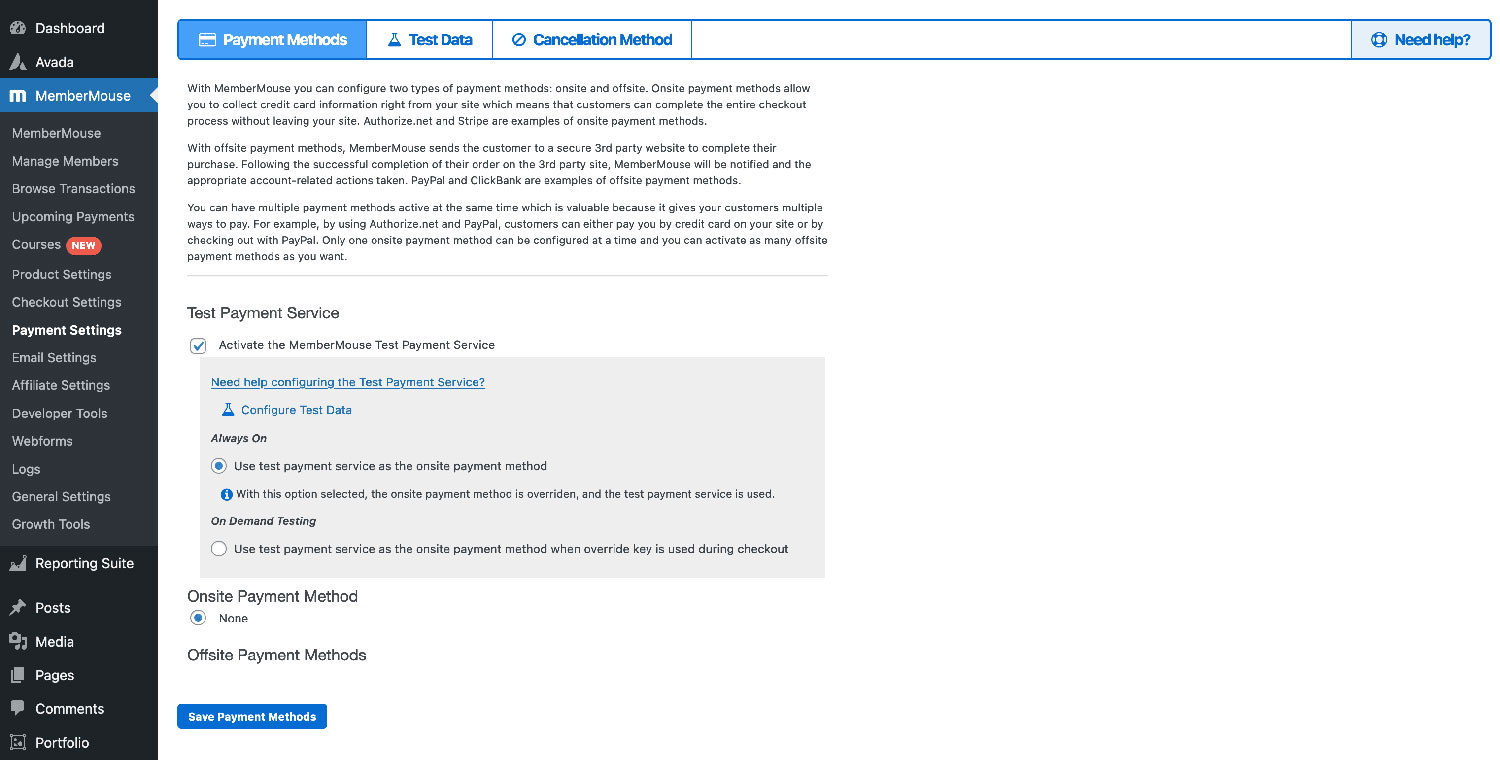
The subject of setting up payment providers is obviously fairly broad, so we won’t dive too far. Suffice to say, MemberMouse offers built-in support for common providers such as Stripe, PayPal and Braintree and configuration is straight-forward once you have your respective accounts set up. Let’s move on to look at member management.
Taking Control of Member Management
One of MemberMouse’s key selling points is the way it enables you to allow members to manage their own accounts without you having to step in. Members are free to upgrade, downgrade or cancel their memberships themselves directly from the My Account page, with MemberMouse making the necessary adjustments in terms of billing and account status automatically behind the scenes.
As a site owner, you can hook in upsells to these events or downsells for members looking to cancel via the Save the Sale page. There’s a full range of billing cycles on offer for you to customize and a flexible coupon module for offering discounts along the way.
One of the powerful features of MemberMouse is the extent of its integration with third-party payment software. Overdue payments, for example, are automatically recognized and followed up on via email, and you have the ability to issue refunds directly from within MemberMouse rather than having to log into Paypal or Stripe. MemberMouse also integrates smoothly with mailing list solutions such as MailChimp, AWeber, ActiveCampaign, and more.
Reporting and Analytics
As your site grows, the subjects of reporting and analytics will become ever more important for maximizing your future revenue opportunities. MemberMouse’s Reporting Suite comes with basic reporting functionality built-in, covering areas such as member reporting, revenue, and engagement figures.
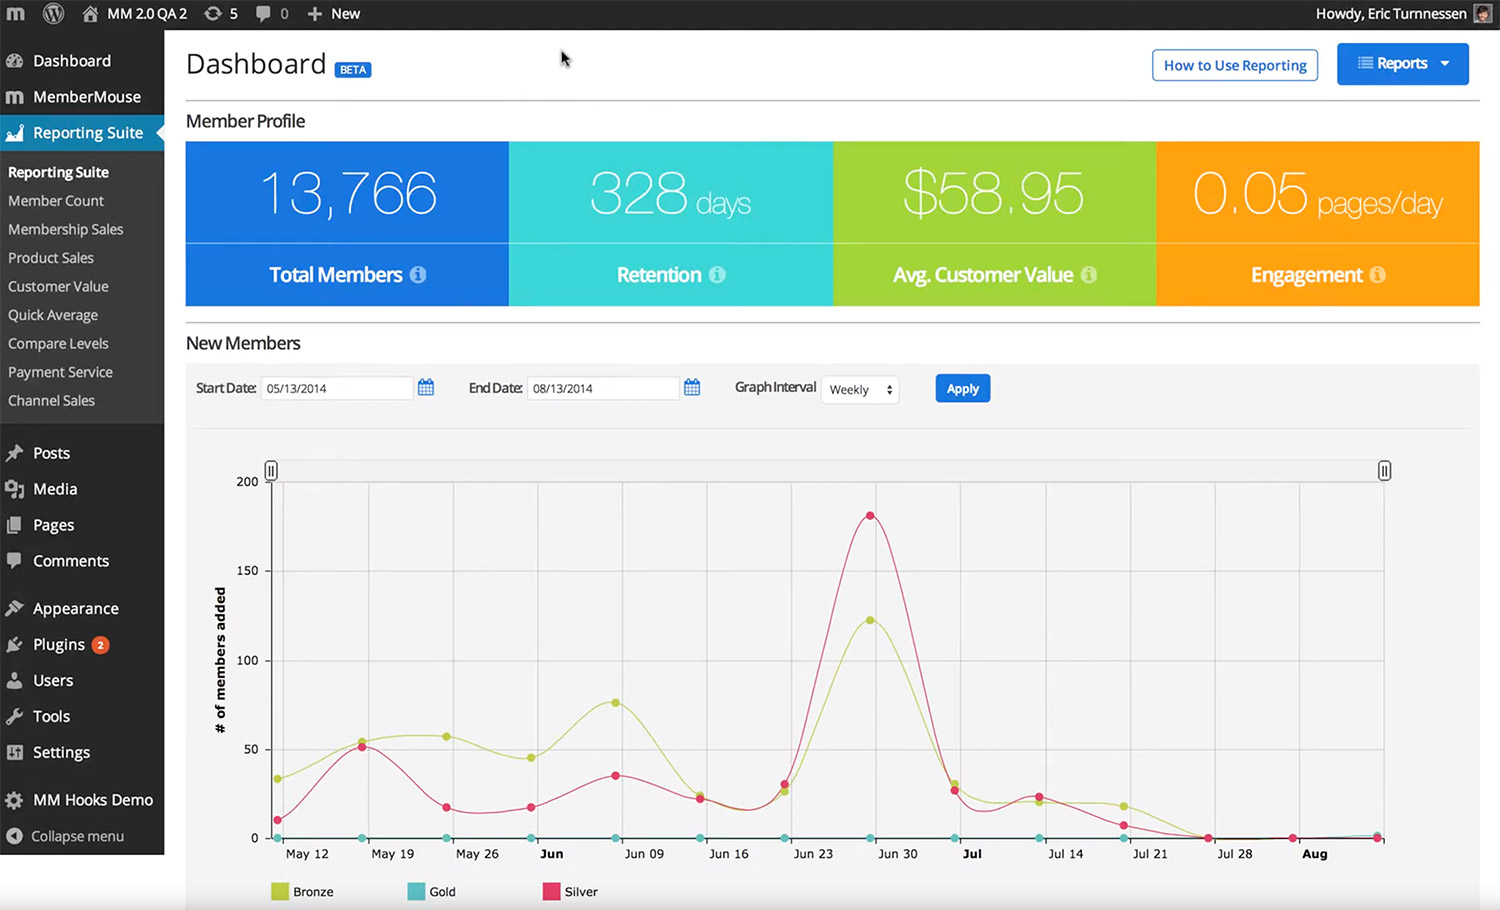
Users with access to the Advanced Reporting suite (available on all Advanced and Premium packages) can take things to the next level and start drilling in on figures for lifetime customer value, churn rate, and breaking out sales by channel.
Check out this video on the Advanced Reporting Suite for more details on the full range of options available.
Summary
MemberMouse aims to be the go-to WordPress membership solution that can be seamlessly used with any Avada website. Its range of functionality and attention to detail in making it straightforward to set up are genuinely impressive.
Its options for Member Management, reporting, and analytics take a lot of the heavy lifting out of the admin side of things, leaving you free to concentrate on creating killer content to keep members coming back for more. Overall, we consider it a strongly recommended package if you’re looking to offer memberships on your Avada site.