Share
Avada Studio is a creative resource for Avada website owners that provides access to professionally designed content for your website, which has never been easier. Whether you’re building a new site or enhancing an existing one, Avada Studio offers a wide range of prebuilt content that can be effortlessly integrated into your website with a few clicks.
In a previous post, we demonstrated how to add and customize an Avada Post Card to your website. In this post, we will demonstrate how to add and customize a 404 page template and a Blog single post layout. Let’s get started!
Overview
What Is Avada Studio?
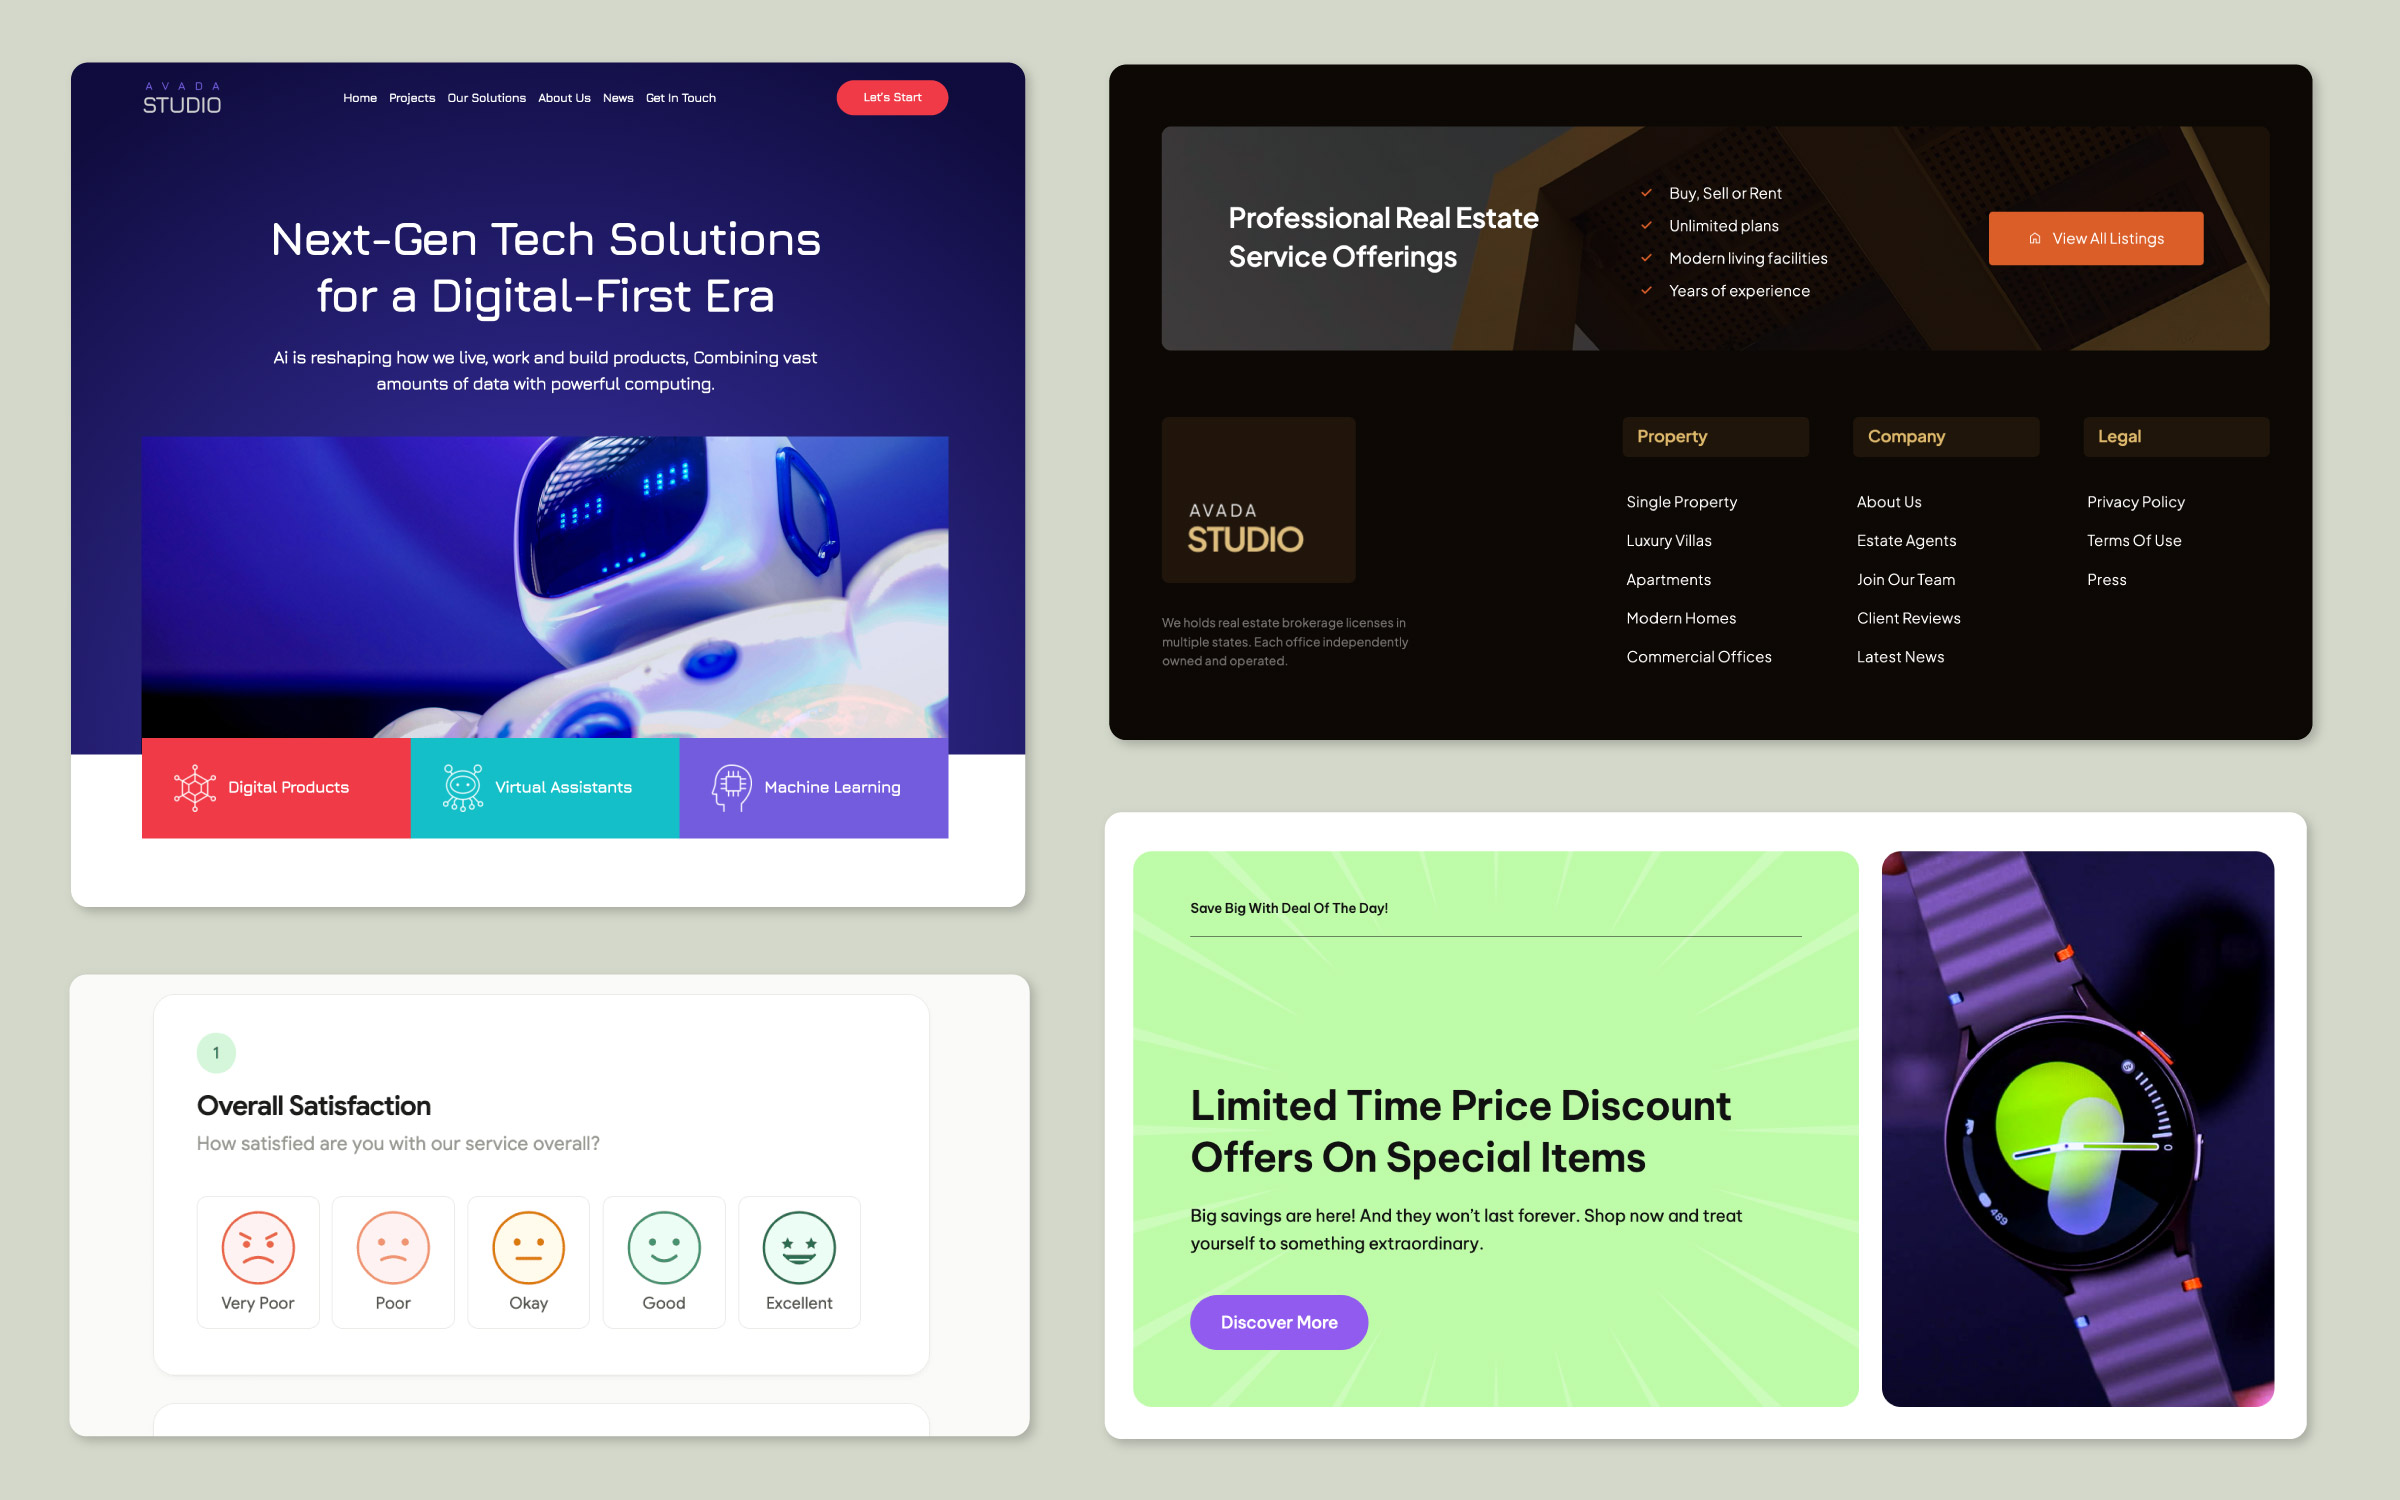
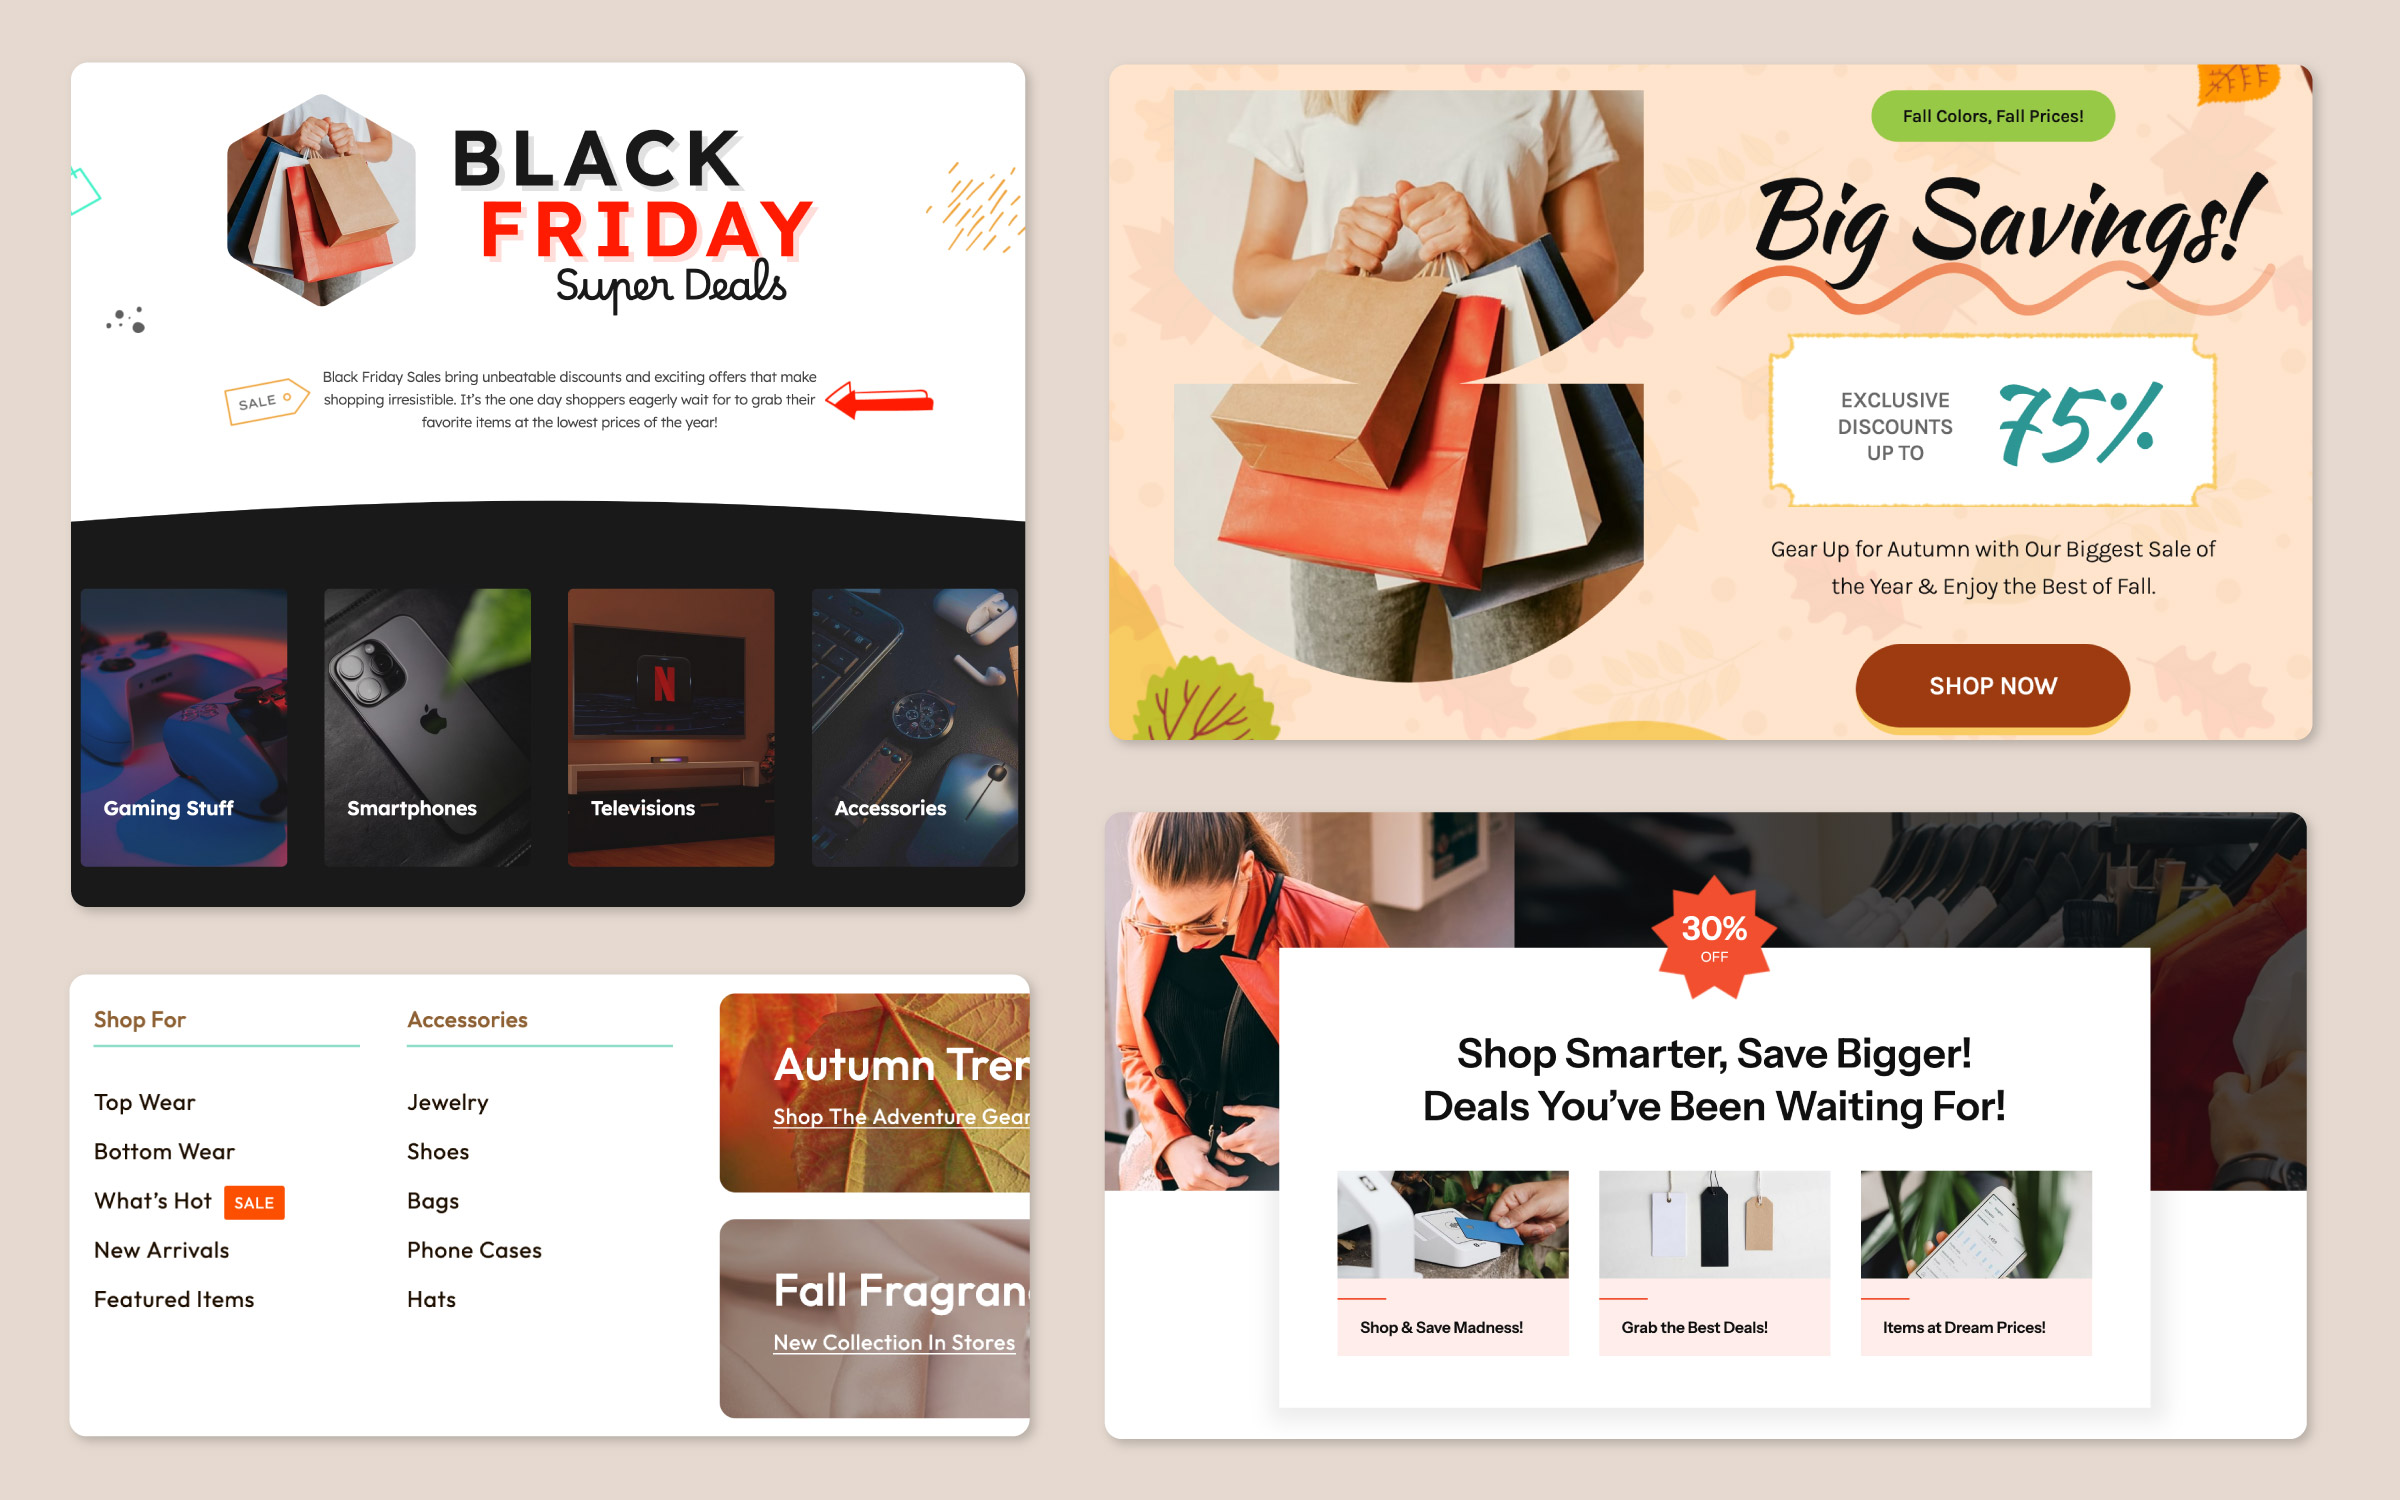
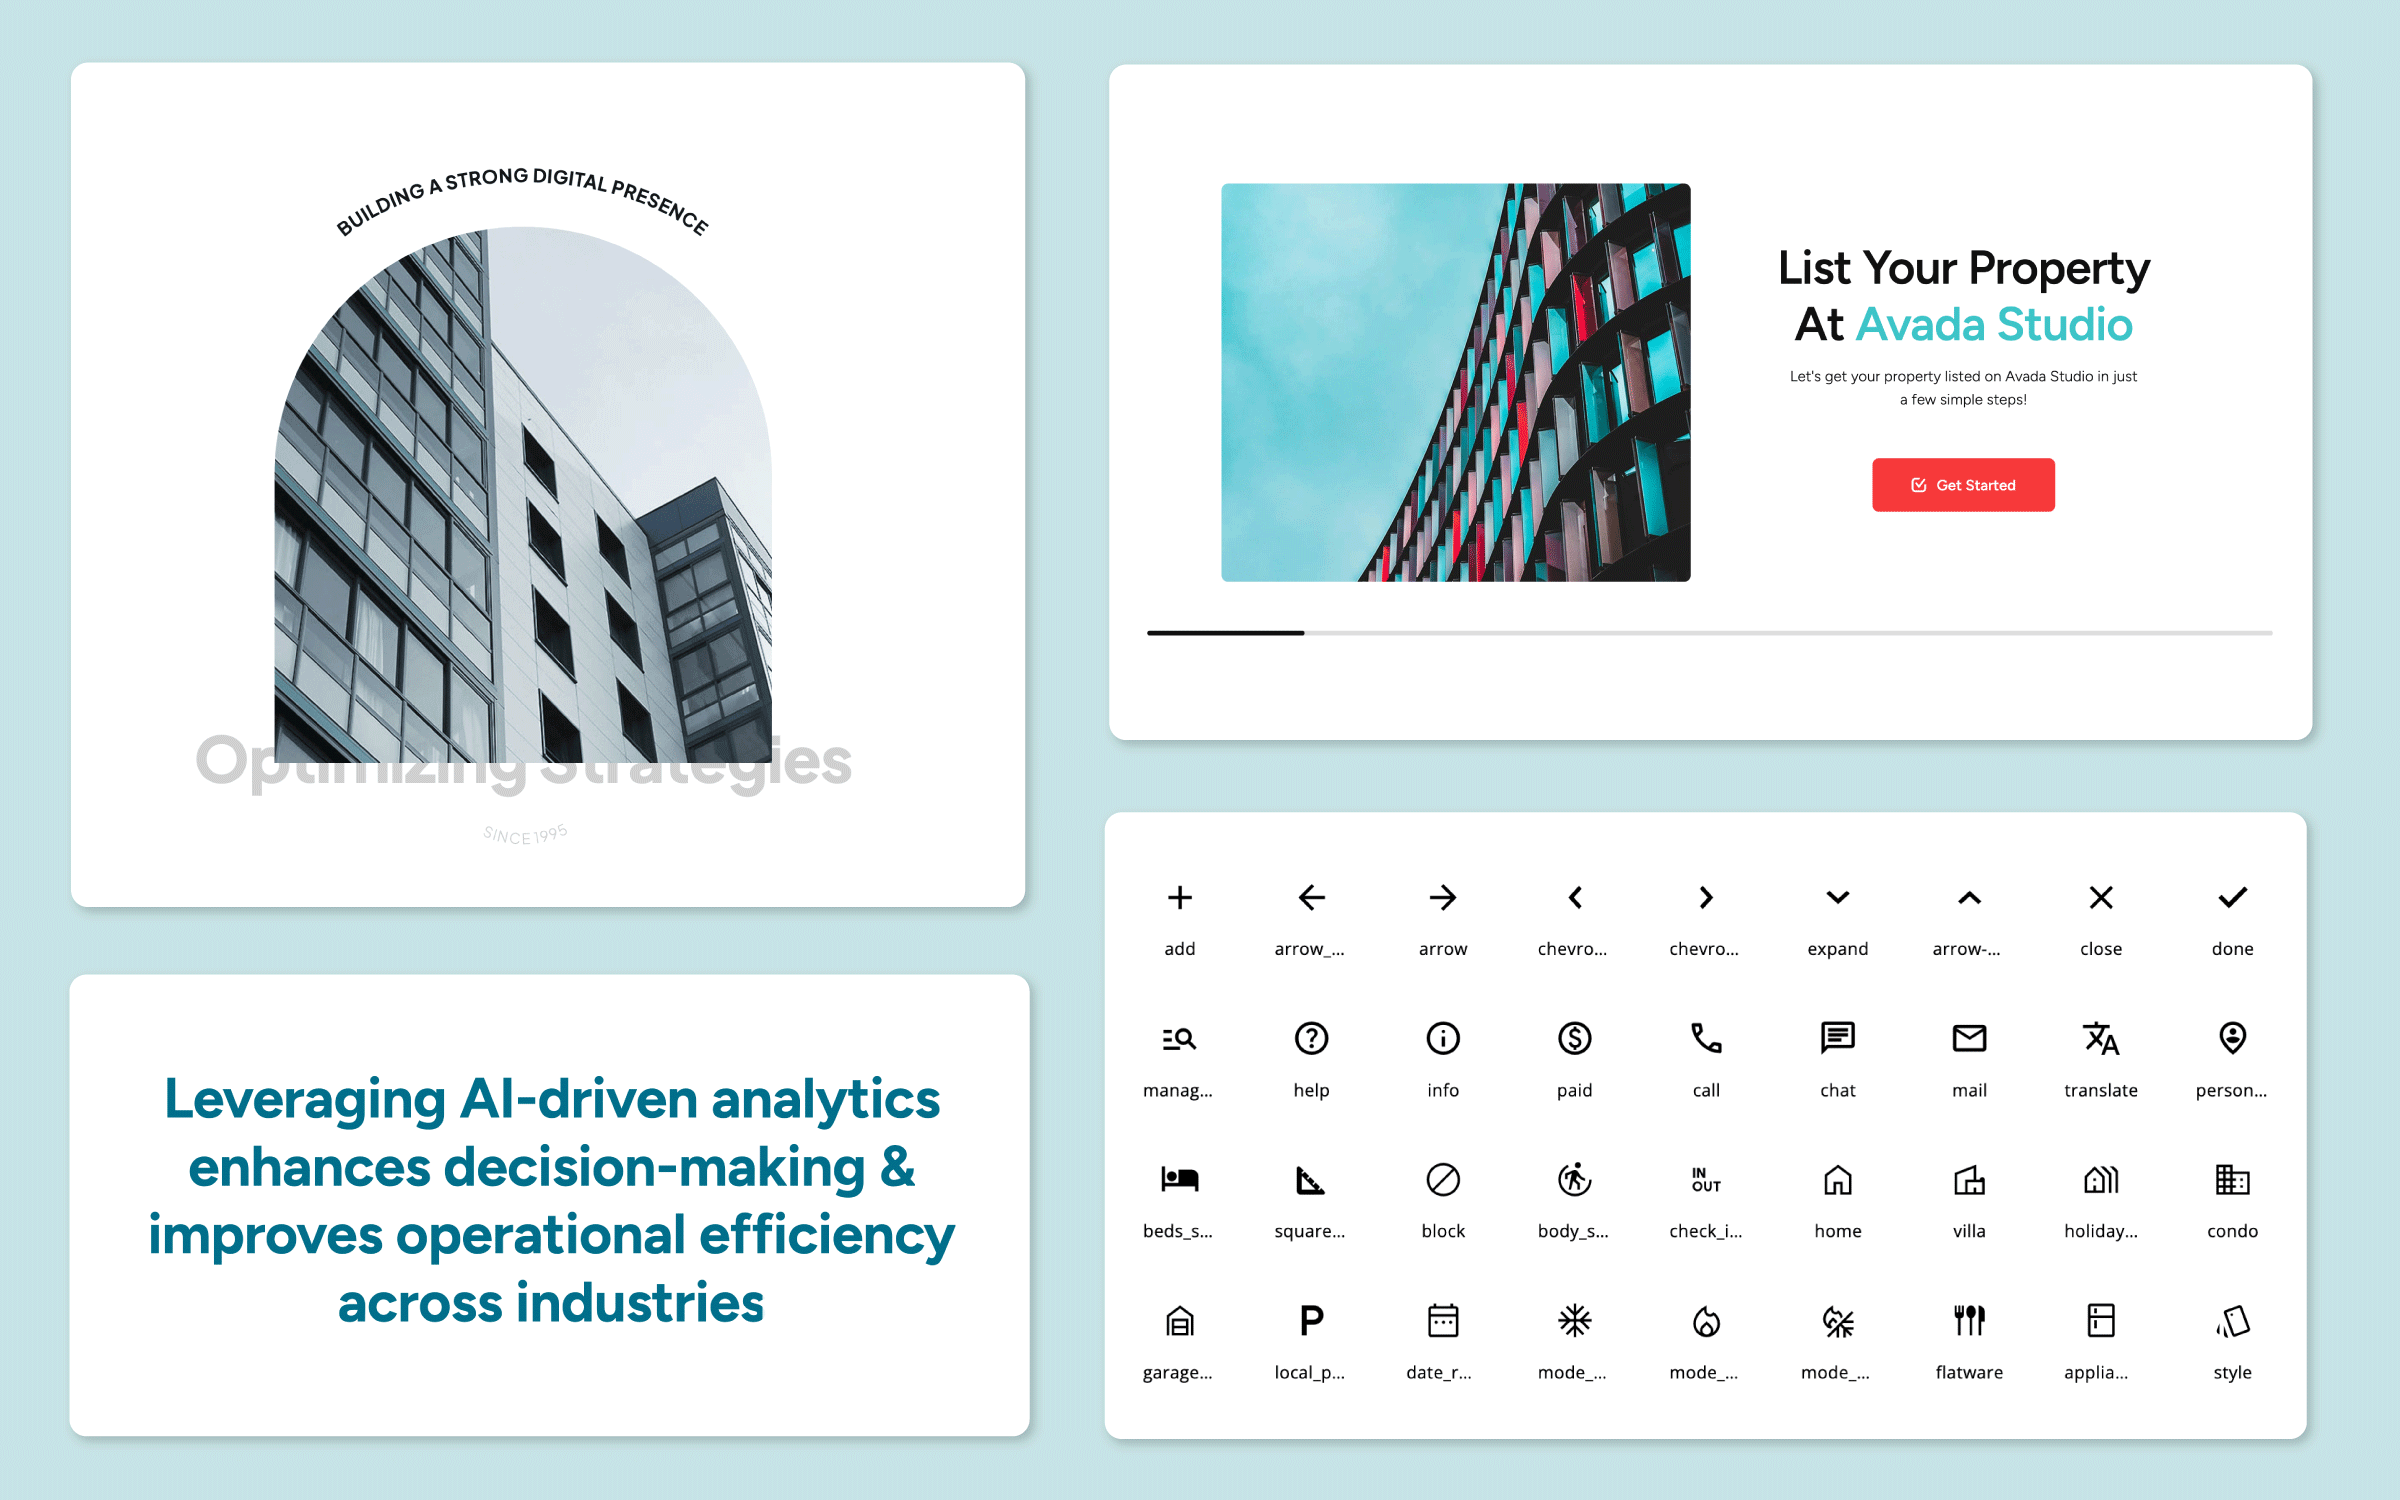
Avada Studio is a creative resource for Avada websites, with a growing list of 639 professionally designed content blocks that can be imported into any Avada website. These elements, which include sections, layouts, templates, headers, footers, and more, are designed to help users quickly build and customize their websites without starting from scratch.
How To Access Avada Studio Content
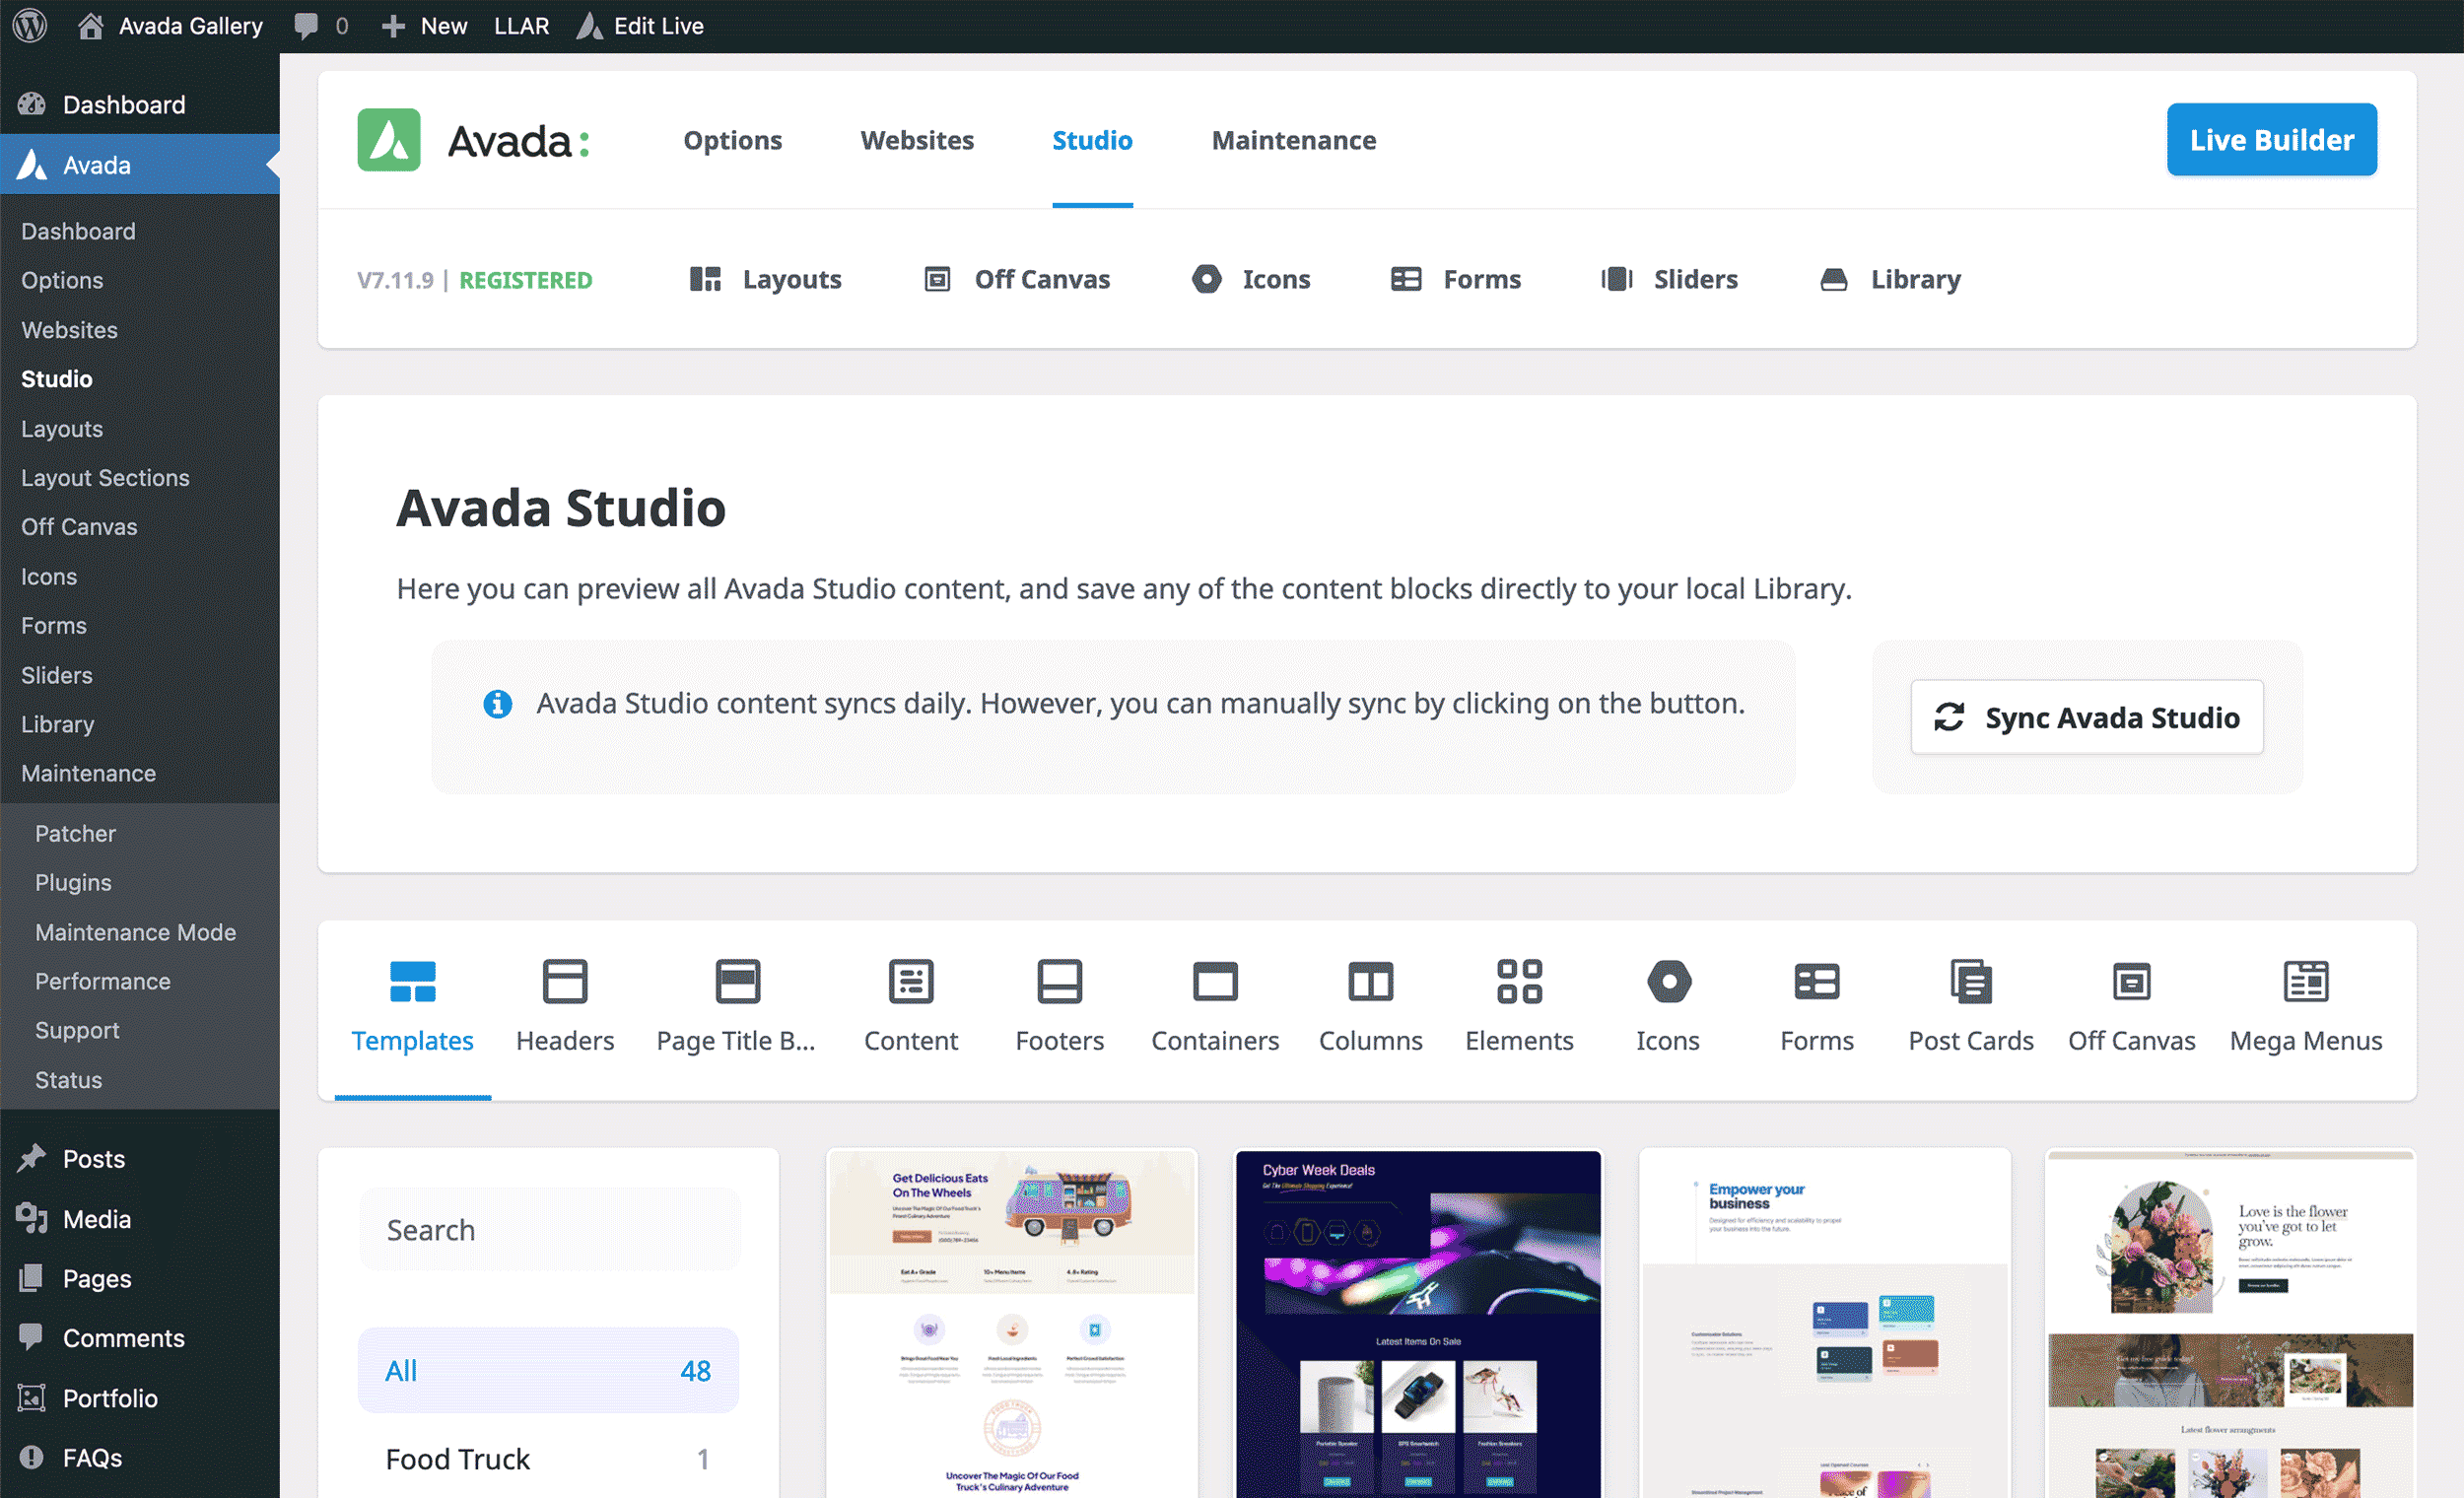
Log into your Avada website Dashboard and navigate to Avada > Studio. Here, you’ll find a wide variety of content categorized for different uses, which can be imported with a click and customized to suit your specific needs.
Customizing Avada Studio Content
Customizing Avada Studio content could not be easier. Avada empowers you to seamlessly integrate beautifully designed content into your website while tailoring it to match your brand’s unique style. You’re not limited to the pre-built designs—every aspect of the imported content can be modified to fit your needs.
With the flexibility provided by Avada, you can quickly adjust colors, tweak typography, or reconfigure layouts import with a click and then move on to other important marketing tasks. Below, we will demonstrate this by customizing two assets: a 404 page template and a blog post layout.
Example 1: Updating a 404 Page Template
In the first example, we’ll replace the default 404 page of the Avada Hosting website with a prebuilt 404 page imported from the Avada Studio, demonstrating how to turn a default layout into an engaging and stylish page.

Step 1: Trigger a 404 Page
Start by intentionally triggering a 404 error on your site to see the current layout in action.
Step 2: Access Avada Layouts
Log into your website and navigate to Avada > Dashboard > Layouts page and locate the layout assigned to the 404 page.
Step 3: Edit the Content Layout Section
You have two options: create a new layout section or edit the existing one. For simplicity, let’s edit the existing layout section.
Step 4: Import a New Layout from Avada Studio
Click on Avada Studio and browse the available 404 page layouts. Select a design that appeals to you, preview it, and adjust the import options to match your site’s style. Import the chosen layout.
Step 5: Customize the Layout
Once imported, customize the layout to fit your website. For instance, you may need to adjust the menu, change the gradient colors, or edit the text to reflect your website’s style.
Step 6: Save and Publish
Save the layout after making the necessary adjustments.
Example 2: Refreshing a Blog Post Layout
In the second example, we’ll replace the default blog single post layout of the Avada Hosting website with a prebuilt single post layout imported from the Avada Studio, demonstrating how to turn a default layout into an engaging and stylish page.

Step 1: View the Existing Post
To view the current layout in action, go to the “Articles” page and click on any post to view the layout.
Step 2: Access the Blog Layout in Avada
Log into your website and navigate to Avada > Dashboard > Layouts page and locate the layout assigned to your blog posts.
Step 3: Edit the Content Layout Section
As with the first example, you can choose to edit the existing layout section or create a new one. For this example, we’ll edit the existing one.
Step 4: Import a Blog Post Layout from Avada Studio
Filter the available layouts to find one suitable for blog posts. Select and import the layout that best fits your desired look.
Step 5: Customize the Layout
Once imported, customize the layout as needed. You may need to adjust the image aspect ratios, modify column sizes, or tweak the typography to ensure the design integrates smoothly with your existing content.
Step 6: Save And Refresh
Save the layout and refresh your blog post to view the changes.
Summary
These two examples illustrate the versatility and ease of using Avada Studio content to enhance your website. Whether you’re updating specific pages or refreshing your overall design, Avada Studio’s prebuilt content provides a professional solution and is fully customizable. You can tailor the content to match your website’s unique brand and styling.