Share
Avada Studio is a creative resource library for Avada website owners that provides access to professionally designed content for your website. Whether building a new website or enhancing an existing one, Avada Studio offers a wide range of pre-built content that can be effortlessly integrated into your website with a few clicks.
In a previous post, we demonstrated how to add Avada Studio content to your website. This post will cover a step-by-step guide to adding a template to an existing page. Let’s get started!
Overview
What Is Avada Studio?
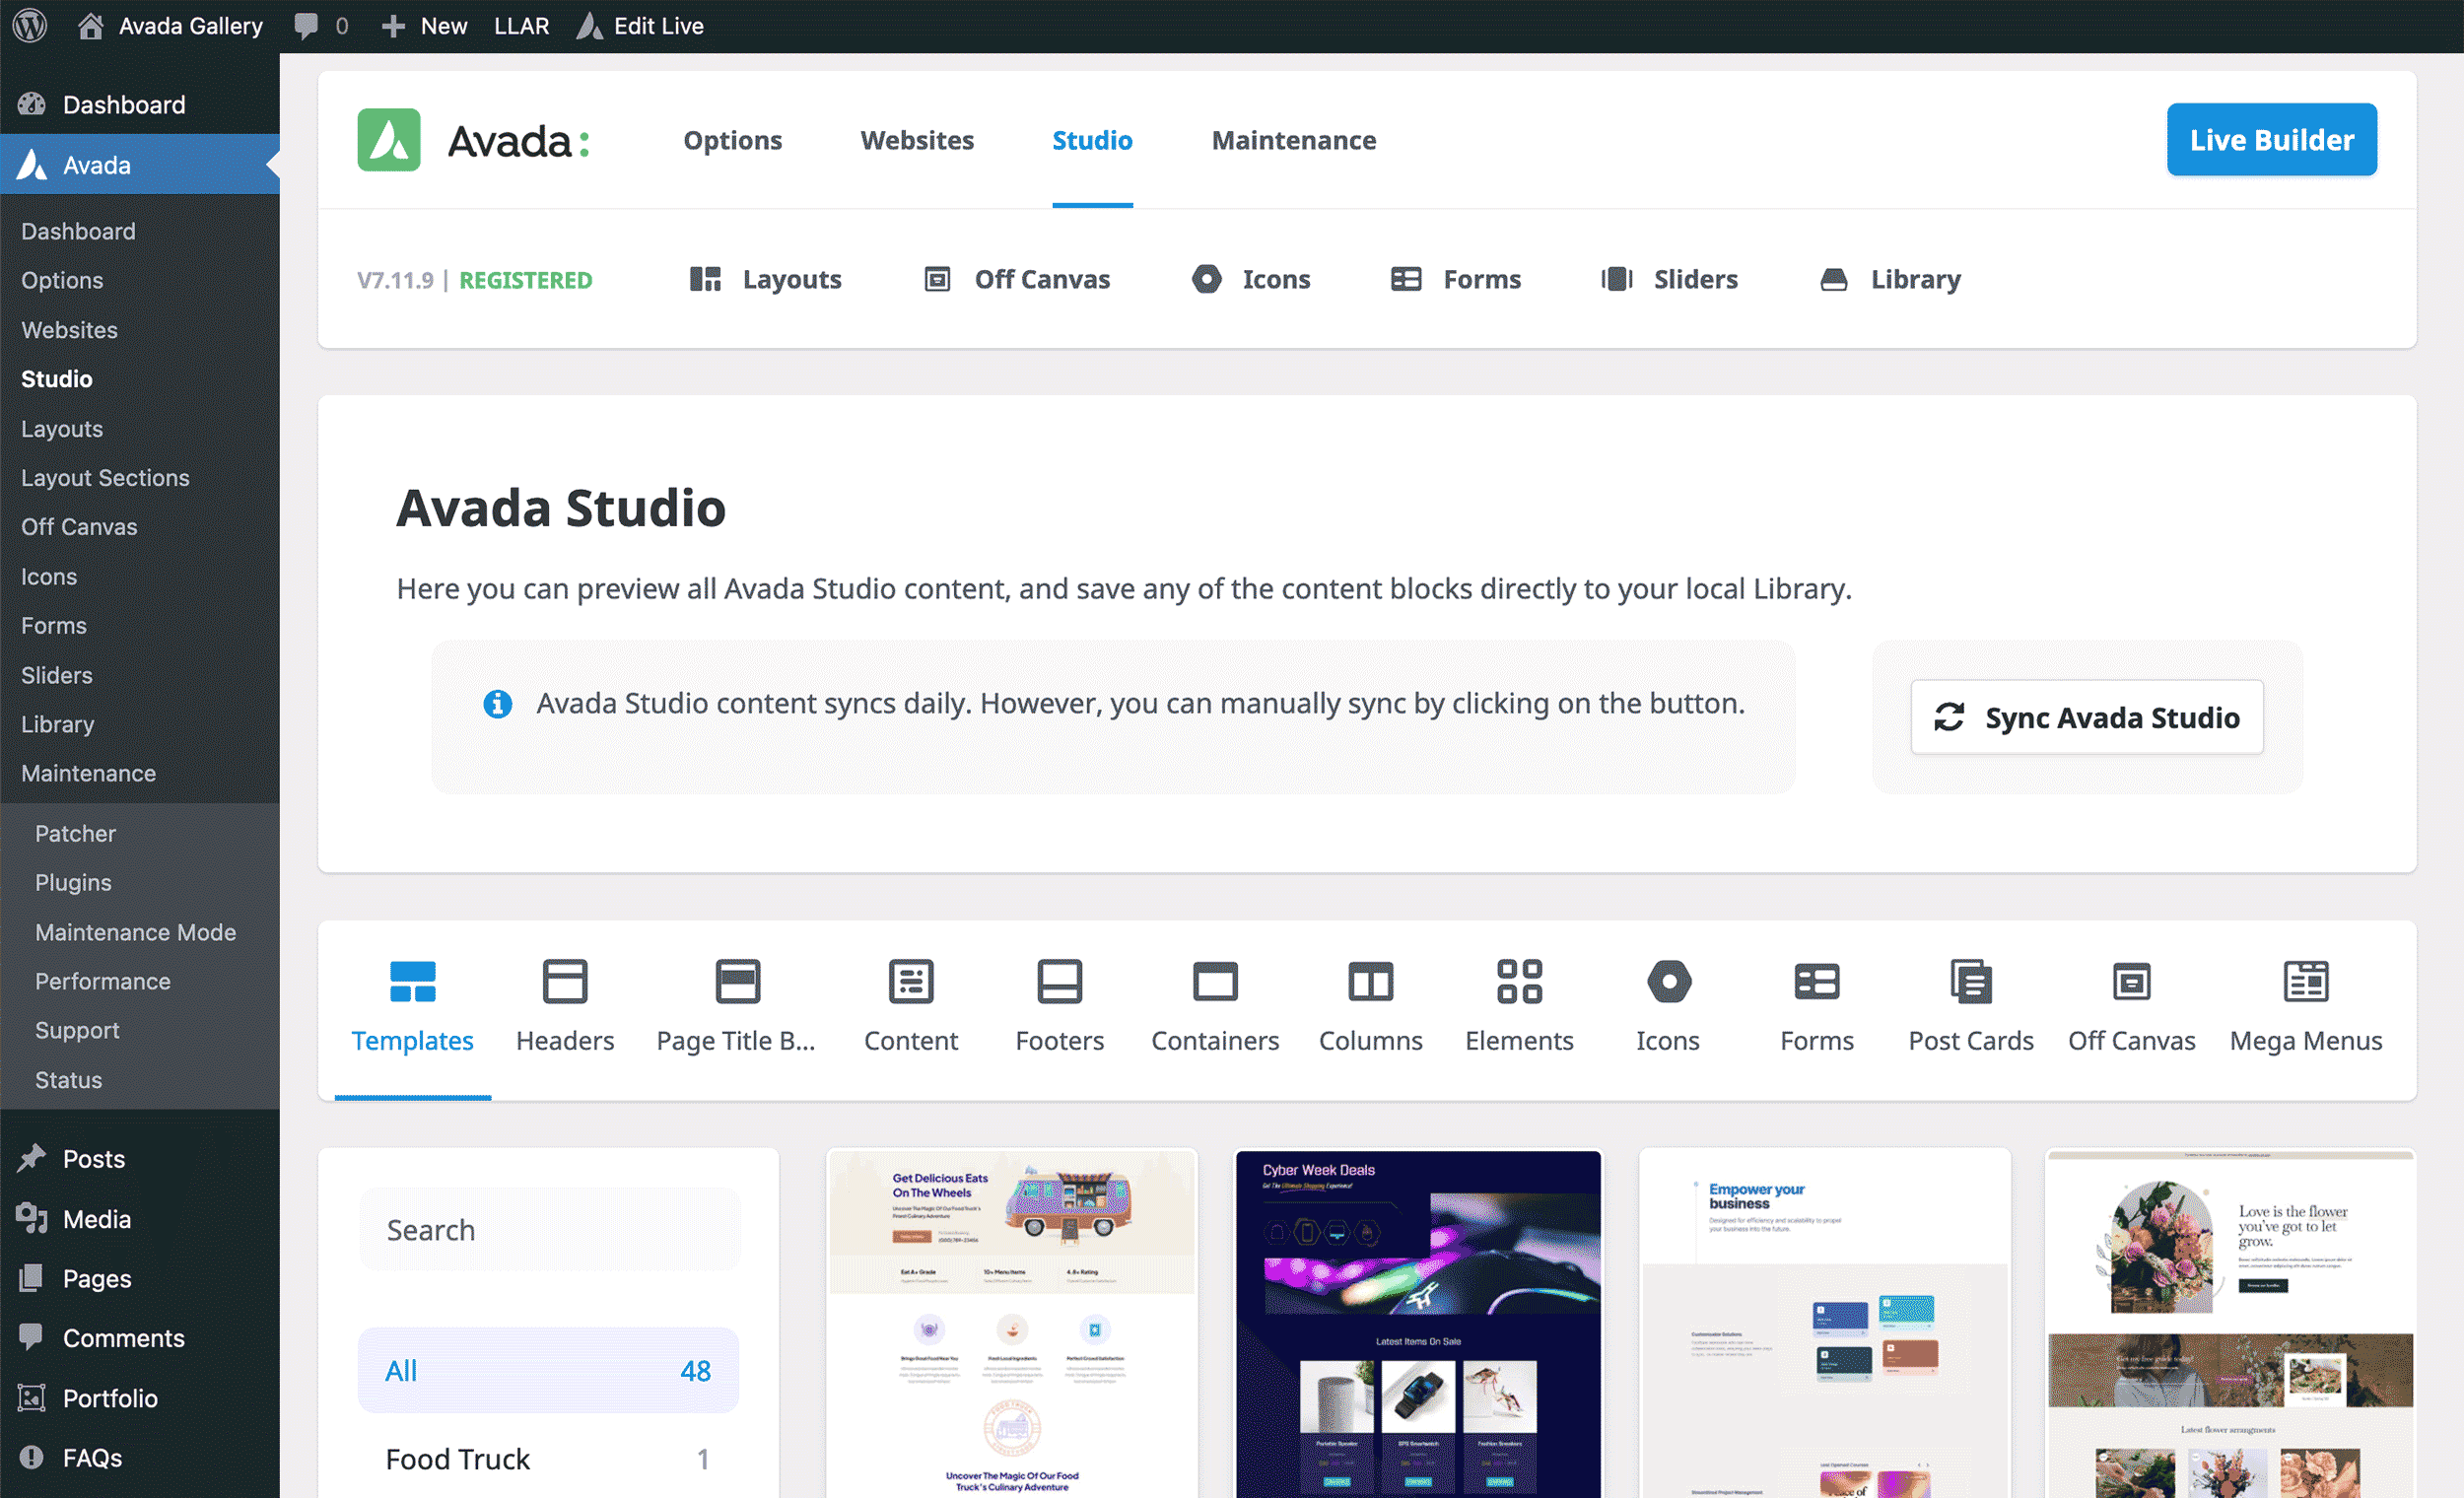
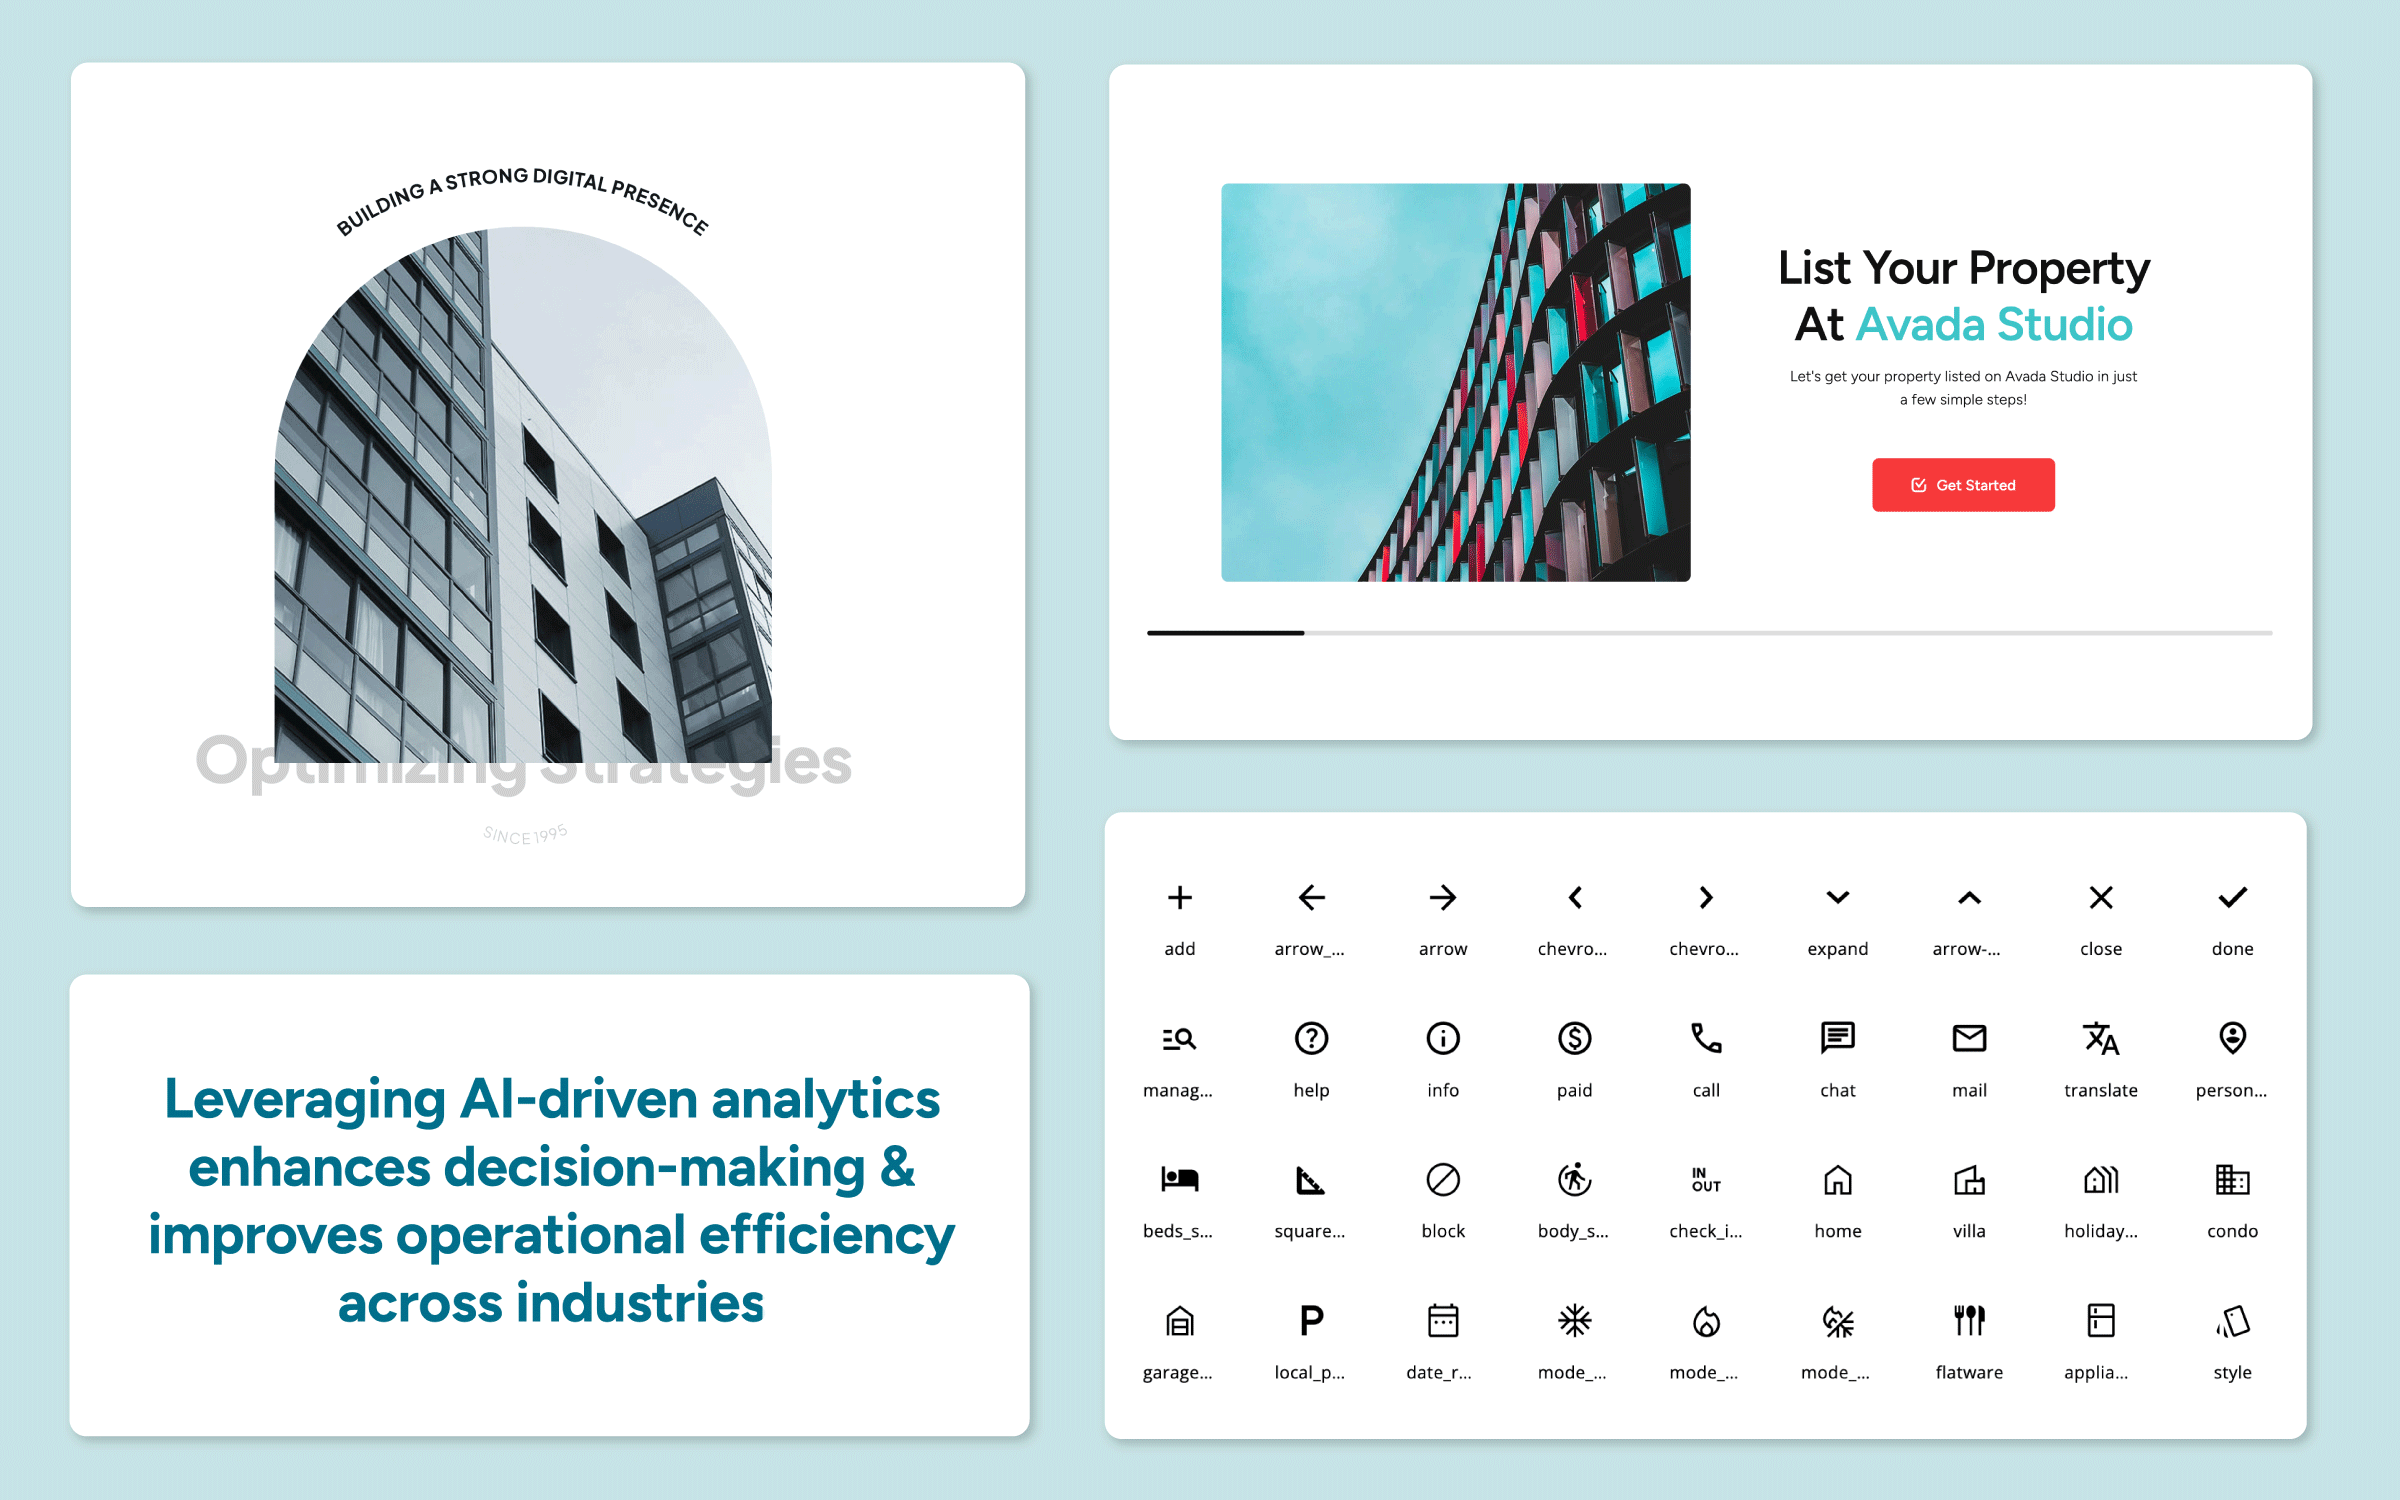
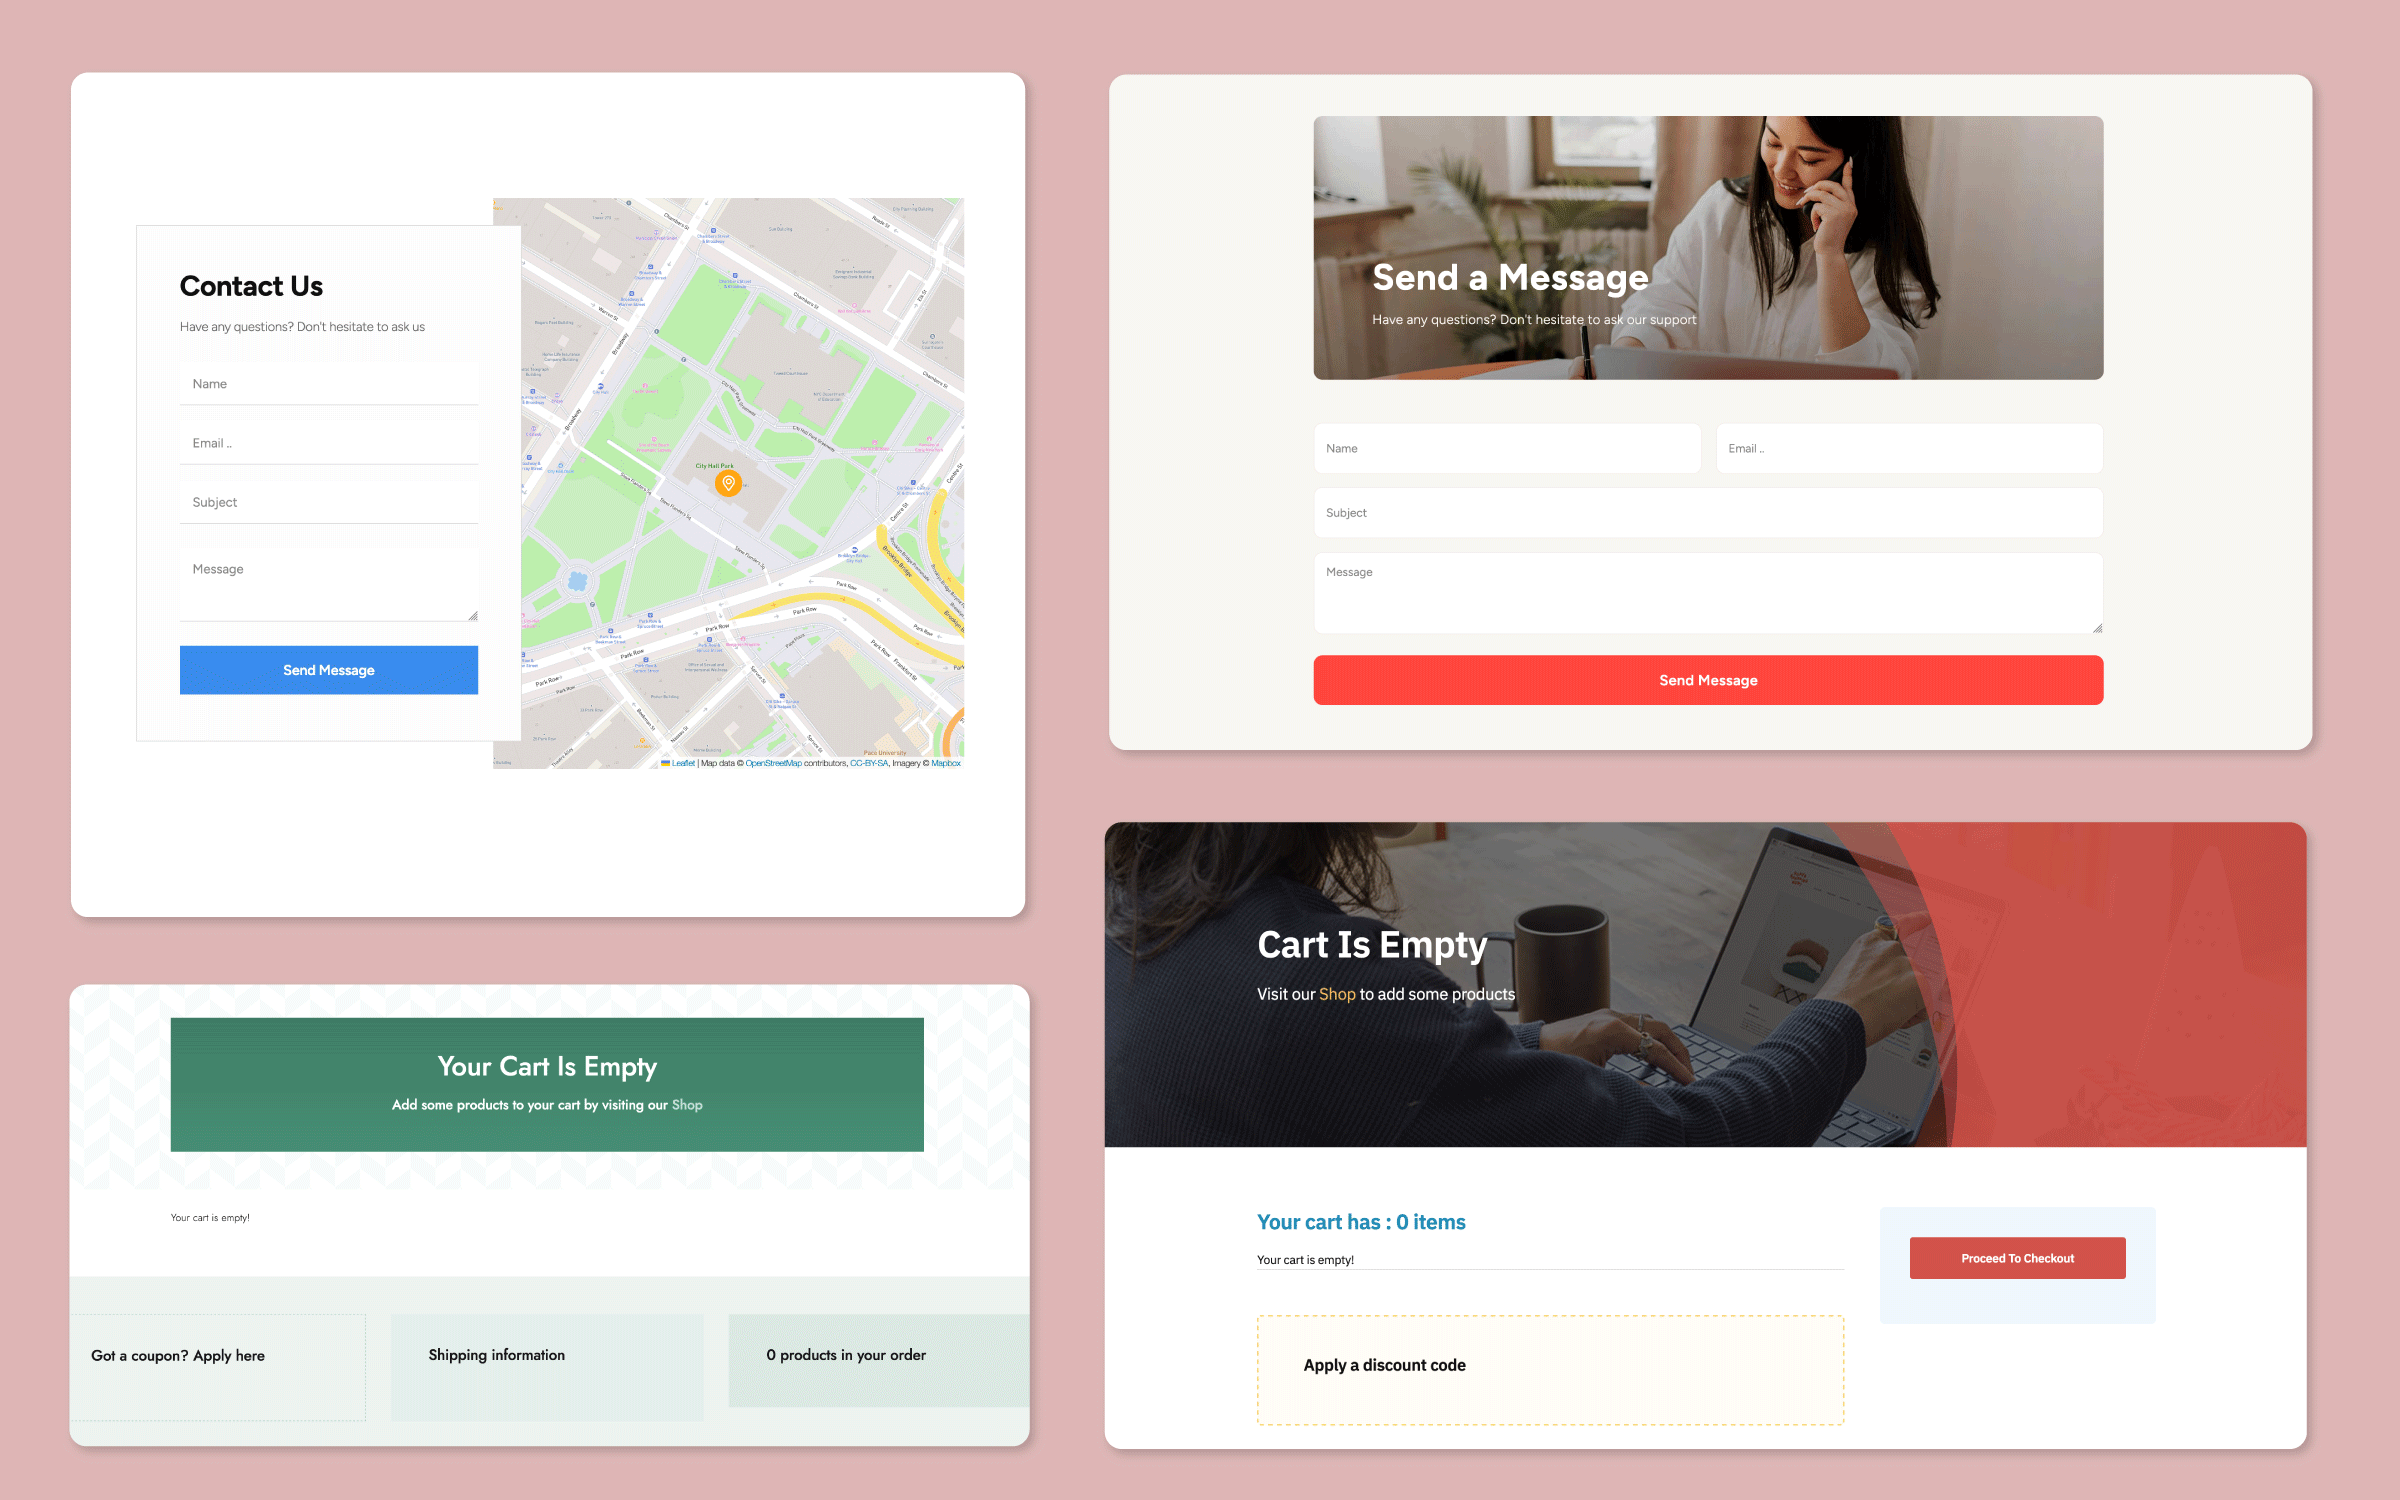
Avada Studio is a creative resource for Avada websites that provides users with a library of professionally designed, pre-built content that can be imported into any Avada website. These elements, which include sections, layouts, templates, headers, footers, and more, are designed to help users quickly build and customize their websites without starting from scratch.
How To Access Avada Studio Content
Log into your Avada website Dashboard and navigate to Avada > Studio. Here, you’ll find a wide variety of content categorized for different uses, which can be imported with a click and customized to suit your specific needs.
Customizing Avada Studio Content
Customizing Avada Studio content to enhance or build a new website could not be easier. Avada allows you to seamlessly integrate beautifully designed content into your website while customizing it to match your brand’s unique style. You’re not limited to the pre-built designs—every aspect of the imported content can be modified to fit your needs.
Step 1: Create A New Blank Web Page
There are two ways to create a new web page or post. (A) Log into your website and navigate to WordPress Dashboard > Pages, or (B) edit the site using the Avada Live Builder, click on the + icon, and then “Add New” in the top toolbar.
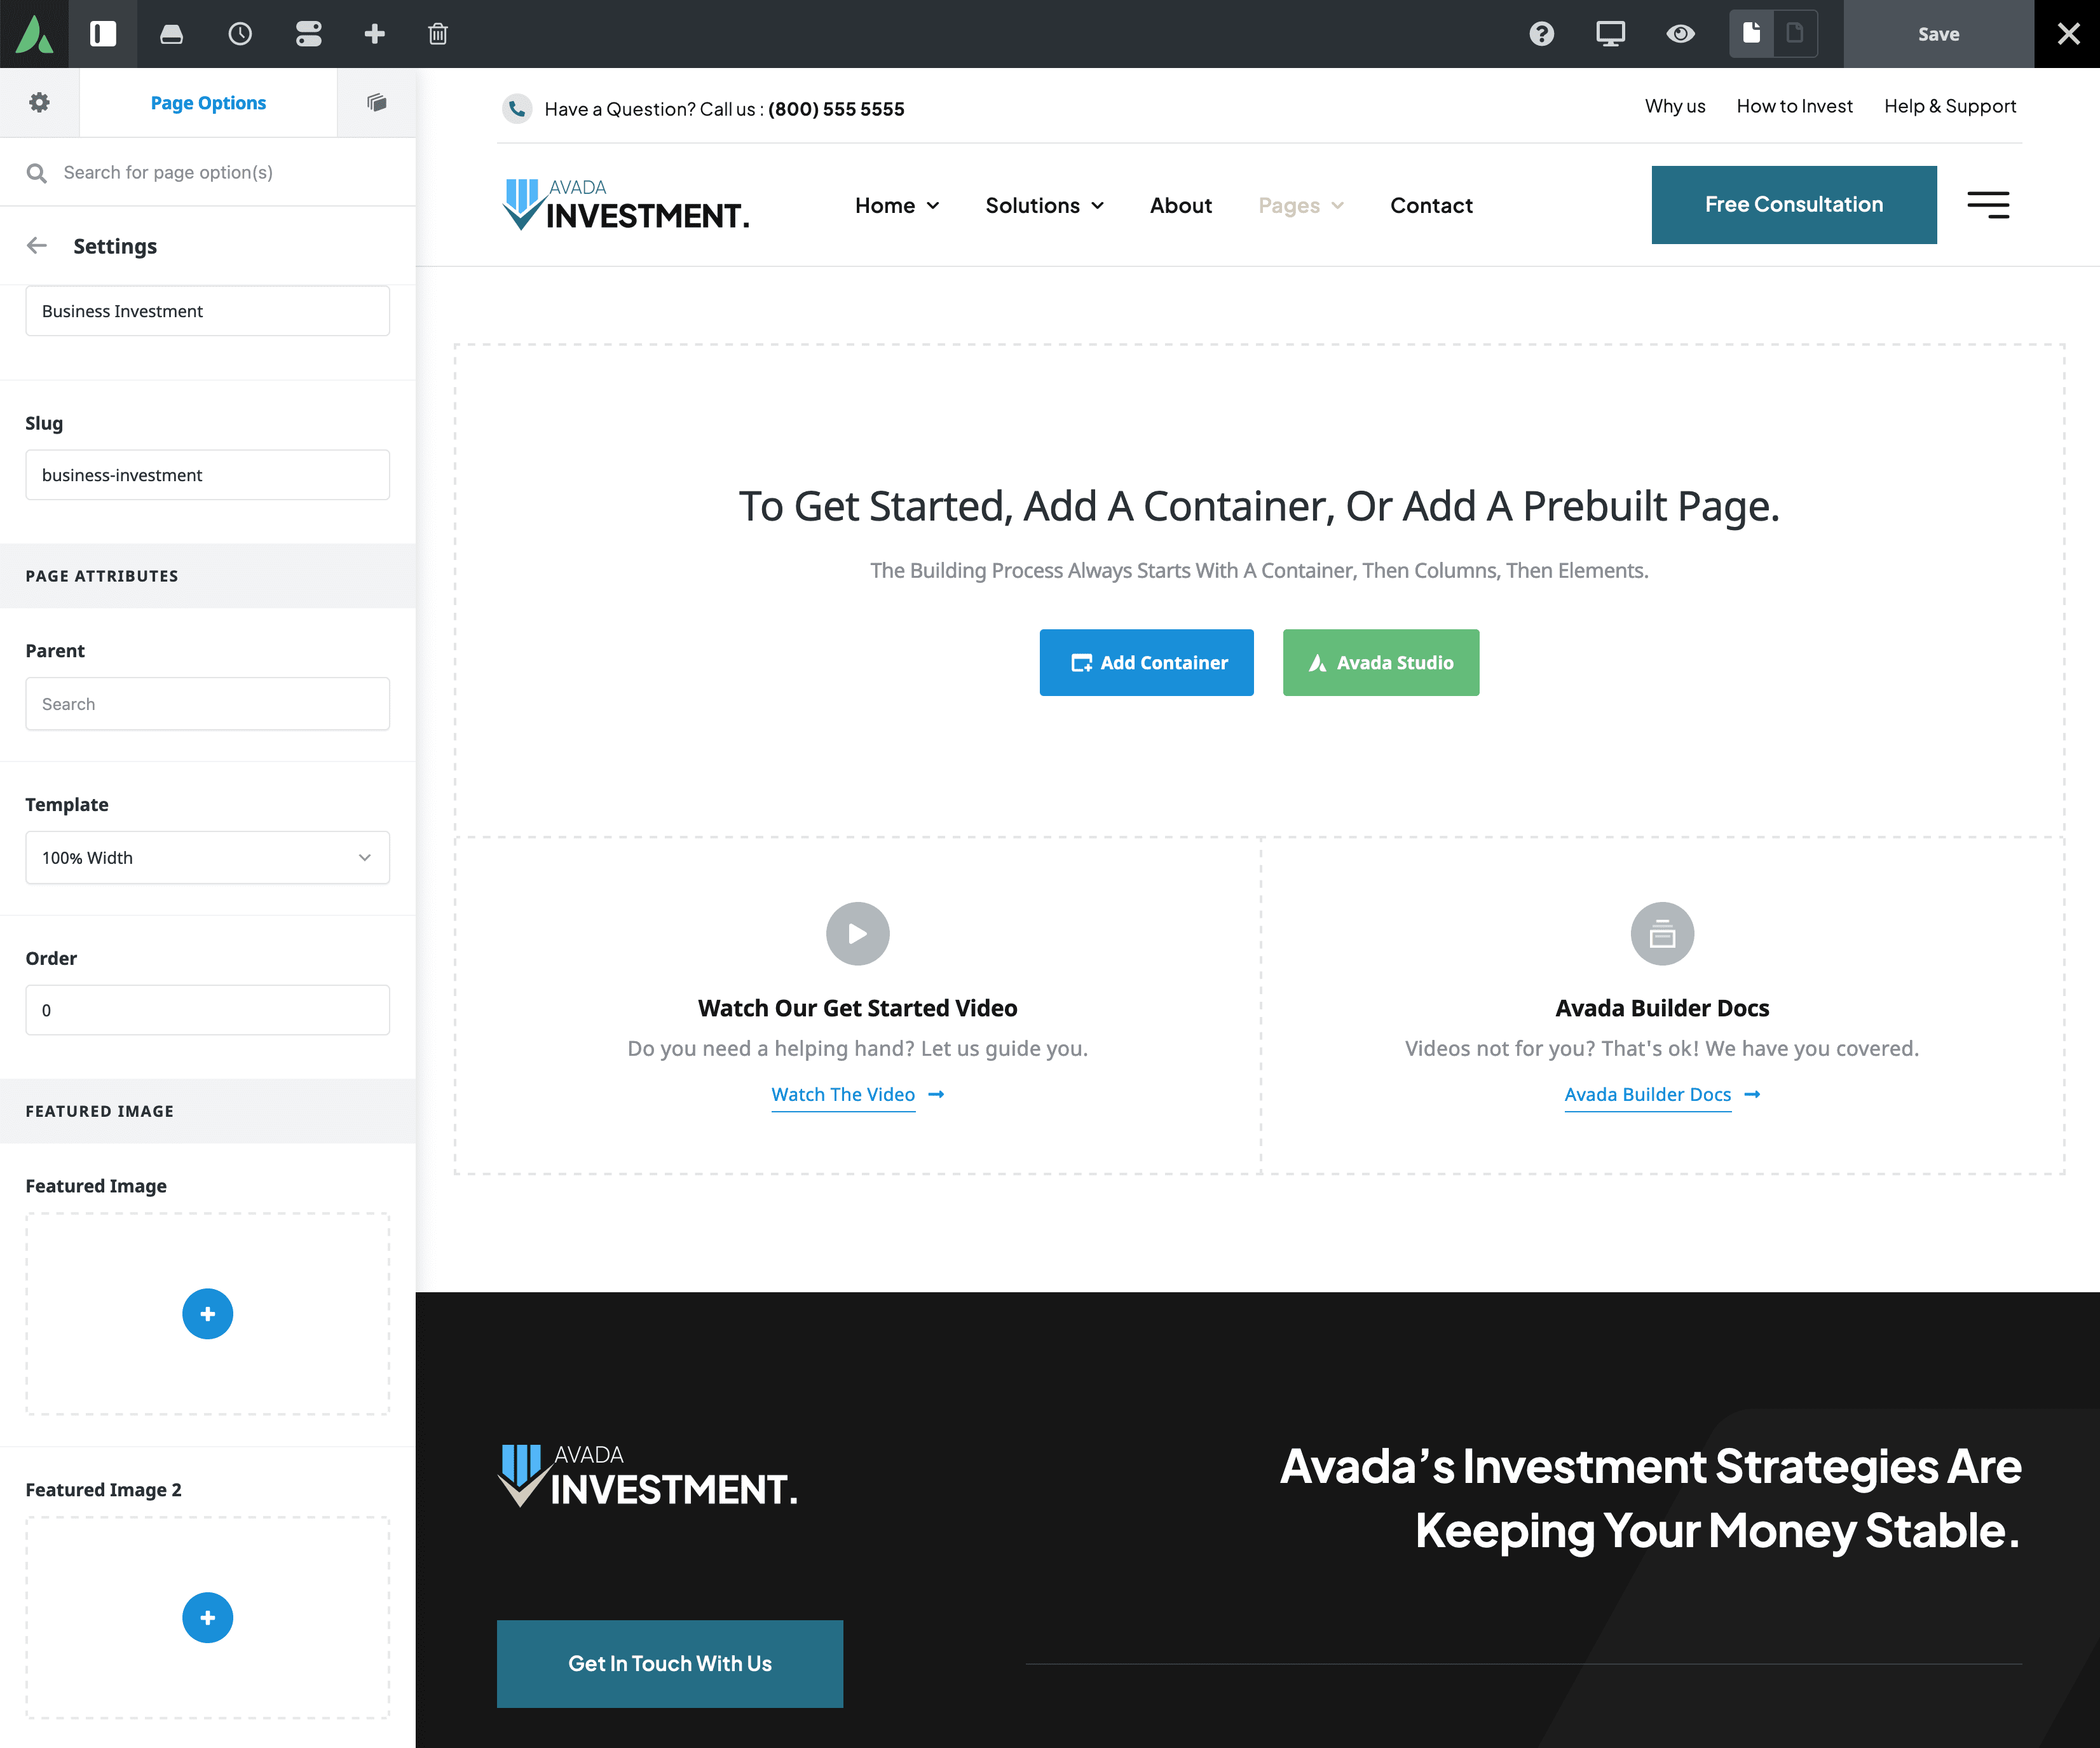
For our example (video), we have used the Avada Investment website and created a blank page named “Business Investment.”

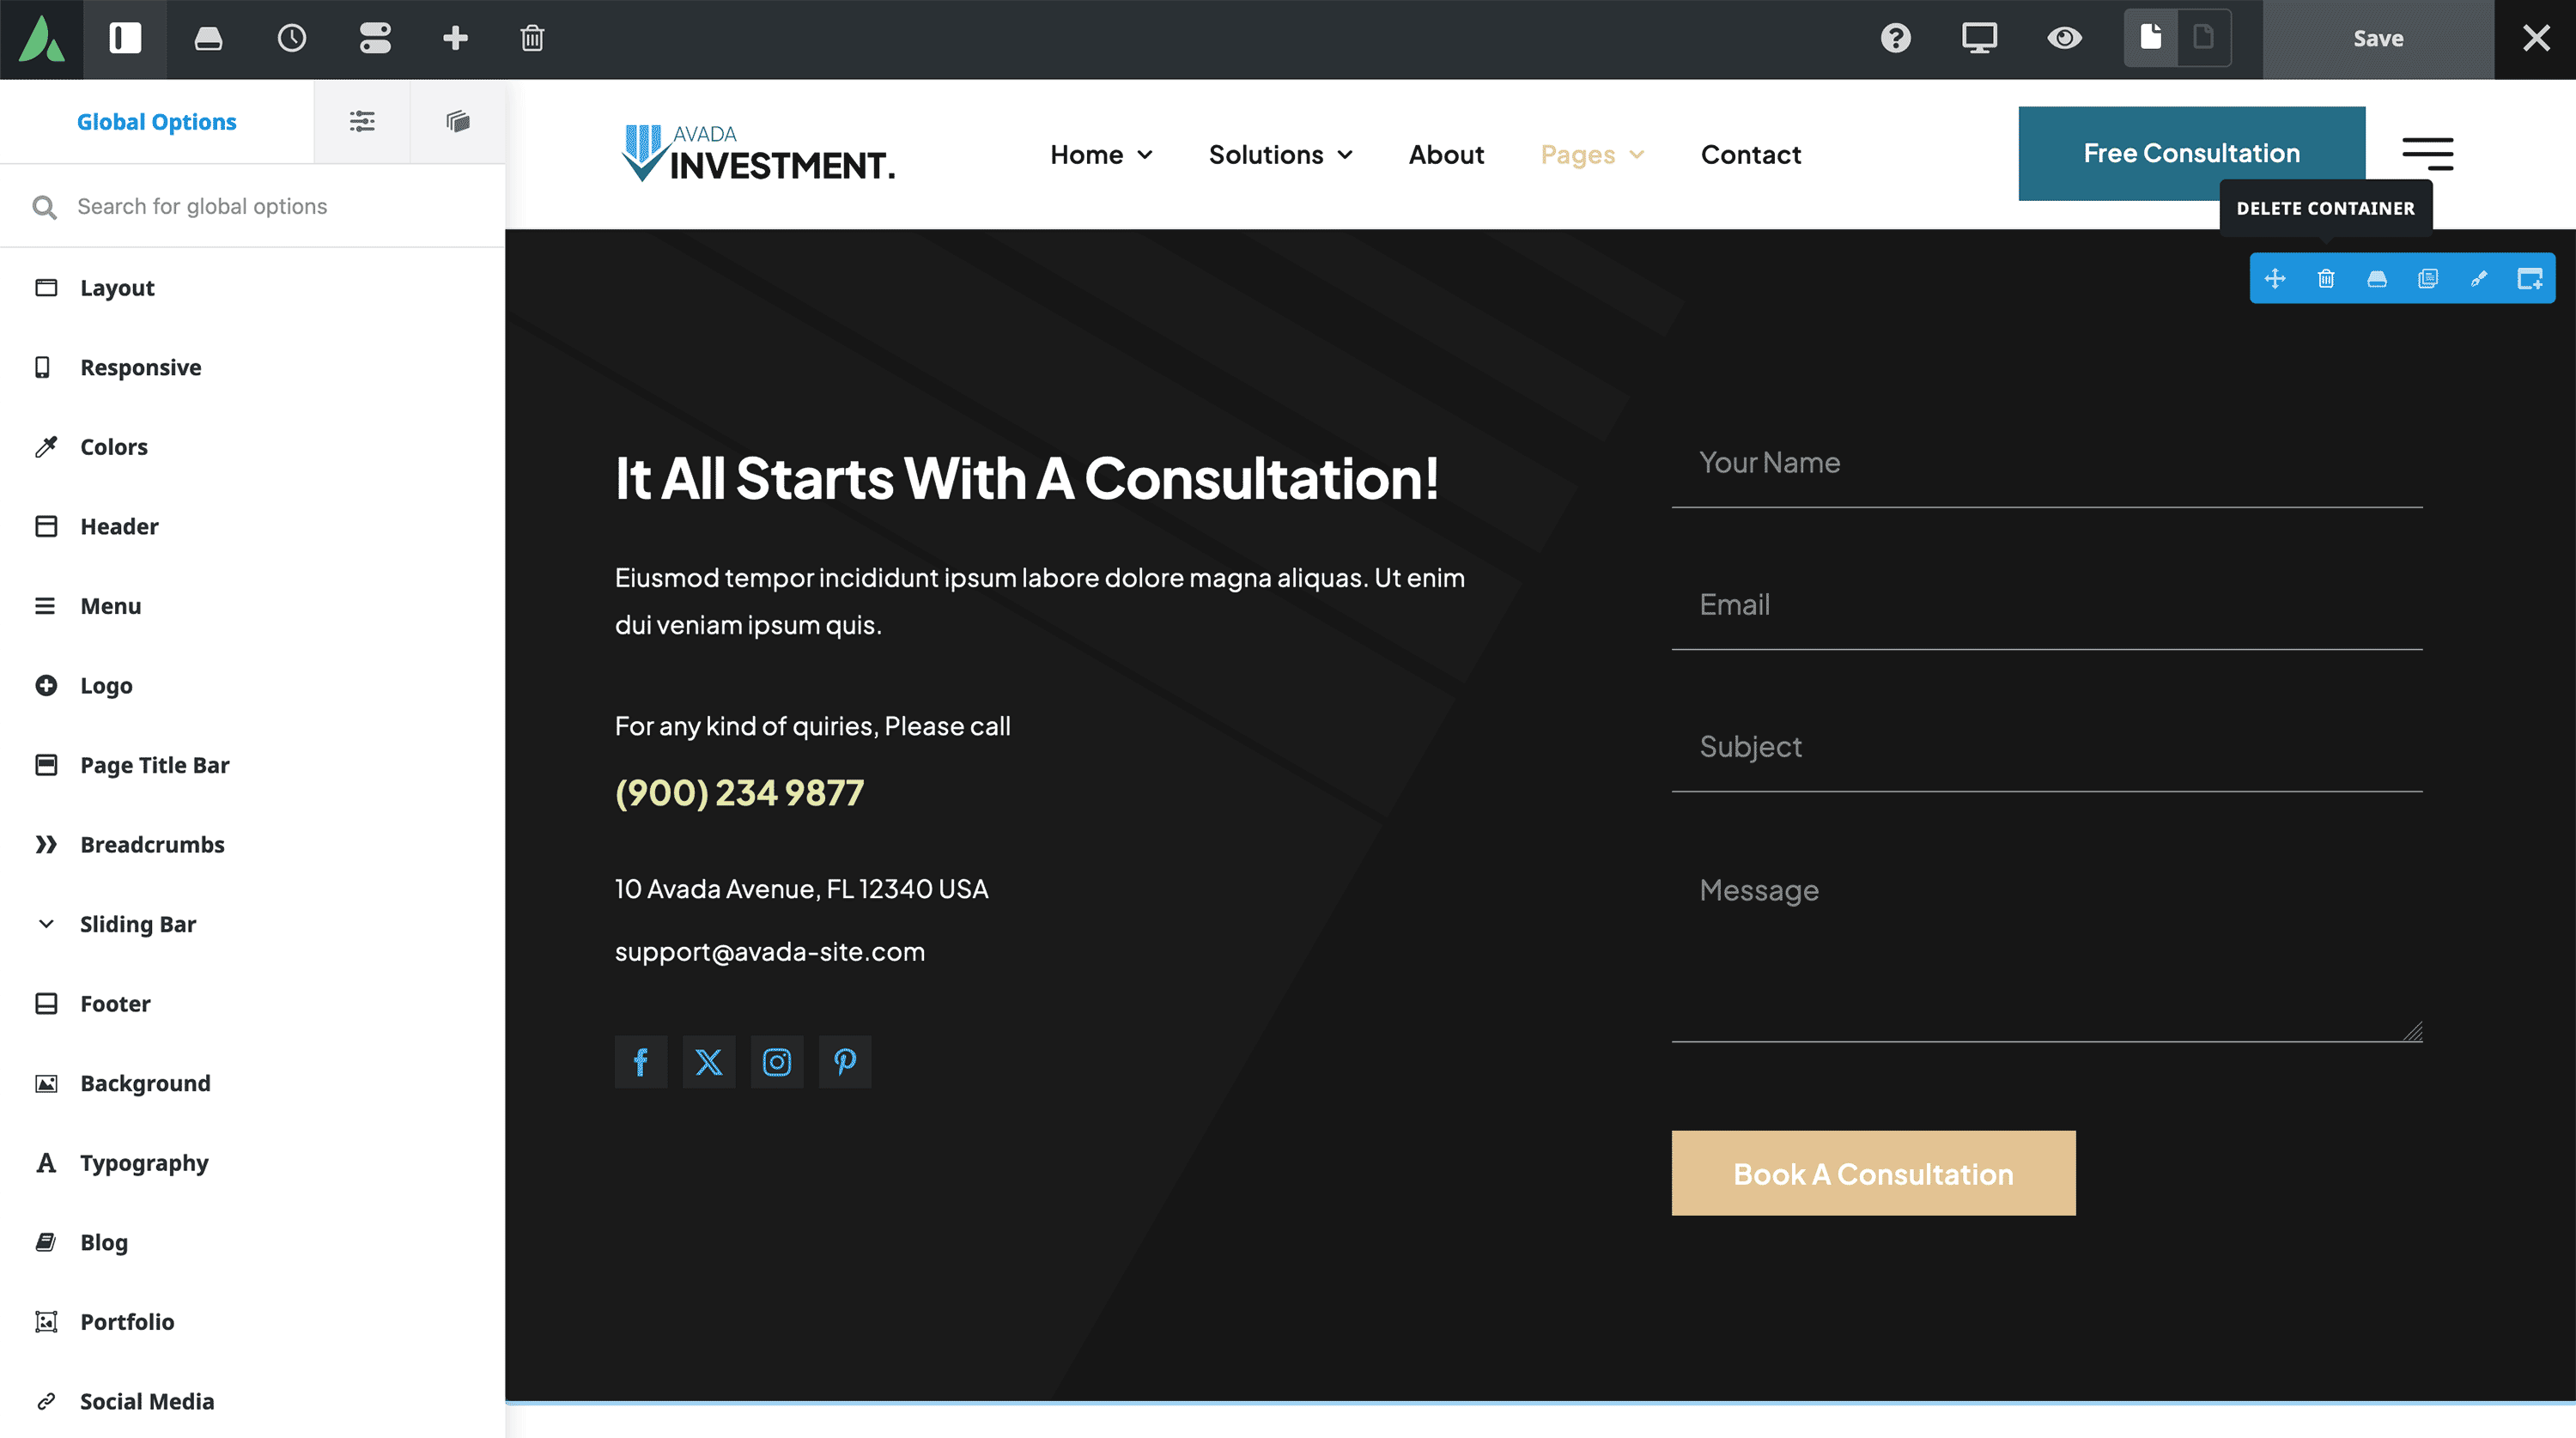
At this point, the page is empty, using only the global header and footer settings from the site’s layout.
Step 2: Access Avada Studio
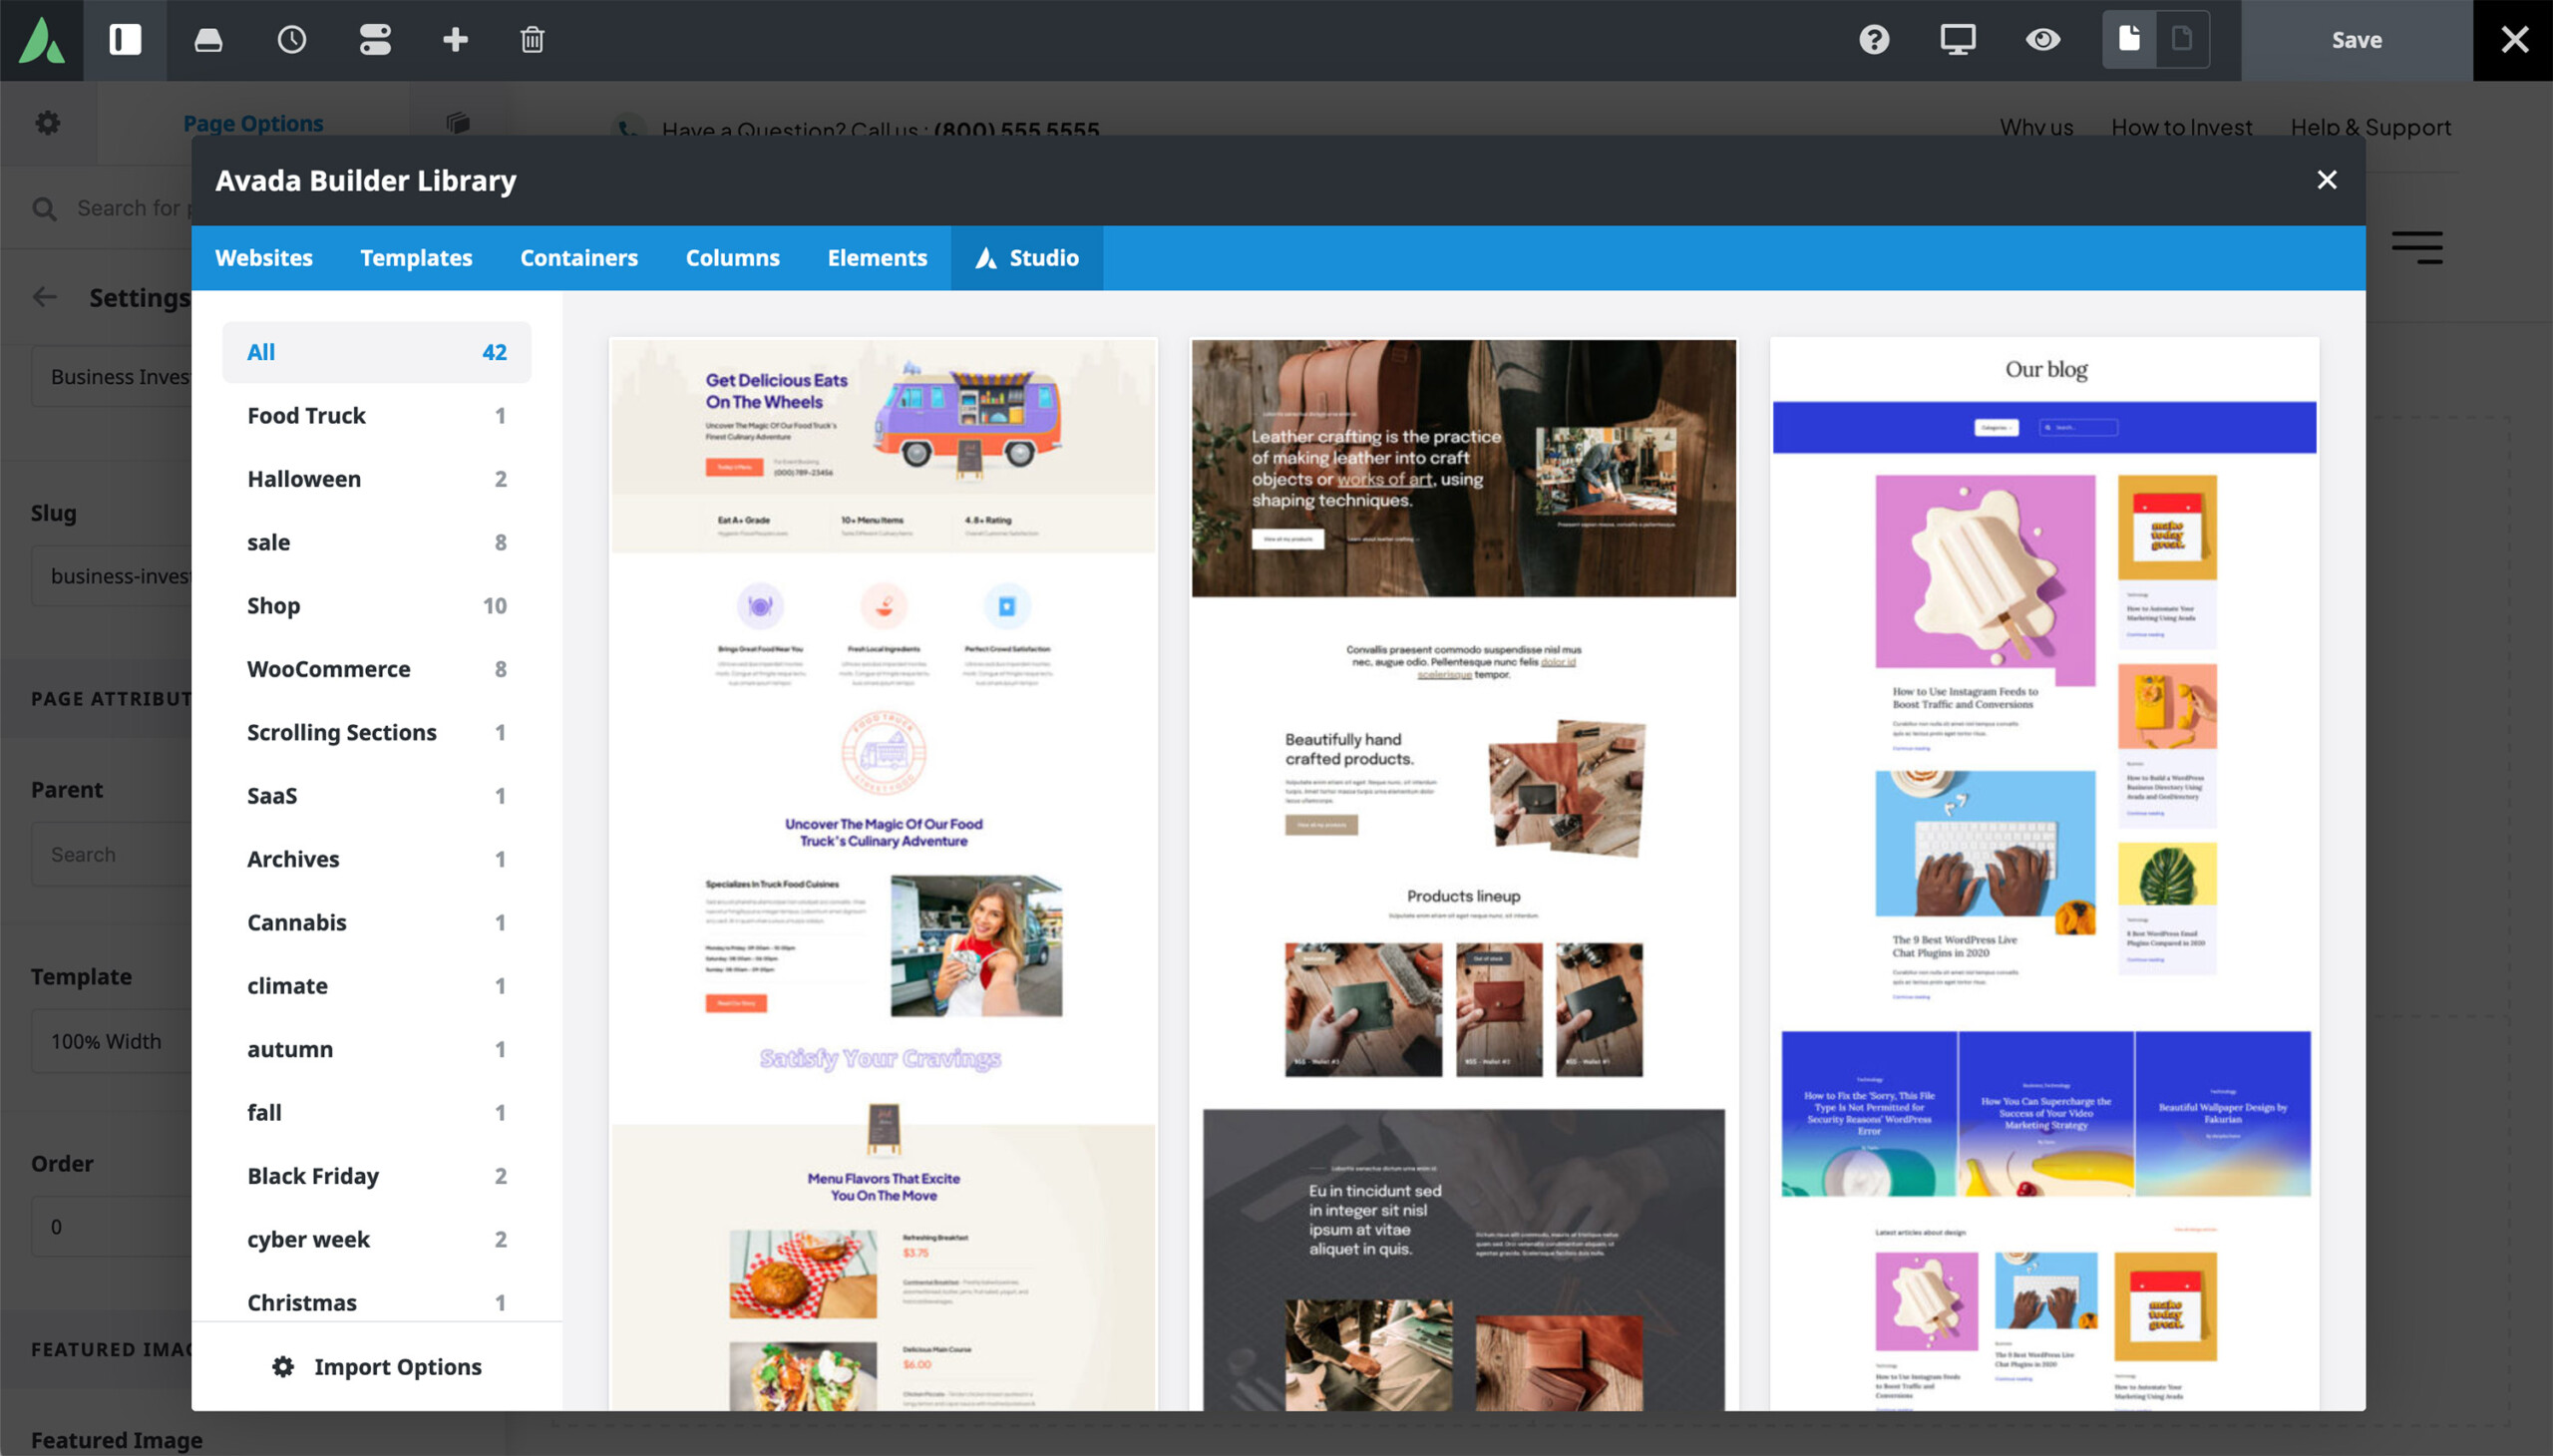
Once the blank page is set up, the next step is to add the desired template from the Avada Studio library. Users can access a wide range of pre-built content by clicking on the Avada Studio link within the editor.
Step 3: Choose, Preview & Import the Template
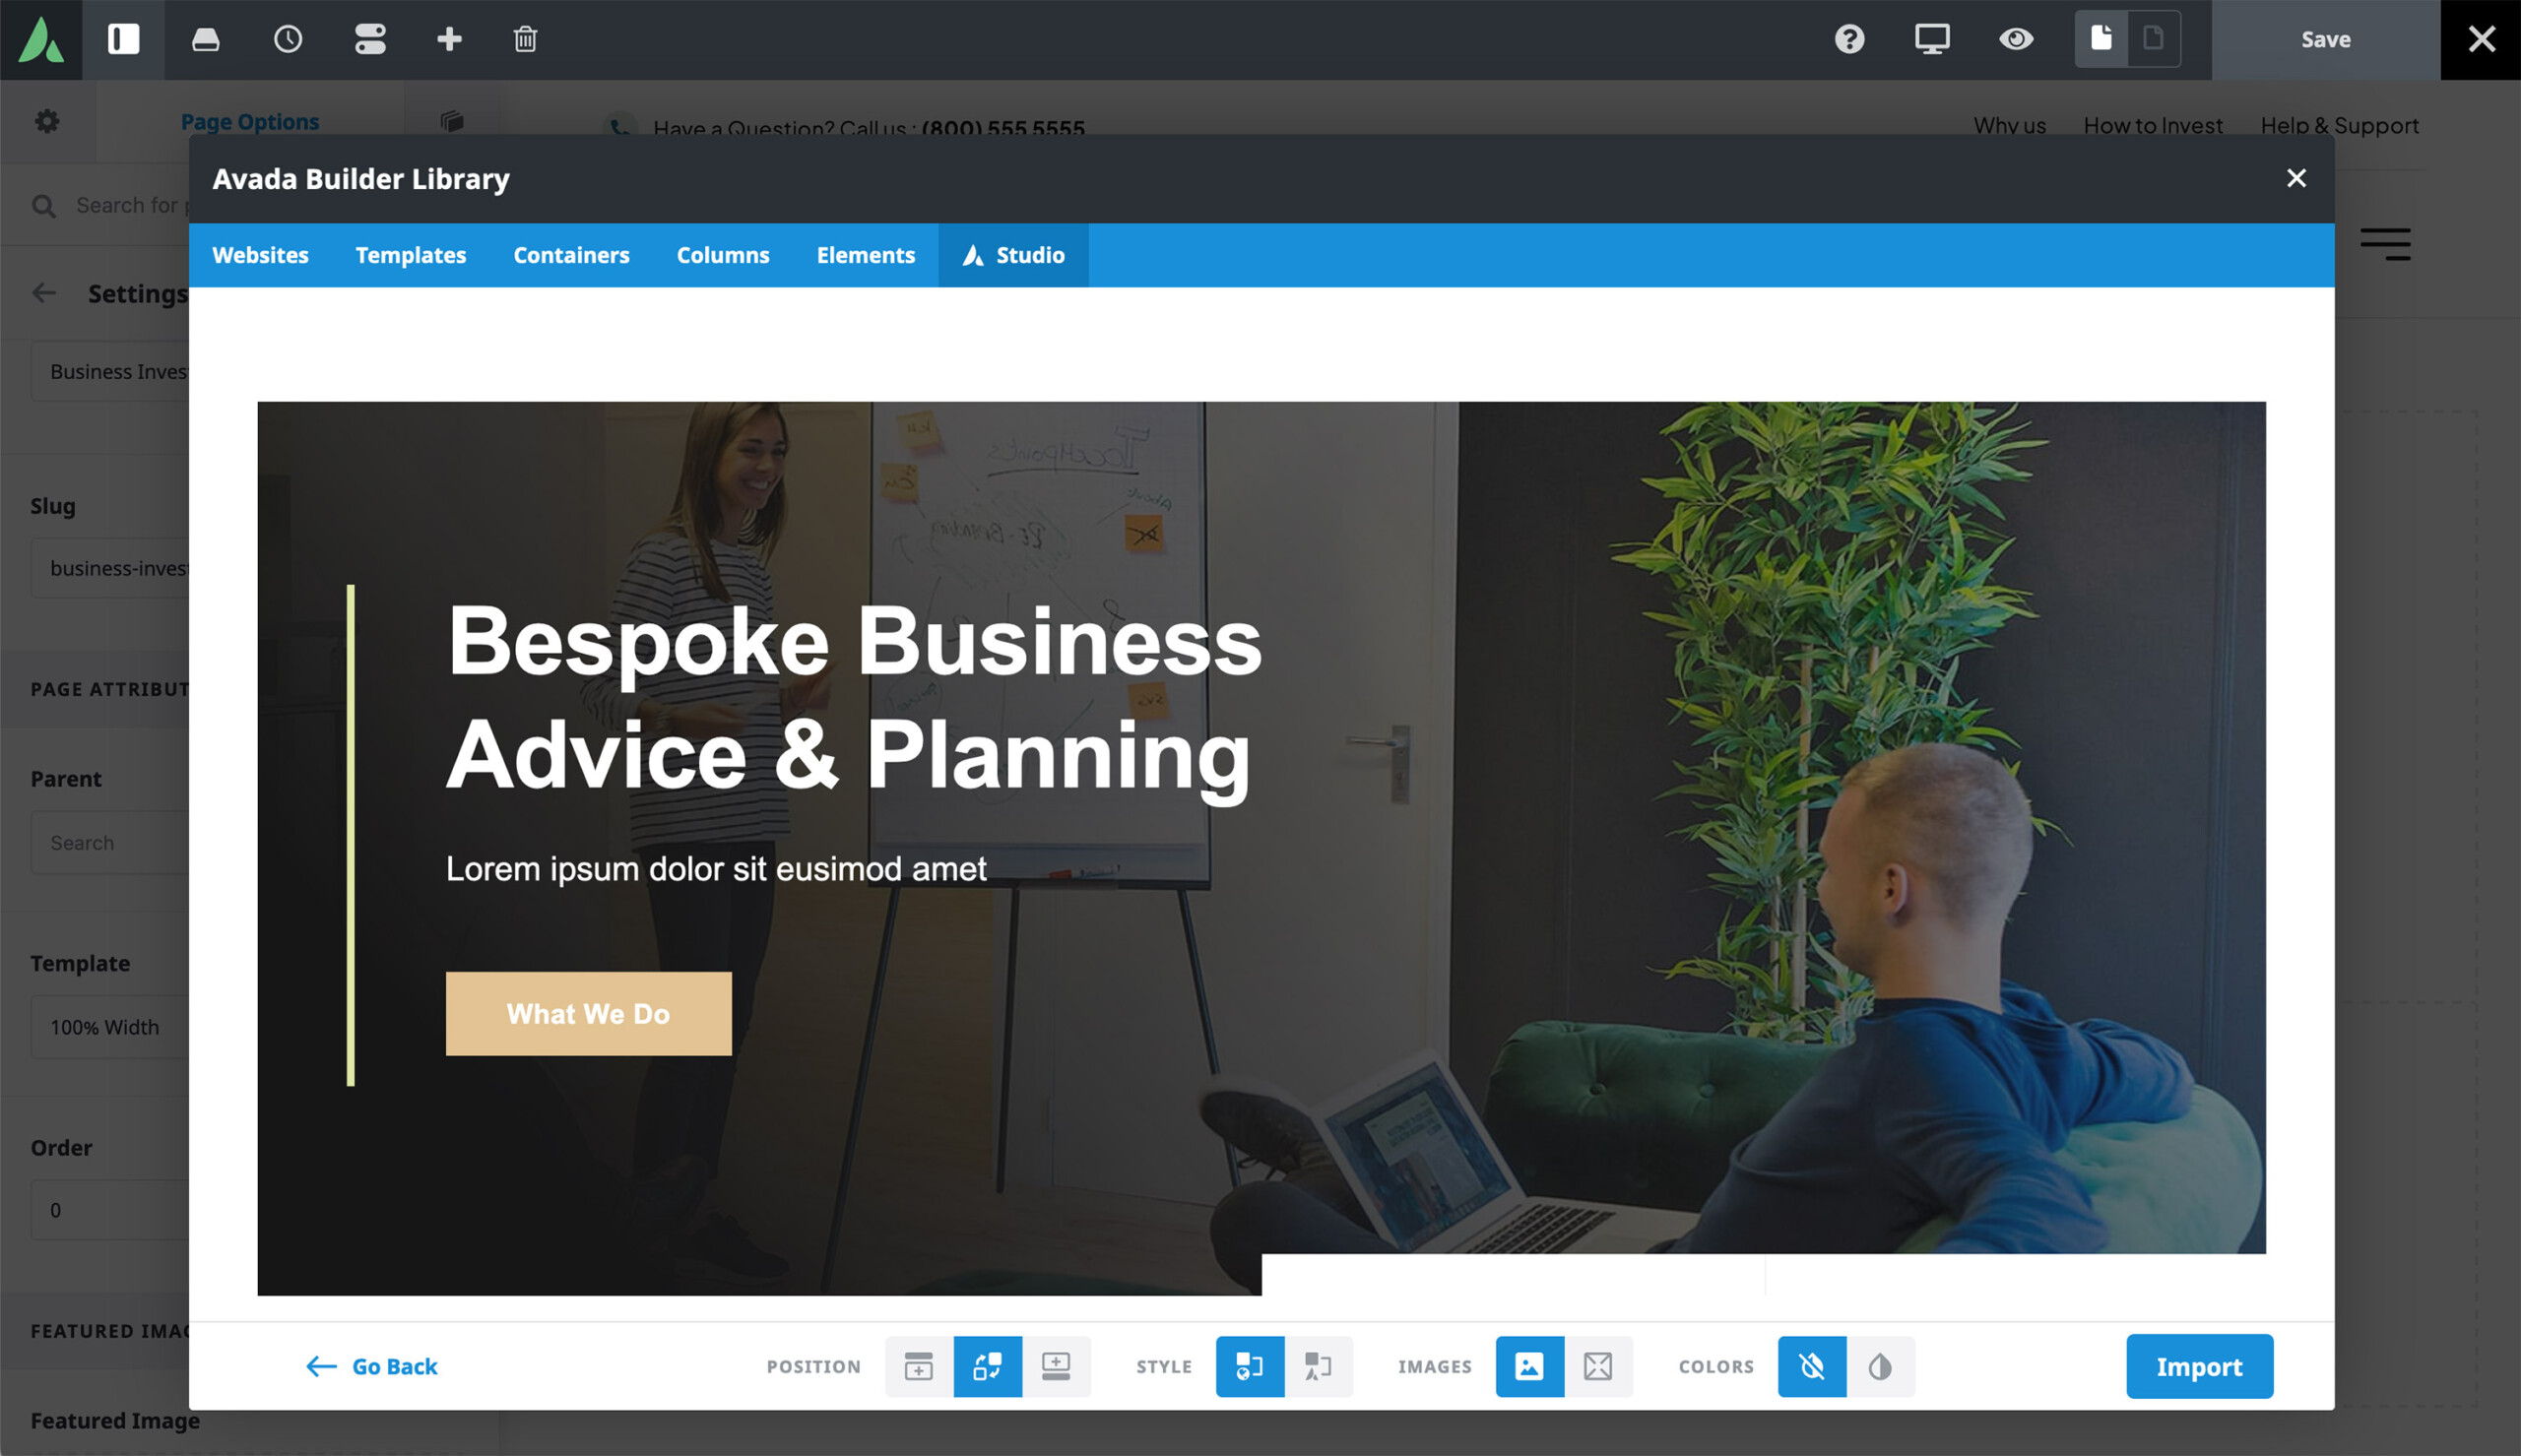
Avada Studio offers over 629 predesigned items with almost 50 full-page design options, which can be filtered by category. In our example, we selected the "Business and Finance" template (#3157). Before importing the template, you can preview it and adjust the settings based on your preferences.
Step 4: Adjust The Template Import Settings
There are several customizable options you can adjust before importing any Avada Studio content:
Step 5: Import The Template
After selecting the desired settings, click “Import.” Within a few seconds, the imported content will be added to the page. From here, we can start customizing the content to suit your needs.
Step 6: Customizing The Content
Once the template content is imported, you have complete creative control to customize or add/remove as much of the content as needed. For example, our imported template includes a footer section at the bottom. Because our existing site already has a global footer, we deleted the extra footer container layout.
Final Thoughts
If more content is needed, additional sections can be added by importing from the Avada Studio. Or, create your own from scratch using the vast array of Avada Design Elements. At this stage, all that’s left is to replace the placeholder text and images with custom content.
