Share
The frosted, semi-transparent panel — often referred to as the liquid glass effect — has become one of the most recognizable design treatments in modern web and interface design and has more recently been popularized by Apple’s Liquid Glass effect, launched with iOS 26. It works because it does something a flat overlay cannot: it lets the content behind an Element remain visible while altering how that content is rendered.
In Avada, this is handled by the Backdrop Filter options, available on every Container and Column, including nested Columns. This tutorial covers what backdrop filters do, the conditions they require to work, and how to configure them on both Containers and Columns. Whether you’re new to Avada or already comfortable in the Avada Live Visual Builder, the workflow is short — but the requirements are specific, and understanding them is the difference between a polished glass panel and no visible effect at all.
Overview
What Backdrop Filters Actually Do
A standard filter applies an effect to the Element it is set on (Column or Container). A backdrop filter applies the effect to whatever sits behind that Element.
The content or imagery behind the Column, showing through it, is what gets blurred, brightened, saturated, or hue-shifted. That distinction leads directly to the two requirements the feature depends on:
In practice, that means the following:
Where to Find the Options
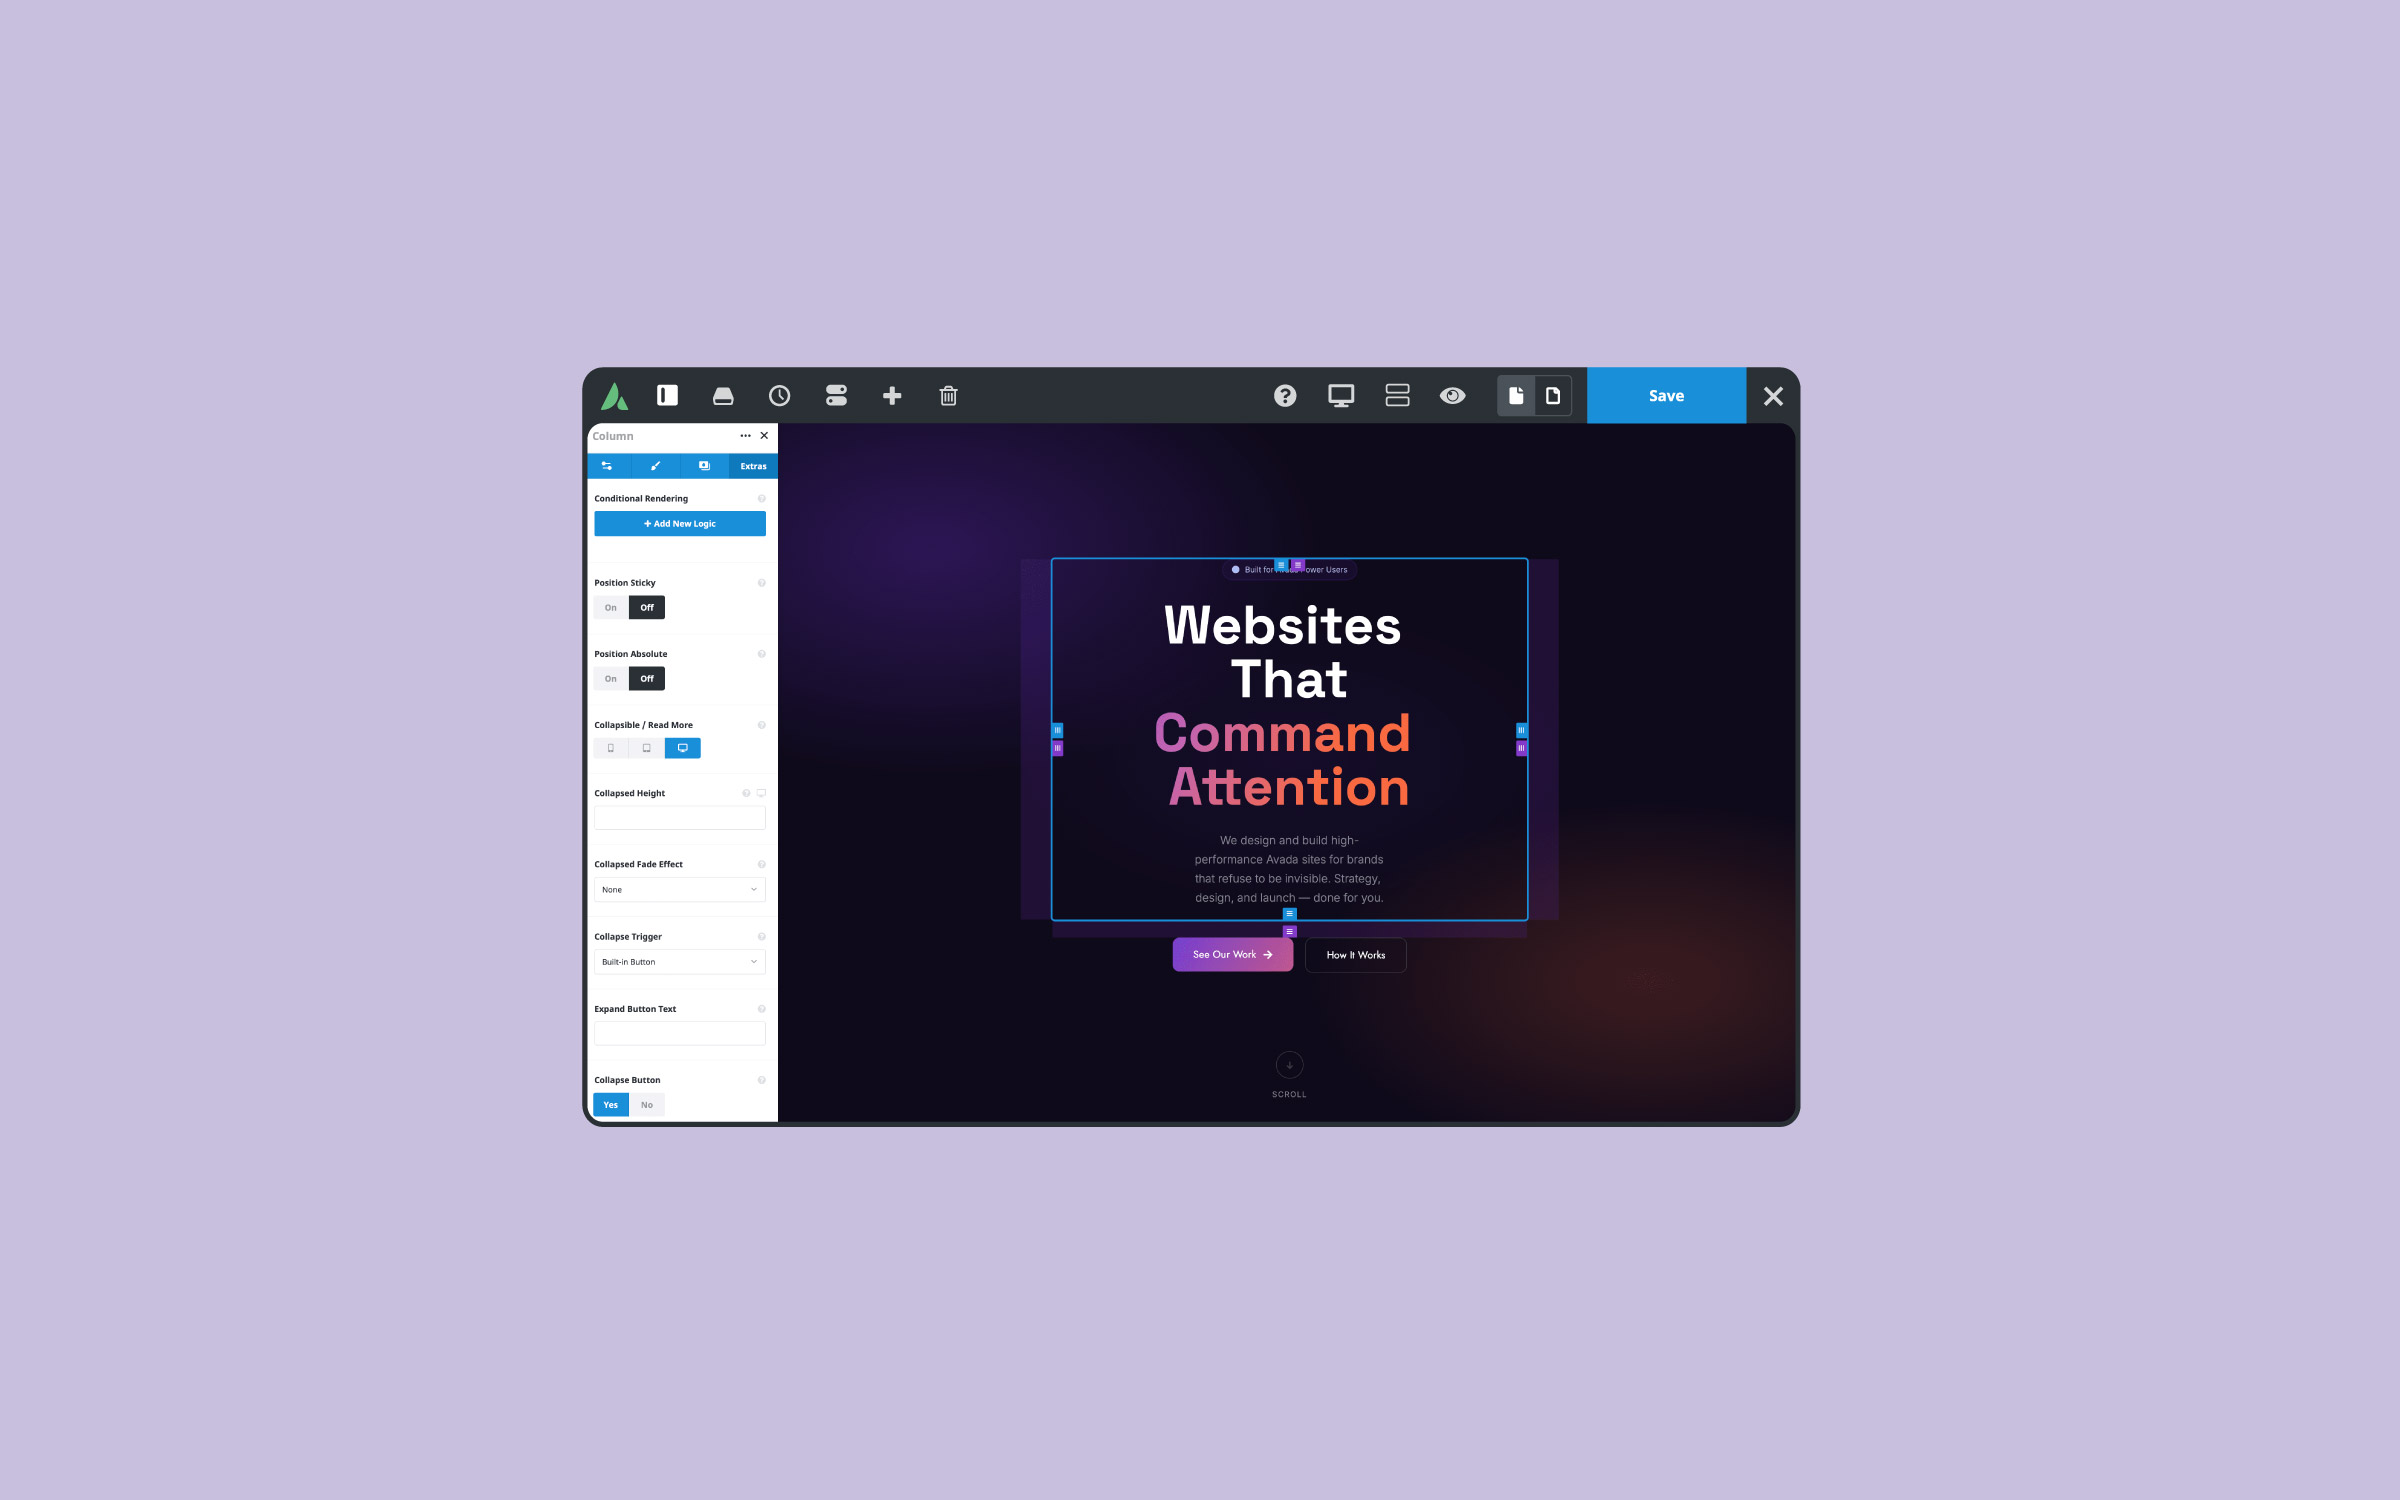
Backdrop filters live on the Extras tab of the Element Options for both Containers and Columns, in the Filter Type section — the same place you’ll find the standard filter controls. If you’ve followed our guide on How to use the Collapsible feature on Avada Containers & Columns, you’ll already know your way around this tab, as the Collapsible/Read More options sit alongside them.
The Backdrop Filter section offers the same eight values as the standard filters, and each one can be set independently for both the normal and hover states:
Blur is the value doing most of the work in a liquid glass treatment, but it is rarely the only one worth adjusting.
Applying Backdrop Filters to a Column
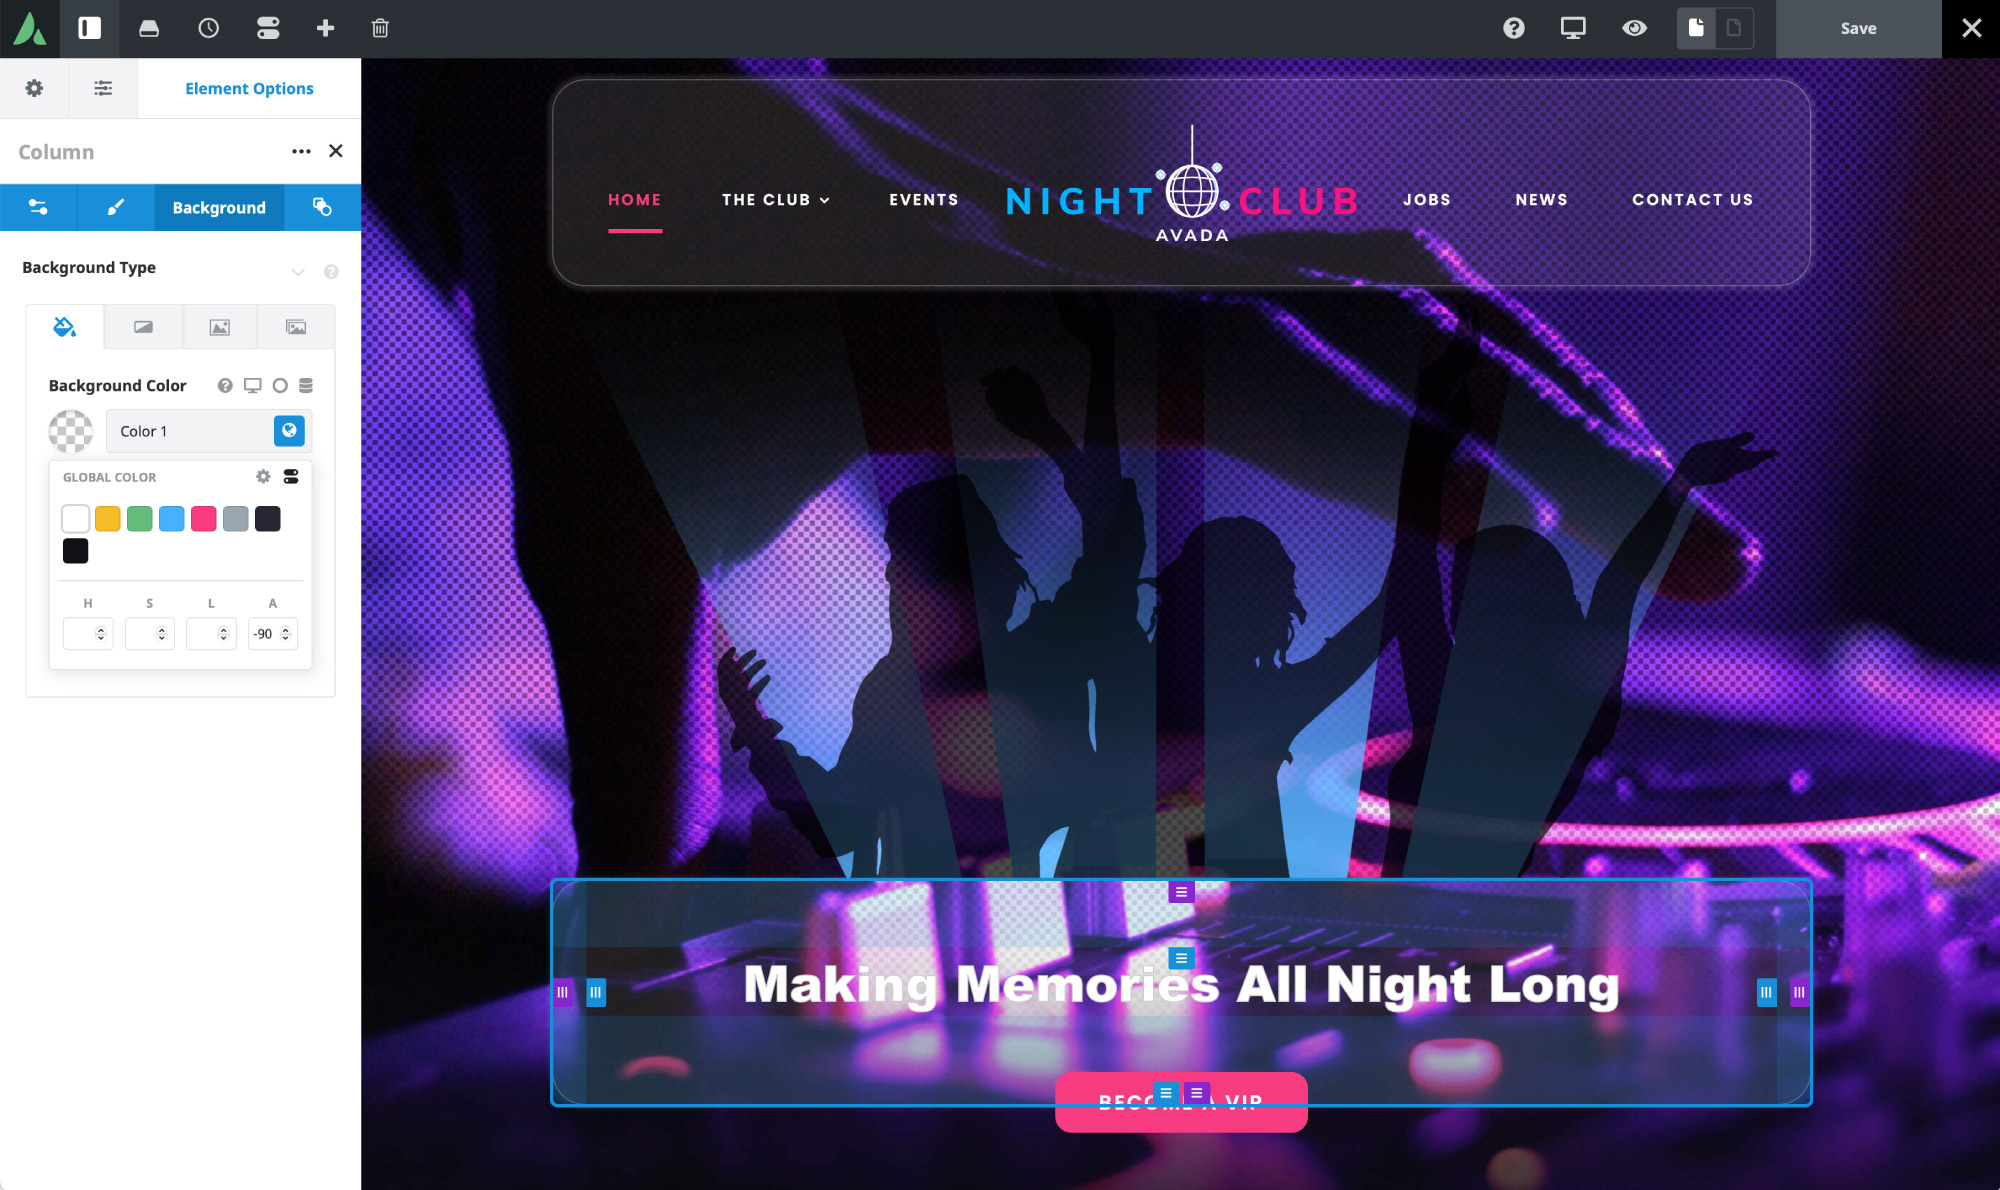
The examples below are built on the Avada Nightclub prebuilt website, with the header layout and one-page Column rebuilt to demonstrate the effect, and the hero Container’s background image swapped for a brighter one.
Step 1: Set Up the Background Behind the Column
Before touching any filter settings, make sure the Container holding your Column has a visible background — a background image or gradient. This is the layer the filter will act on, and without it there is nothing to see.
Step 2: Make the Column Background Semi-Transparent
Select the Column, open the Background tab, and set the background color with a reduced alpha value. In the header example, the Column uses Color 1 with an alpha value of -90, making it almost — but not quite — transparent.
It’s worth being deliberate here. A fully transparent background will work, but a small amount of opacity is what sells the liquid glass effect, giving the panel a sense of material rather than simply appearing as a blurred window. Adjust this value and preview the results; it has more influence on the final look than most people expect.
Step 3: Apply the Backdrop Filters
Move to the Extras tab and scroll to the Backdrop Filter section. For the header example:
That reversal is a useful pattern in its own right. Rather than adding an effect on hover, you’re removing one, which reads as the glass panel clearing as the visitor engages with it.
Step 4: Preview the Result
The blur applies to the content passing behind the header Column, while the Column itself — and its content — stays sharp. On mouseover, the hover state takes effect, and the blur is removed.
The Column further down the page in this example is configured in the same way, using the same values. The technique doesn’t change based on where the Column sits, only on what’s behind it.
Applying Backdrop Filters to a Container
Containers work the same way, with one important consideration: you need to be clear about what is actually behind the Container.
Step 1: Establish a Background Behind the Container
A backdrop filter on a Container will not affect that Container’s background image — the filter only ever affects what sits behind the Element. In this example, the background comes from the page itself.
Under Page Options → Content, a background image is assigned to the main content area and set to a 100% background image, so it scrolls with a parallax effect. Every other Container on the page has its own color or image background, so this page-level image is only visible through the one Container that has been made semi-transparent.
Step 2: Make the Container Background Semi-Transparent
On the Background tab, apply a background color with transparency. The example Container — which holds two Avada Image Elements in a full-width Column — uses an alpha value of -80, slightly more opaque than the header Column.
Step 3: Configure the Normal and Hover States
On the Extras tab, in the Backdrop Filter section:
Because the blur is present in both states, it remains constant on hover while the hue shifts and the contrast lifts. The result is a panel that changes character on interaction without the layout appearing to jump or refocus.
Summary
Backdrop filters are a small set of options with a disproportionate impact on how a page feels. The mechanics are straightforward: give the Element a transparent or semi-transparent background, make sure something visible sits behind it, then apply your chosen filters to the normal and hover states on the “Extras” tab.
From there, it’s a matter of restraint and iteration. Adjust the alpha value, pair the blur with a small lift in brightness or saturation, add a border and shadow if the design calls for them, and decide what should change on hover. Applied thoughtfully — on Containers, Columns, or Nested Columns — it’s one of the quickest ways to bring a genuinely contemporary finish to an Avada website layout.