Share
Designing and building world-class websites is easier than ever with Avada One. Getting Avada up and running on WordPress takes just a few minutes. The process has four simple stages: choose a plan, set up a My Avada account, install Avada One, and connect it to that account.
This guide walks through each stage in order, so anyone new to Avada can follow along and have the website builder ready to use by the end. Design anything. Build everything.
Overview
What Is Avada One?
Avada One is an intuitive website builder for launching and managing websites at scale, featuring a wide array of workflow tools. Design, build, and manage WordPress websites with Avada’s marketing, sales, and AI tools and creative resources to deliver professional-grade results every time.
Whether you already build with Avada or are starting your first website, the approach is the same: one plan, and every tool your site needs to grow.
Step 1: Choose an Avada One Plan
Avada One is designed to keep things simple, scalable, and extensible. Choose a plan that fits your workflow and scales as you grow. Whether you are a hobbyist, a freelancer, or an agency, we have the right plan for you.
Avada One offers two plans: Essential and Pro. Choose based on how many sites you want to launch with Avada One; the right fit is straightforward, whether you manage one site or many.
| Tier | Websites | Essential | Pro |
|---|---|---|---|
| Solo | 1 | $49 | $99 |
| Studio | 5 | $99 | $169 |
| Agency | 50 | $229 | $329 |
| Scale | 1000 | $399 | $499 |
* All prices are per year.
Pick the tier that matches the number of sites you build, and the plan that matches how you work. If your needs change, you can upgrade plans and tiers at any time.
Essential
Essential includes the complete Avada Website Builder, all prebuilt websites and Avada Studio content, product updates, and support.
Pro
Pro includes everything in Essential and adds three toolsets right in your Avada Dashboard: Sales, Marketing, and AI, plus 5,000 AI credits each month. See some of the additional Pro features in the section below.
In addition to your chosen Plan, you also choose a Tier, which defines how many live websites you can connect to your subscription. Each live website you connect counts toward your Tier.
Plan Comparison: Essential vs. Pro
Step 2: Purchase & My Avada Account Setup
Once a plan has been chosen, clicking “Get Started” opens a dialog where the customer can enter their details and complete payment.
After payment goes through, two emails arrive:
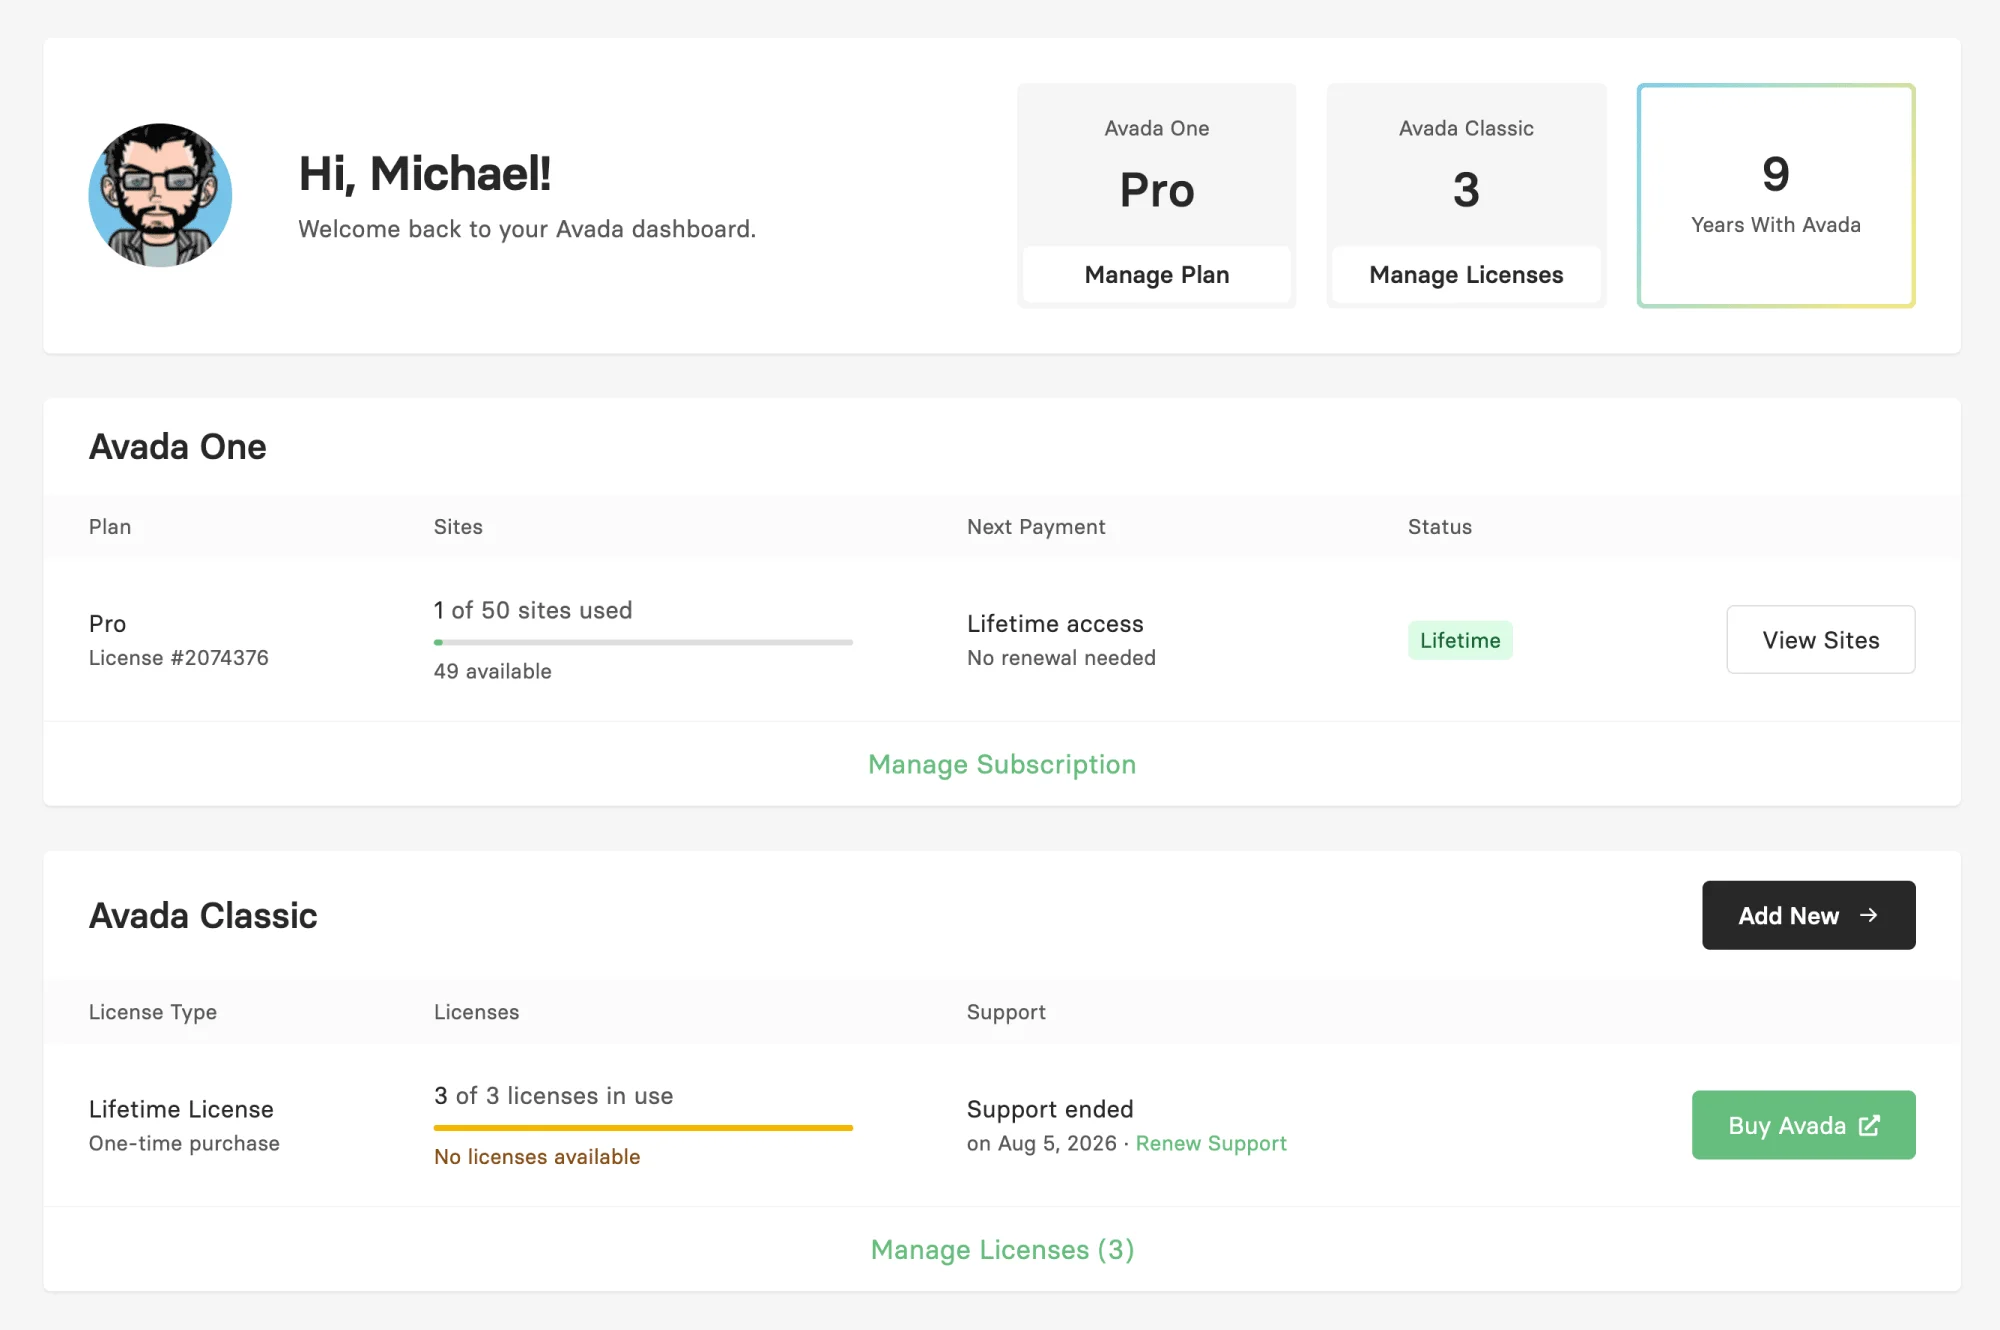
My Avada is the central management portal for an Avada One subscription and Avada Classic licenses. It is where users manage their sites, subscription, and support in one place. For a full overview of what the portal offers, the How to Use My Avada help file is a useful next read. After following the link in the second email and activating the account, the user can log in to My Avada.
Step 3: Download Avada One
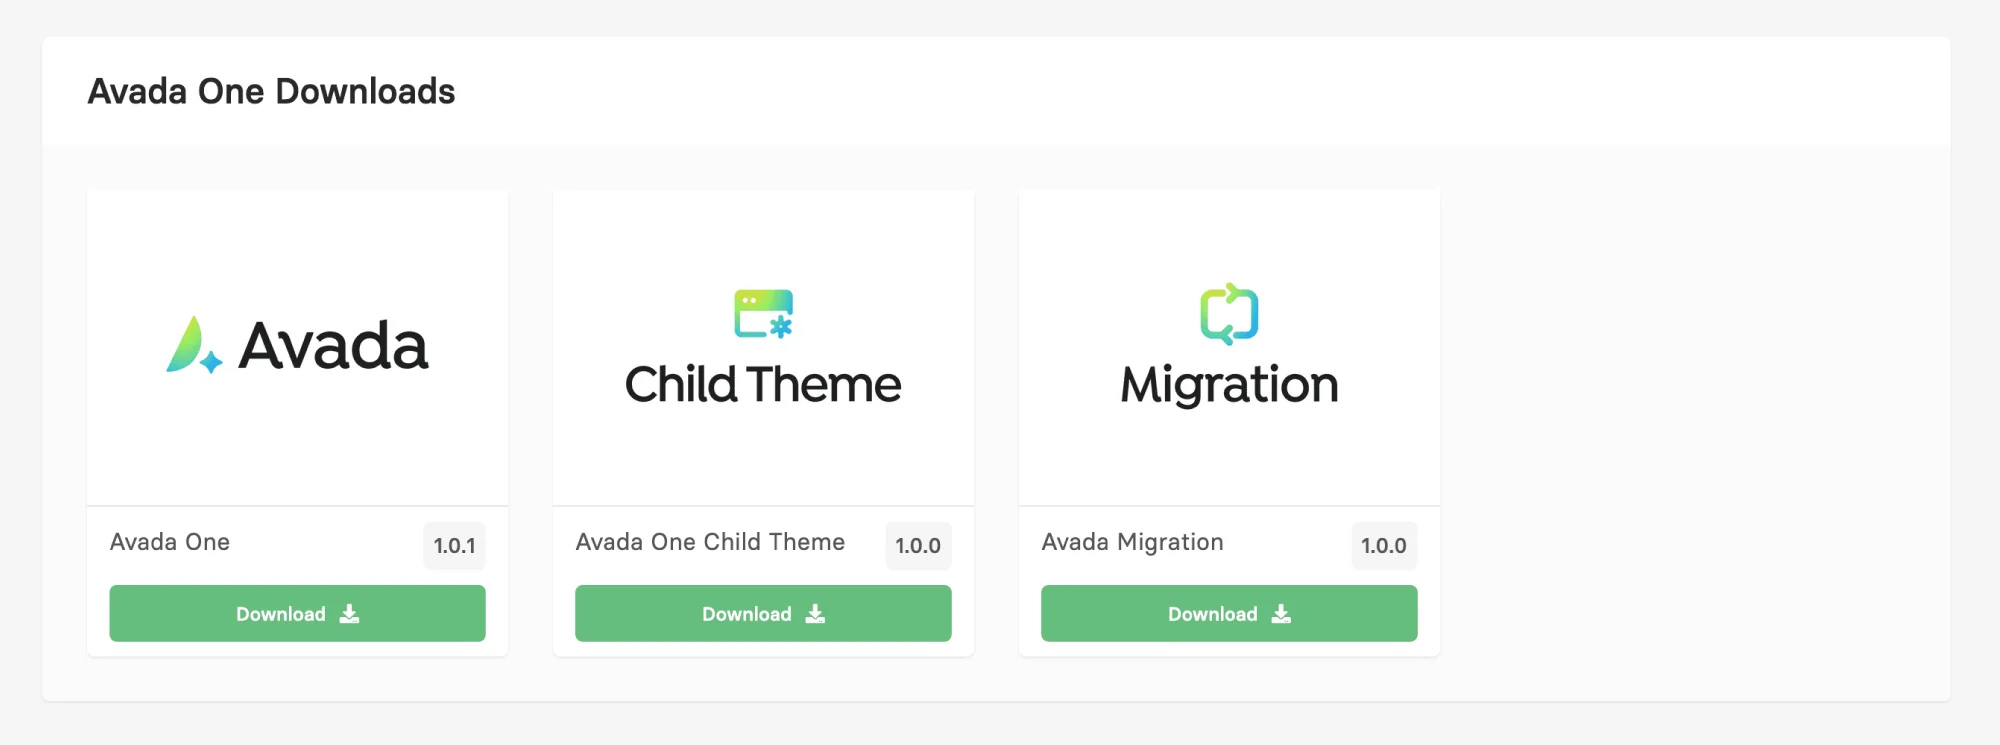
With access to My Avada, the next step is to download the installable Avada file. You’ll find it on the “Avada One > Downloads” page in your My Avada account. The download is fast, and this single file is all you need to add Avada One to WordPress.
Step 4: Install & Activate Avada in WordPress
Installing Avada works the same way as installing any other WordPress theme:
Step 5: Connect Avada One
The final step is to link the Avada installation to the user’s My Avada account. A “Connect to My Avada” button appears in the top-right corner of the Avada Dashboard. Clicking it opens a dialog asking you to confirm that you want to connect this theme installation to your My Avada account.
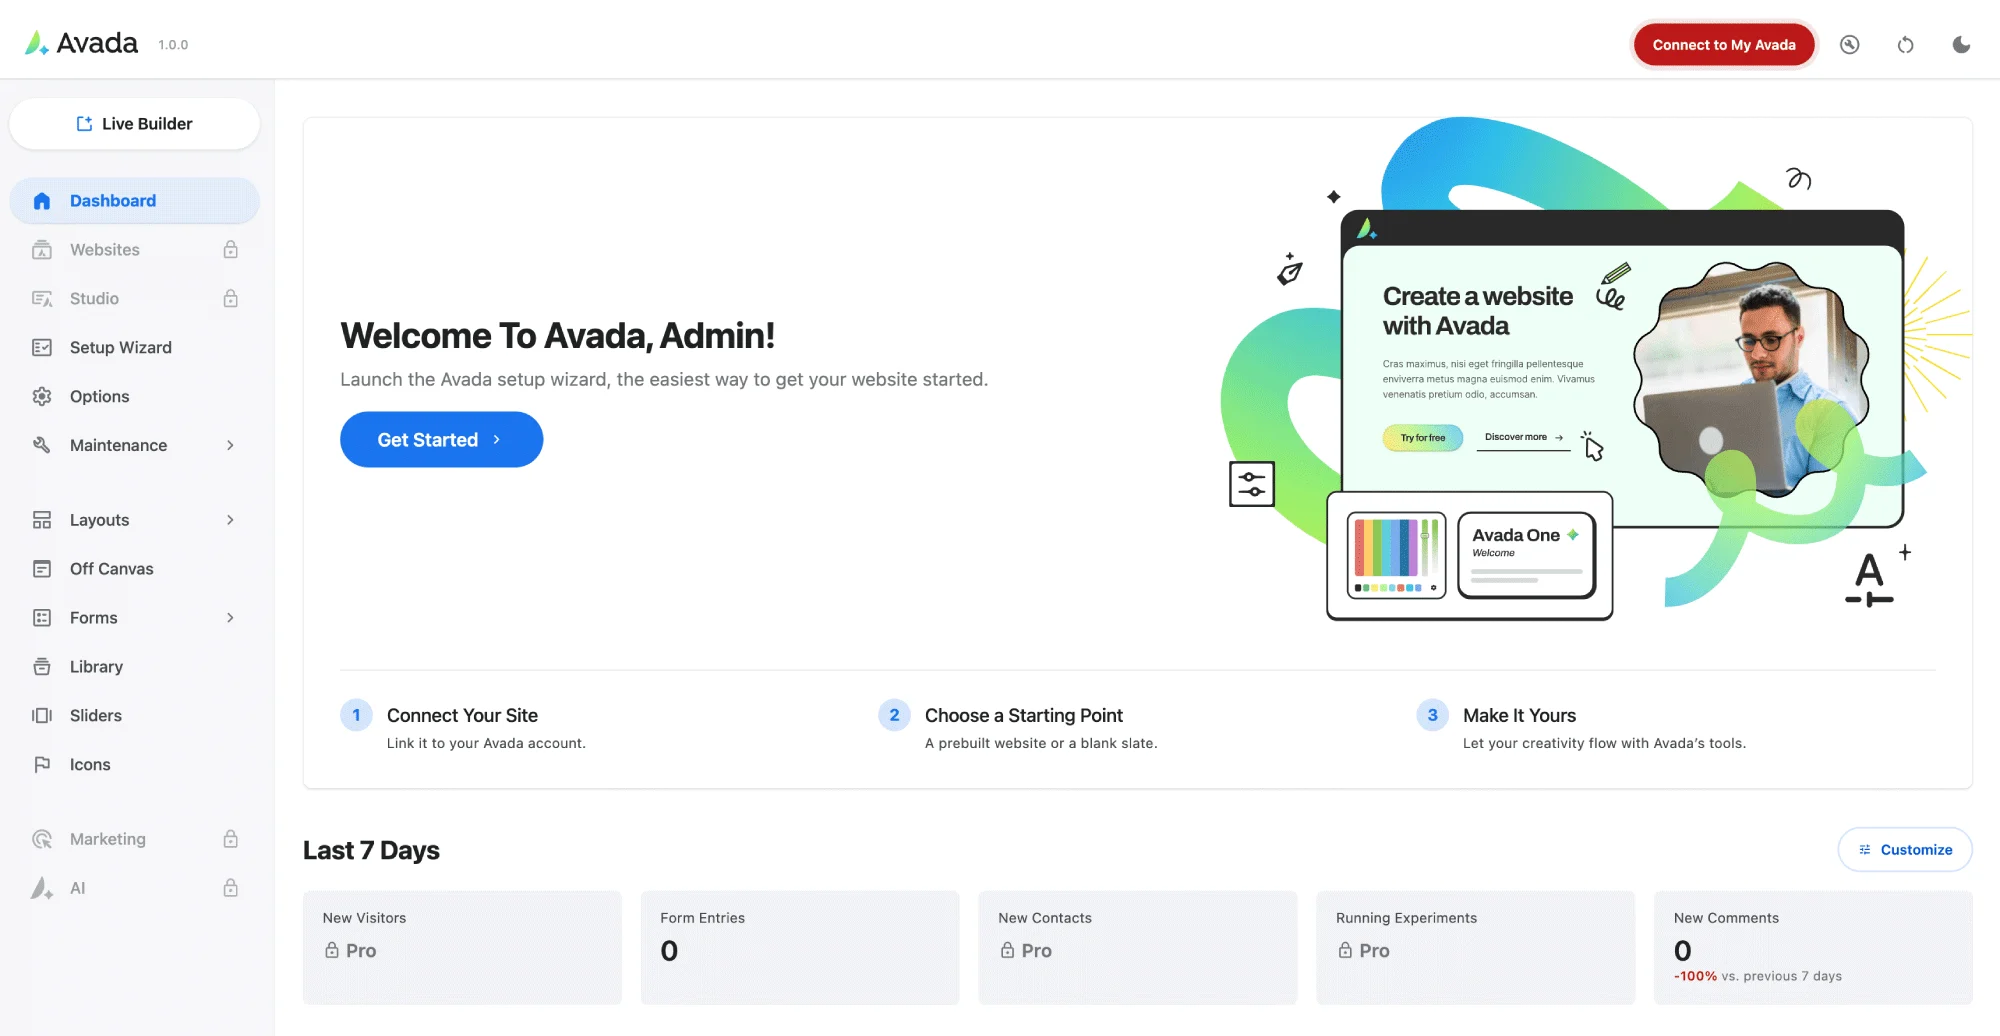
Once confirmed, the connection is complete. Now Avada is installed, activated, and connected to the account, and the site is ready to build.
Summary
From here, there are two common ways to continue:
Either route works well, and both start from the same place: a fully installed and connected copy of Avada One.