Share
WooCommerce is the leading eCommerce solution for WordPress by a considerable distance and their recent (2015) $30 million acquisition by Automattic means they’re likely to retain that top spot for a long time to come.
It’s not just this heavyweight backing that has WooCommerce well-poised for future domination though. The software itself is one of the most intuitive and full-featured eCommerce solutions available today.
This article will show you how to get up and running with WooCommerce and Avada. We’ll cover installation, common settings, creating products and specific options relating to Avada before rounding things off with some more general eCommerce resources.
Let’s start though with a bit of background on the plugin and the company behind it.
A Big Year for WooCommerce
WooThemes was originally set up as a theming business back in 2008 by Mark Forrester and Magnus Jepson. Though work on themes continues to this day, their WooCommerce plugin quickly became the company’s breakout success and was certainly the main factor driving the Automattic acquisition.
By the time of this year’s purchase (2015), WooCommerce had over 600,000 active installs and claimed to be powering a staggering 24% of e-Commerce sites online – numbers which have only risen since then.
When you consider any of the current rosy prognoses for the future of online shopping, that’s an excellent position to be in and one that certainly caught Automattic’s attention.
The takeover itself took place with a minimum of fuss back in May (2015) and WooThemes continues to be run as a separate brand.
What WooCommerce Offers
The basic WooCommerce plugin is free and comes packed with an impressive range of features.
Right out of the box, the plugin allows you to sell products and digital downloads worldwide and is mobile friendly by default. For further peace of mind, the core code has also been extensively audited by leading plugin security experts Sucuri.
Where WooCommerce really comes into its own is with the huge range of extensions available for the plugin. Hundreds of free and paid extensions are available covering every conceivable shop requirement.
Many of the most popular extensions are in-house offerings such as WooCommerce Memberships, WooCommerce Subscriptions and WooCommerce Bookings.
WooCommerce core arrives with support for five payment options built in and hundreds of further payment gateways can be integrated as extensions. No matter what your required payment solution is, you can be pretty certain it will be supported.
The subject of payment gateways and online payments can get tricky quickly however, depending on where in the world you are. Make sure you understand the basics before diving in. You might also want to start exploring the world of online accounting sooner rather than later.
Support for coupons, customer accounts and order management are included by default and the built in analytics and reporting will keep you on top of your sales at all times.
A world of further functionality is available via extensions as your shop grows.
Staying Orientated in WooCommerce
The amount of options available in WooCommerce can be overwhelming at first but luckily help is at hand at all times in the form of WooCommerce’s comprehensive online documentation and knowledgebase.
Whether through the easy to follow Getting Started series, or the API Docs for developers, you’ll find answers to any questions you might have with a minimum amount of hassle.
The WooCommerce 101 Video Tutorials series – two of which we’ve embedded above – is a particularly useful resource when you’re starting out. It covers every aspect of setting up a site from scratch in an accessible and easy to follow format.
WooCommerce and Avada
WooCommerce and Avada make a great combination and considerable work has gone into making sure that integration is tight between the two.
You can find a dedicated WooCommerce section in the Avada documentation with useful links and a quick guide to getting started.
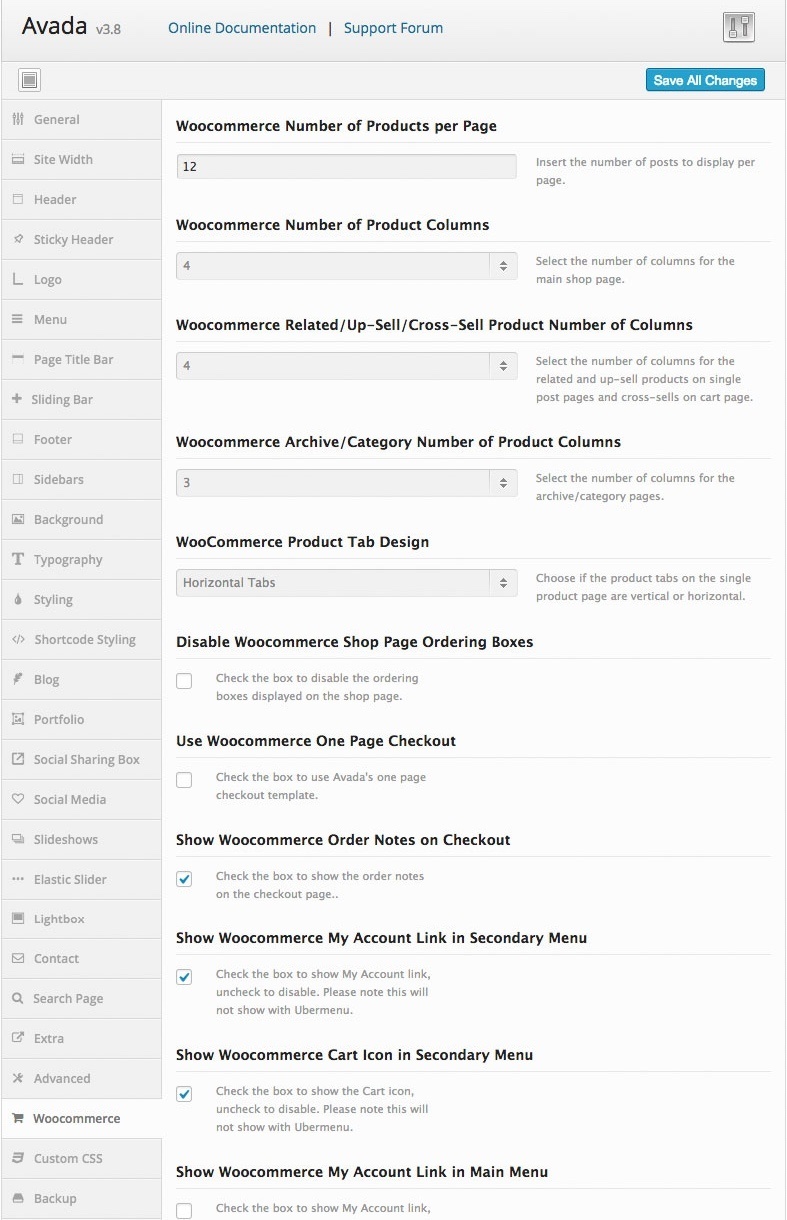
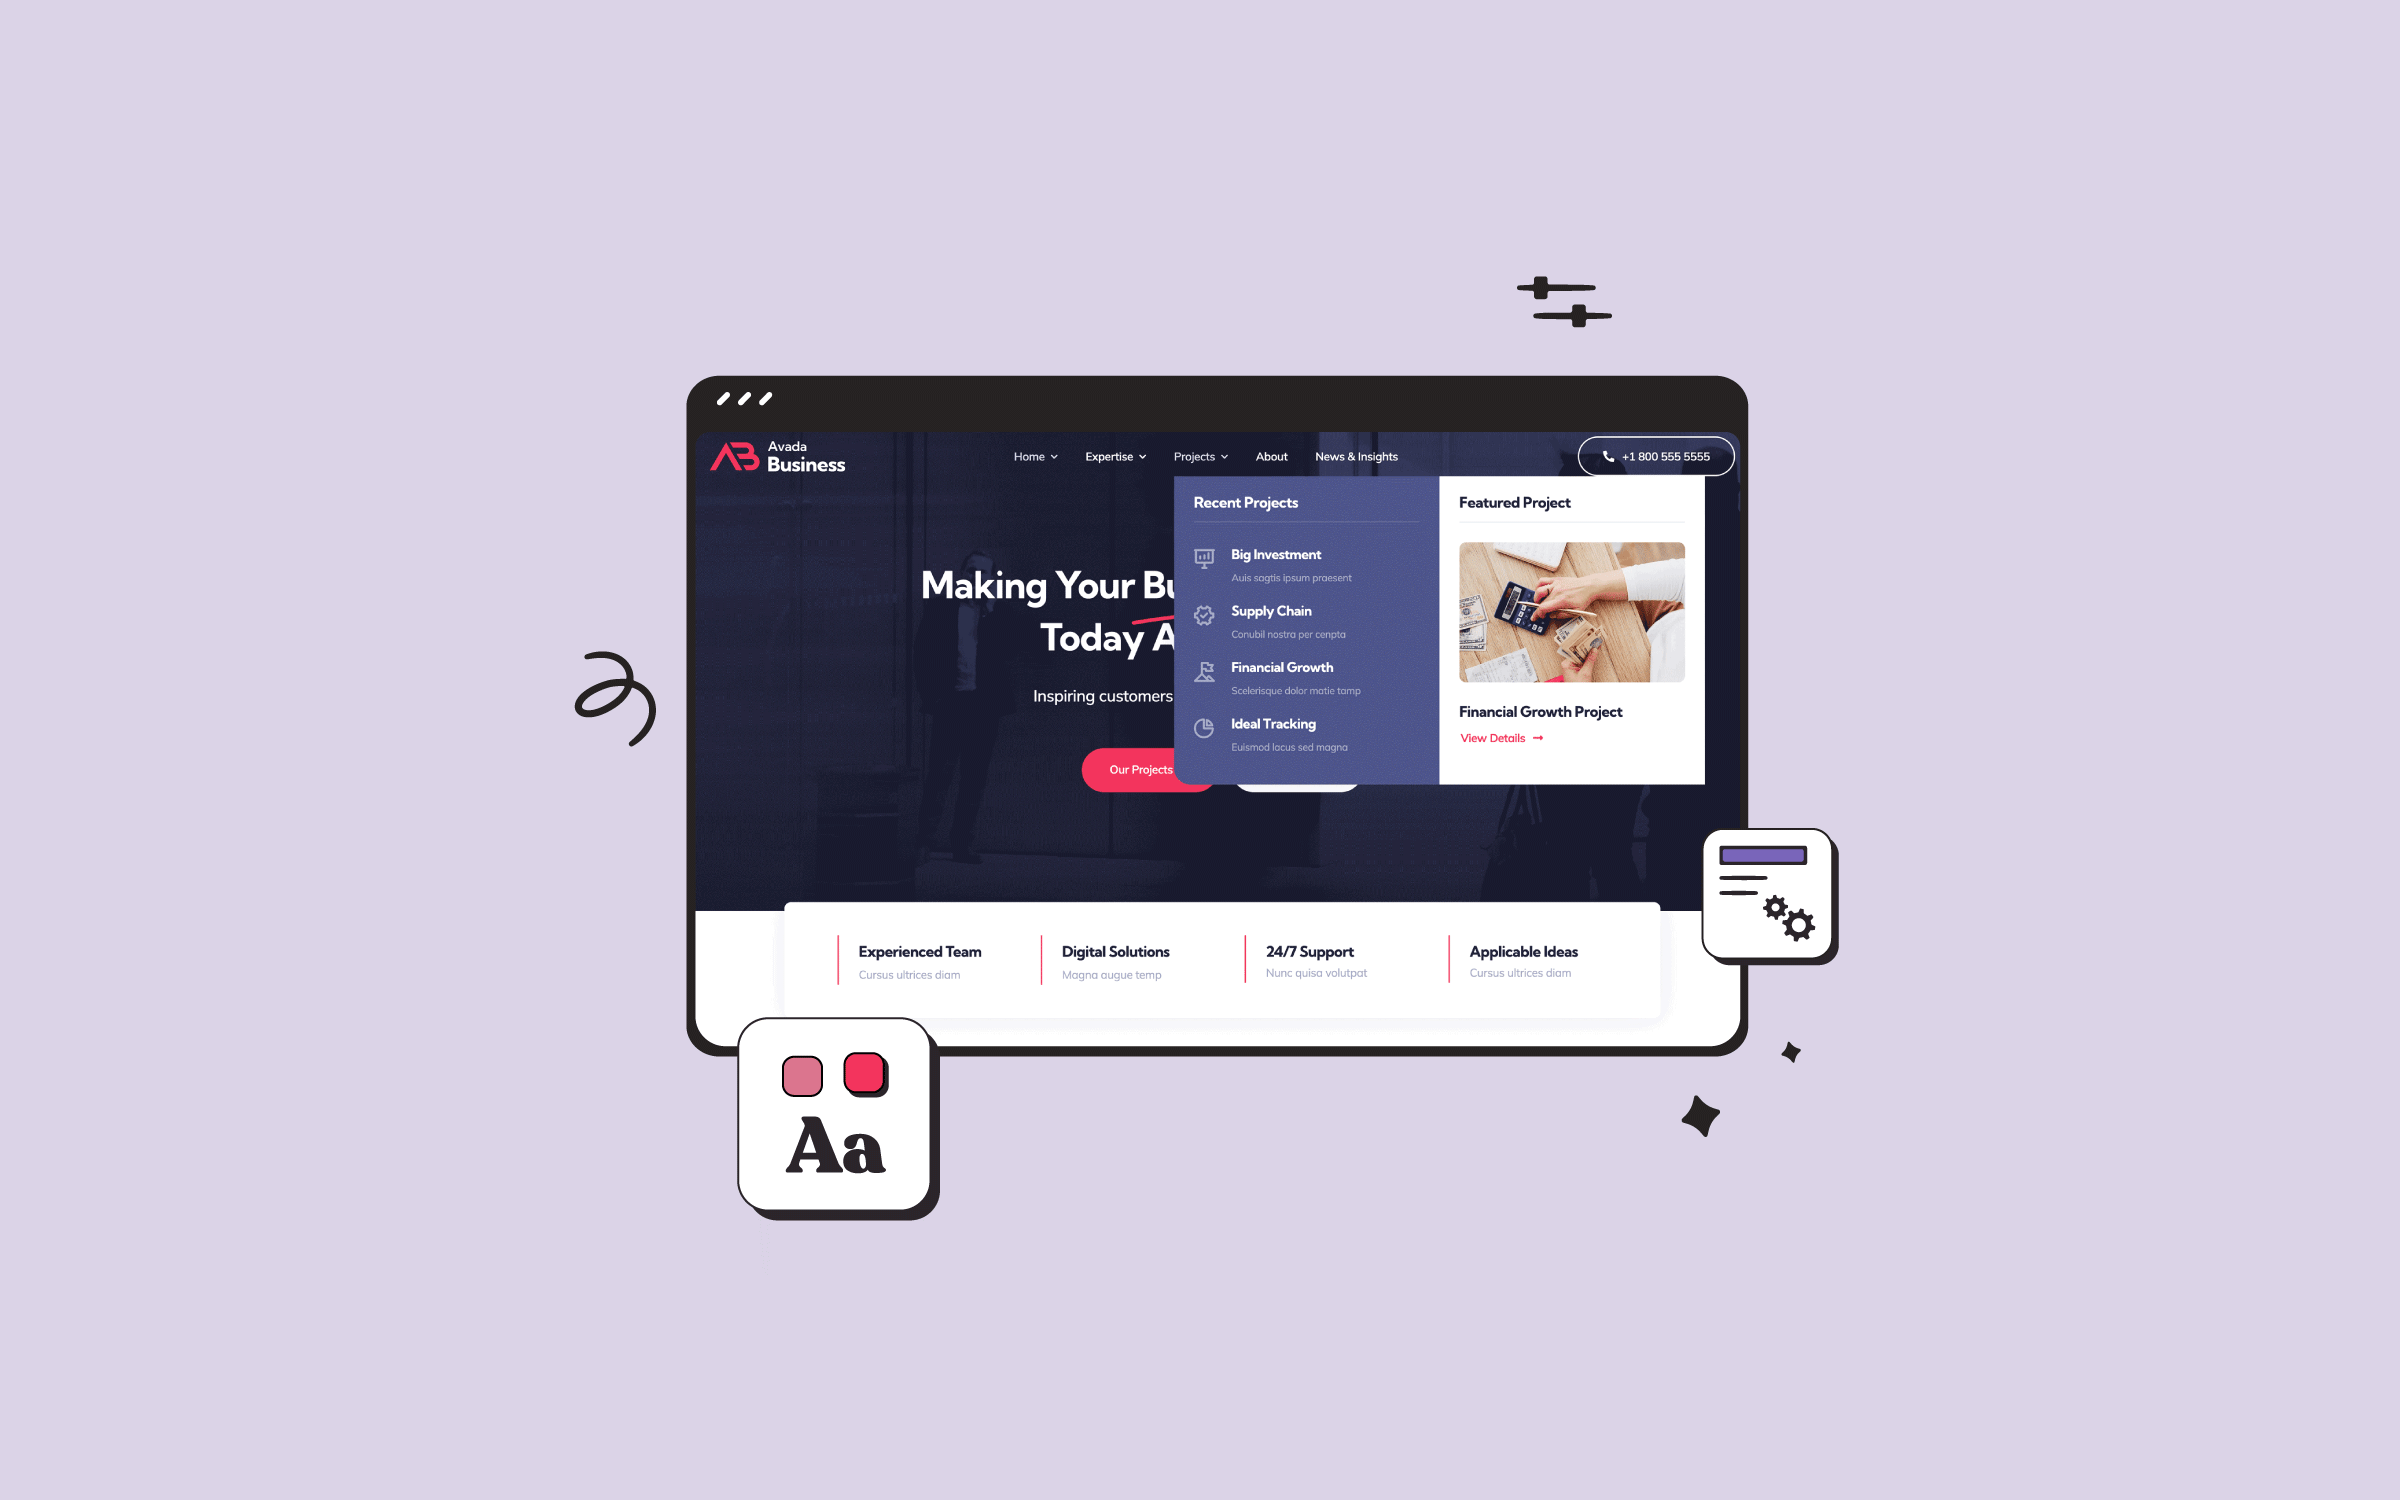
As pictured below, Avada also comes with a number of WooCommerce options designed specifically to help you get your shop looking exactly as you want it.
A number of WooCommerce focused sliders such as the Featured Product Slider and Product Carousel are also available to help you highlight your product range in creative ways.
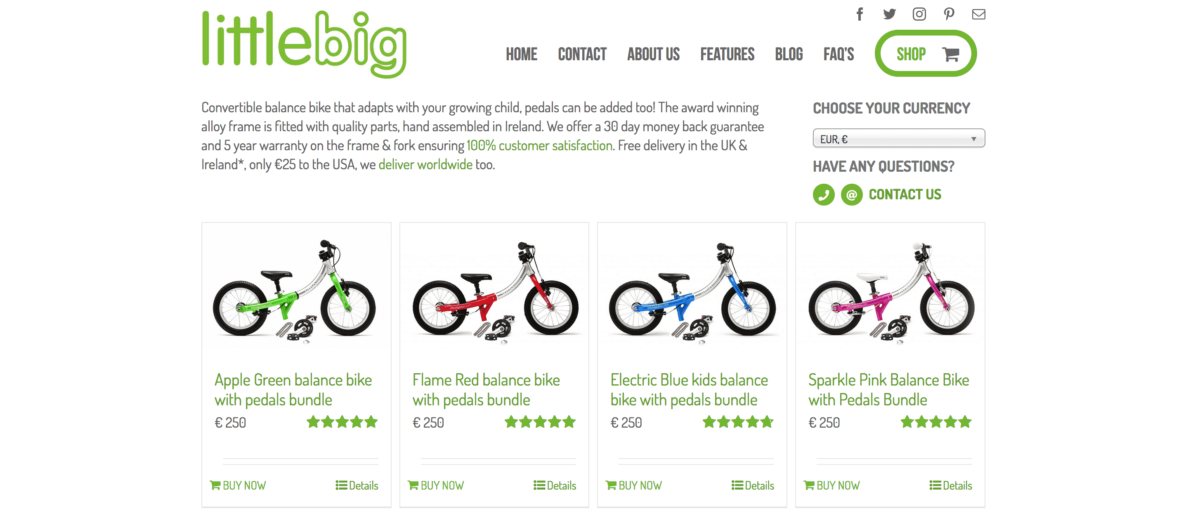
Along with WooCommerce’s own showcase, the Avada and WooCommerce combination can be seen in the wild in a number of sites listed in the Avada Showcase such as LittleBig.
Installation and First Steps
Getting started with WooCommerce is straightforward but, before you begin, take a moment to make sure your server is up to scratch.
Installation of the plugin itself is a walk in the park. Simply download and install as you would with any other plugin, or search for ‘WooCommerce’ from within the WordPress plugins page.
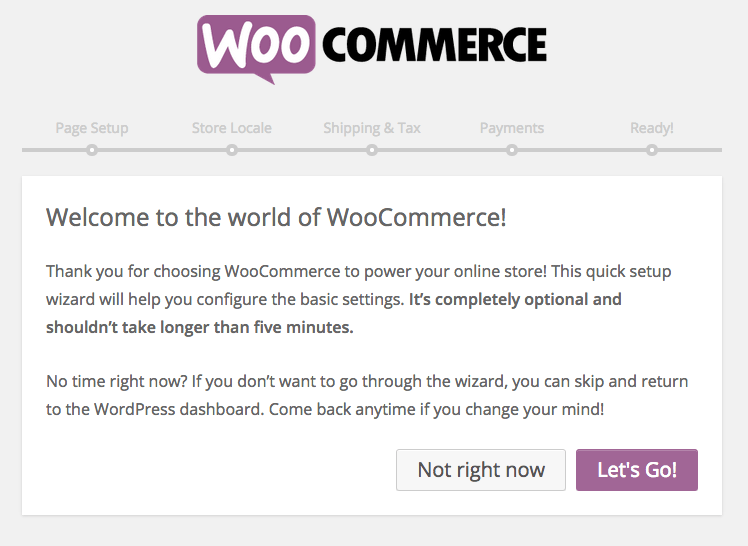
One of the many plus points of WooCommerce is the amount of effort they’ve put into making onboarding as smooth as possible. Once you’ve started your install, you’ll be kicked into a wizard that quickly takes you through the main initial settings options.
You can skip any of the steps in the wizard as you go and all settings can also be changed from WooCommerce > Settings at any time thereafter.
For the purposes of this article, we’ll quickly step through the options with some links to further resources for your reference.
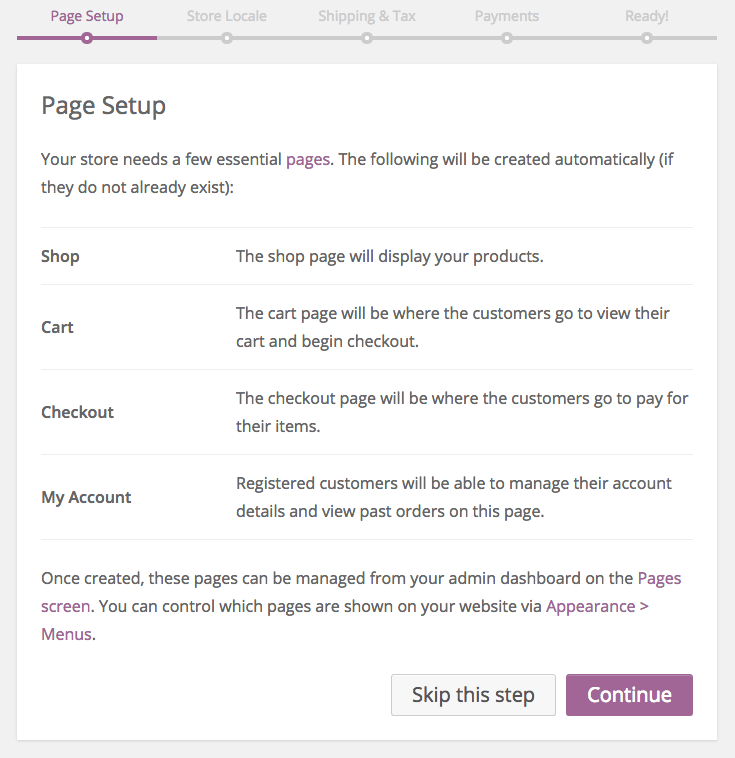
Our first step outlines the default pages WooCommerce sets up: Shop, Cart, Checkout and My Account. There’s nothing to do here, the plugin is simply telling you what’s about to happen. There’s an excellent overview of setting up your menus to include these pages in the online documentation.
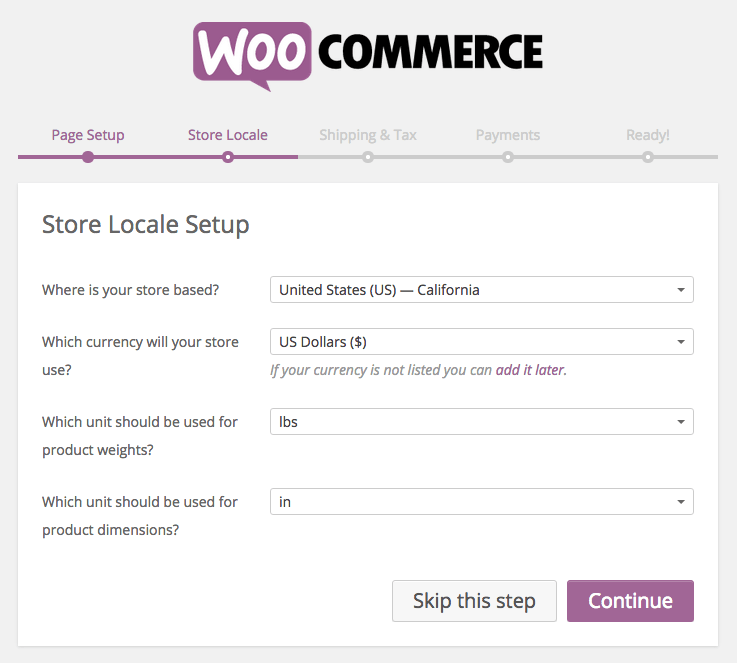
Next, you can choose your locale settings. As you can see in the image below, location is done on a national and state level. Currency, product weight and product dimensions defaults can also be set here. You can pop back into WooCommerce > Settings at any stage to edit these further.
Next we move on to shipping and tax options. Core shipping options are covered in the online documentation and many further fulfillment and delivery options can be enabled via extension.
Sales taxes are a potentially tricky subject but the core options are again excellently explained in the online help.
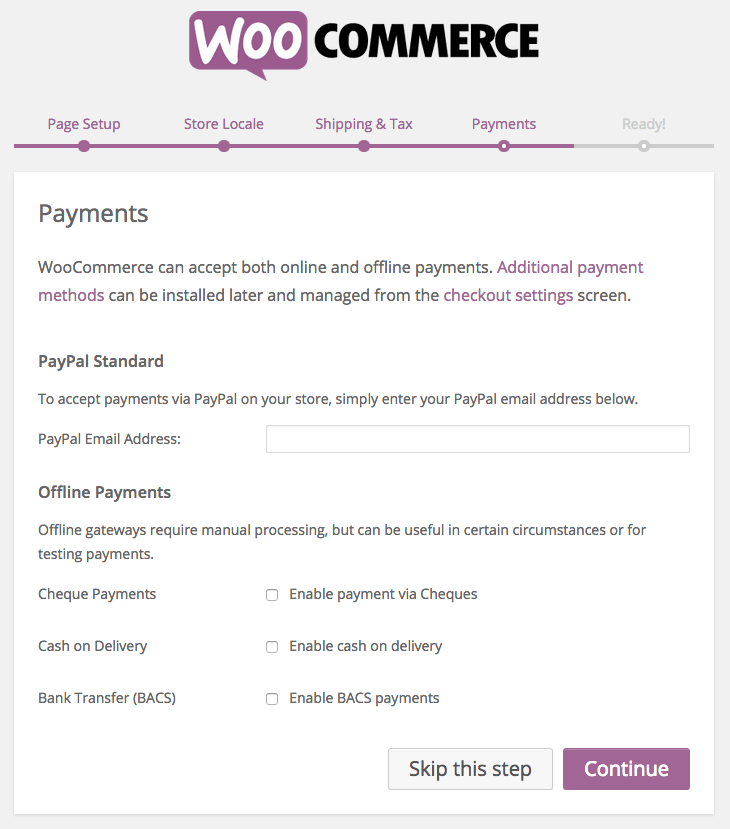
Finally, we hit the world of payments. As you can see, WooCommerce core ships with five core payment options available by default but a huge range of further gateways are also supported.
Once you’re through the initial steps, you’ll be presented with a confirmation screen, invitation to create your first product and a set of useful links for further exploration.
Overall, the setup process is an excellent example of getting first-time users through the basics smoothly and efficiently. The slickness of the implementation is something many plugin authors could learn from.
Post-install, you’ll find new options for WooCommerce and Products available in the familiar WordPress admin.
If you run into difficulties at this stage, a quick trip to the System Status page at WooCommerce > System Status is a great place to start troubleshooting.
Let’s move on to the core of your shop now – products.
Setting up Your Products
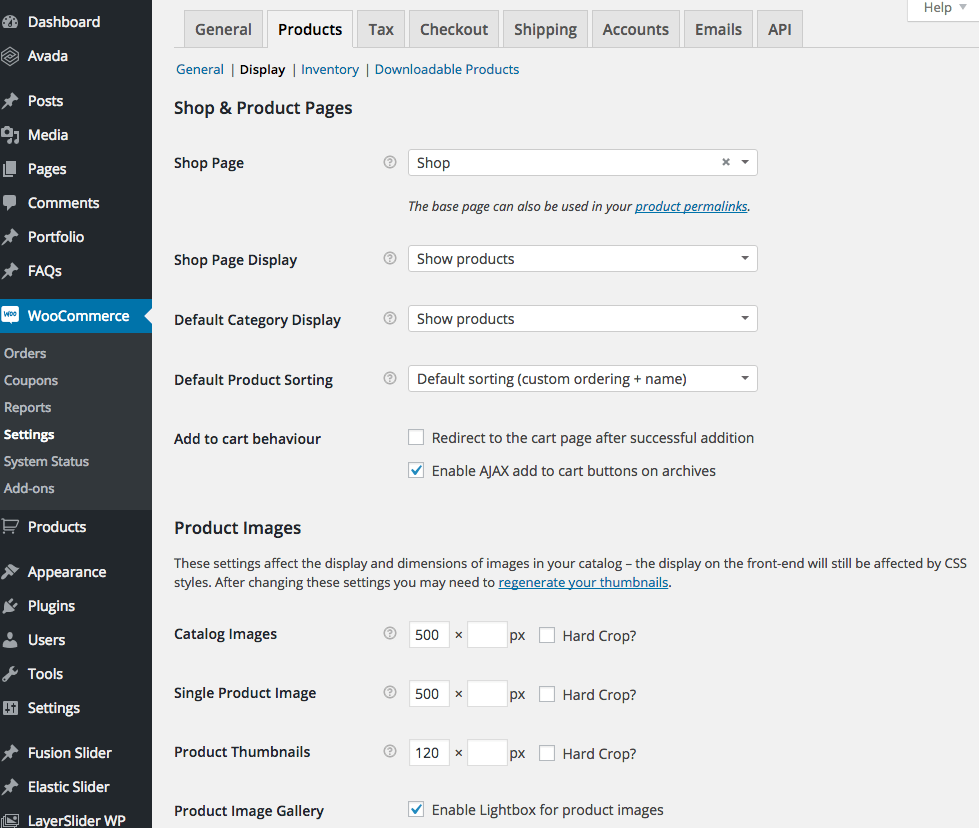
Your general product settings are controlled via WooCommerce > Settings > Products. This where you have fine-grained control over all of the general settings such as product weight and dimensions that we saw earlier in the welcome wizard, along with options relating to inventory and downloadable products.
One key point to note here is the WooCommerce > Products > Display section which gives you control over sitewide Shop and Product Page settings and Product Images.
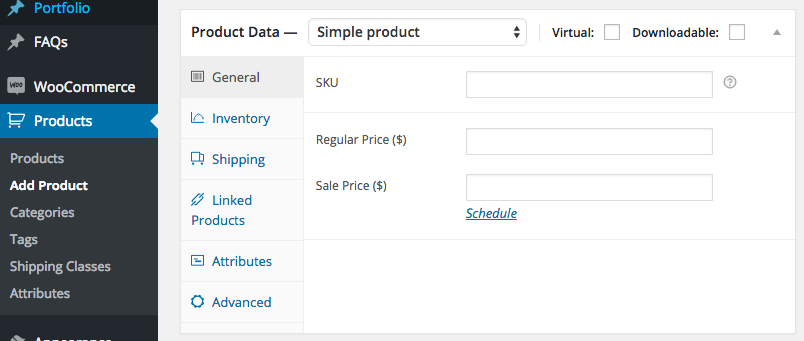
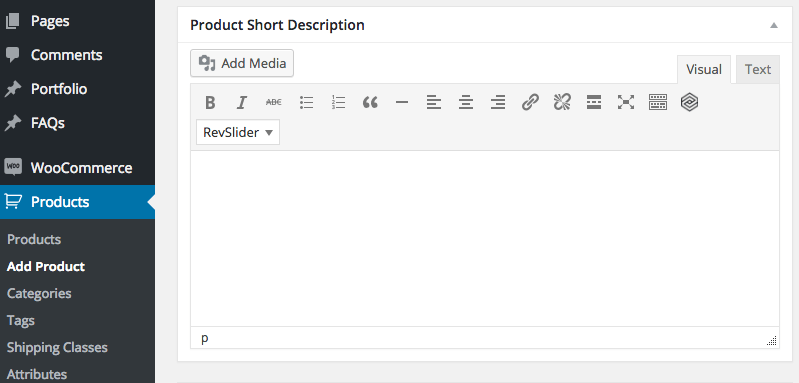
Actually adding products is a breeze. Simply head to Products > Add Product and start entering your info. The main post content is where you put your complete product description.
Detailed product info such as SKU numbers and price go down below in the Product Data box.
The Short Description has a box all to itself. This is the text that will be under the product title when it appears in any type of list view.
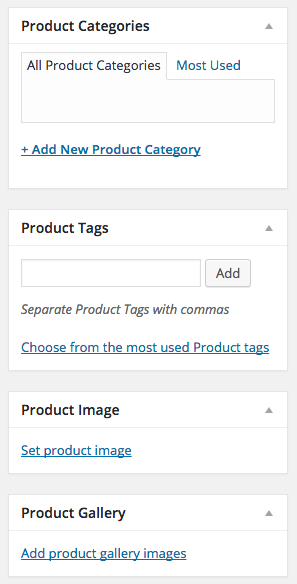
Product categories, tags and images can all be set in the sidebar options to the right. You also have the option of including a gallery of images here to showcase different aspects of your product.
Shortcodes and Widgets
There are a number of shortcode and widget options you can take advantage of to showcase your shop’s content throughout your site.
Shortcodes are great for items such as presenting recent or featured products on particular pages. A full list of available options can be found in the WooCommerce documentation.
WooCommerce also arrives with a number of widget options. Product search, lists of recently viewed products, top rated items and many other useful possibilities can be simply integrated throughout your site via widgets.
Next Steps with WooCommerce
WooCommerce opens up a simply enormous amount of eCommerce options to site owners of all sizes. Rather than go through them in detail right now, we’ll just pick out some of the next steps you’ll probably want to explore once you have your basic settings and product range dialed in.
Further Resources
As mentioned, the WooCommerce documentation is a superb general resource for getting to grips with the plugin itself.
The following sites are also great jumping off points for when you want to start exploring the wider world of e-Commerce:
Conclusion
With a program as large as WooCommerce, we can’t hope to do anything more than scratch the surface of its use in any one article. The good news is that the software is designed to grow with you over time using the power of extensions.
Let’s review the steps we covered in this article:
Is there a particular aspect of WooCommerce’s use you’d like to see us go deeper on? Or details of its integration with Avada you’d like to see us explore further? Get in touch via the comments and let us know!
Image Credit:Jessica Rabbit’s Flickr.
